Appearance
How to create a newsletter from RSS and send it automatically
You might write a blog, or follow a few great blogs. Which is great content, and you might wanna send it out automatically to your subscribers. Yeah, that's a good idea.
Most newsletters are written by hand. Someone sits down every week, picks the articles, copies the links, writes the intro, and hits send. That works, but it takes time and it relies on someone remembering to do it. If the content already exists in an RSS feed, there's no reason to do any of that manually.
With BlueFox Email, you can build a newsletter template once, connect it to an RSS feed, and then set up a time-based automation to send it on a schedule. Every week, the latest articles get pulled in automatically and sent to your subscribers, no manual work involved.
This approach works for your own blog, but also for any RSS feed you want to curate for your audience. Maybe you run a developer newsletter and want to surface the latest posts from a few trusted sources. Maybe you want to keep your customers updated with industry news. As long as there is an RSS feed, you can turn it into a newsletter.
In this article I'll show you how to do exactly that. We are going to use the "WIRED" magazine's RSS feed related to AI as our example, because who wouldn't be interested in AI these days!
https://www.wired.com/feed/tag/ai/latest/rssThe raw RSS feed has all the data we need, but it's not something you'd want to send to subscribers as-is.
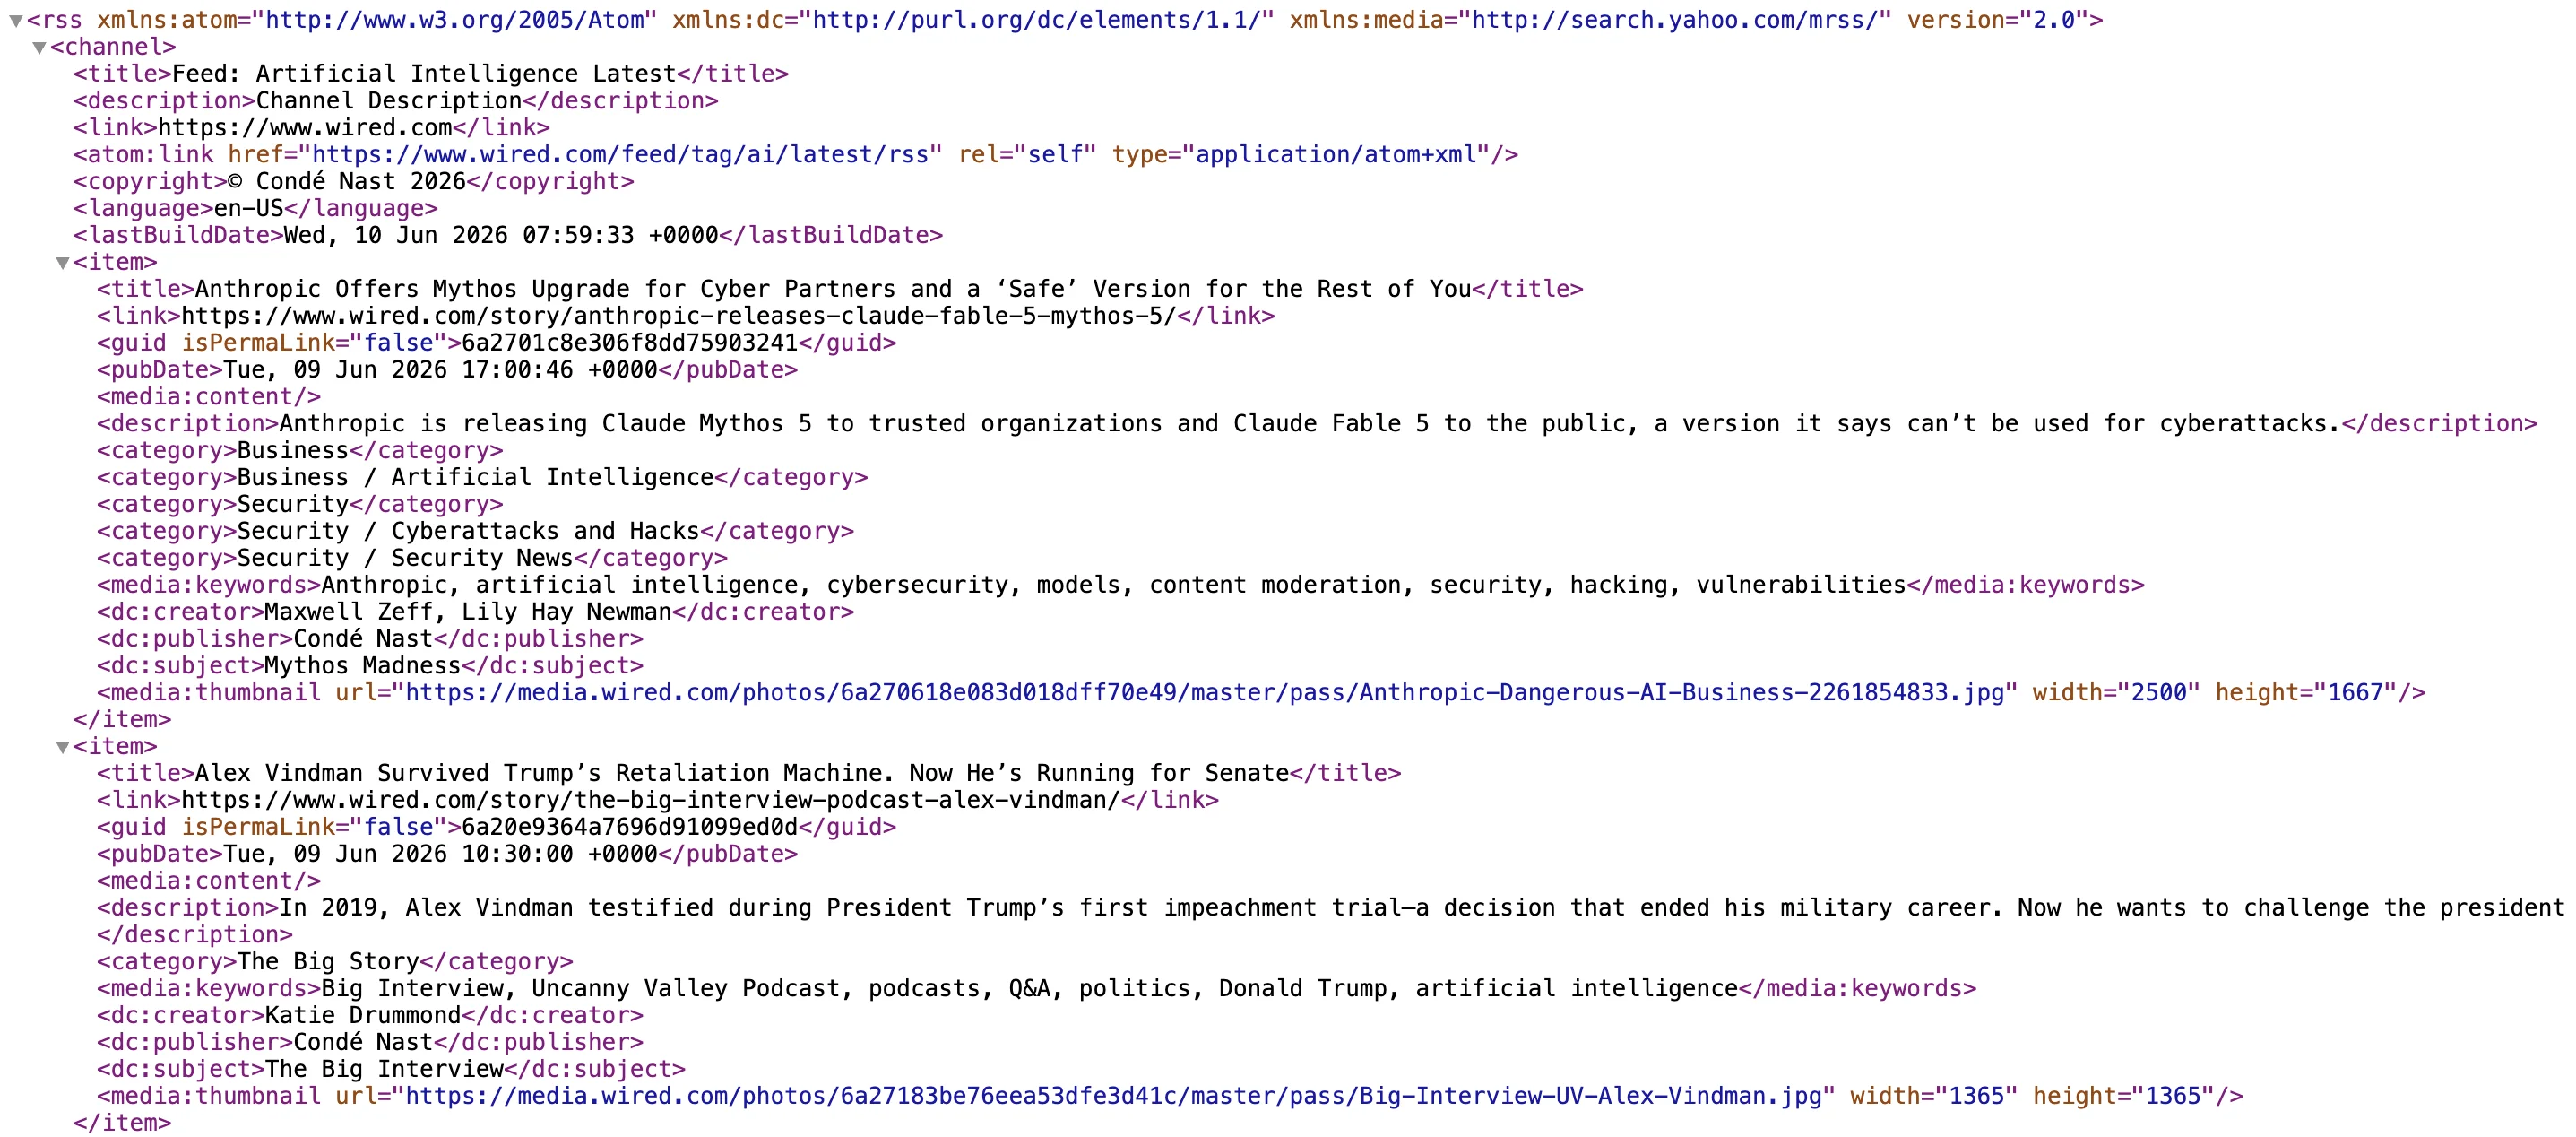
We'll turn it into a nicely formatted, on-brand email that goes out every Monday morning at 9am, without anyone lifting a finger.
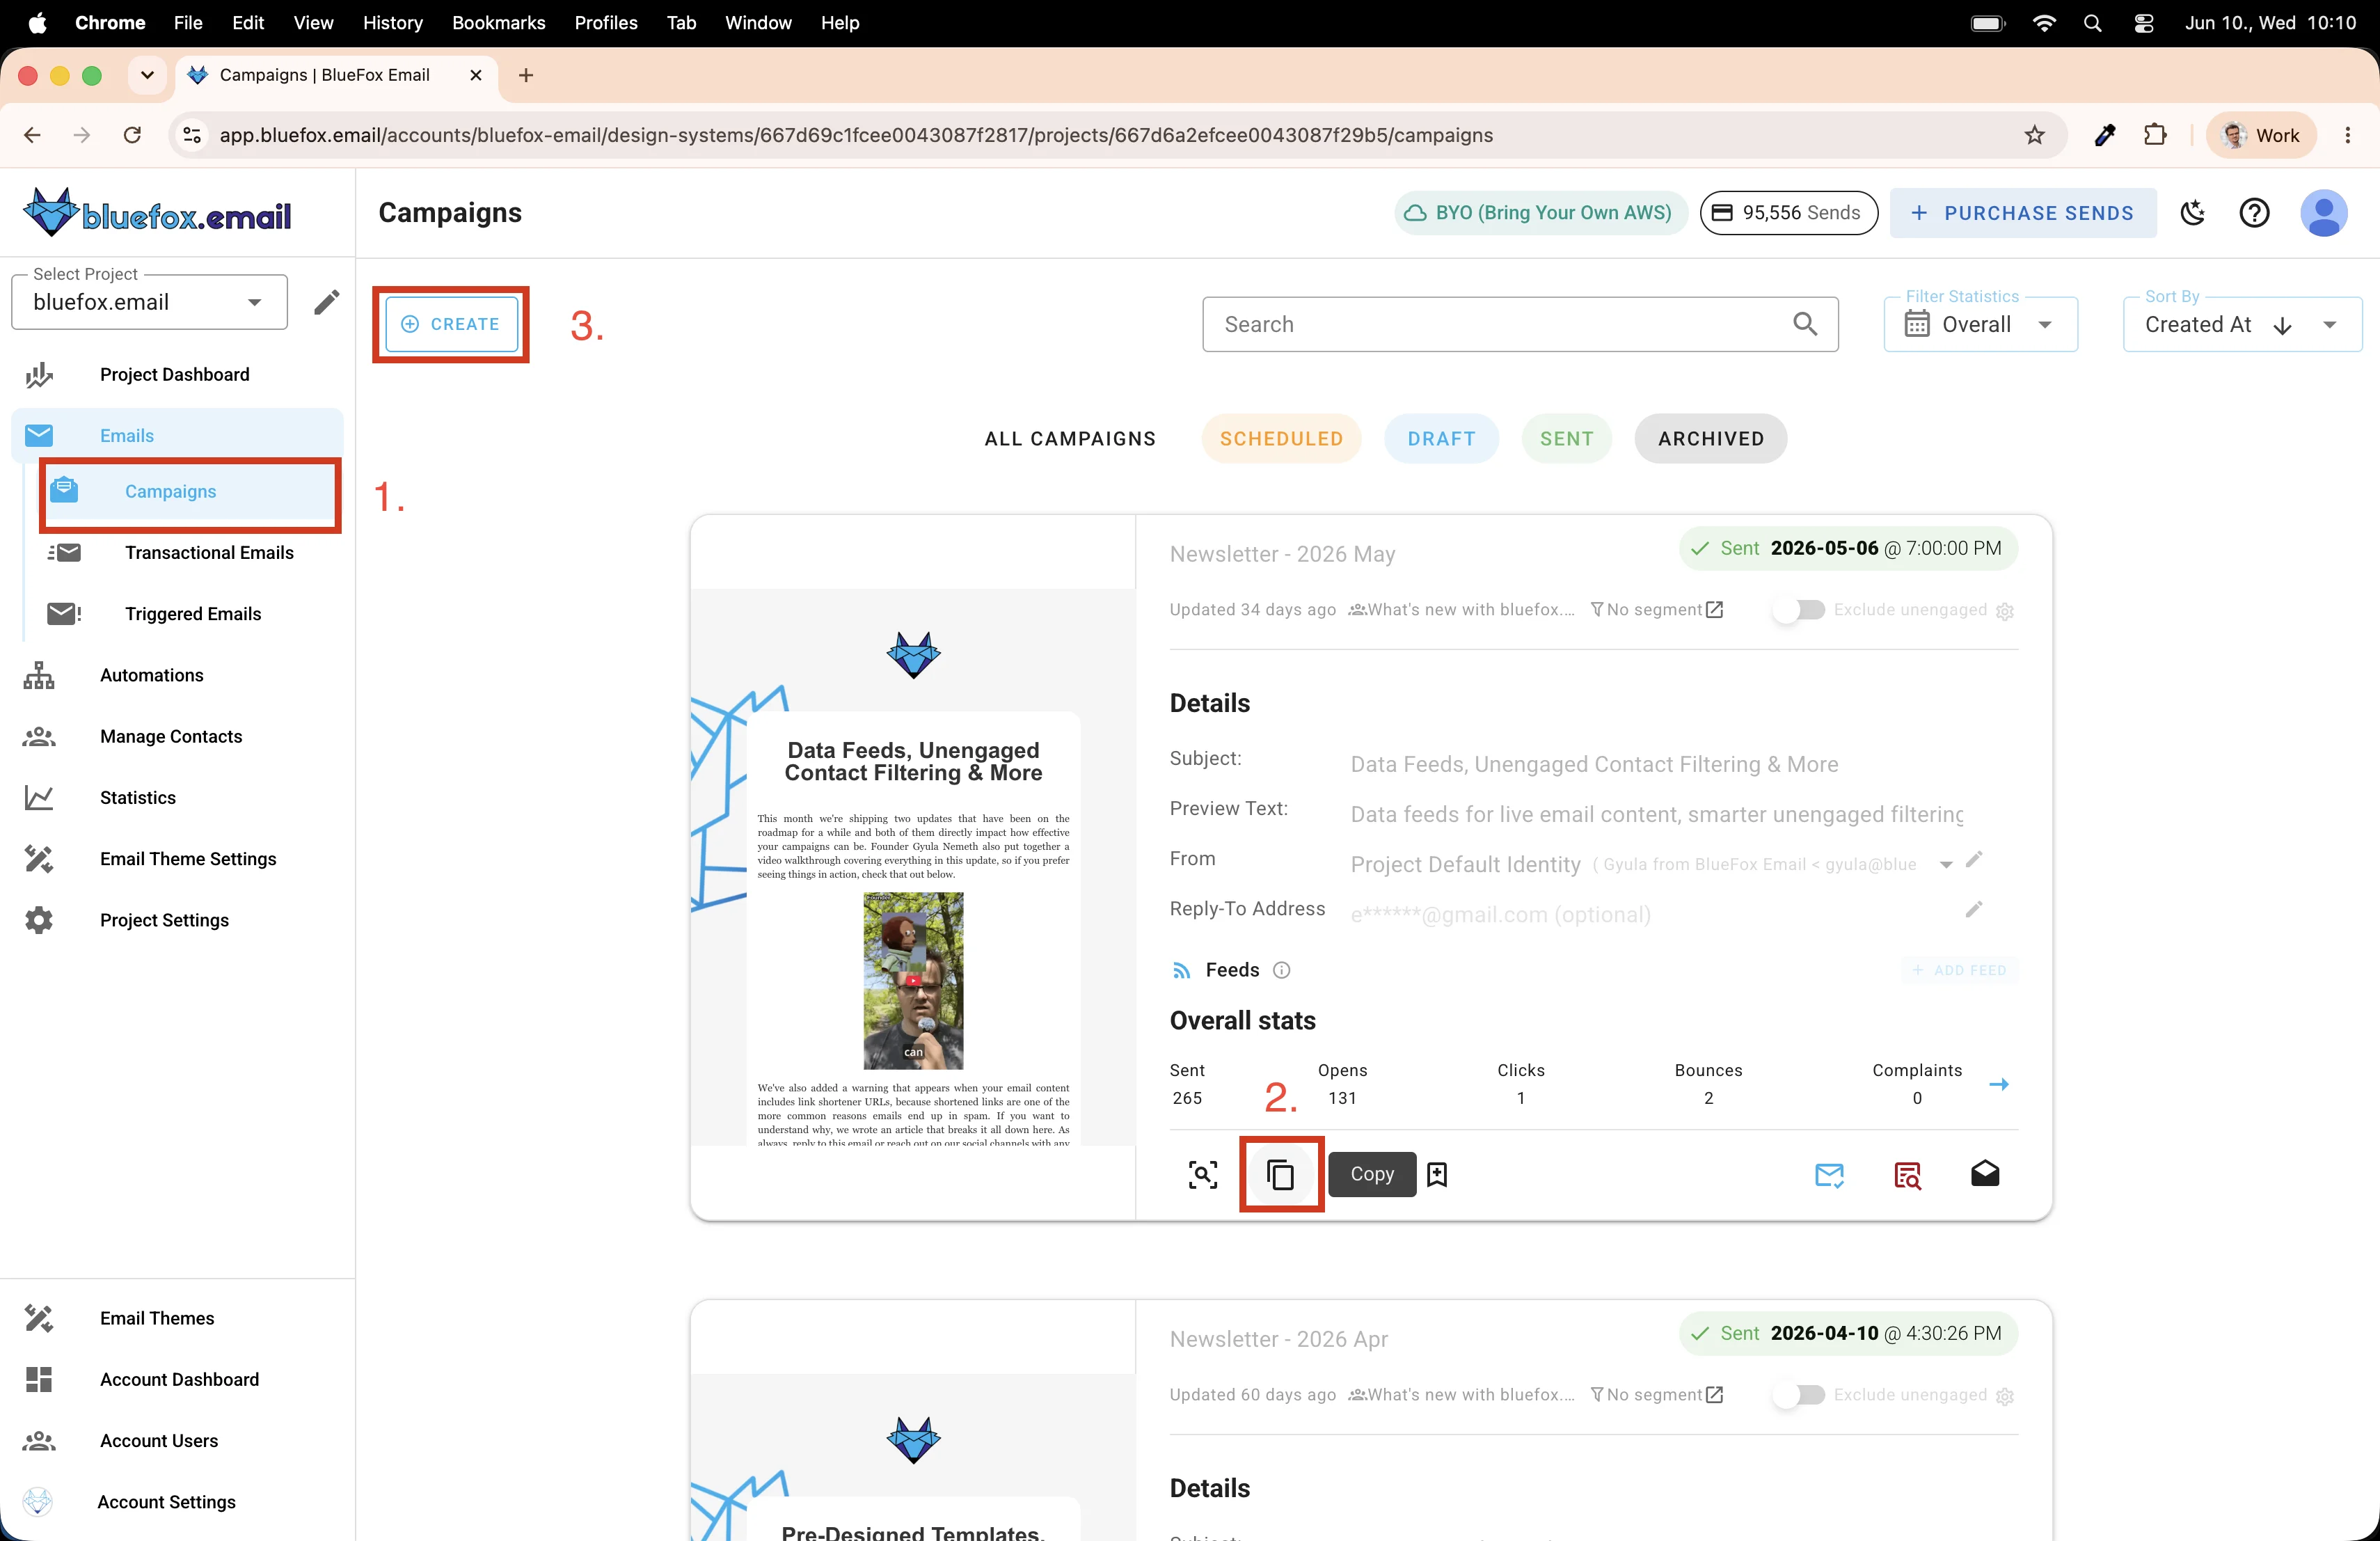
Let's get started. I'll begin by duplicating an existing campaign to use as the base.
Creating the campaign
Copy an existing campaign...
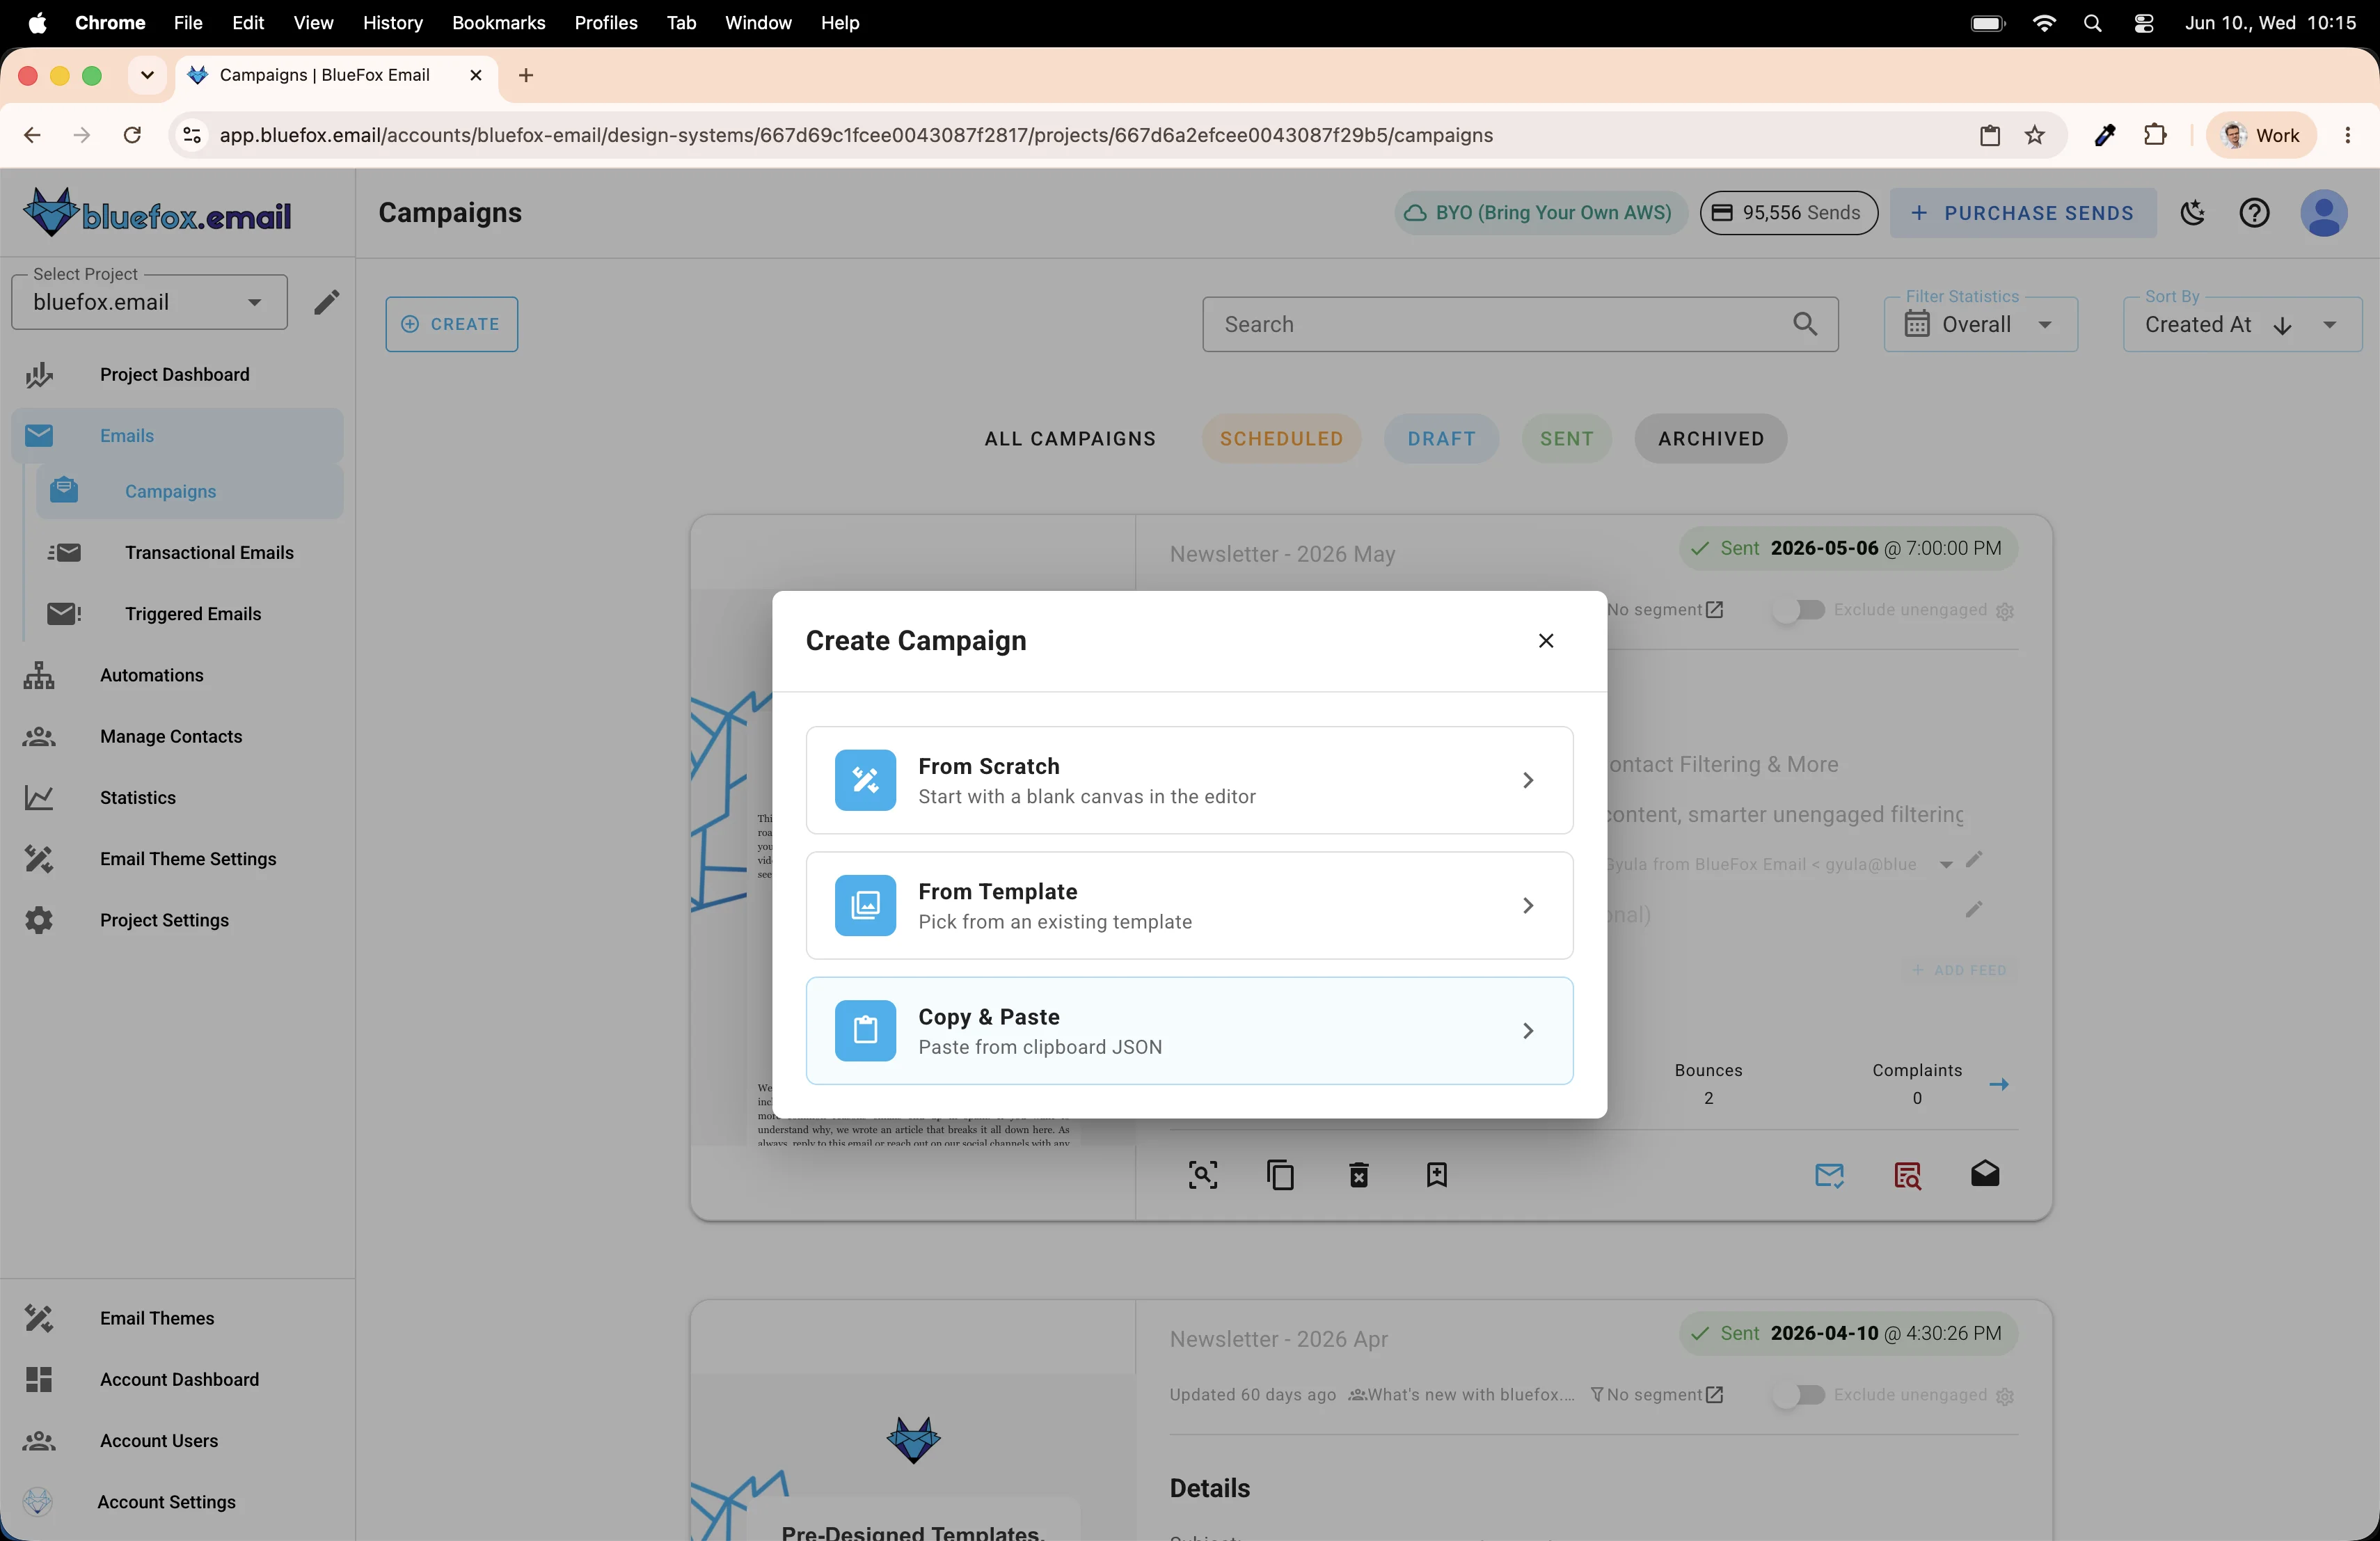
...and paste it.
Give it a name, pick your subscriber list, and fill in the subject line. Don't overthink it, you can change all of this later.
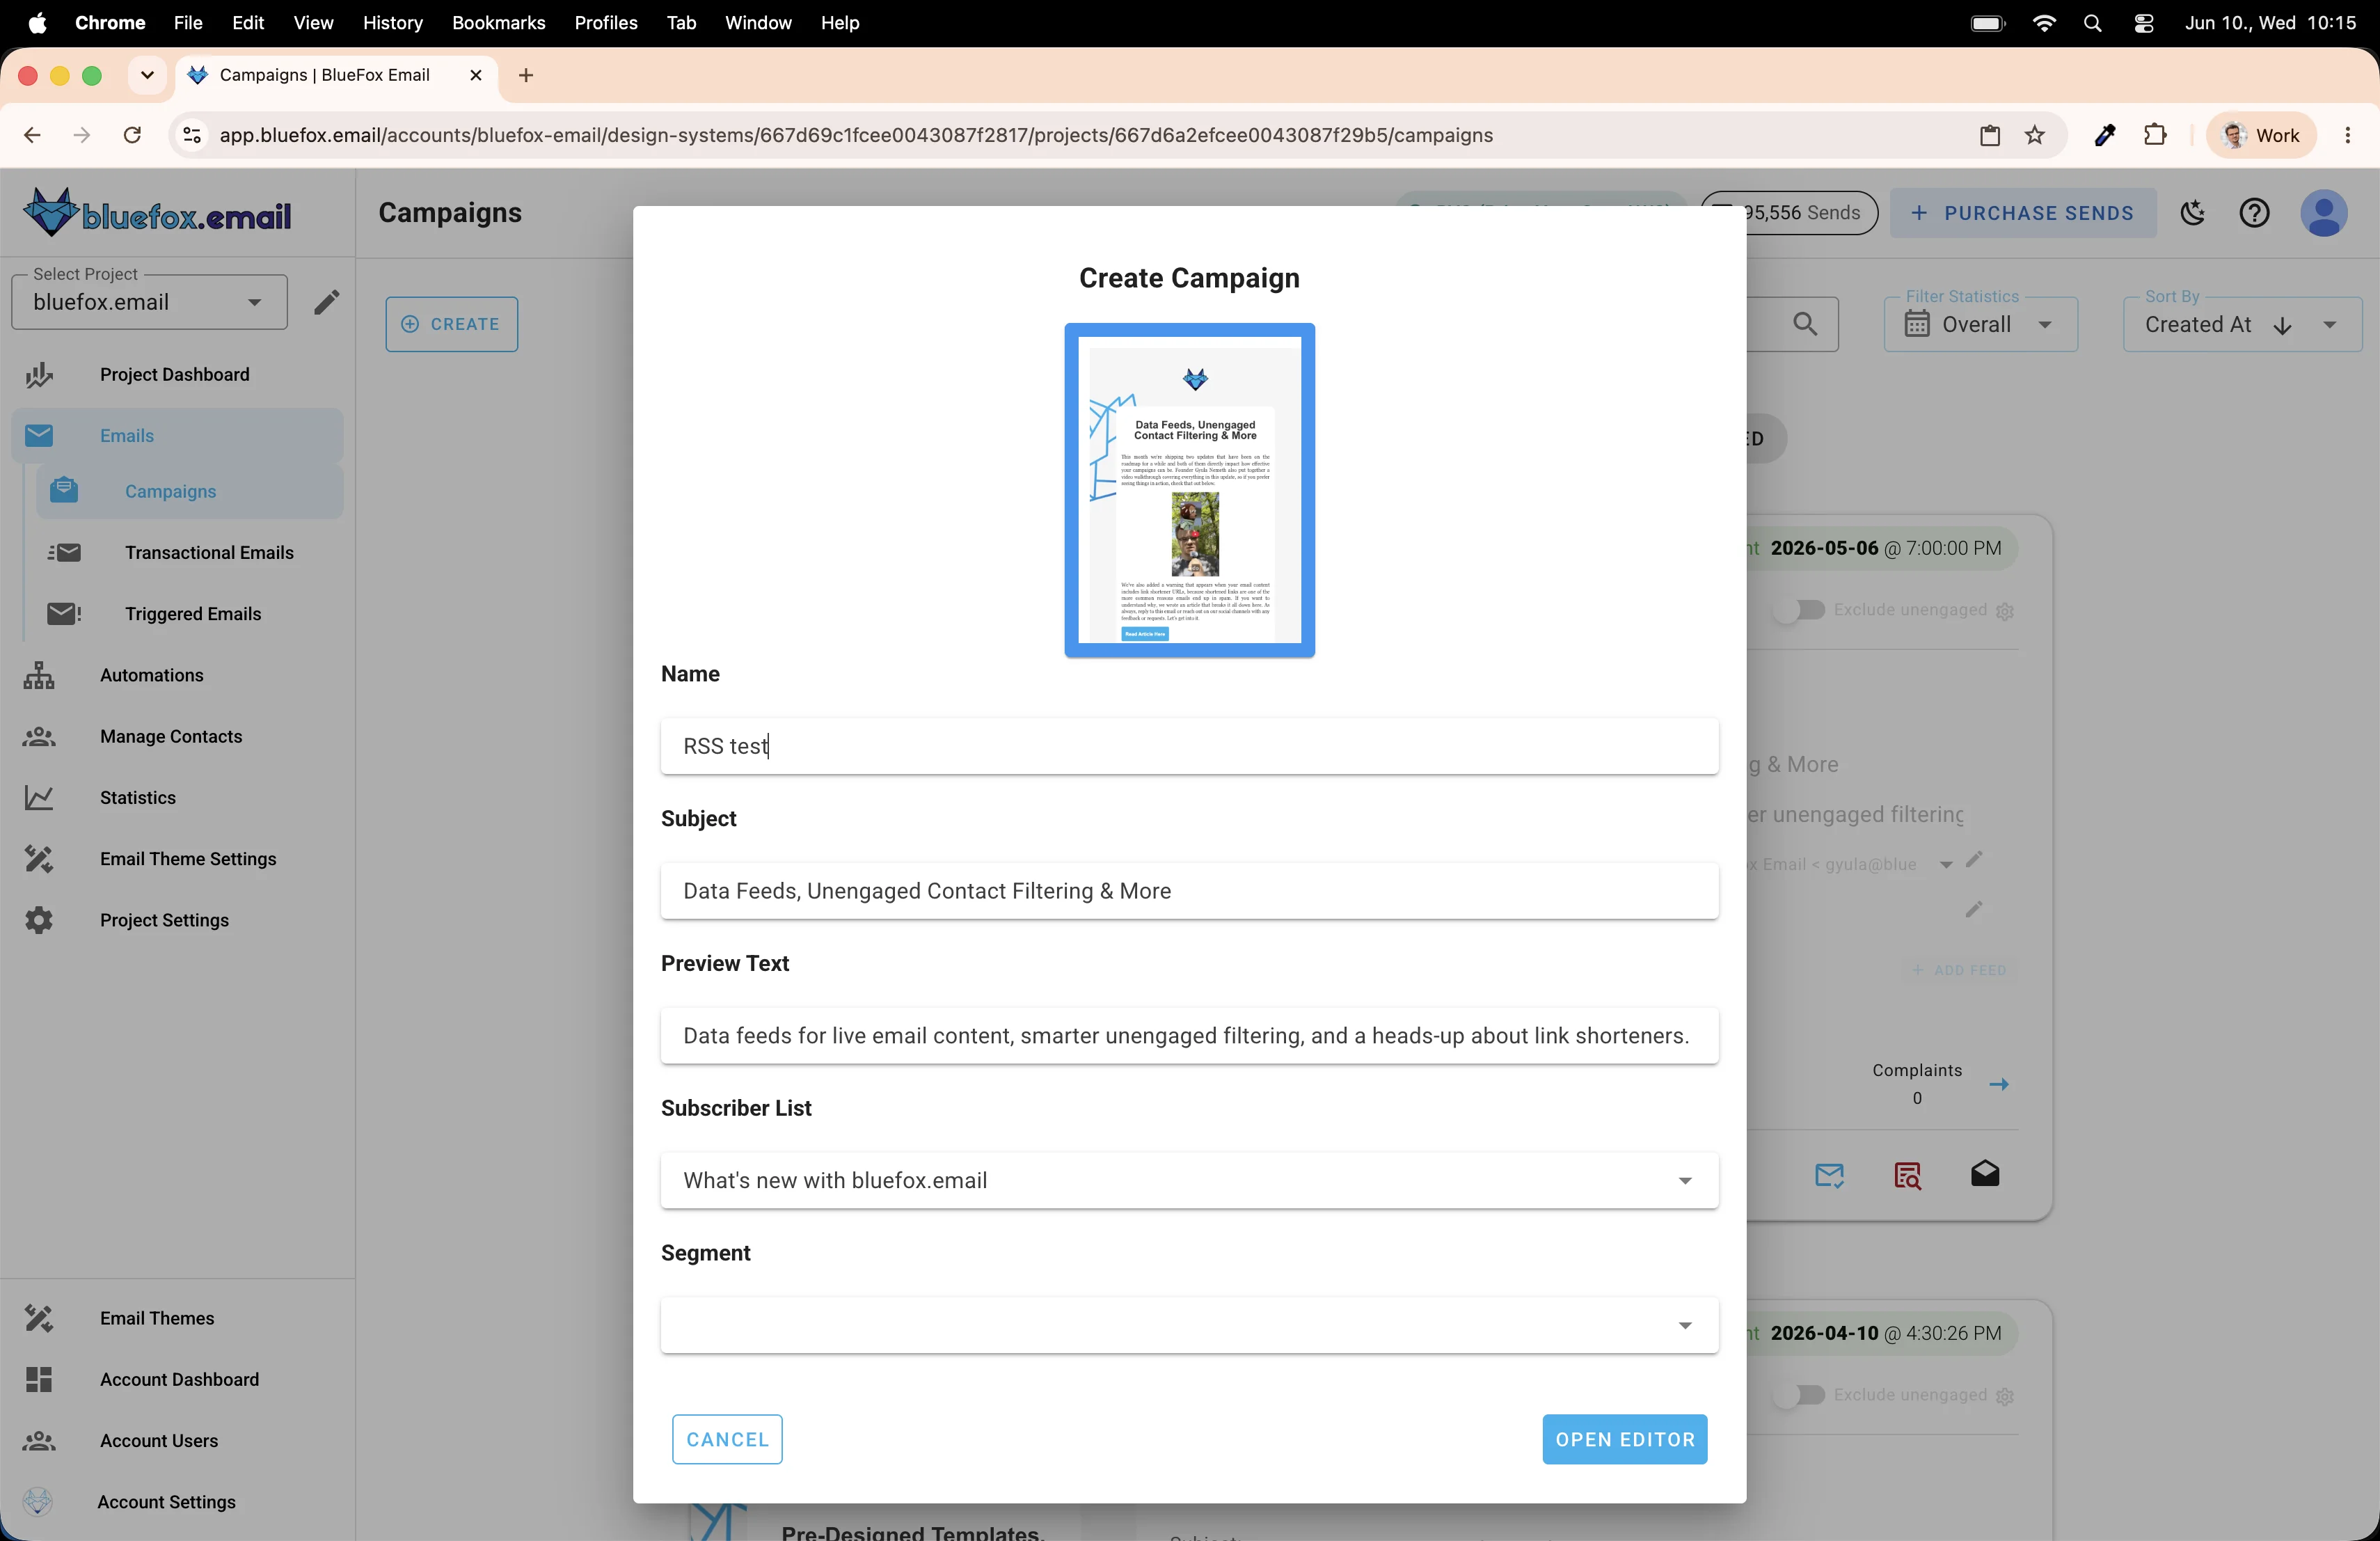
Your new campaign is ready.
Connecting the RSS feed
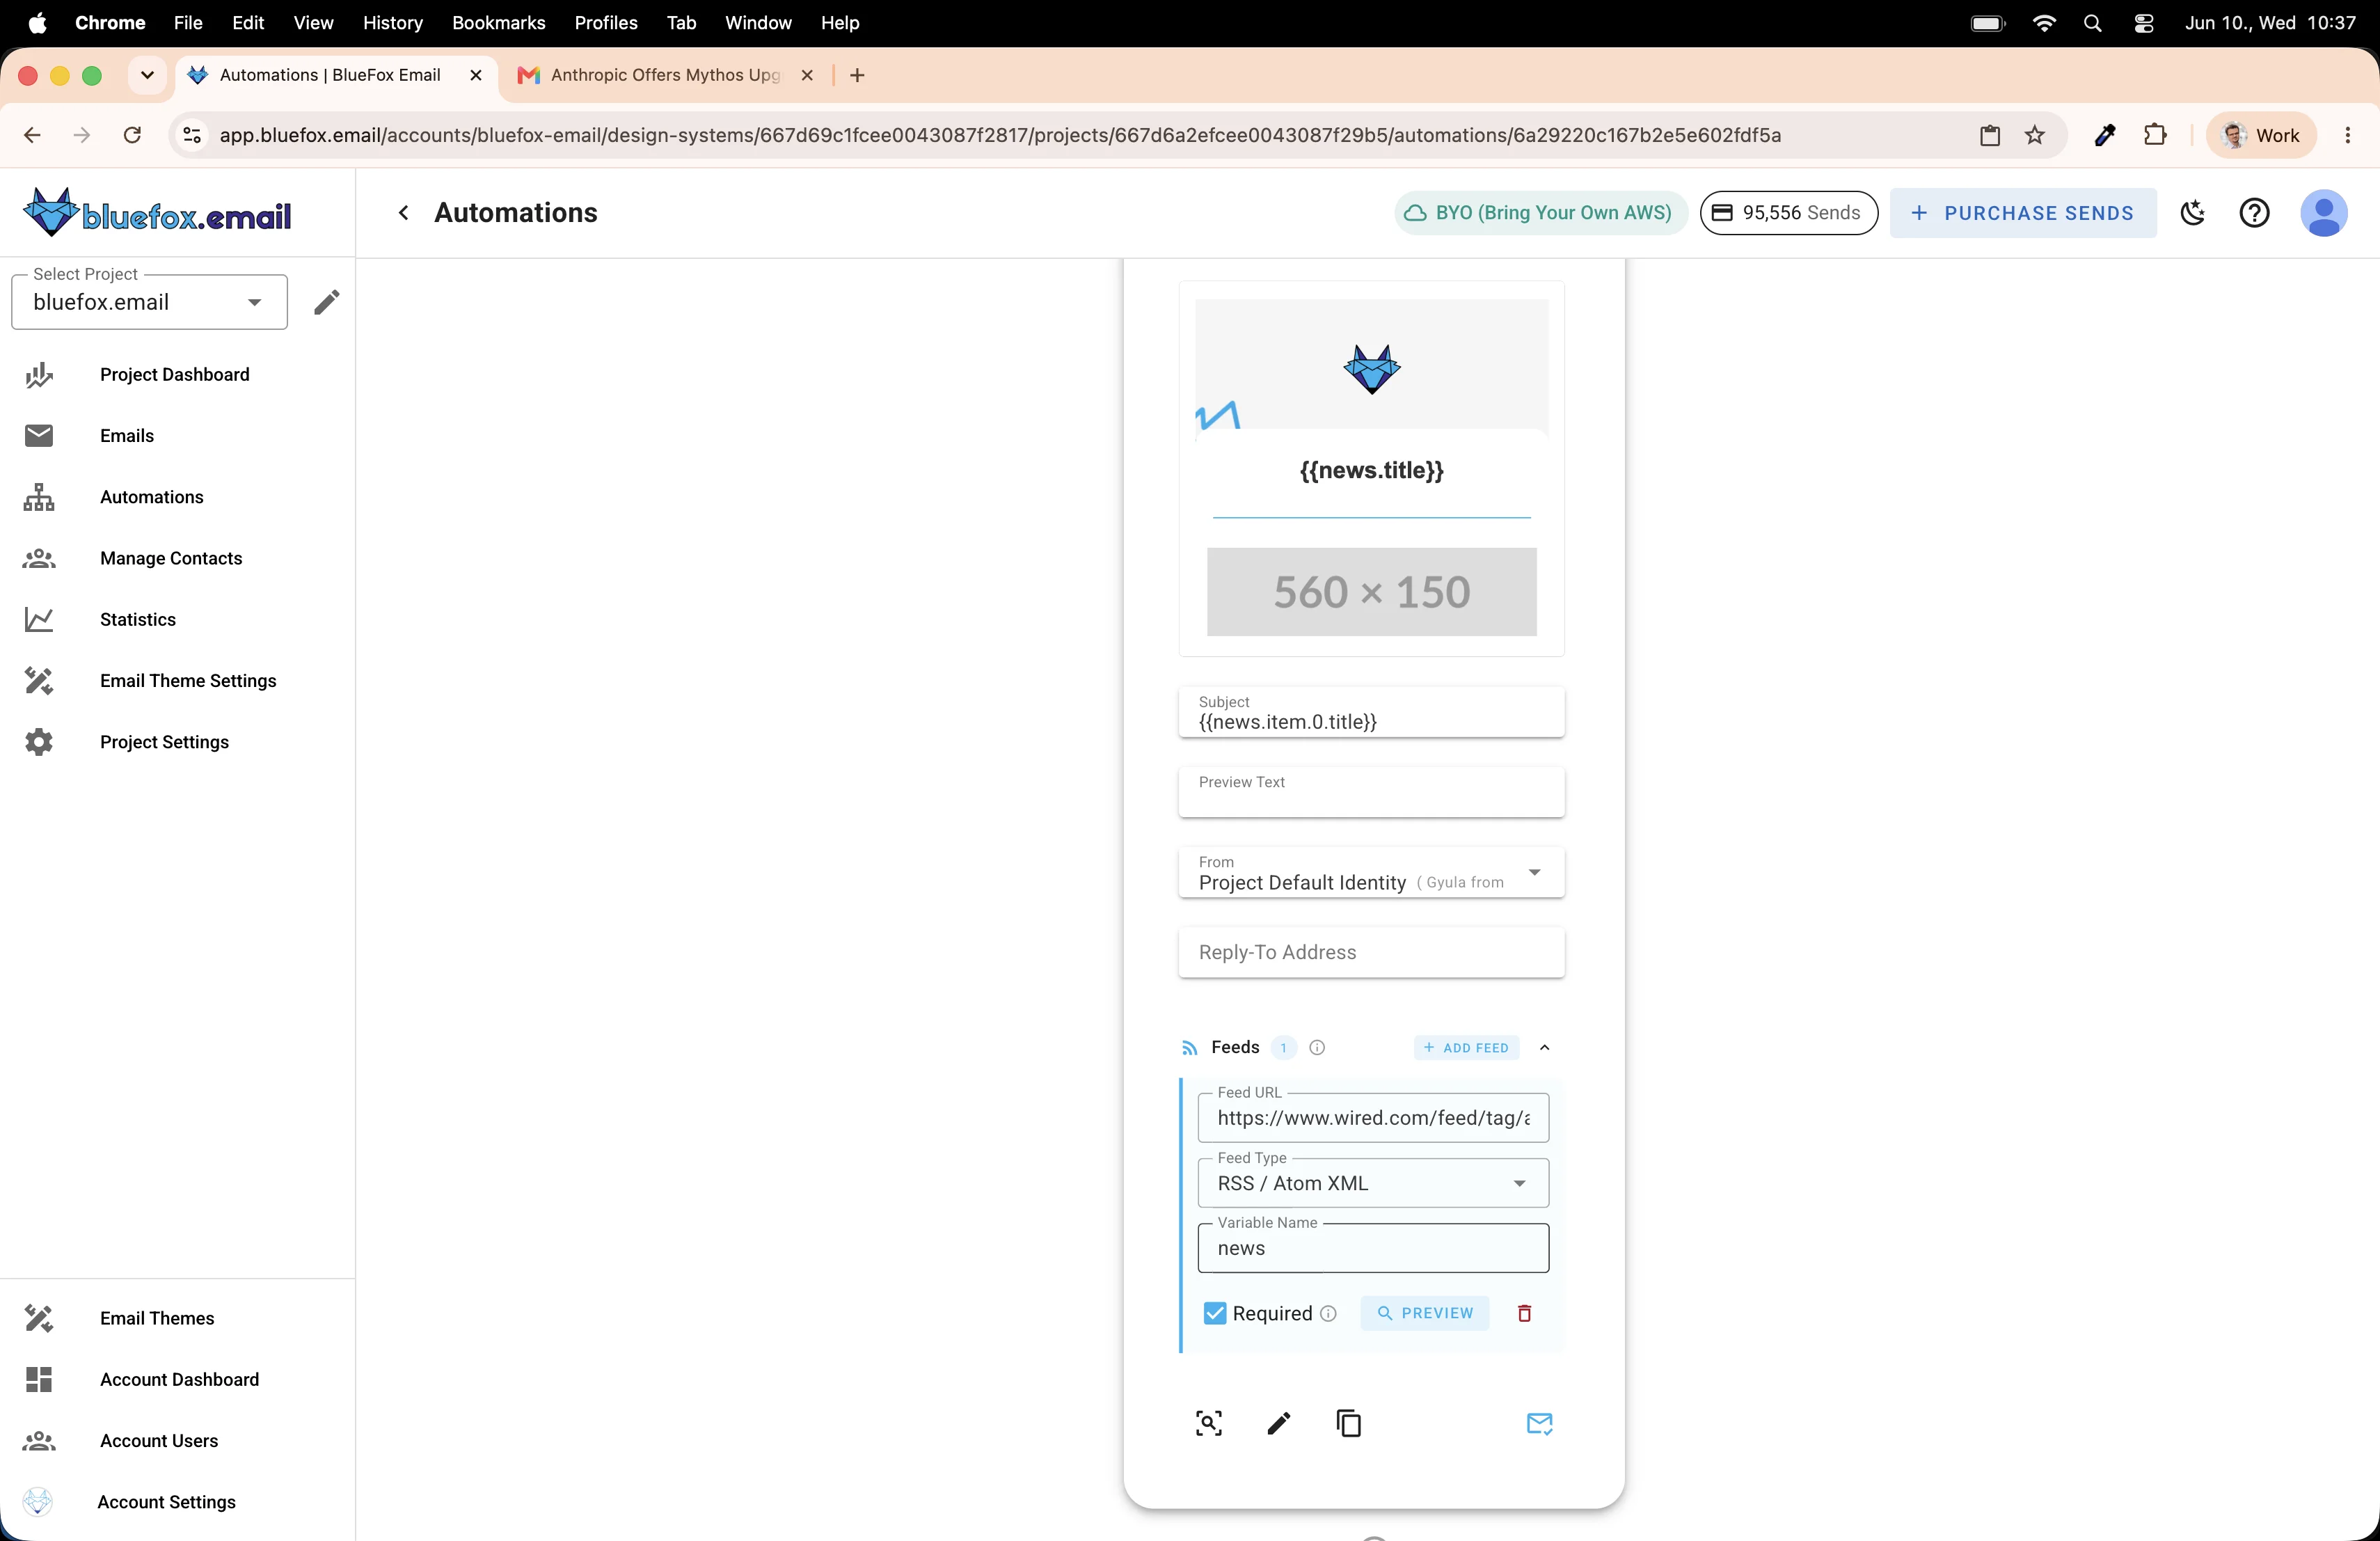
Before we touch the editor, we need to wire up the data. Find the Feeds section on the campaign card and click Add Feed.
You can read more about data feeds in our docs.

A form slides open.
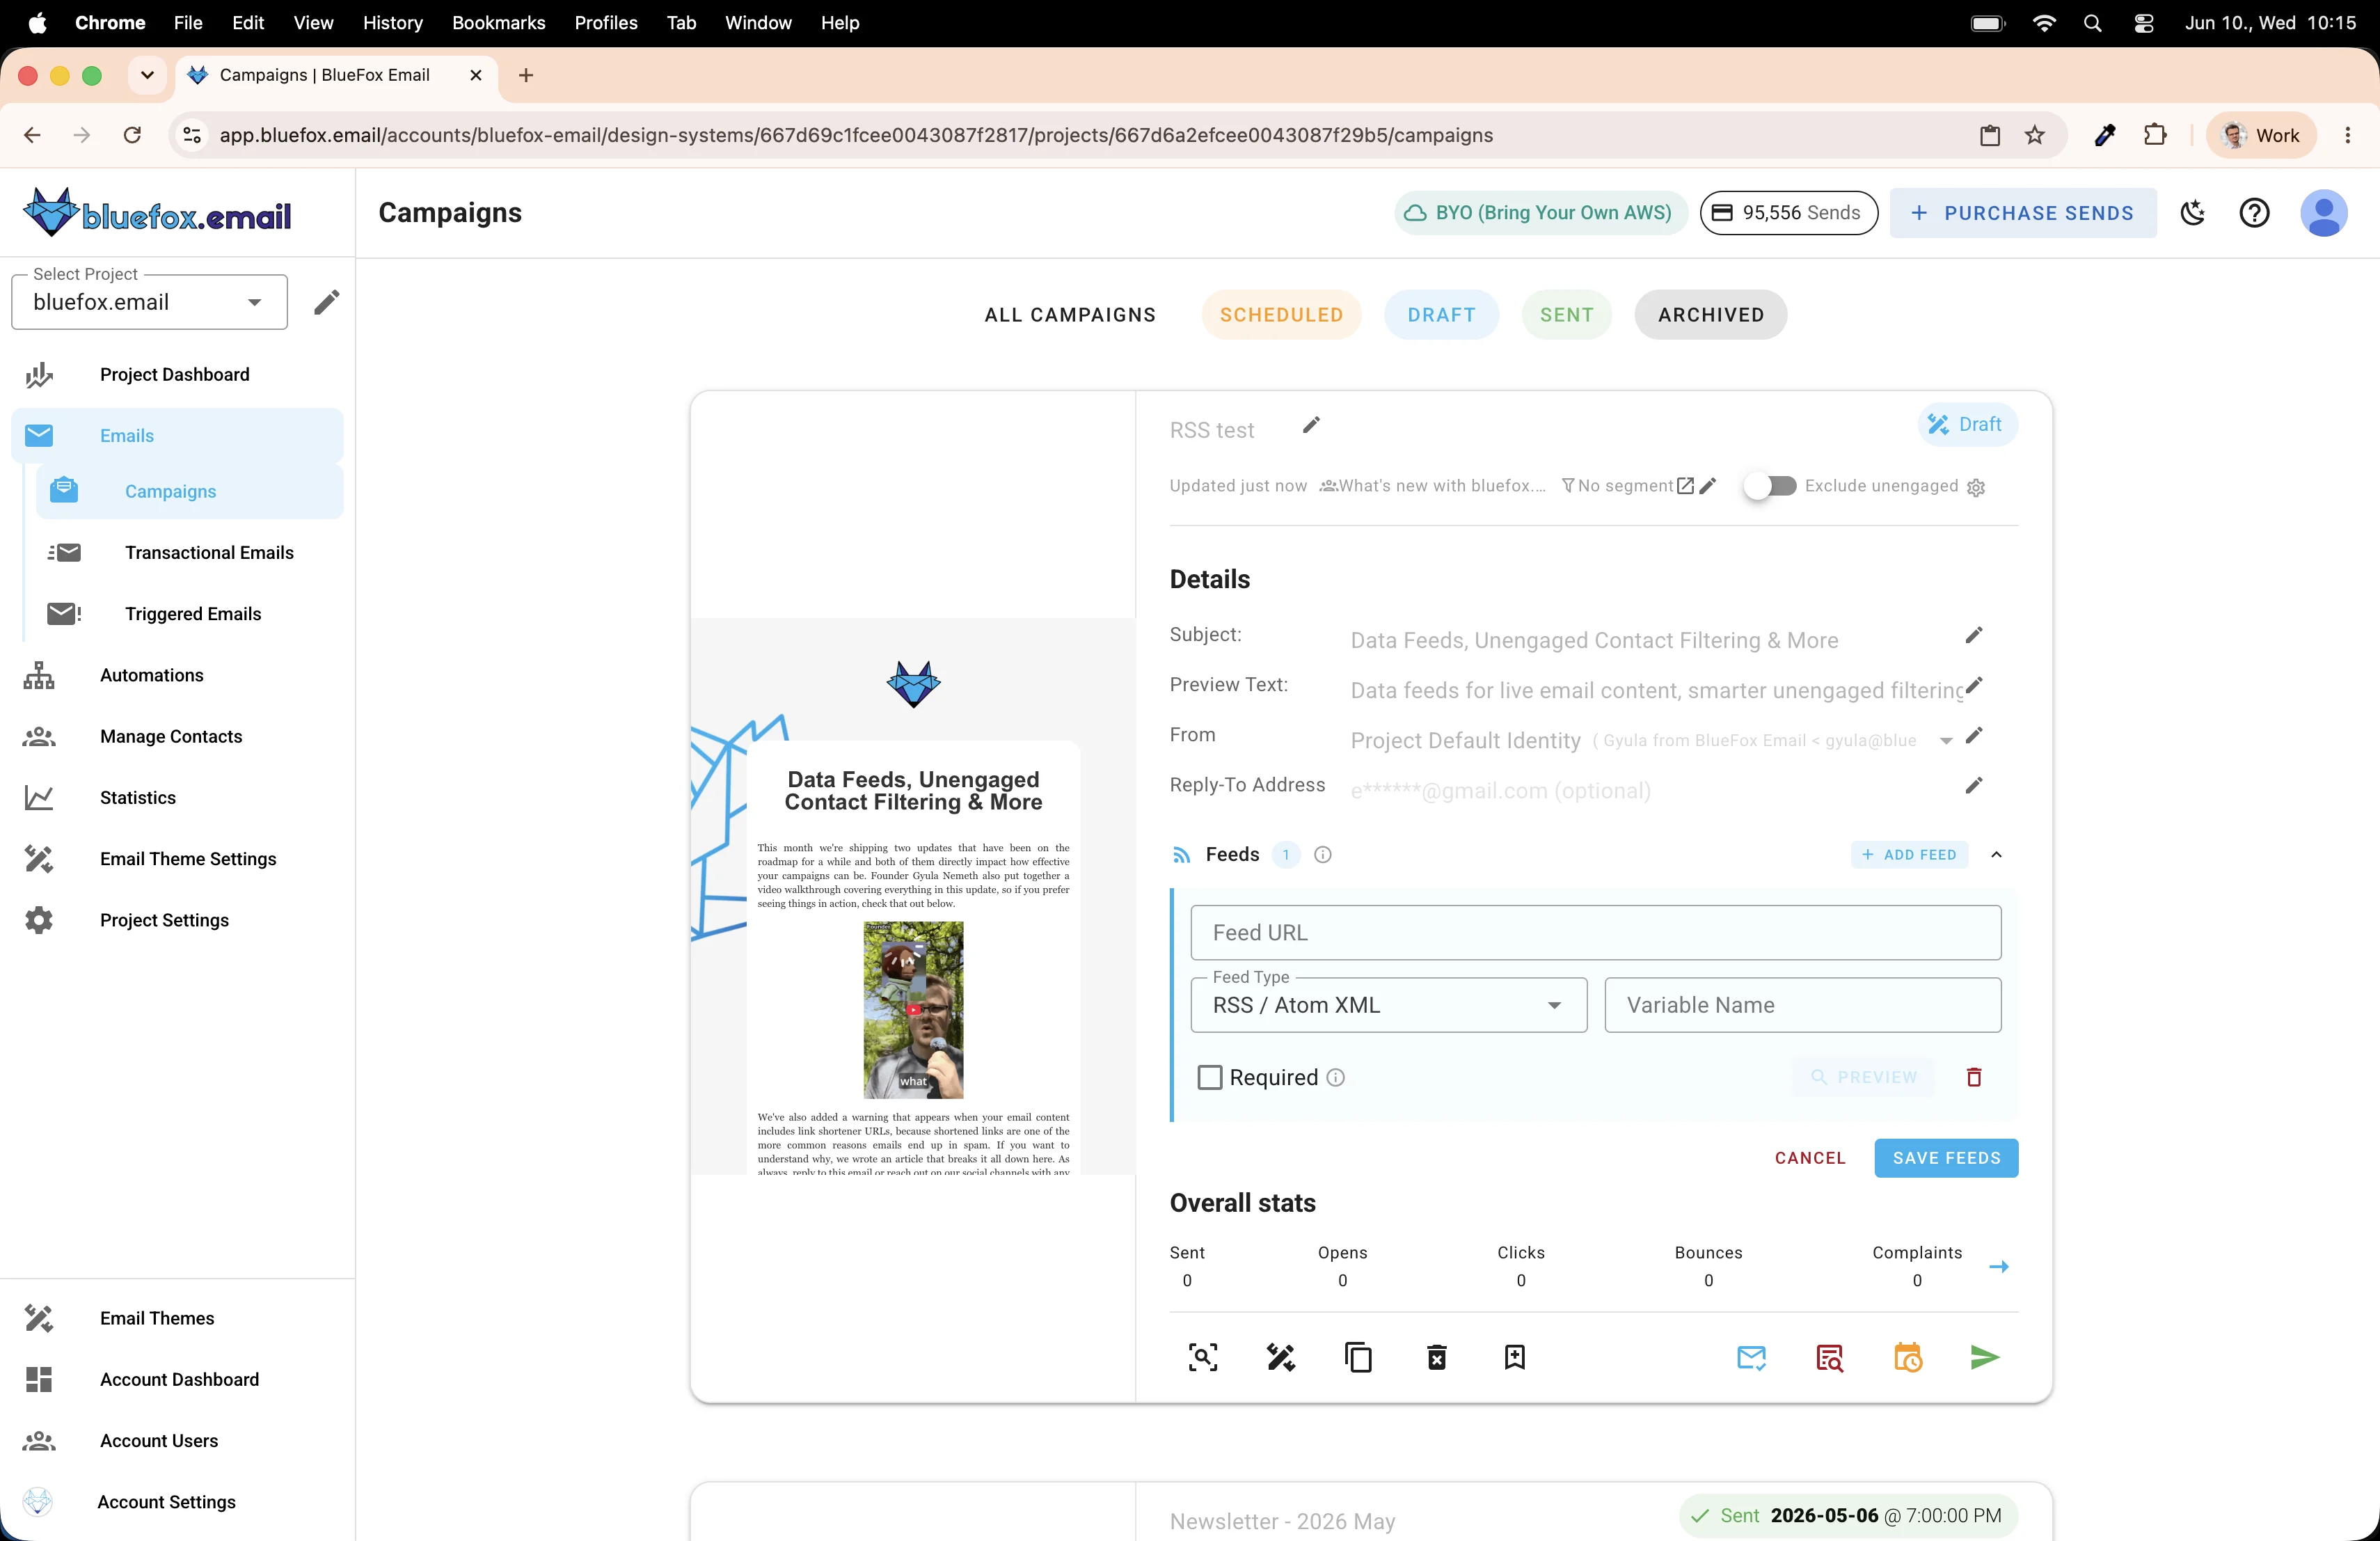
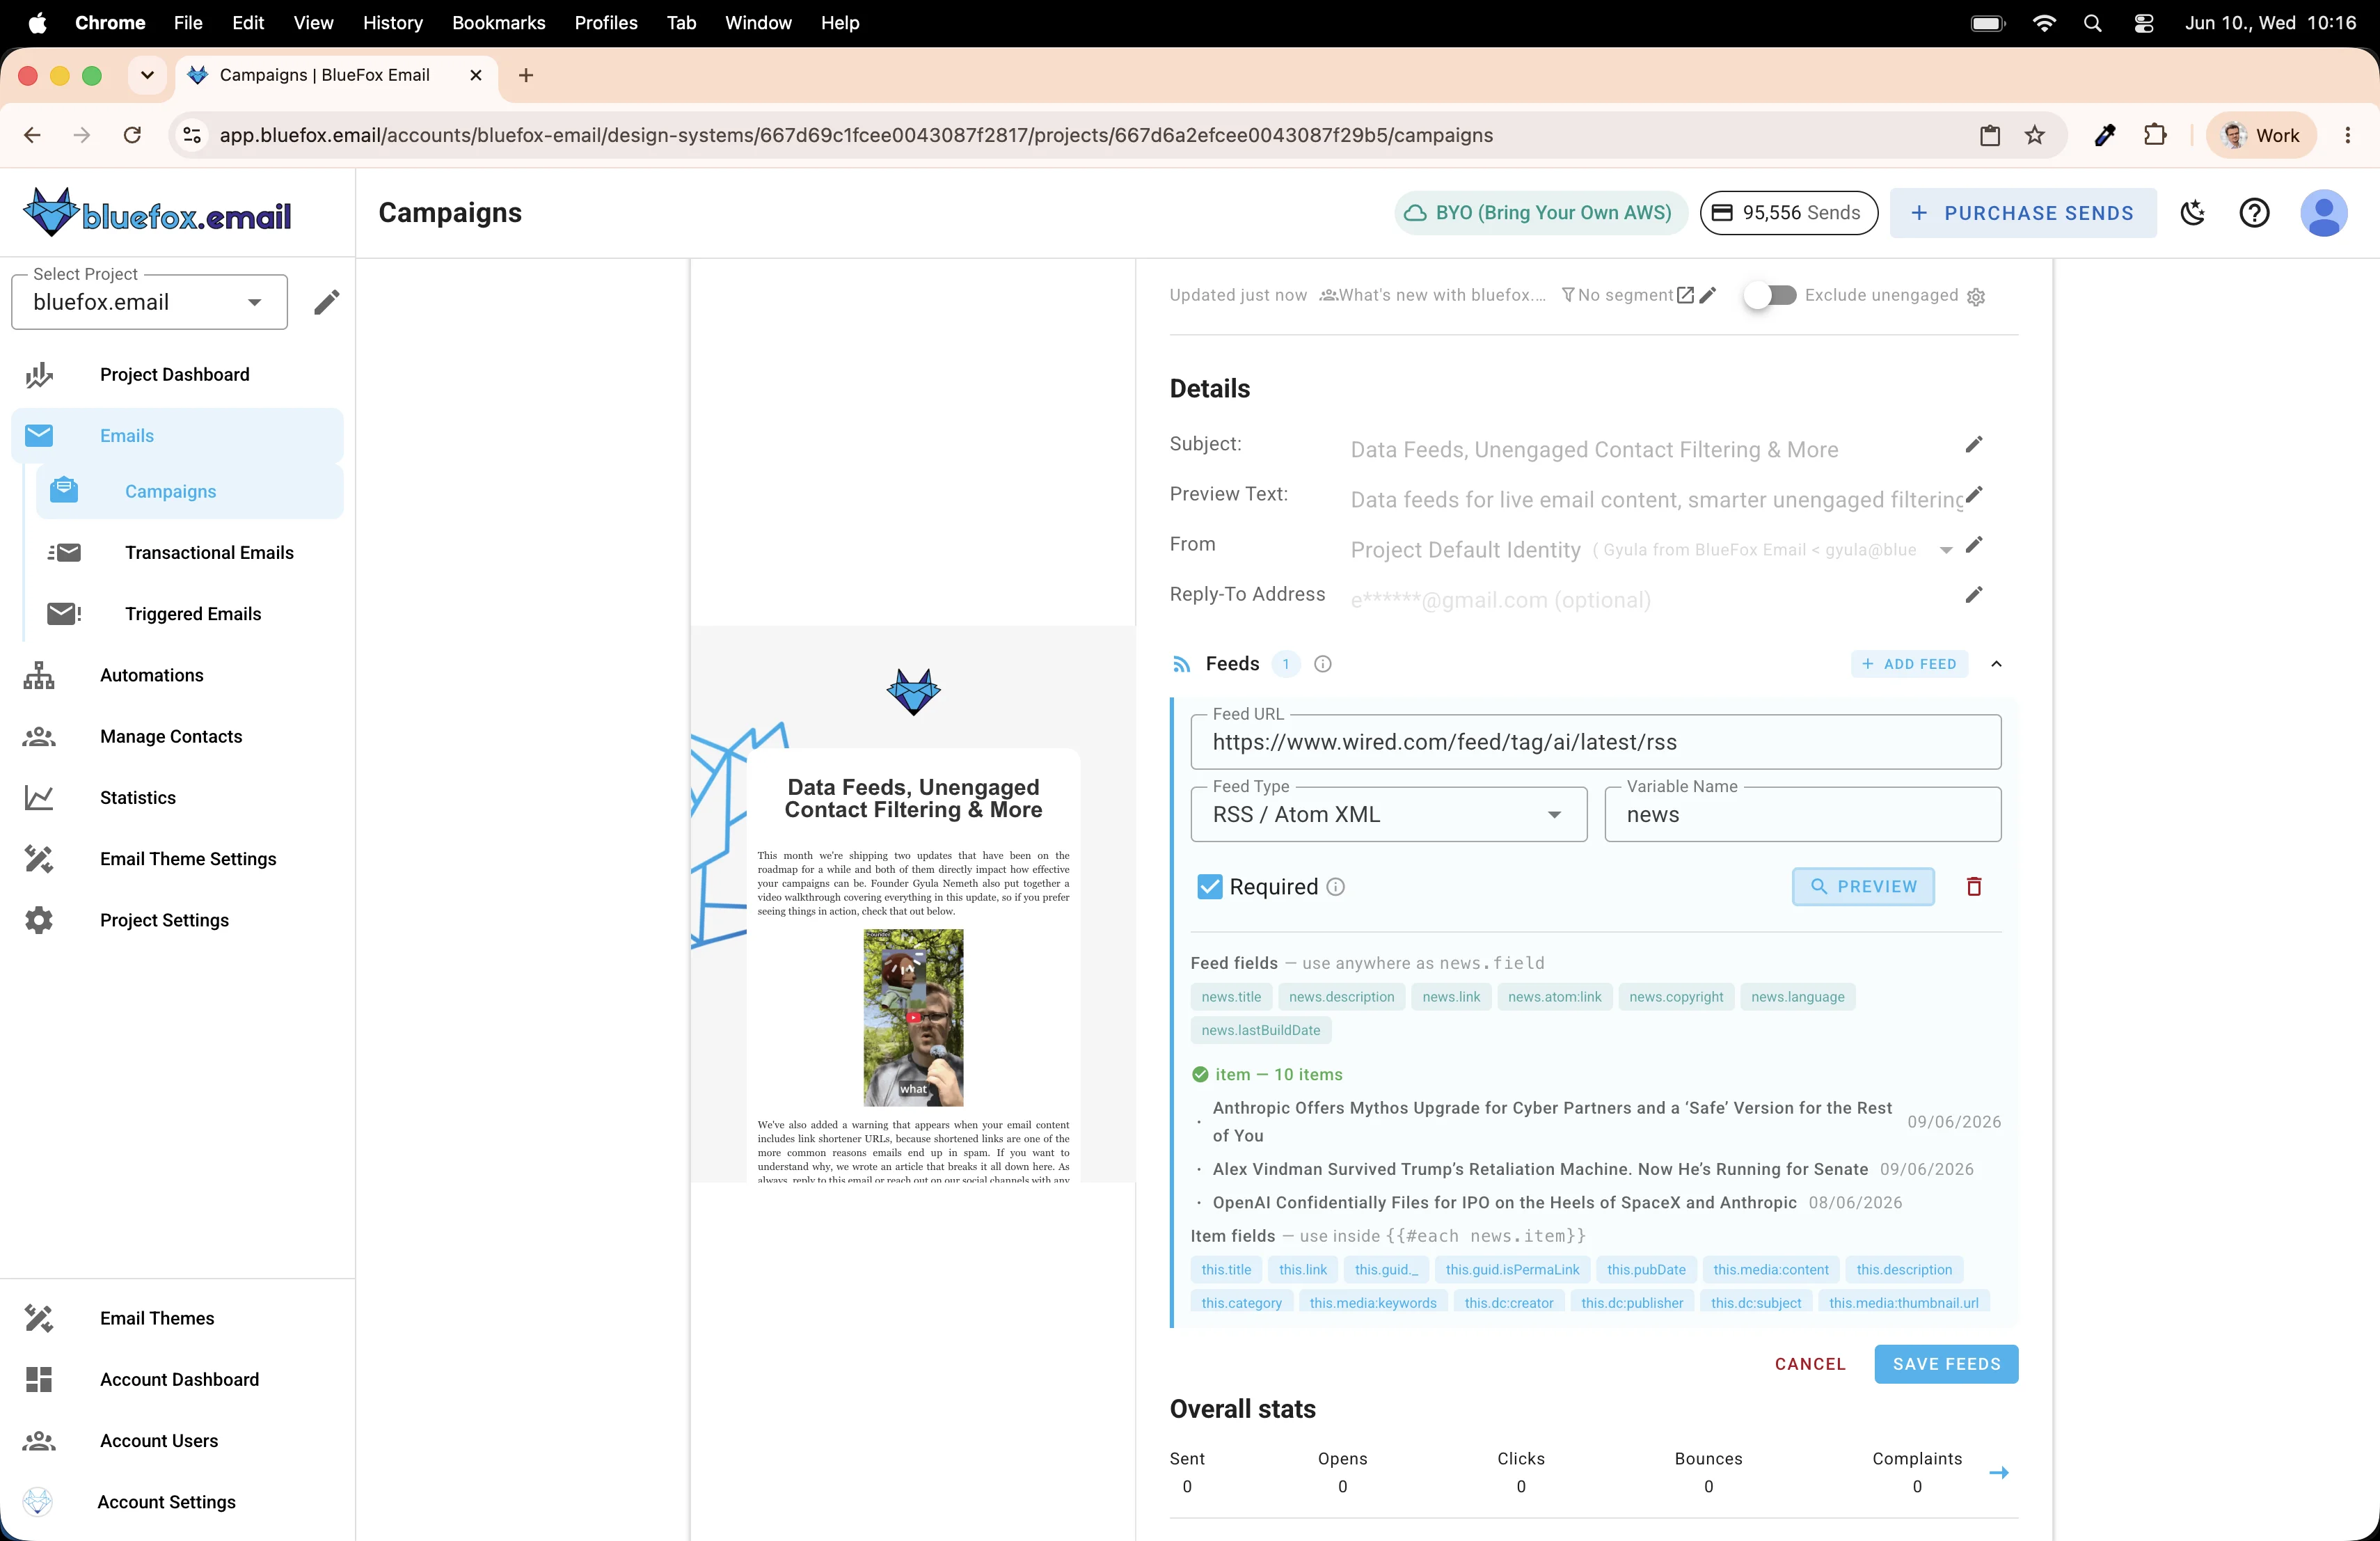
Paste in the RSS feed URL, set the type to RSS / Atom XML, and give it a variable name, for example news. That's the name you'll reference inside the email template.

Click Preview to confirm the feed is reachable and to see what fields are available on each item. You'll see things like this.title, this.description, this.link, and this.enclosure.url for the thumbnail image. Based on the pulled data, proper merge tags will be automatically shown in the editor.
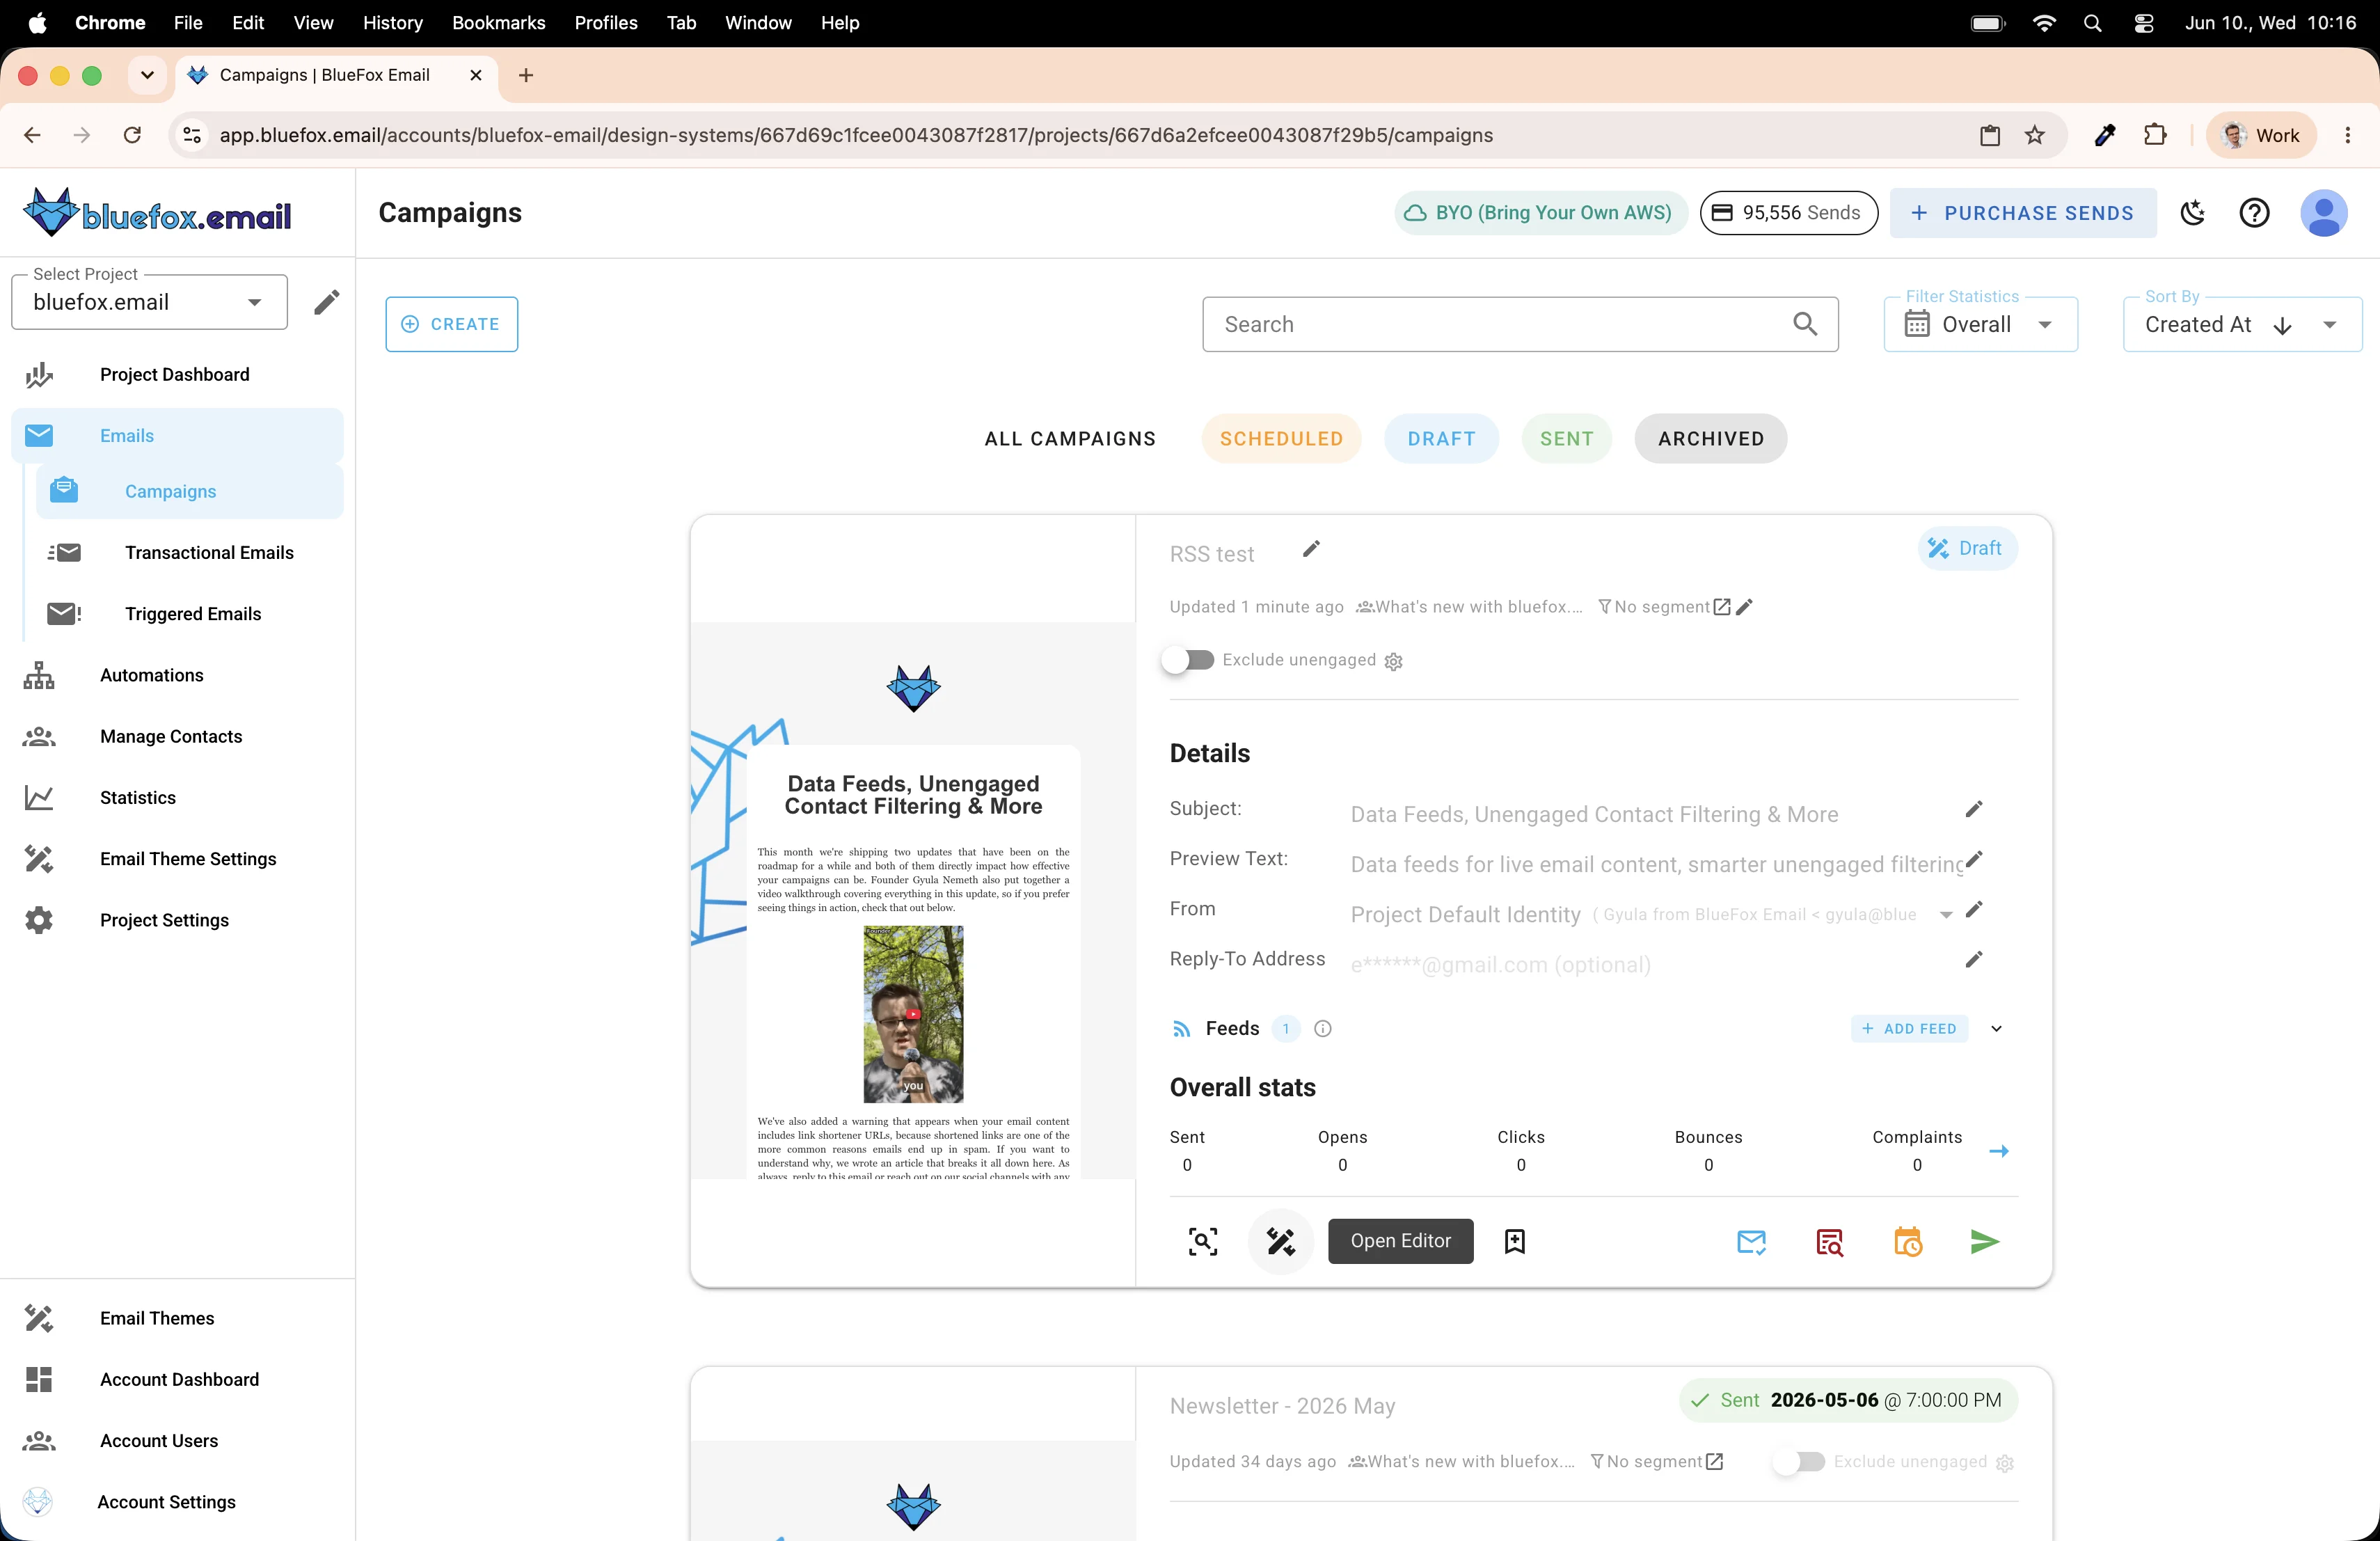
Save the feed, then open the email editor.
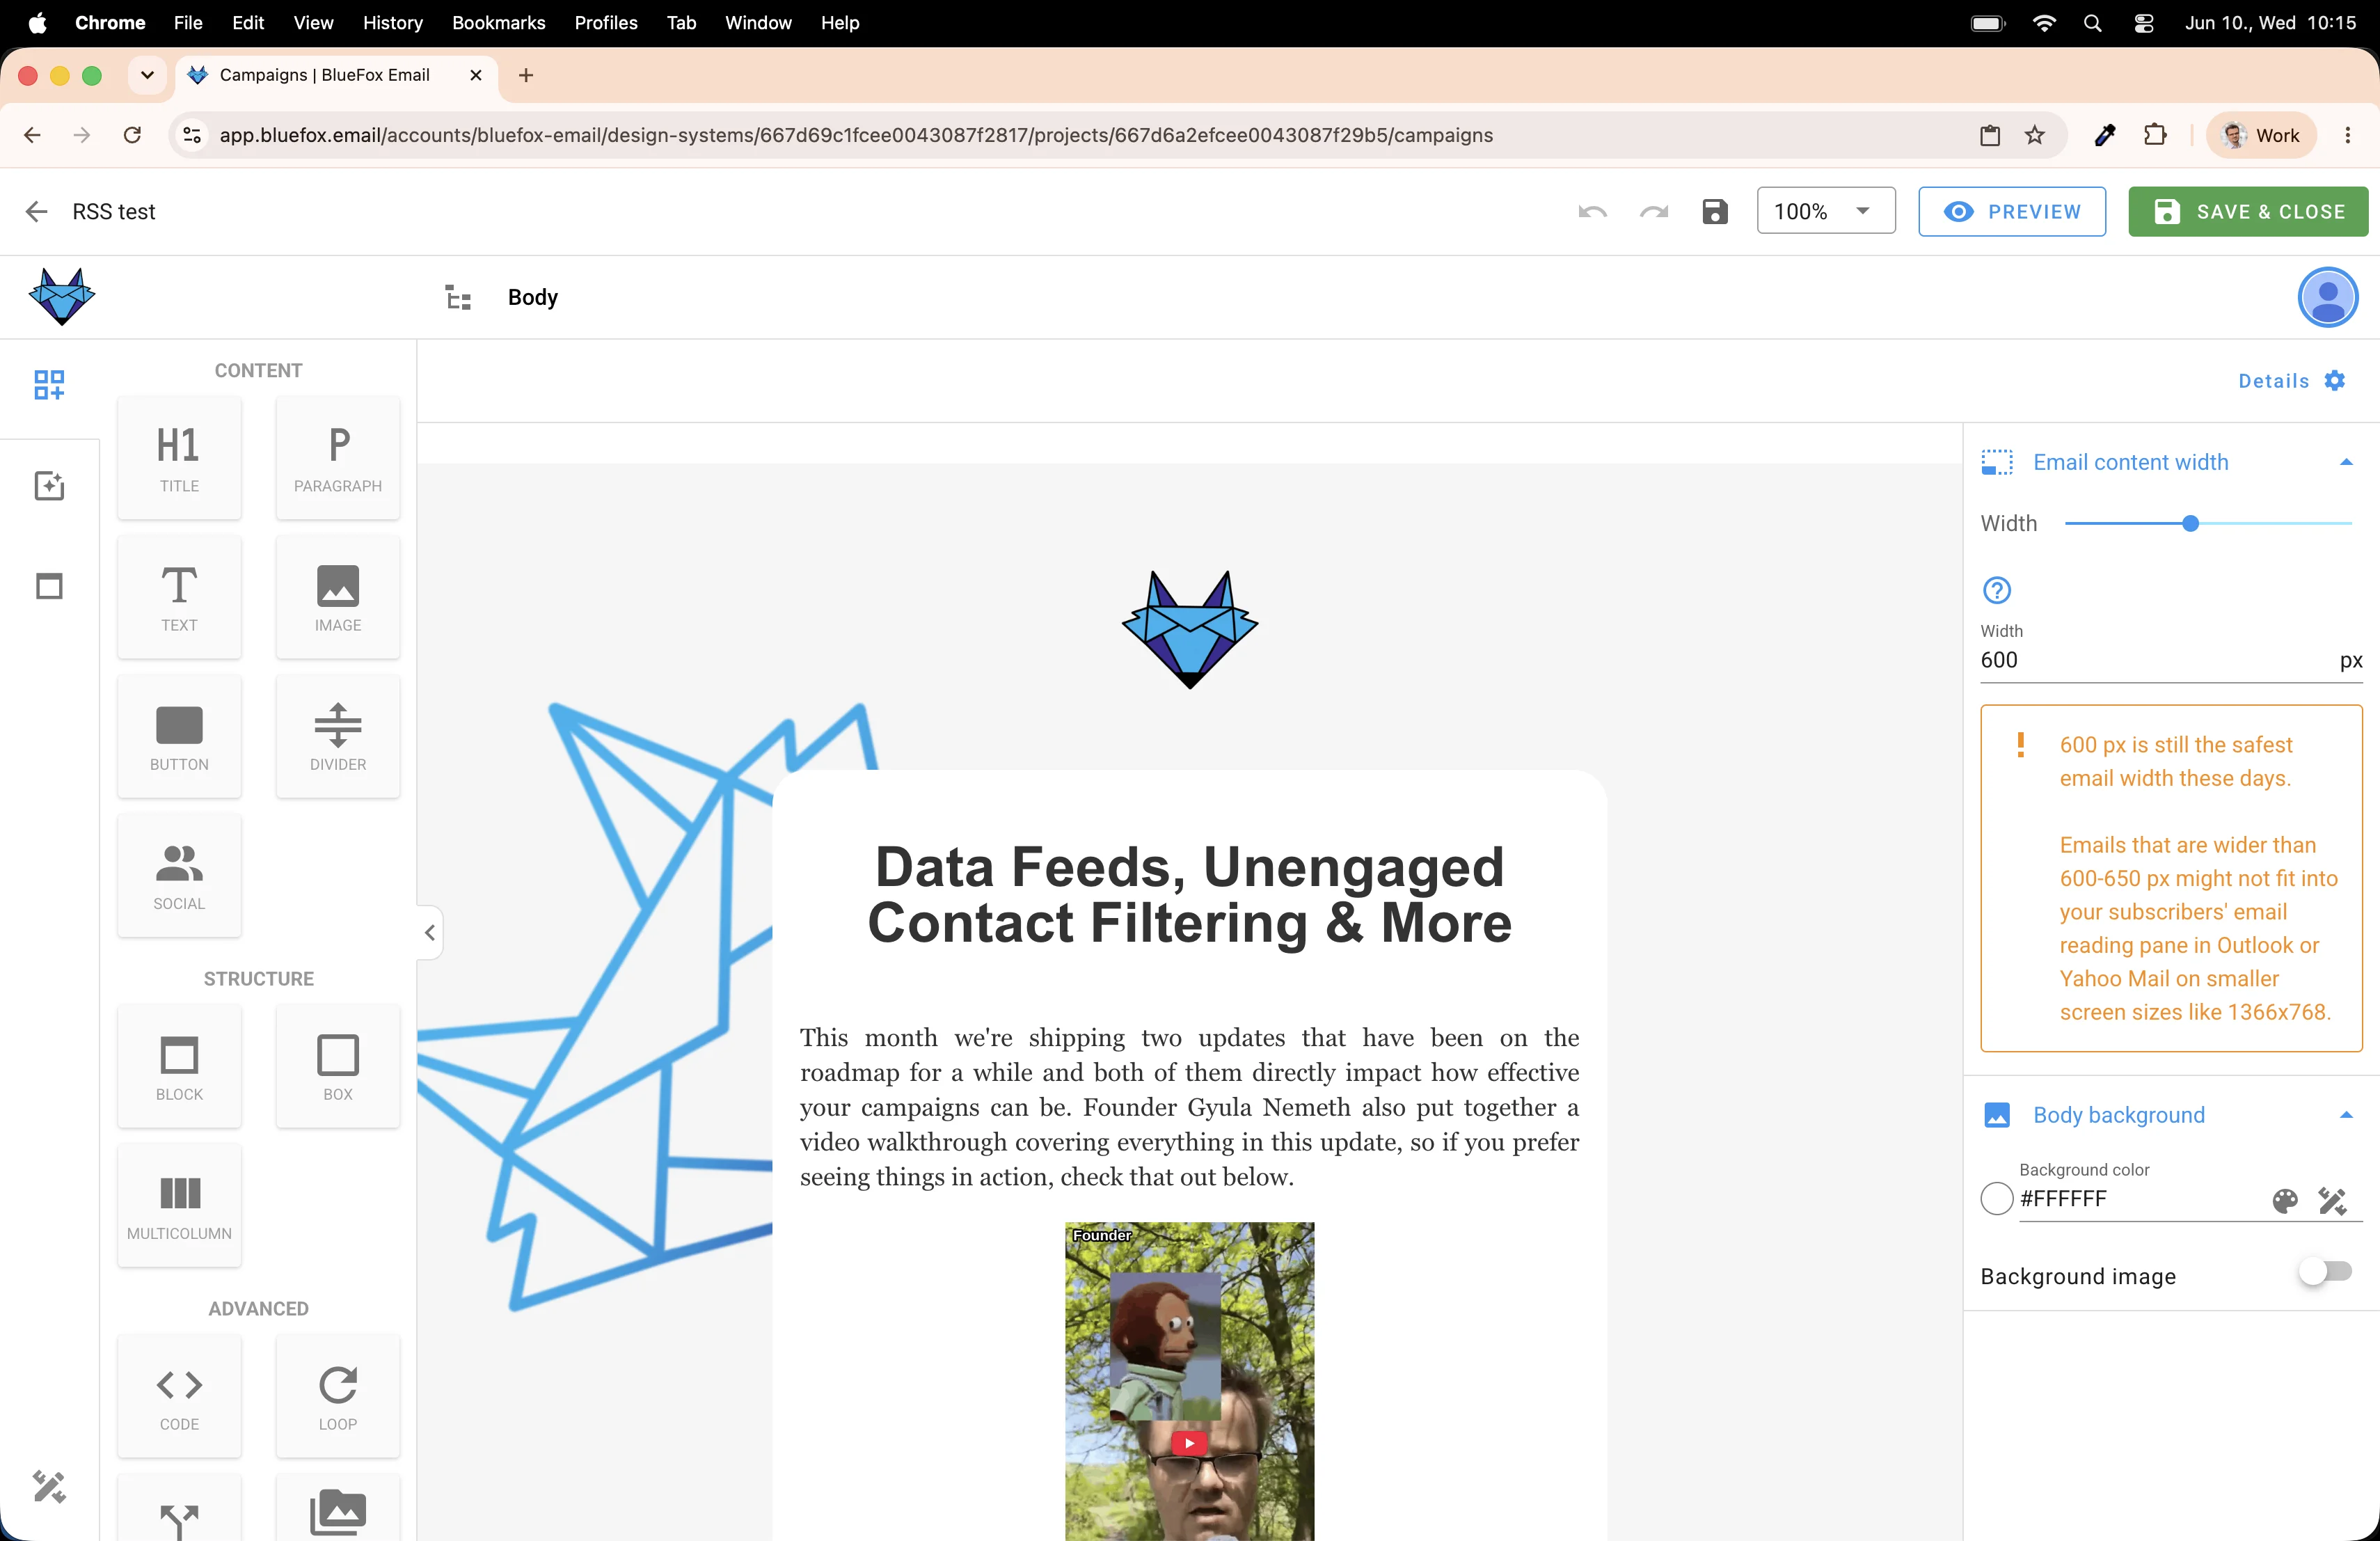
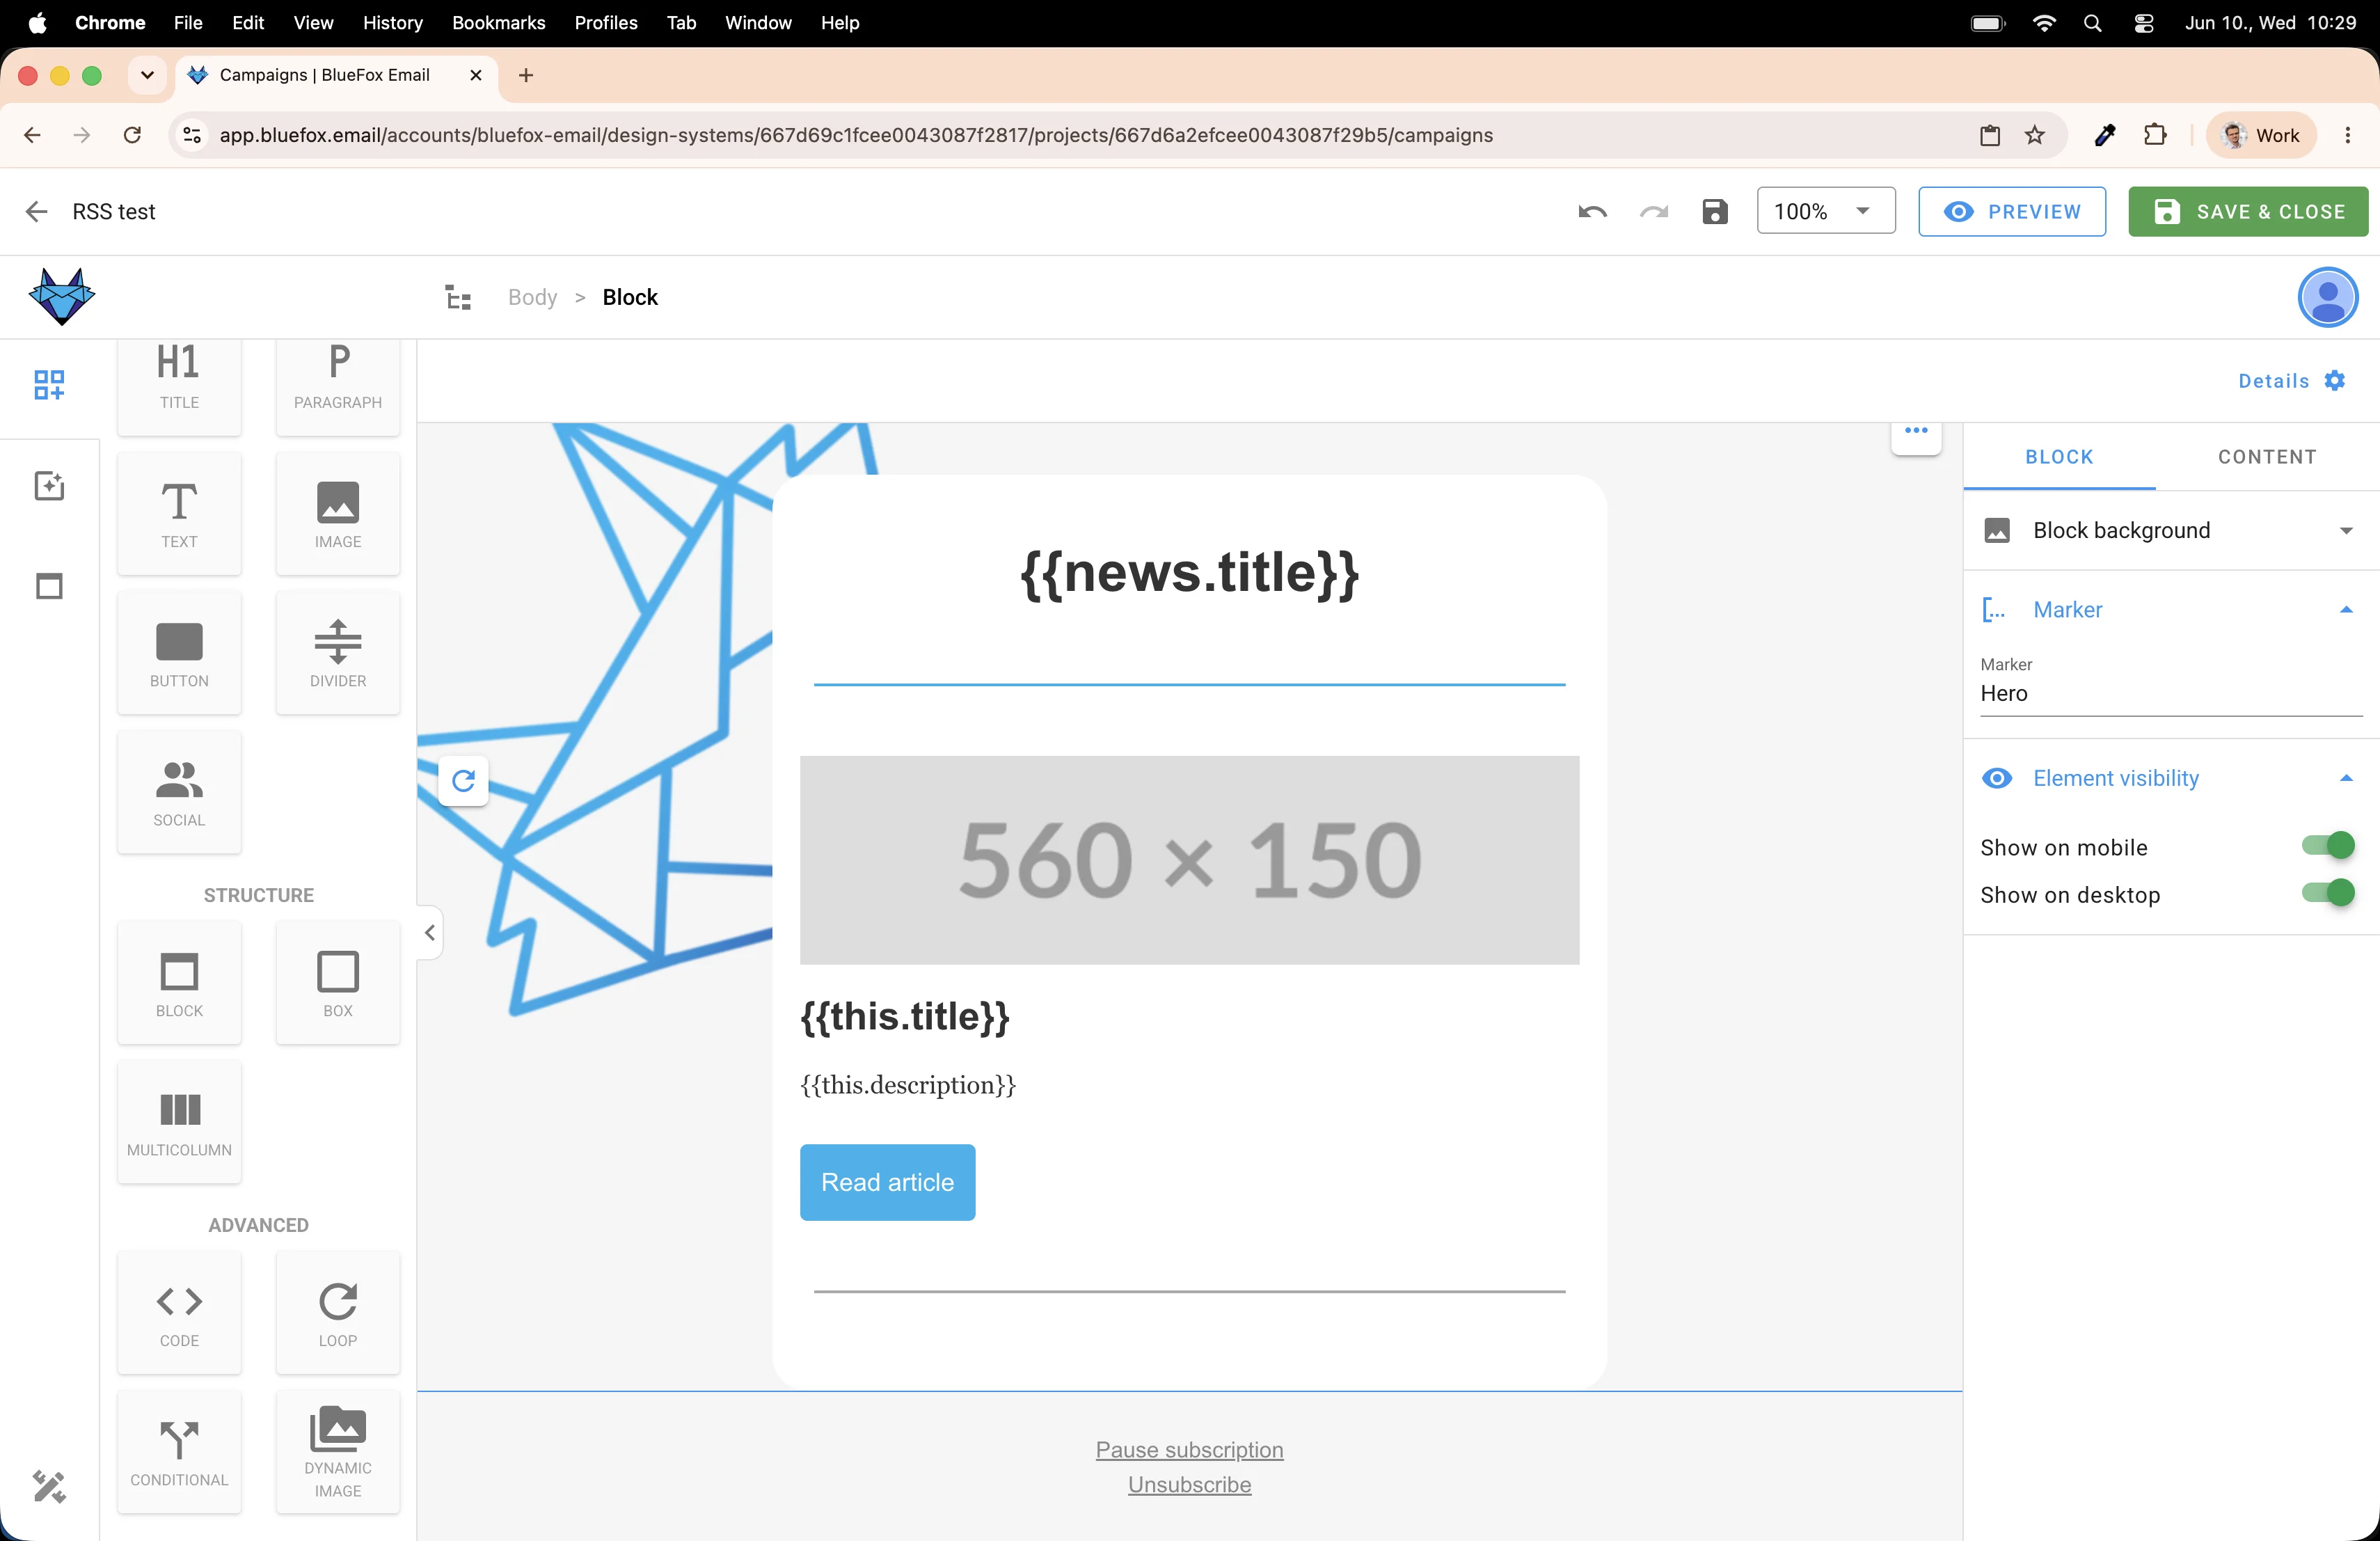
Building the template
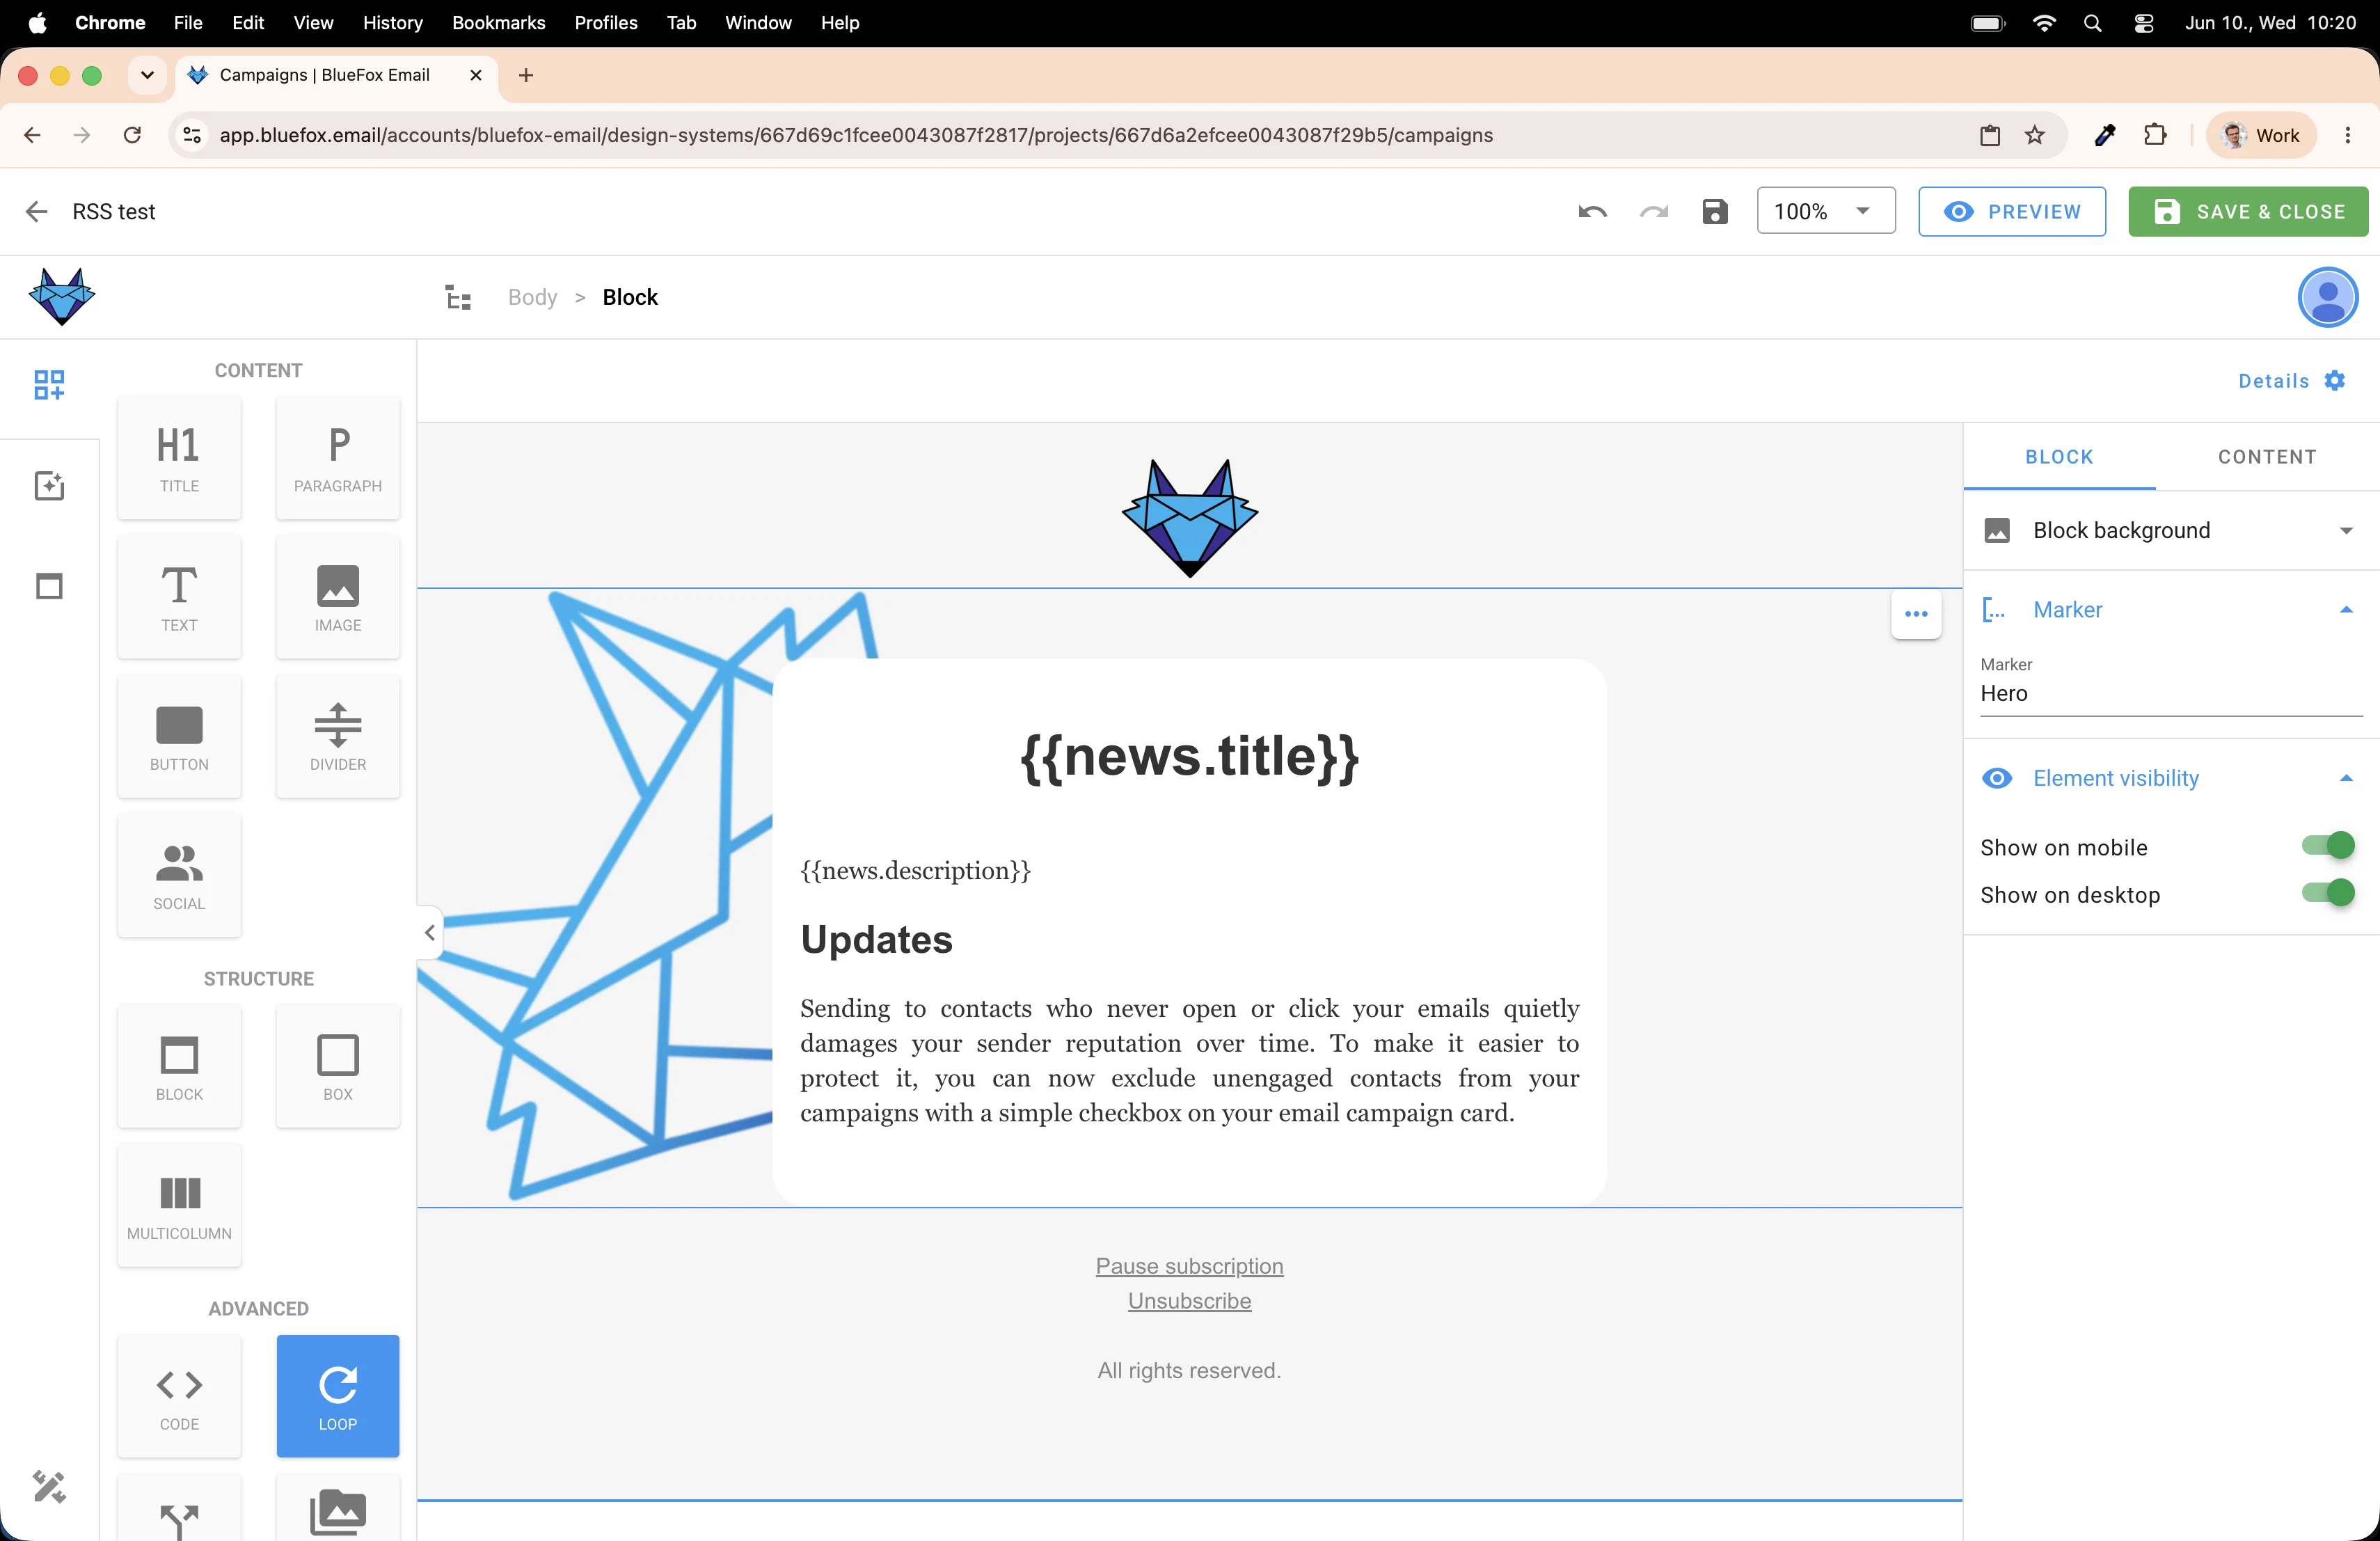
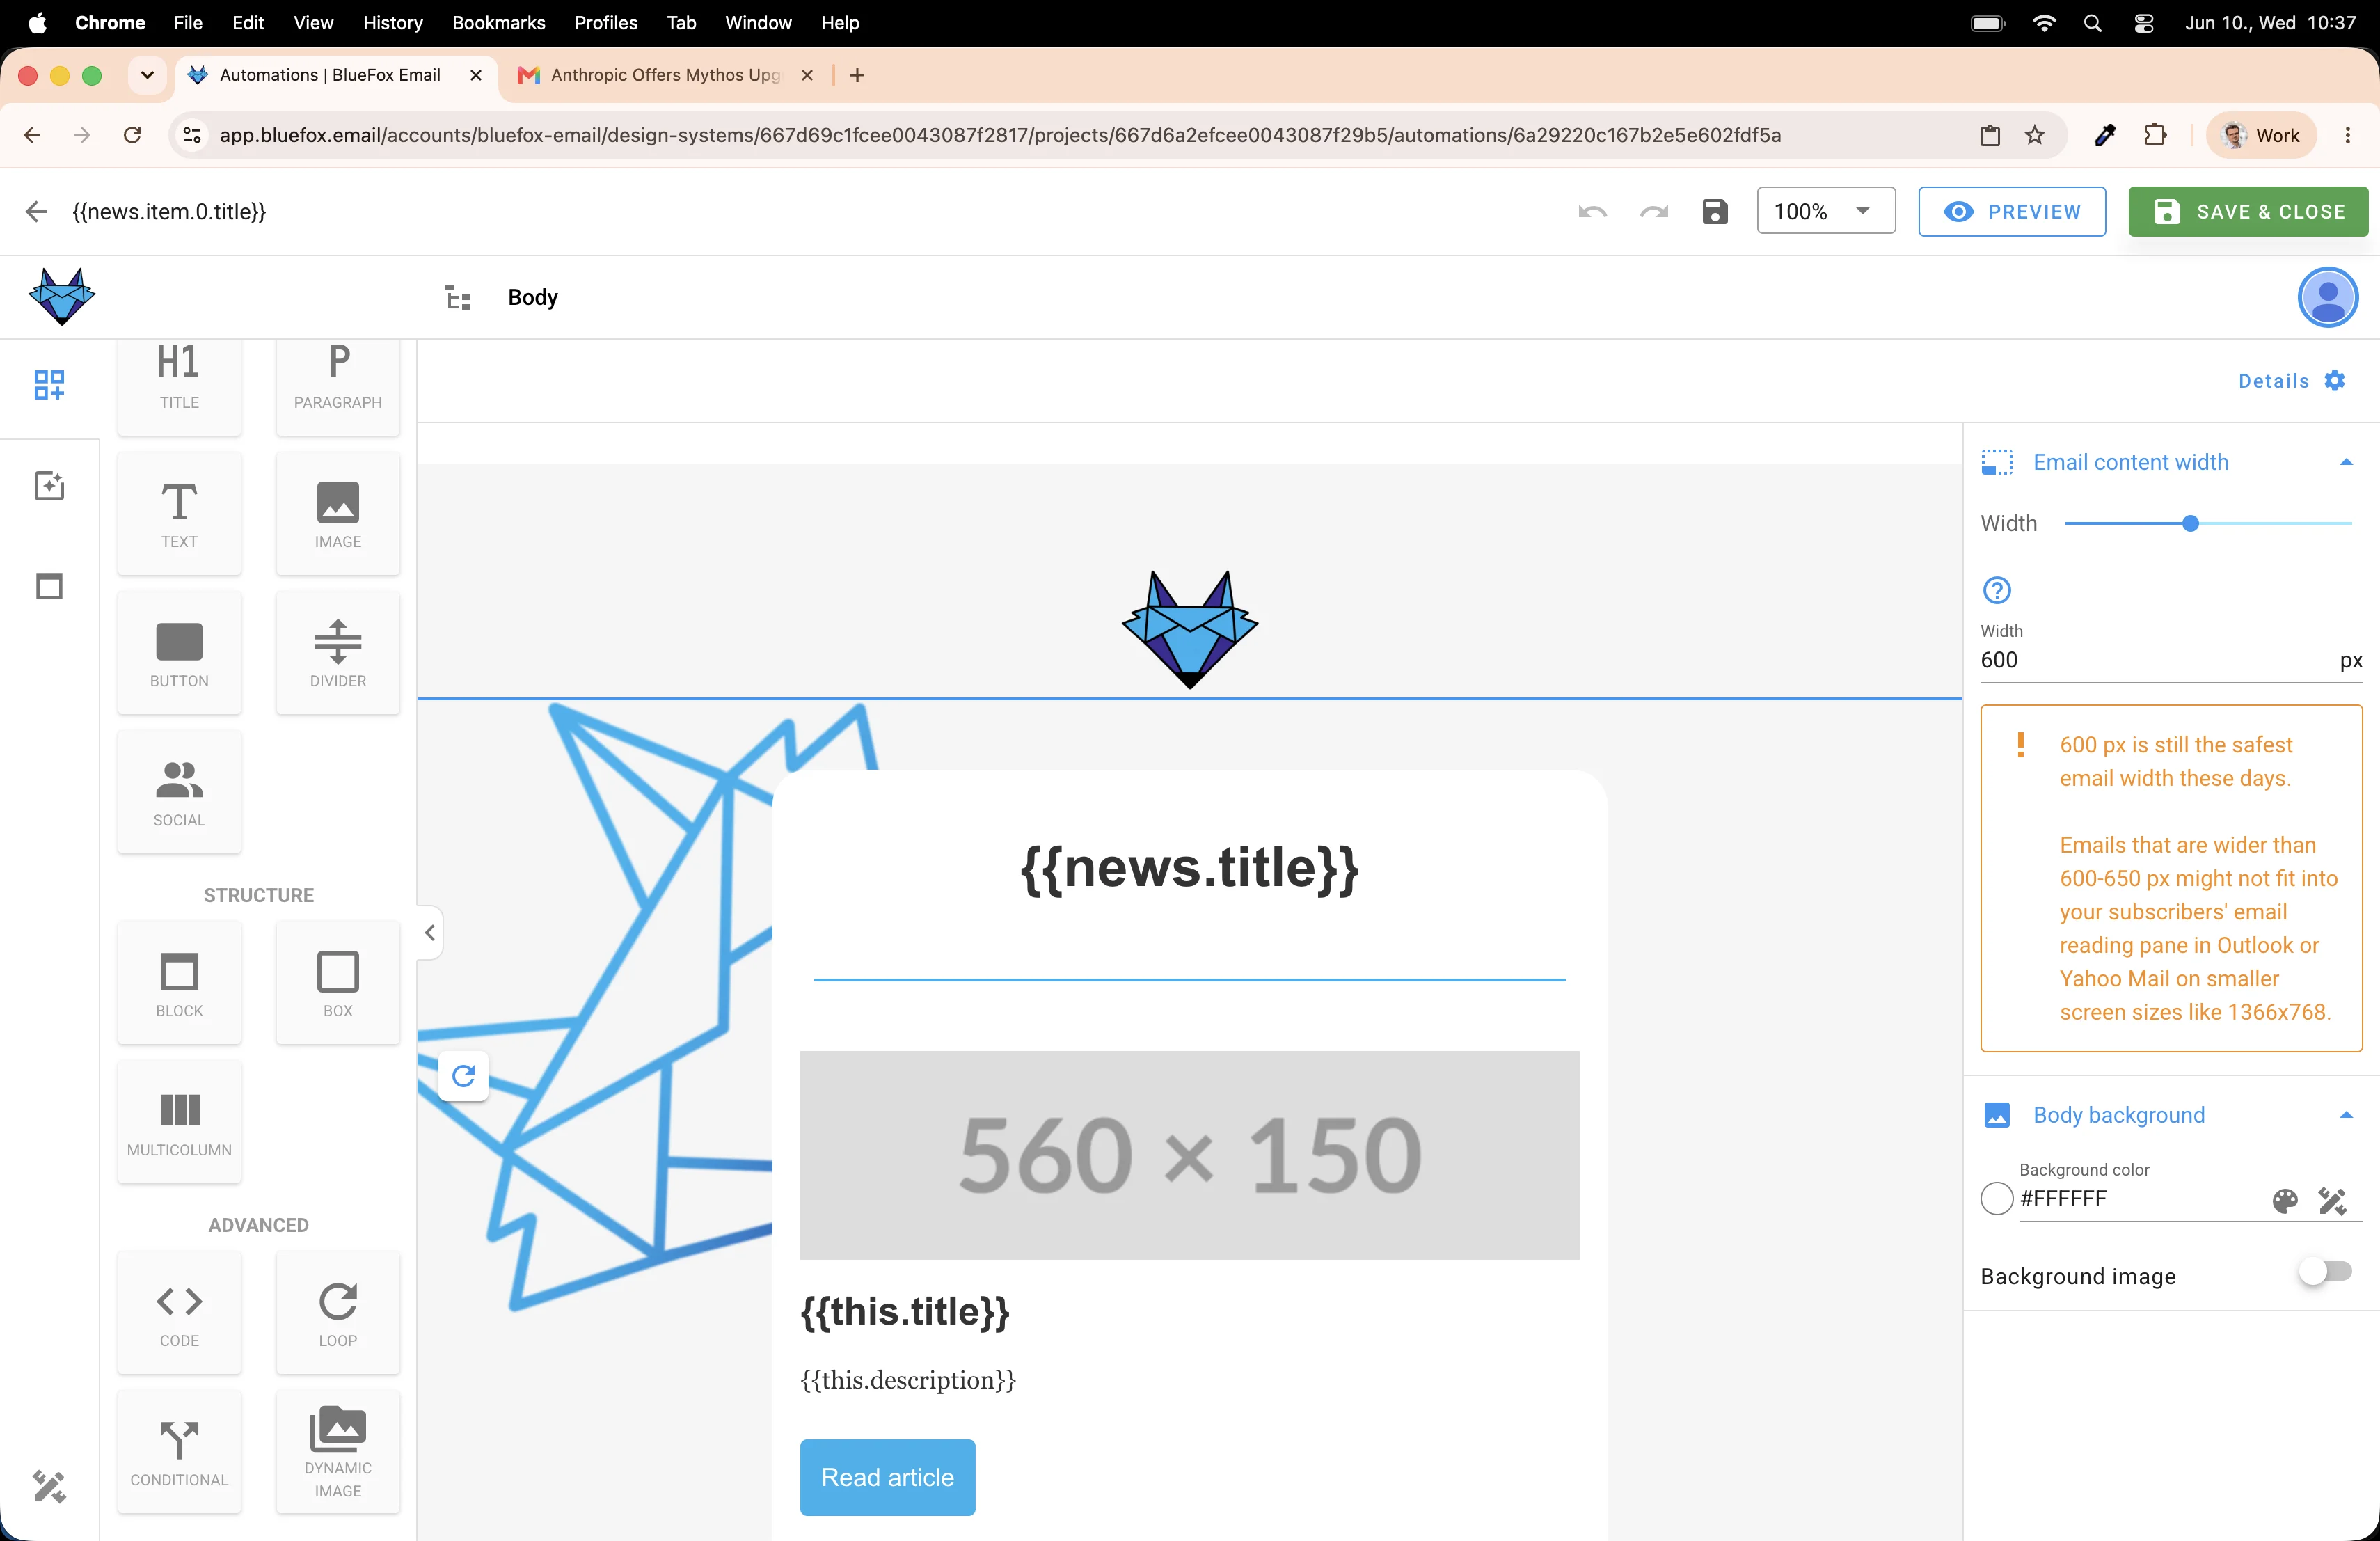
The email has some placeholder content from the original campaign. Let's start by editing the title block at the top. Click into it, then use the merge tag button to insert a dynamic value, for example the feed title (news.title). You can also use the description, date, or anything else available in the feed.
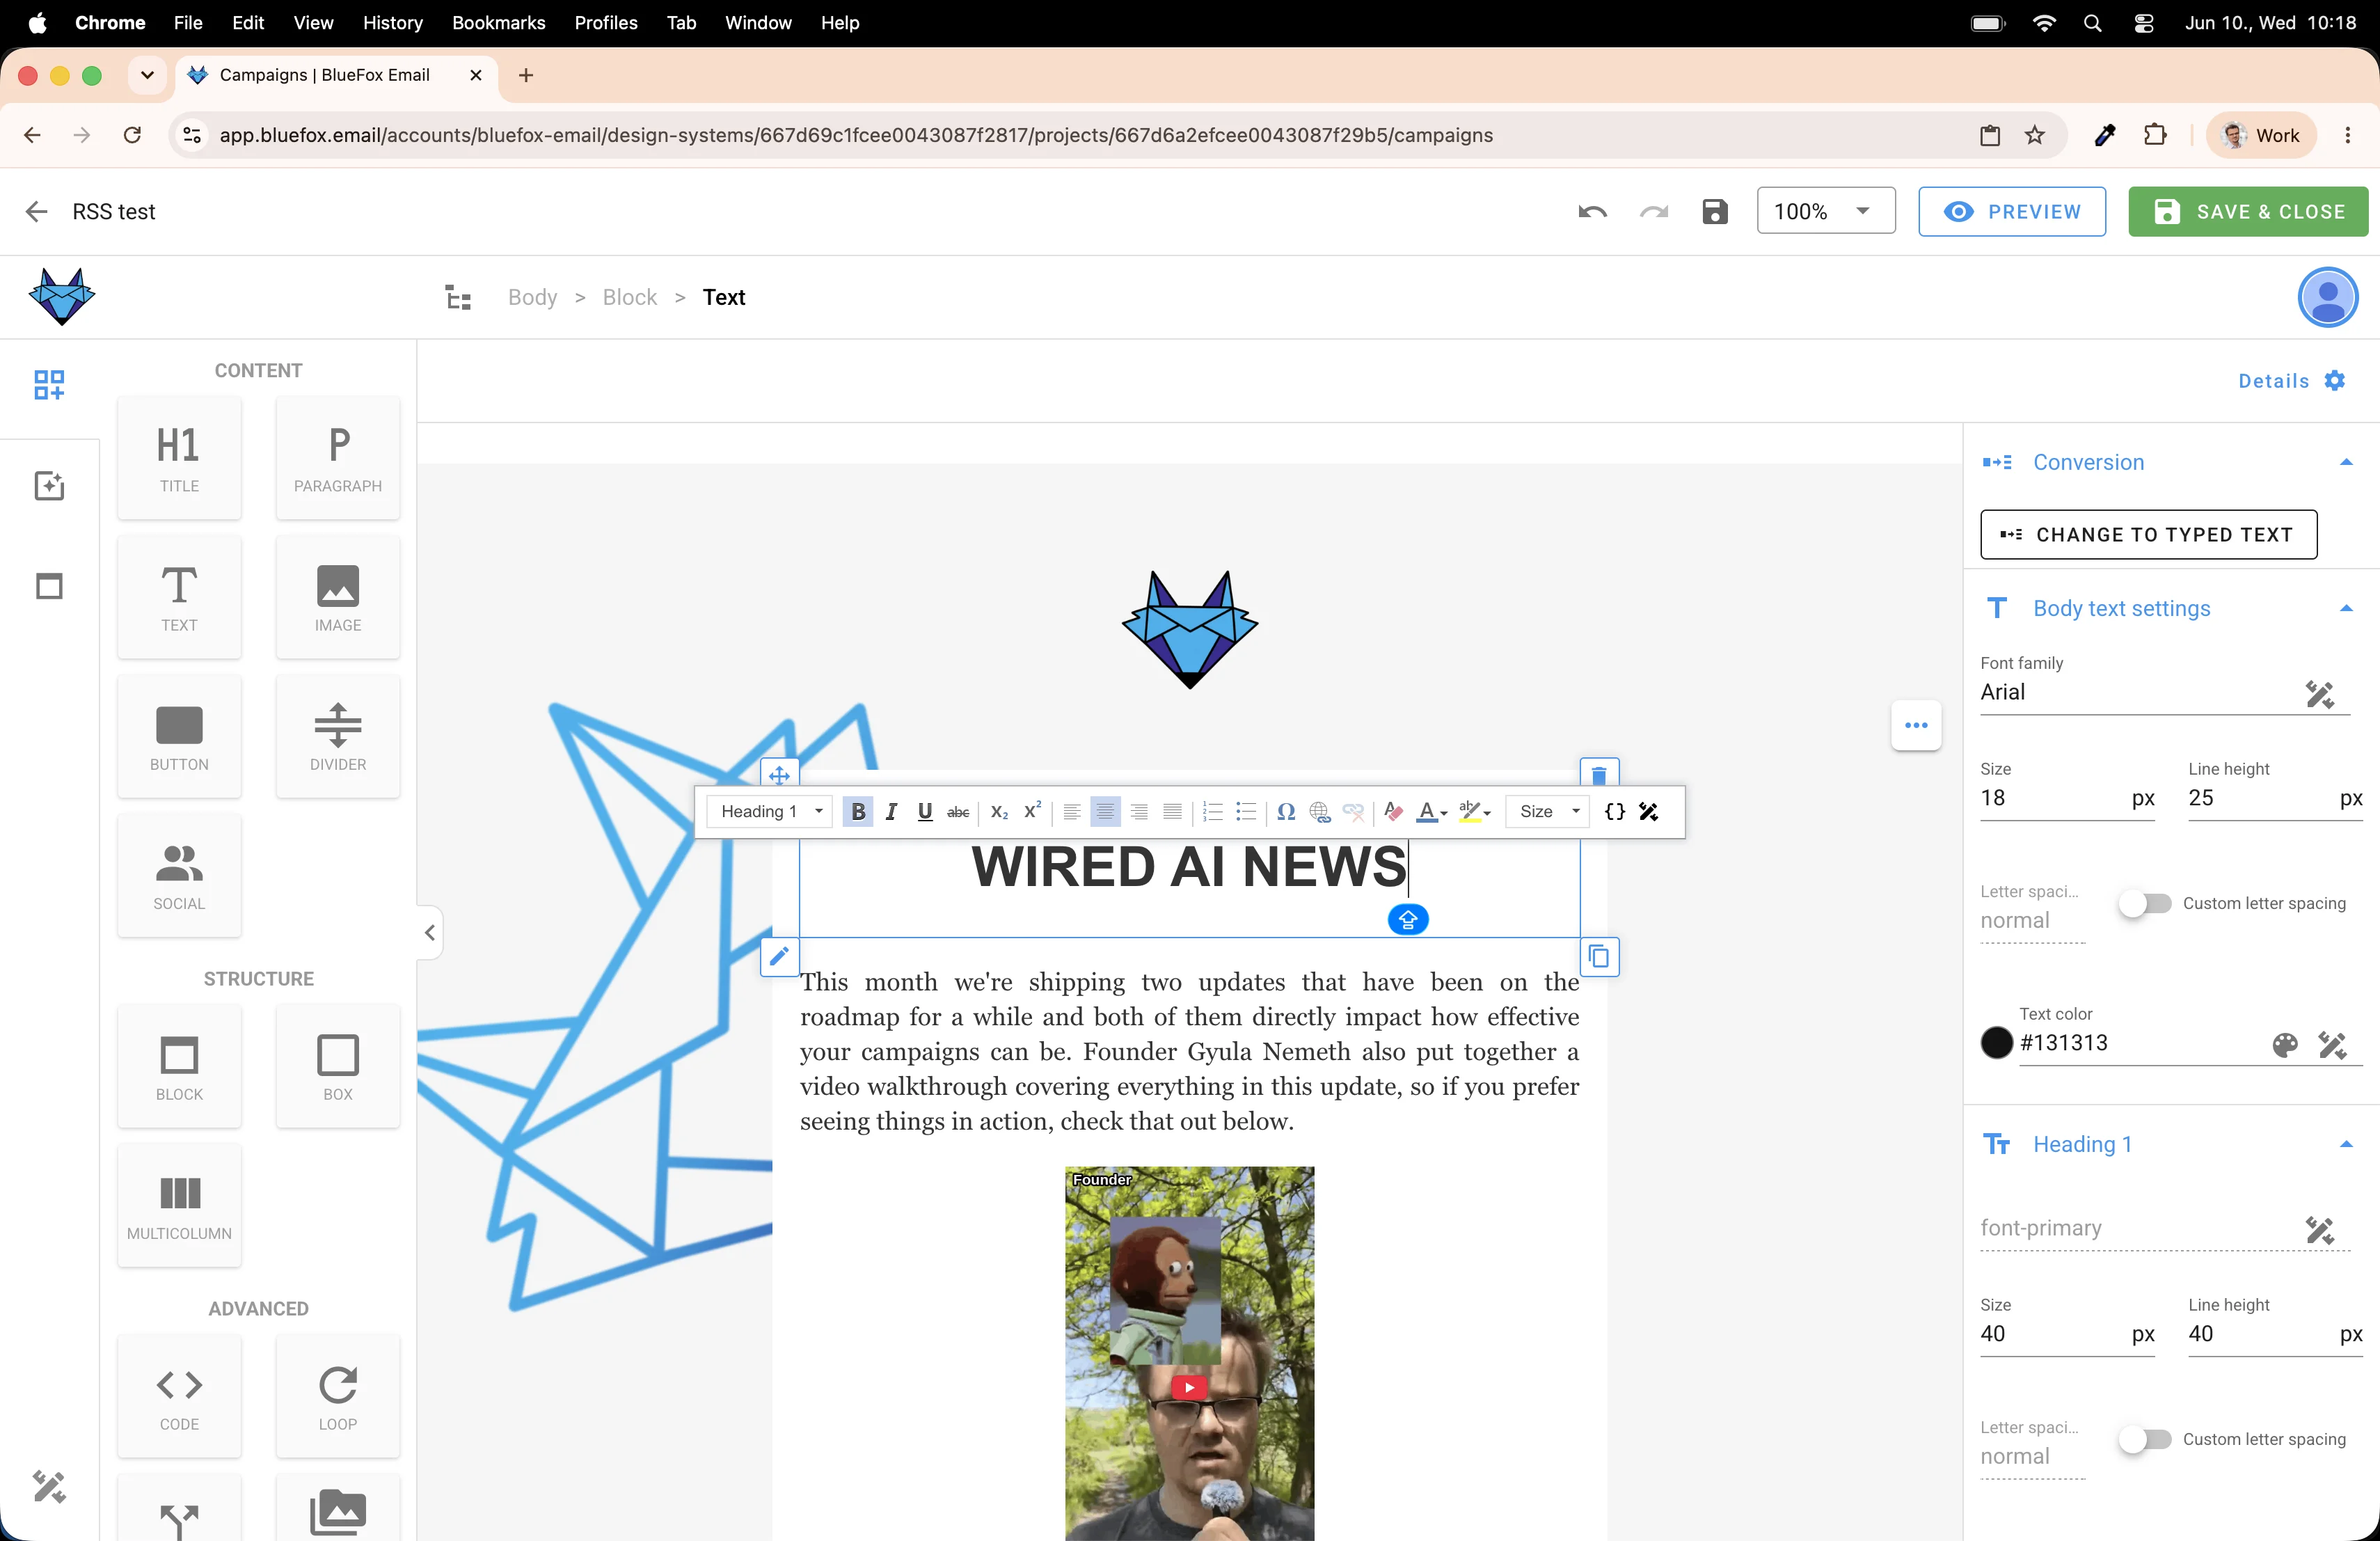
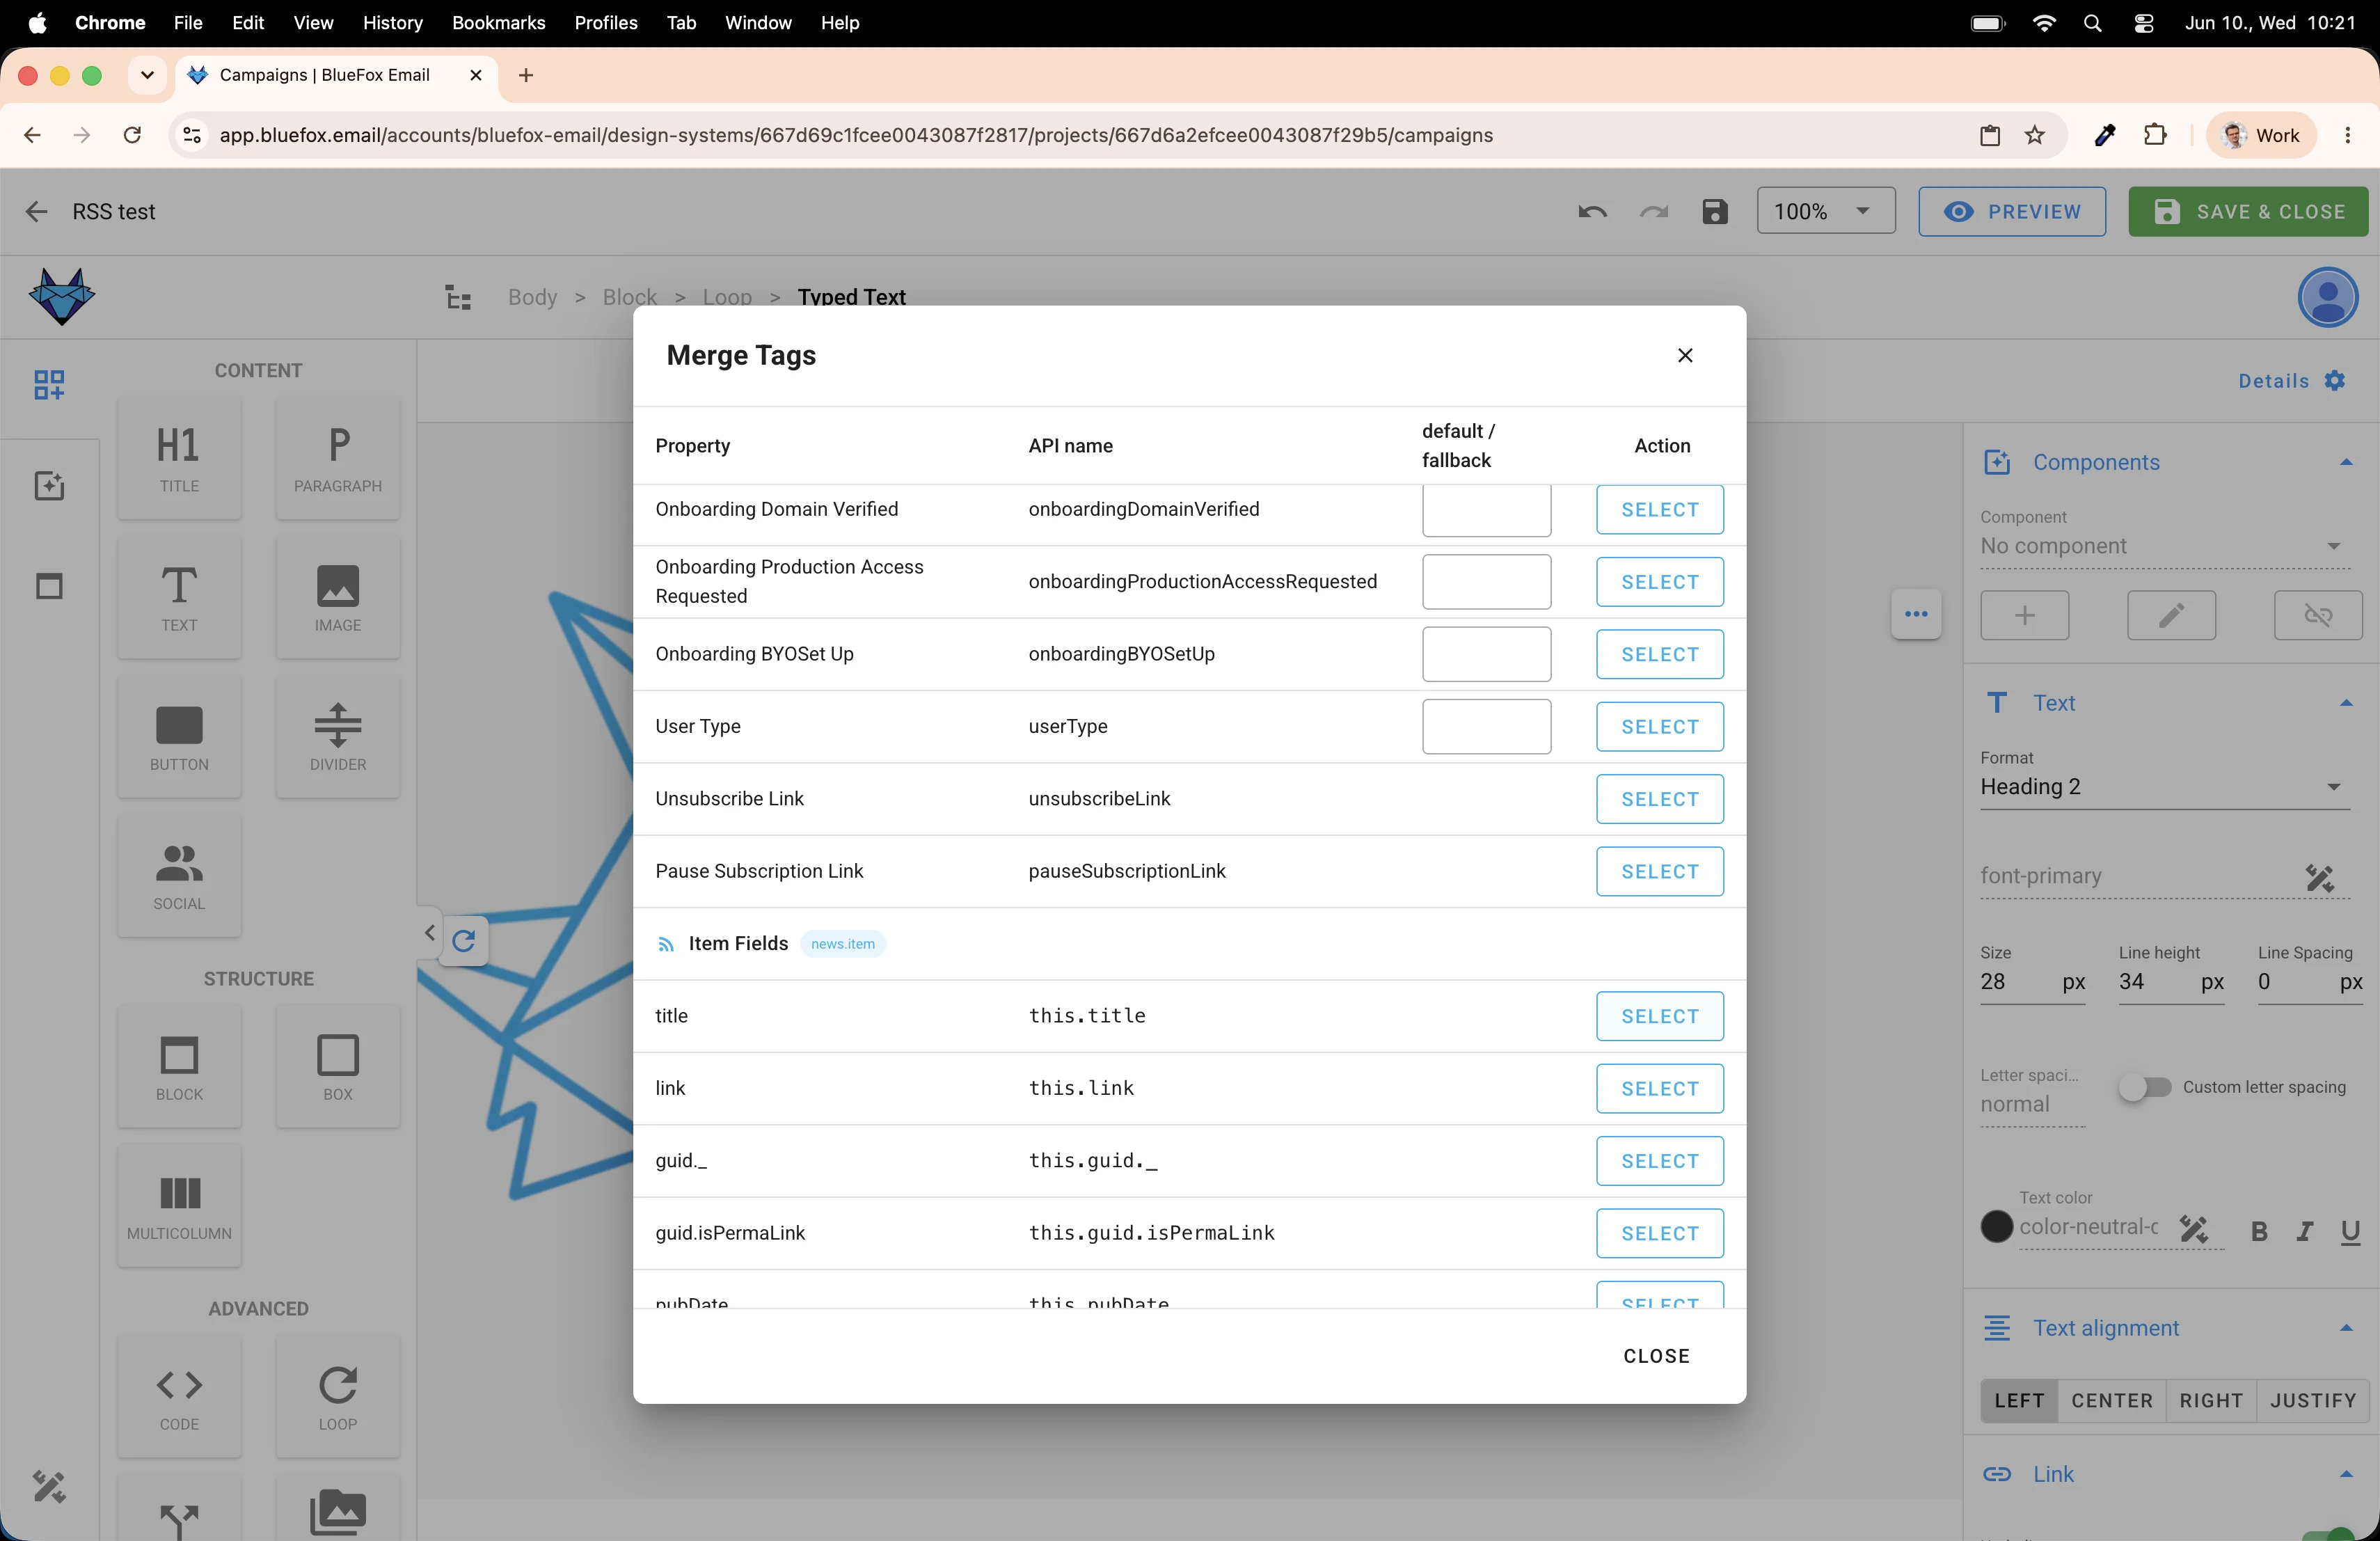
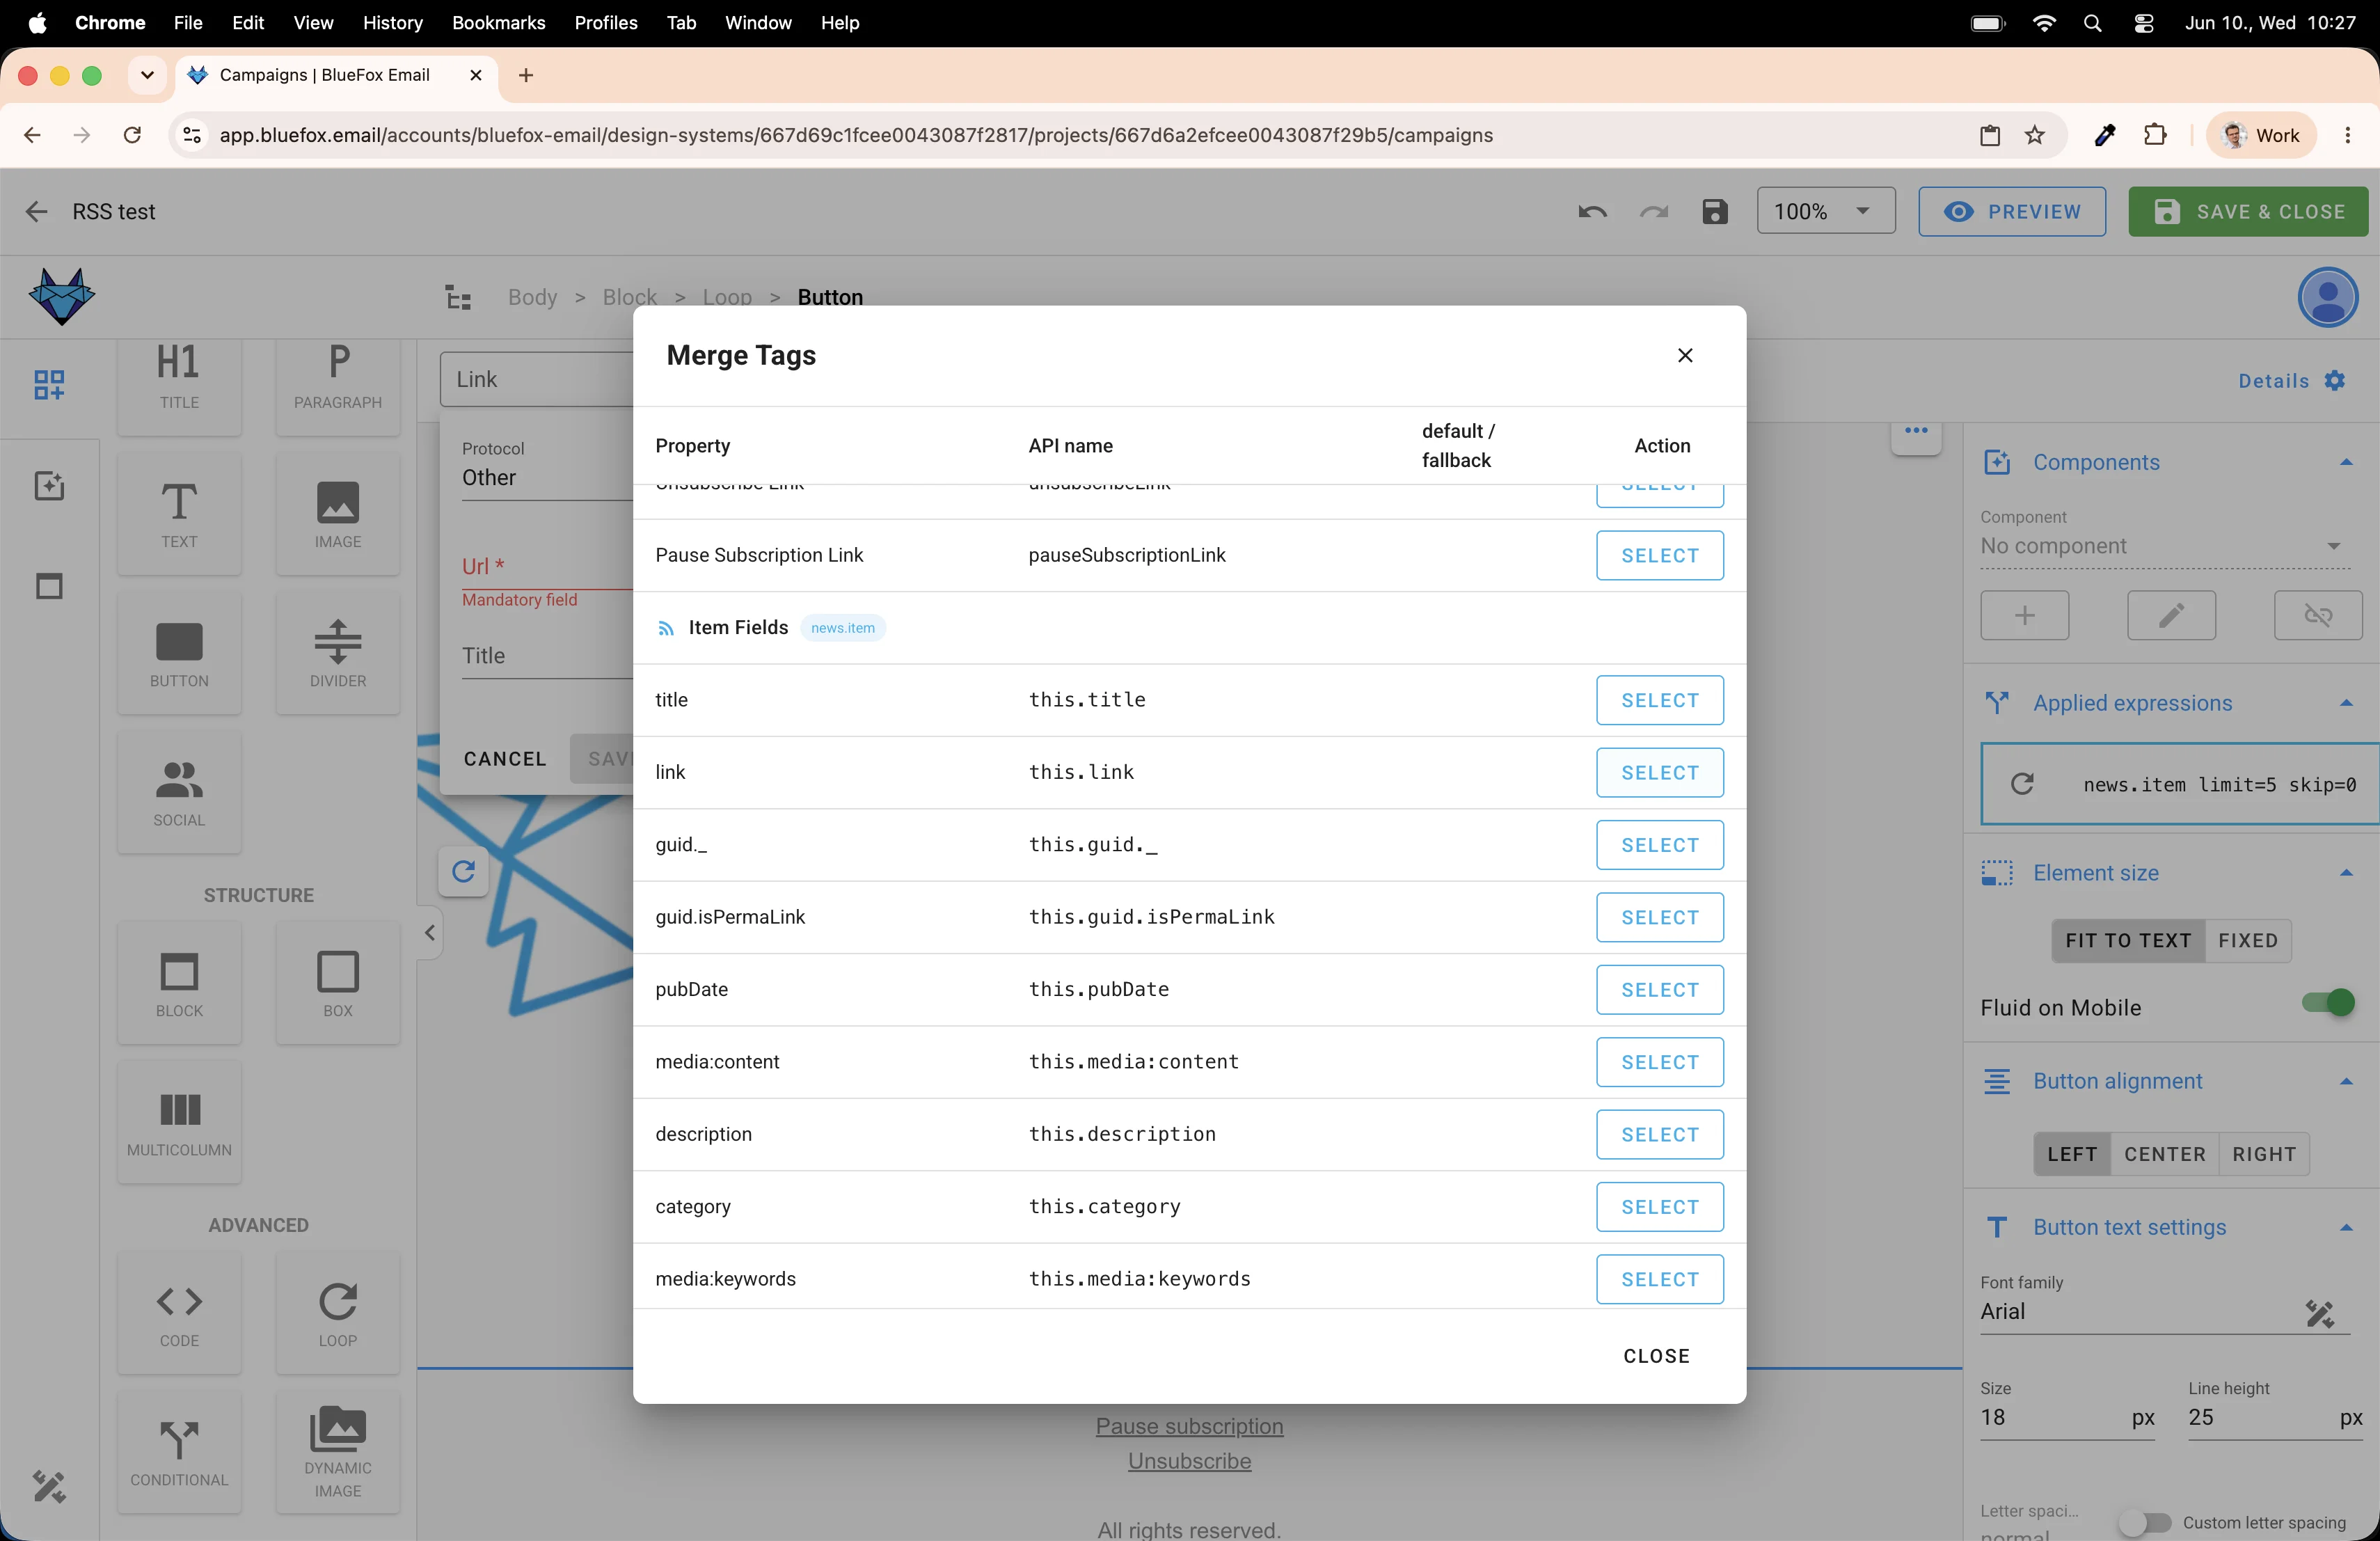
Just click the {} icon to open the merge tag dialog.
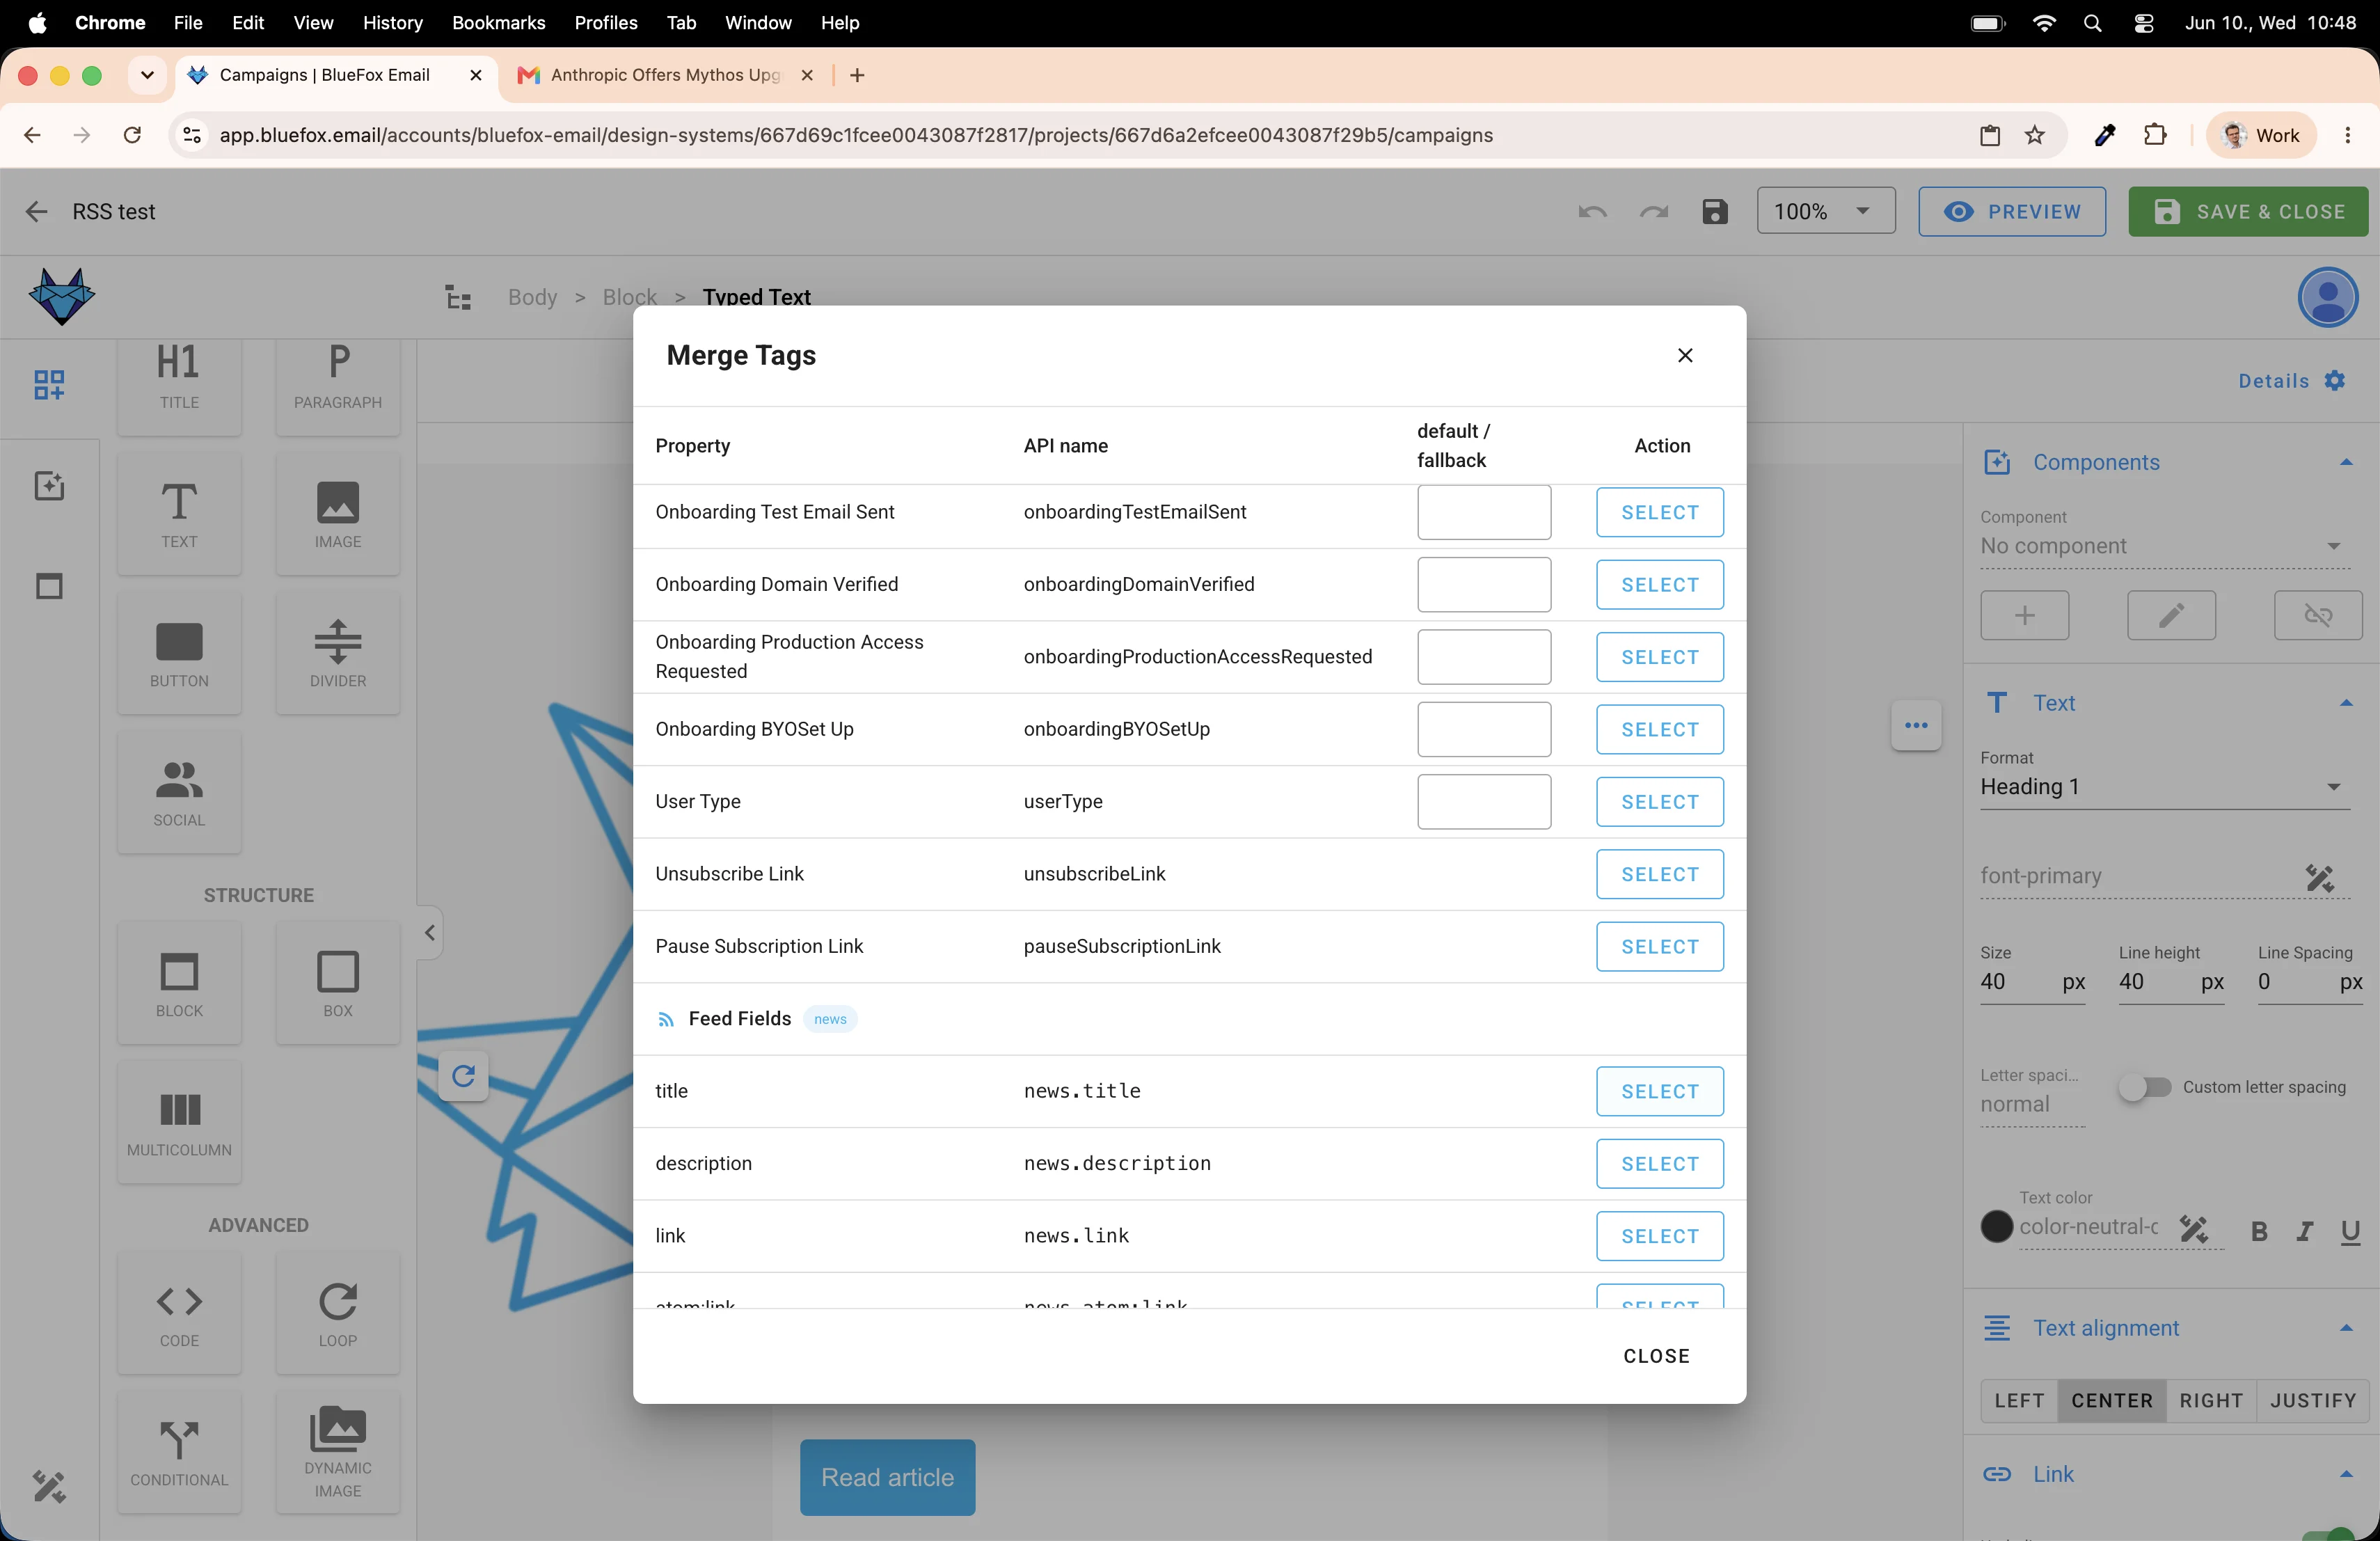
The merge tag dialog shows all available merge tags, and a nice thing about it: it only shows the ones that are relevant in the current context.
Right now, just select the news.title merge tag.
Now delete the placeholder content blocks that we don't need, so we have a clean area to work with below the header.
Adding the loop
This is where the magic happens. Drag a Loop element from the left panel into the email body.
Put it right after the main section with the title and description and whatever else you added there.
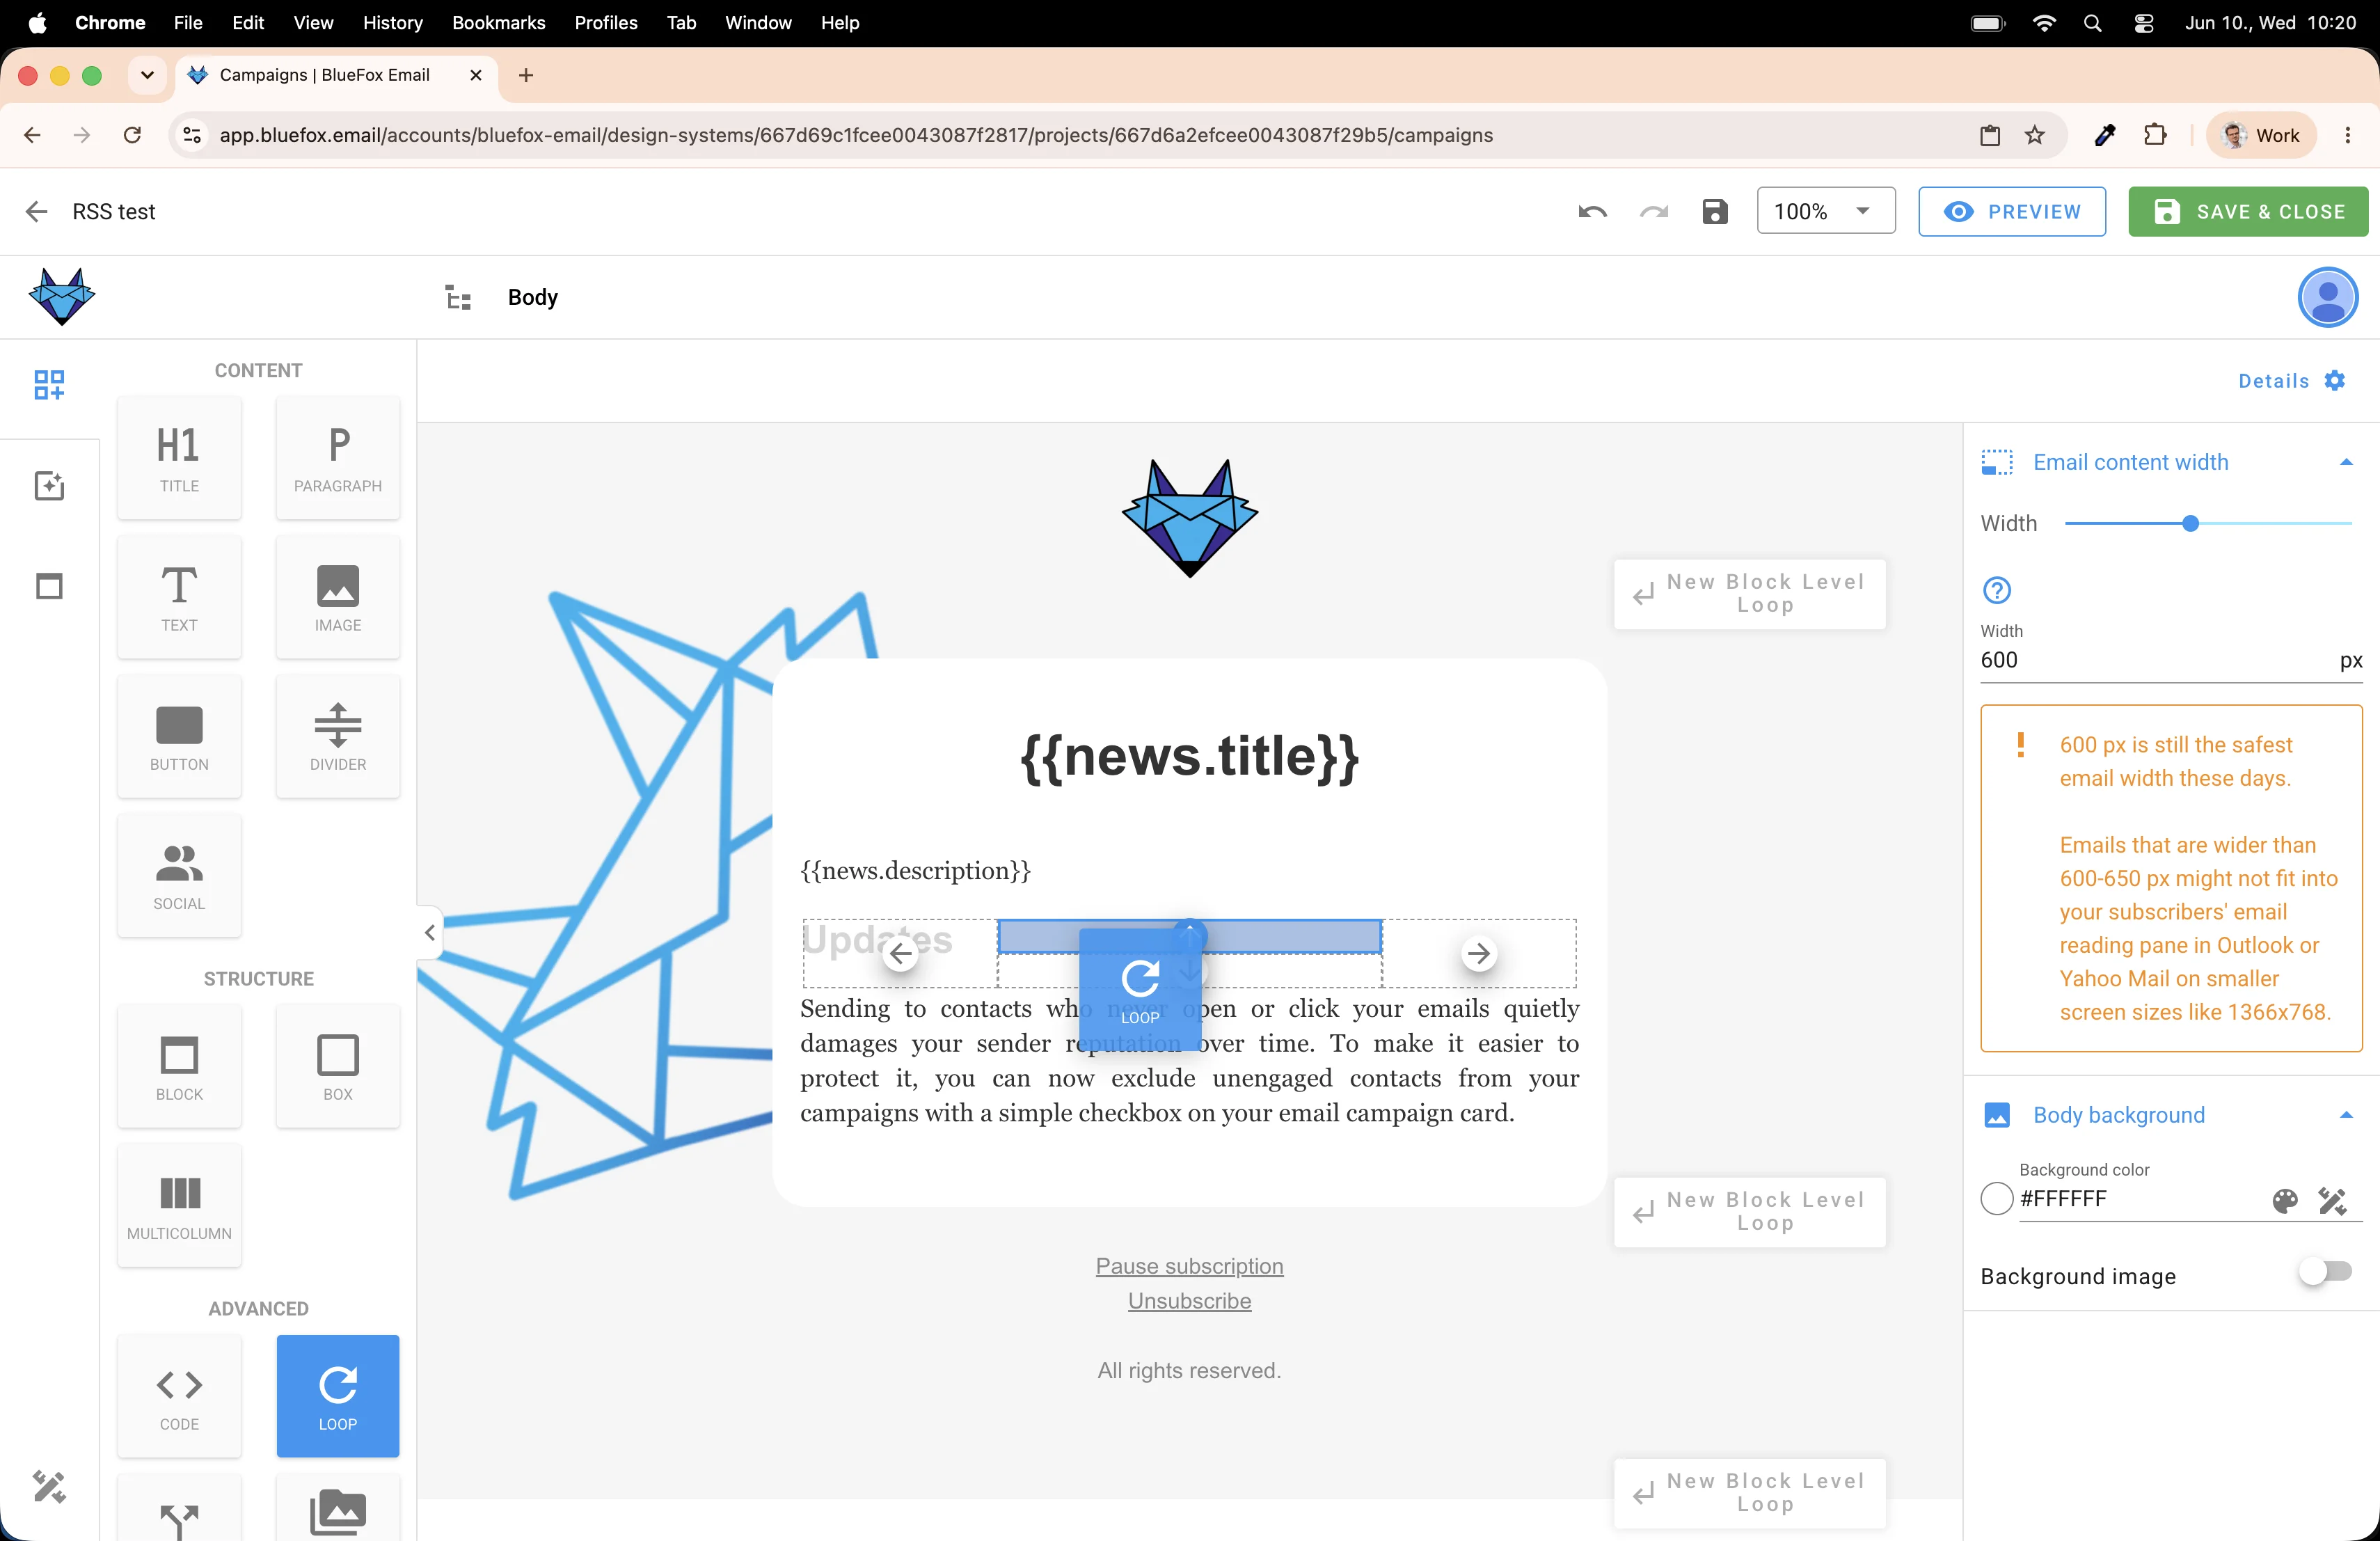
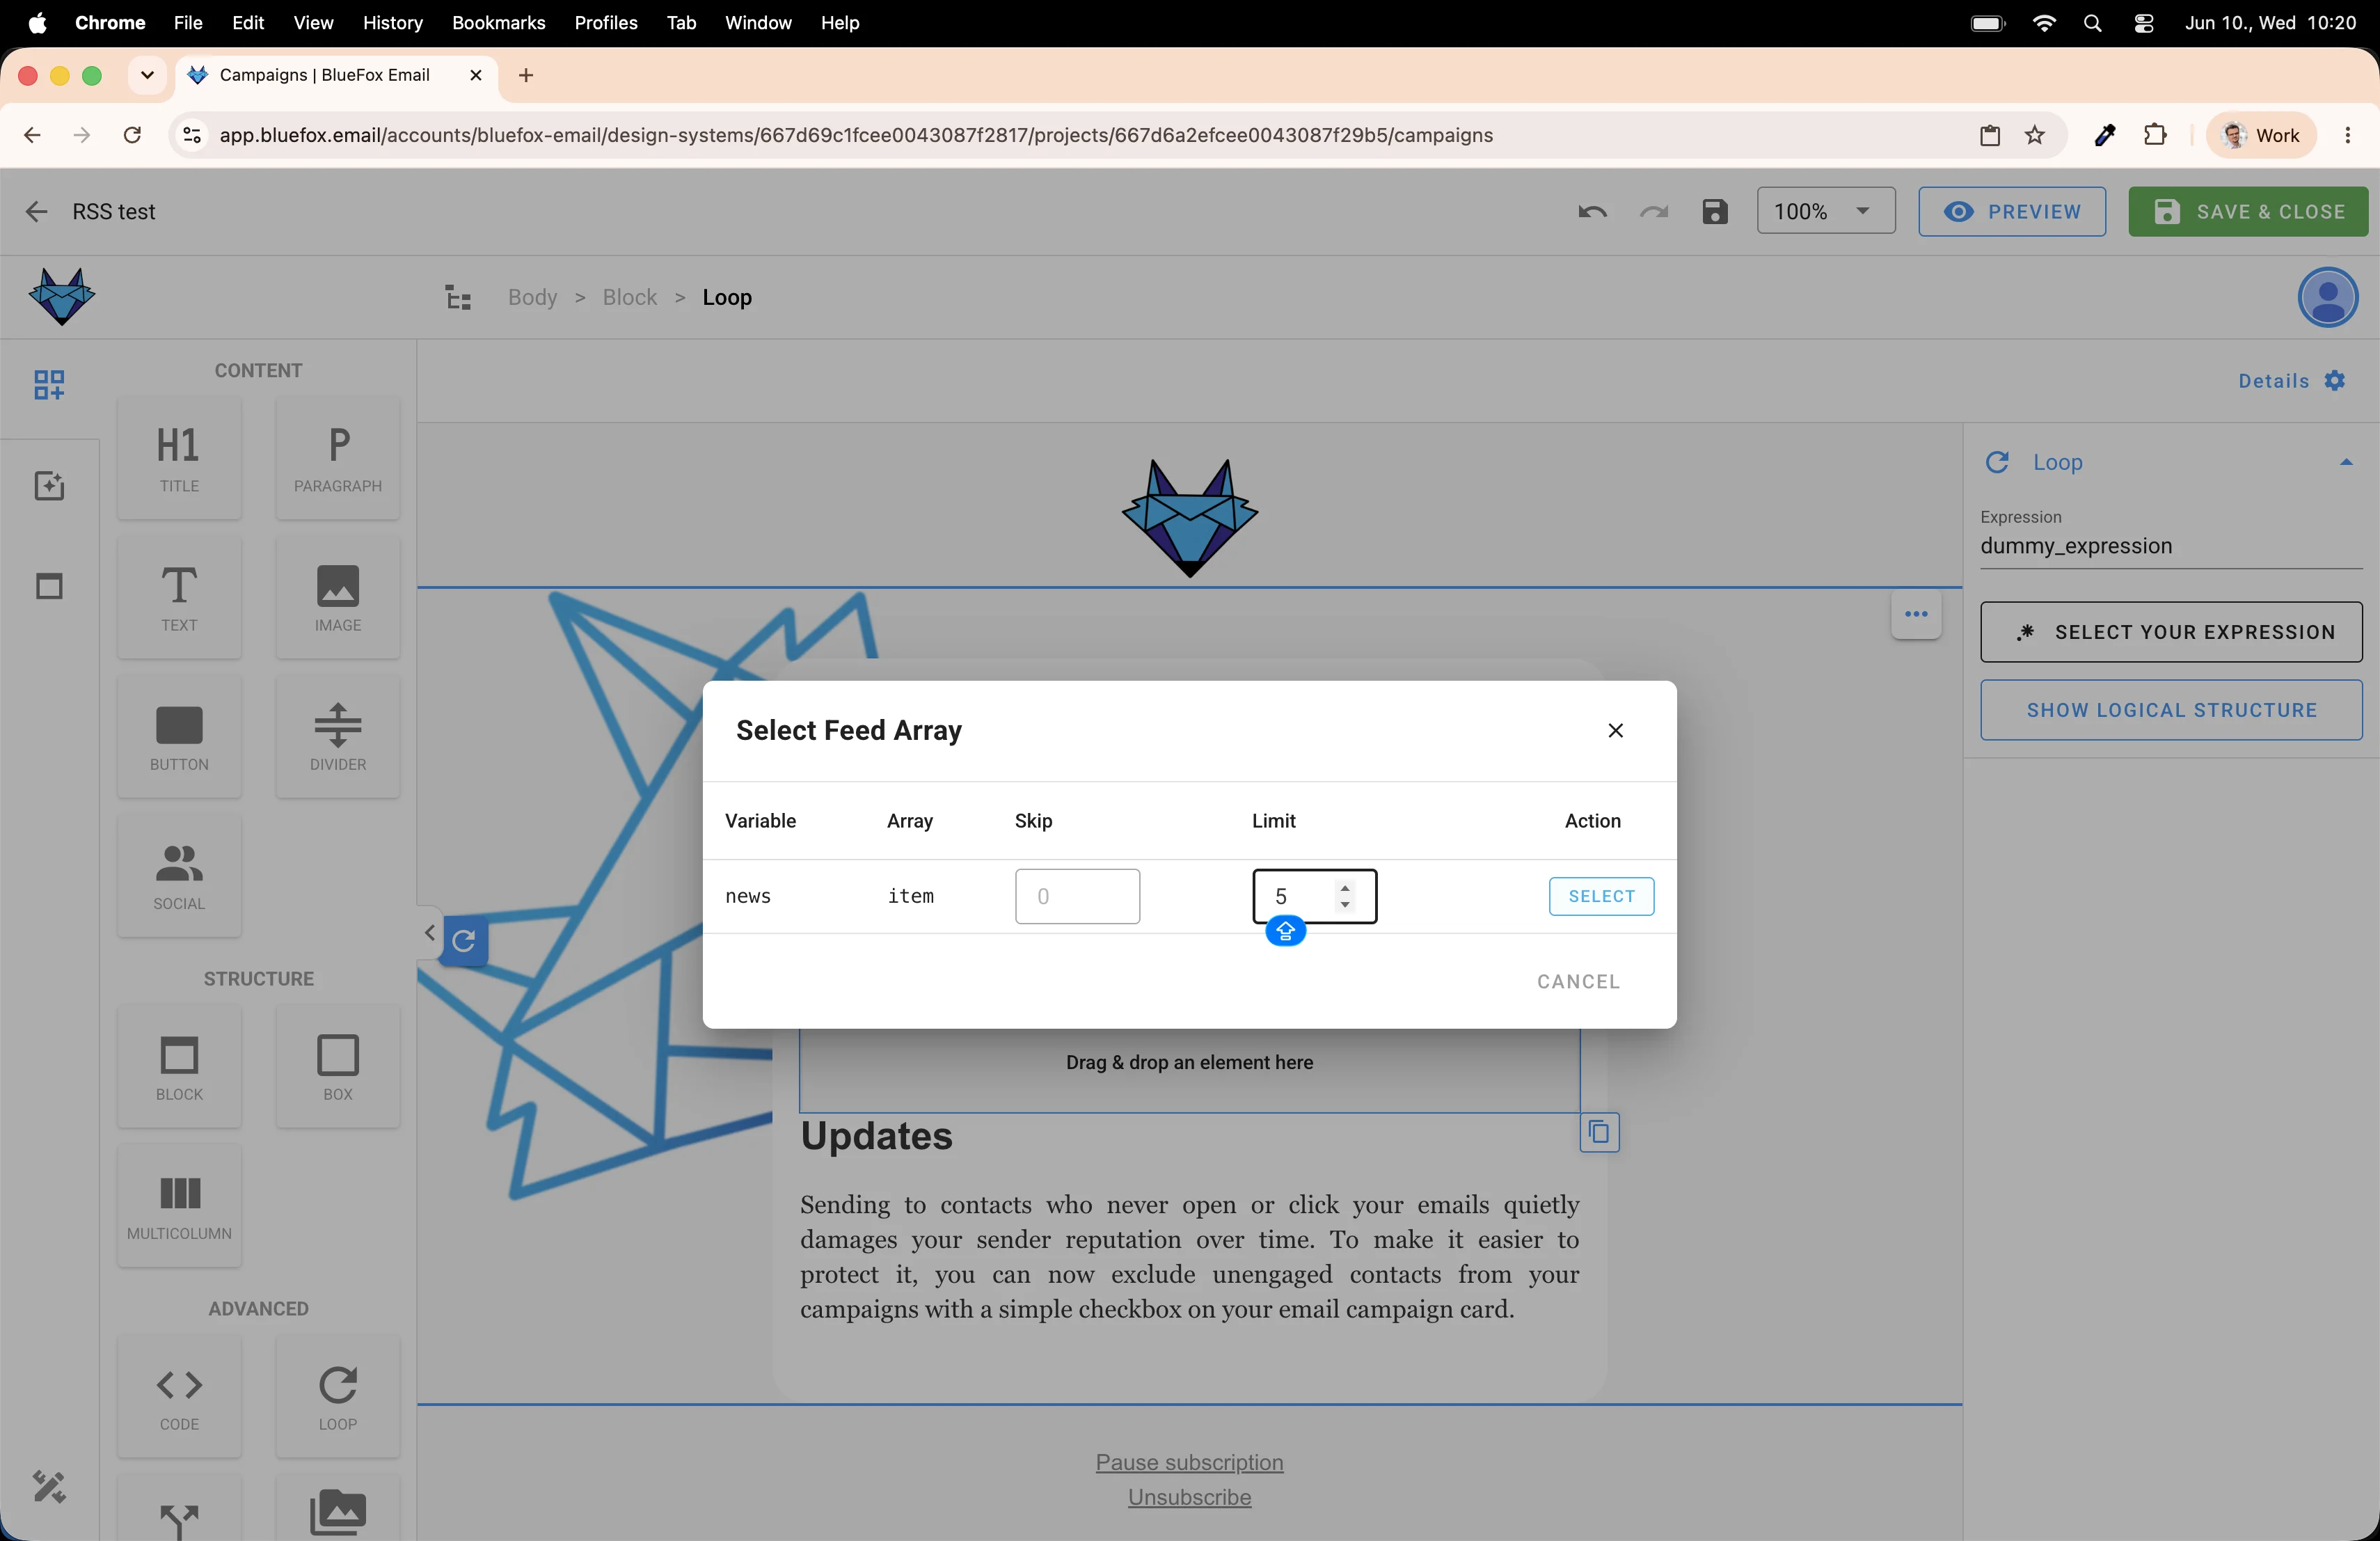
Once it's placed, you'll see the loop settings in the right panel. Click on the Select Your Expression button.
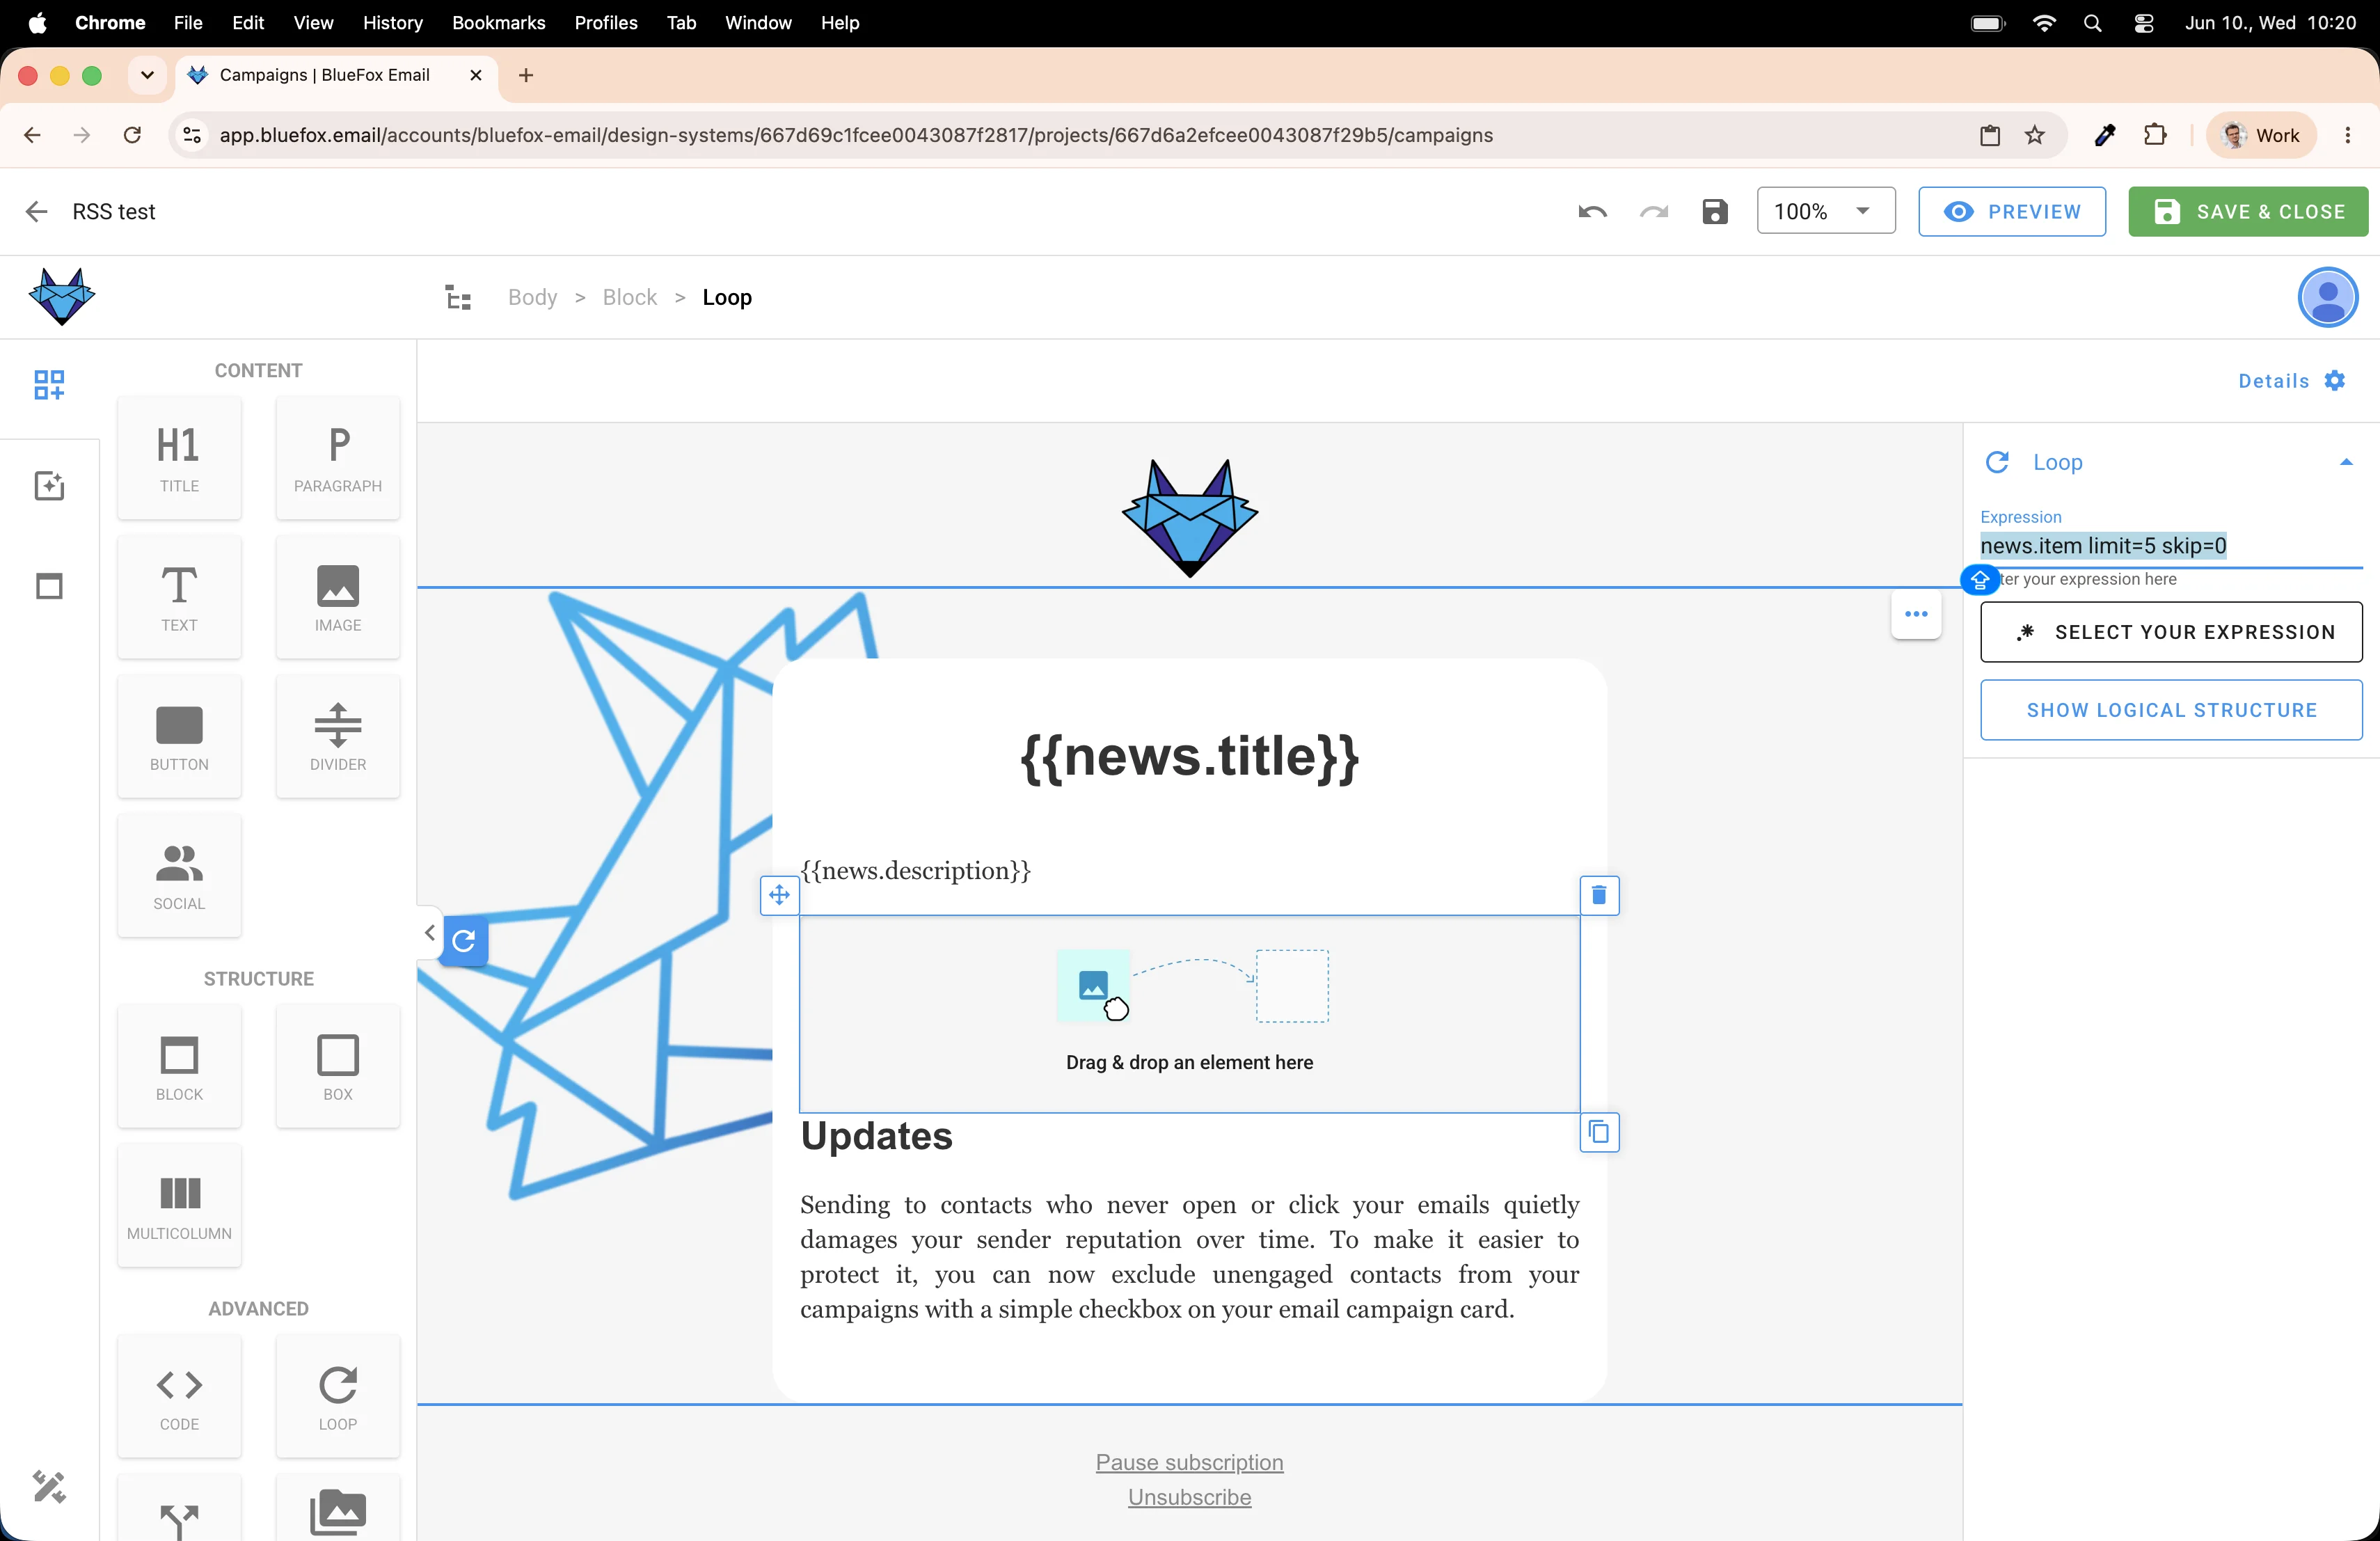
Now you can see what I mentioned earlier. The system only shows expressions that make sense in the current context. Since we are in a loop, it only shows arrays you can iterate over. In our example, that's the news.item array.
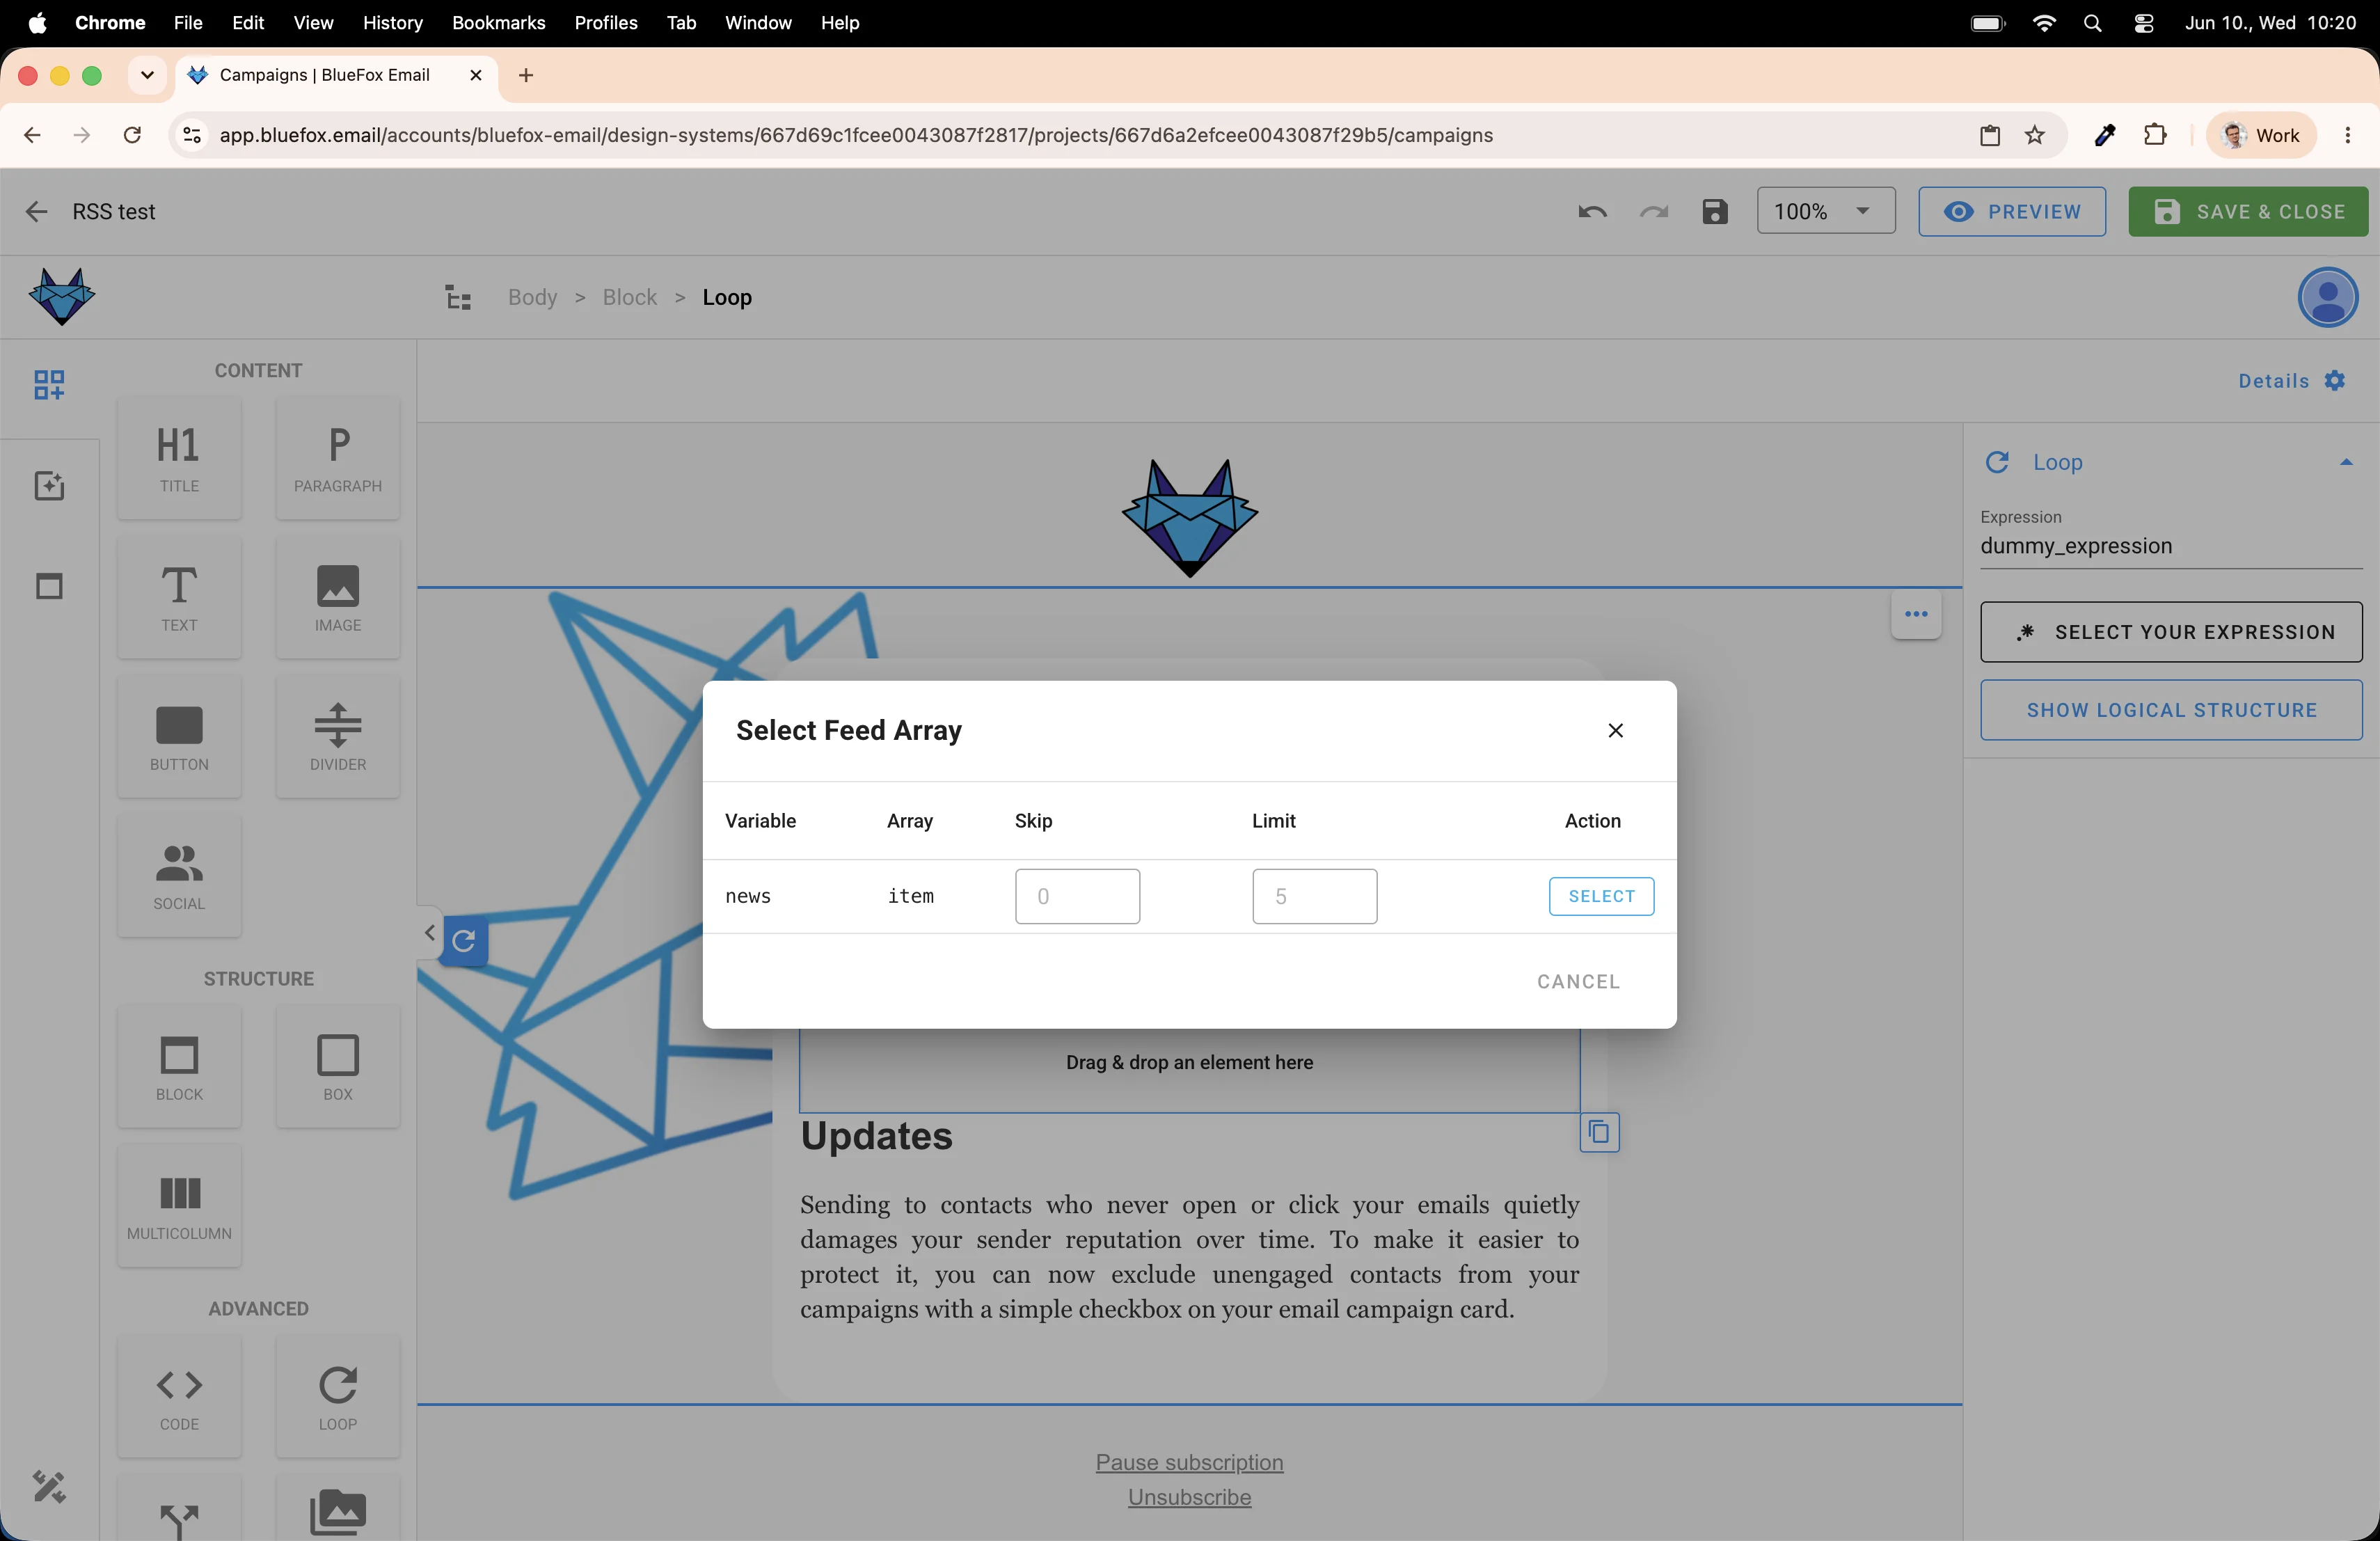
Set a Limit so the newsletter doesn't go on forever. Five or six articles is usually a good number for a weekly digest.
The loop is now bound to the feed.
Filling the loop with content
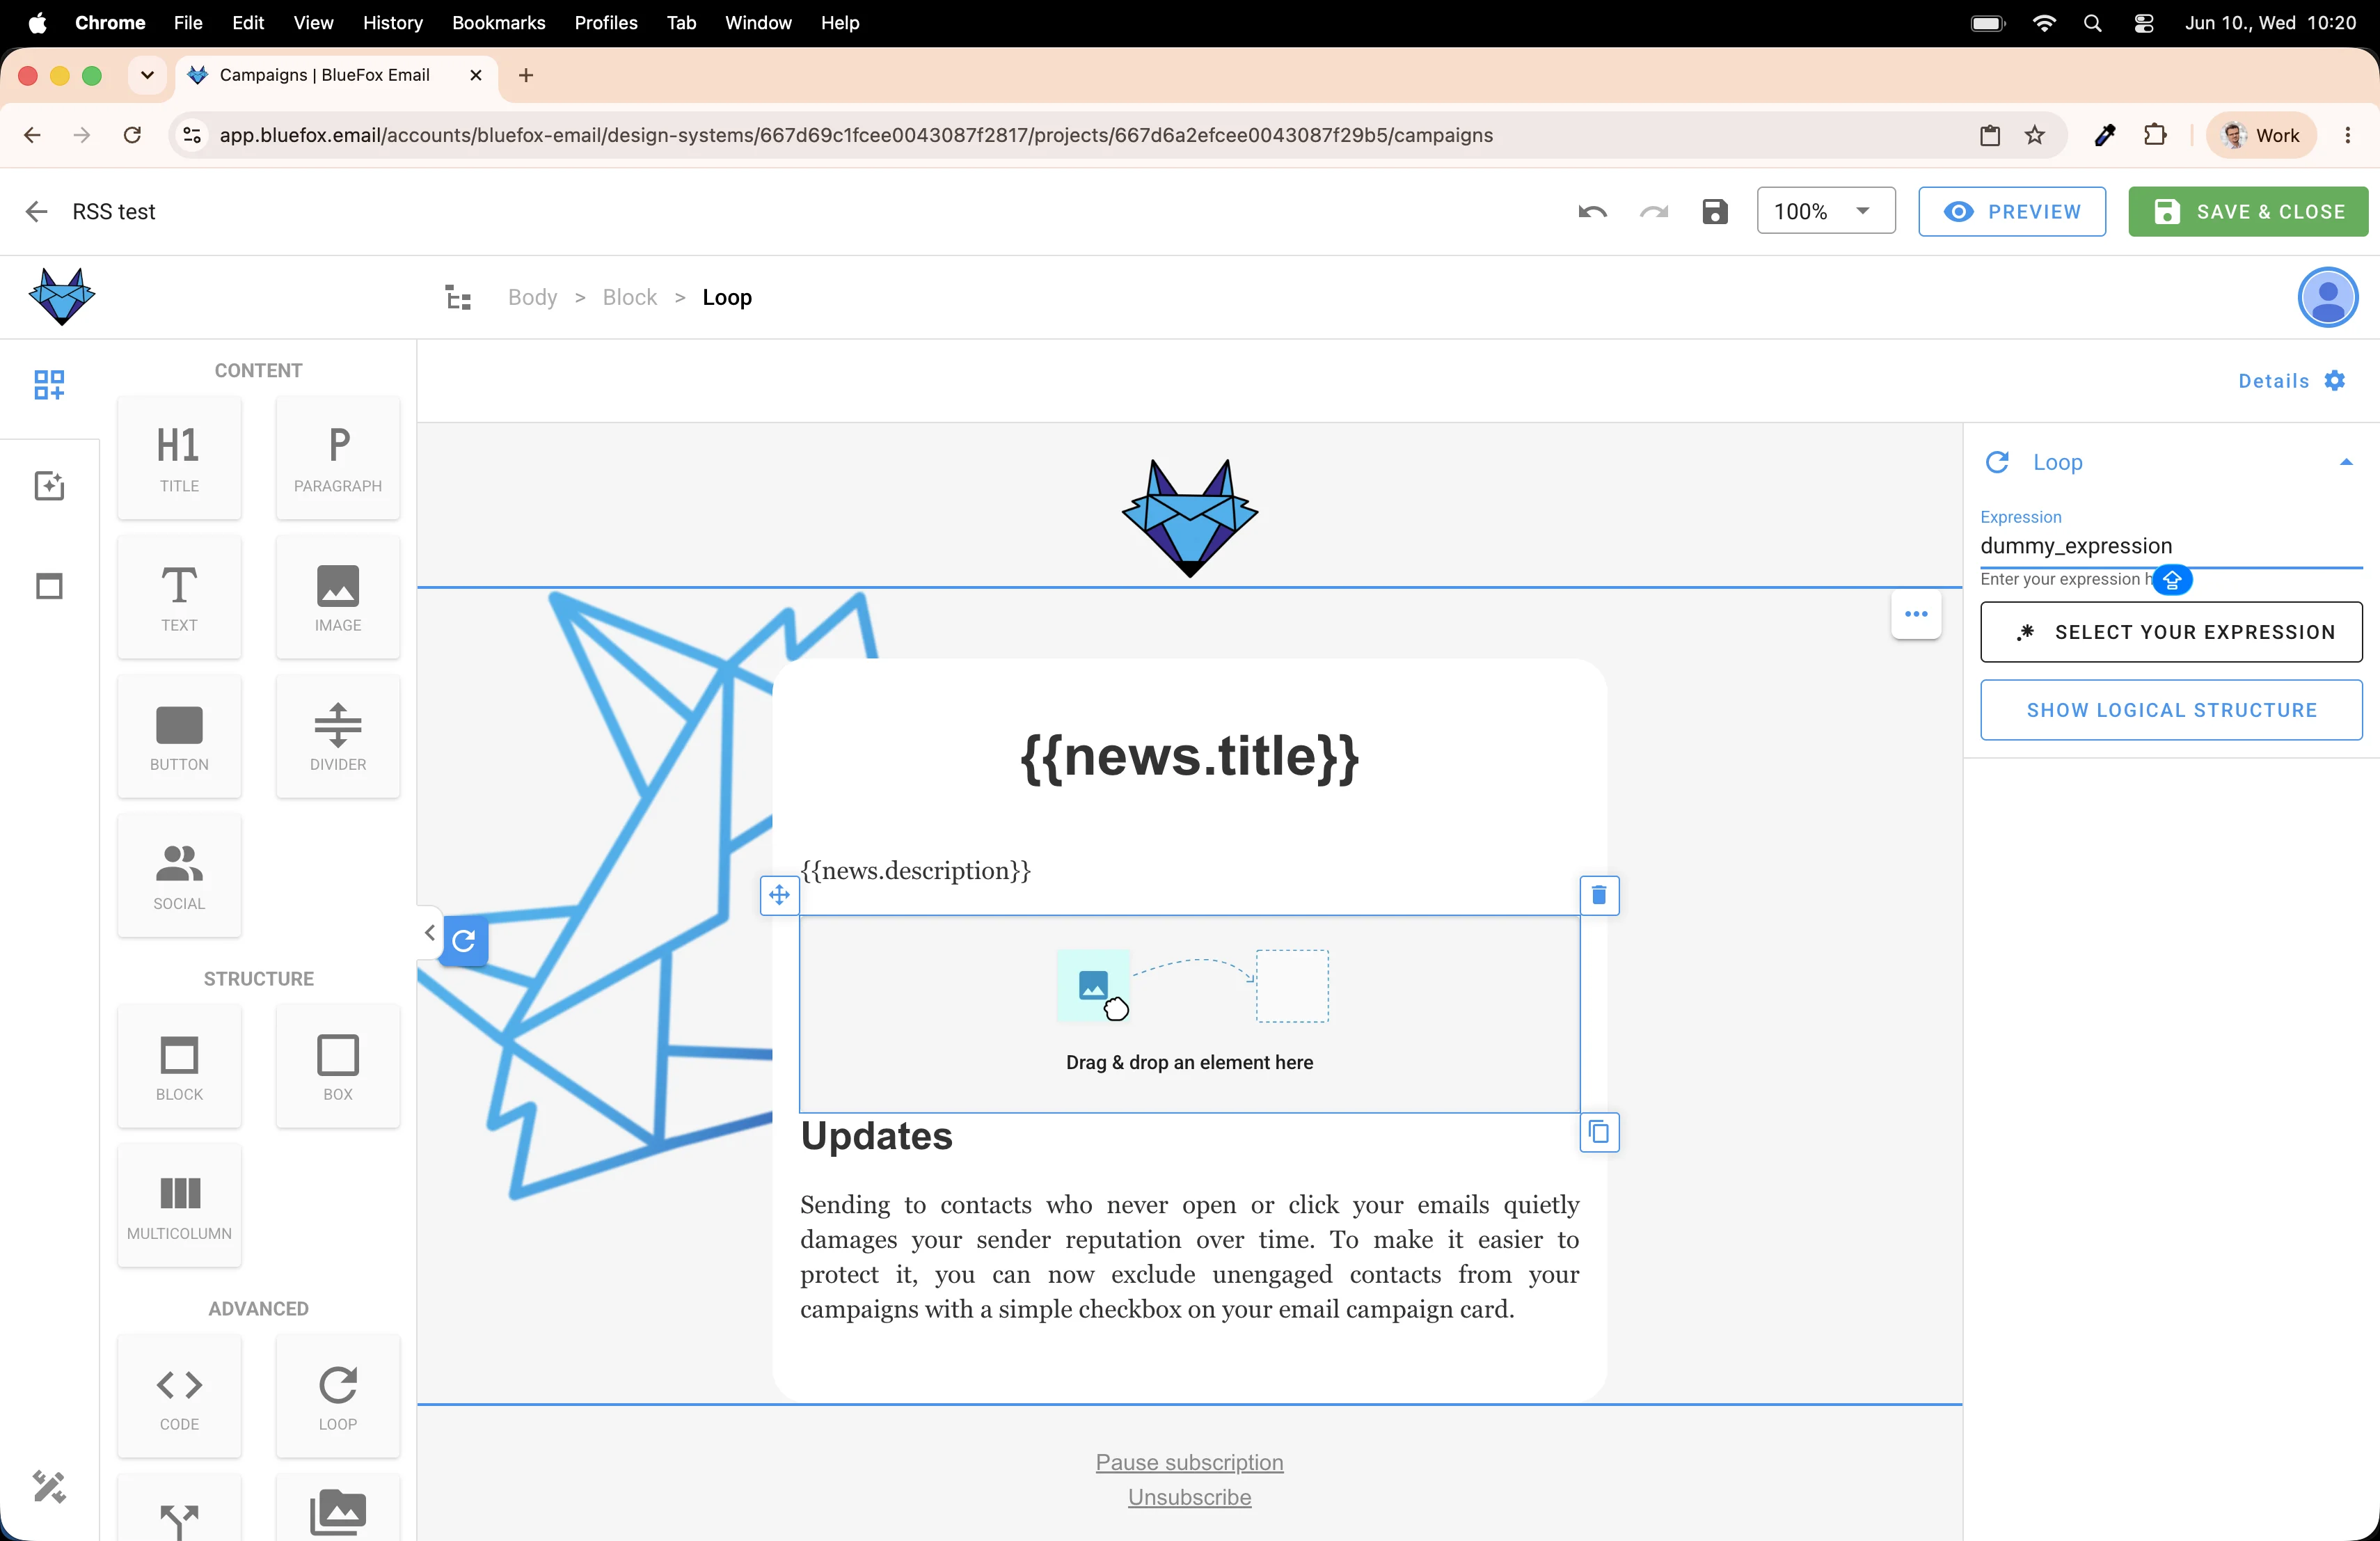
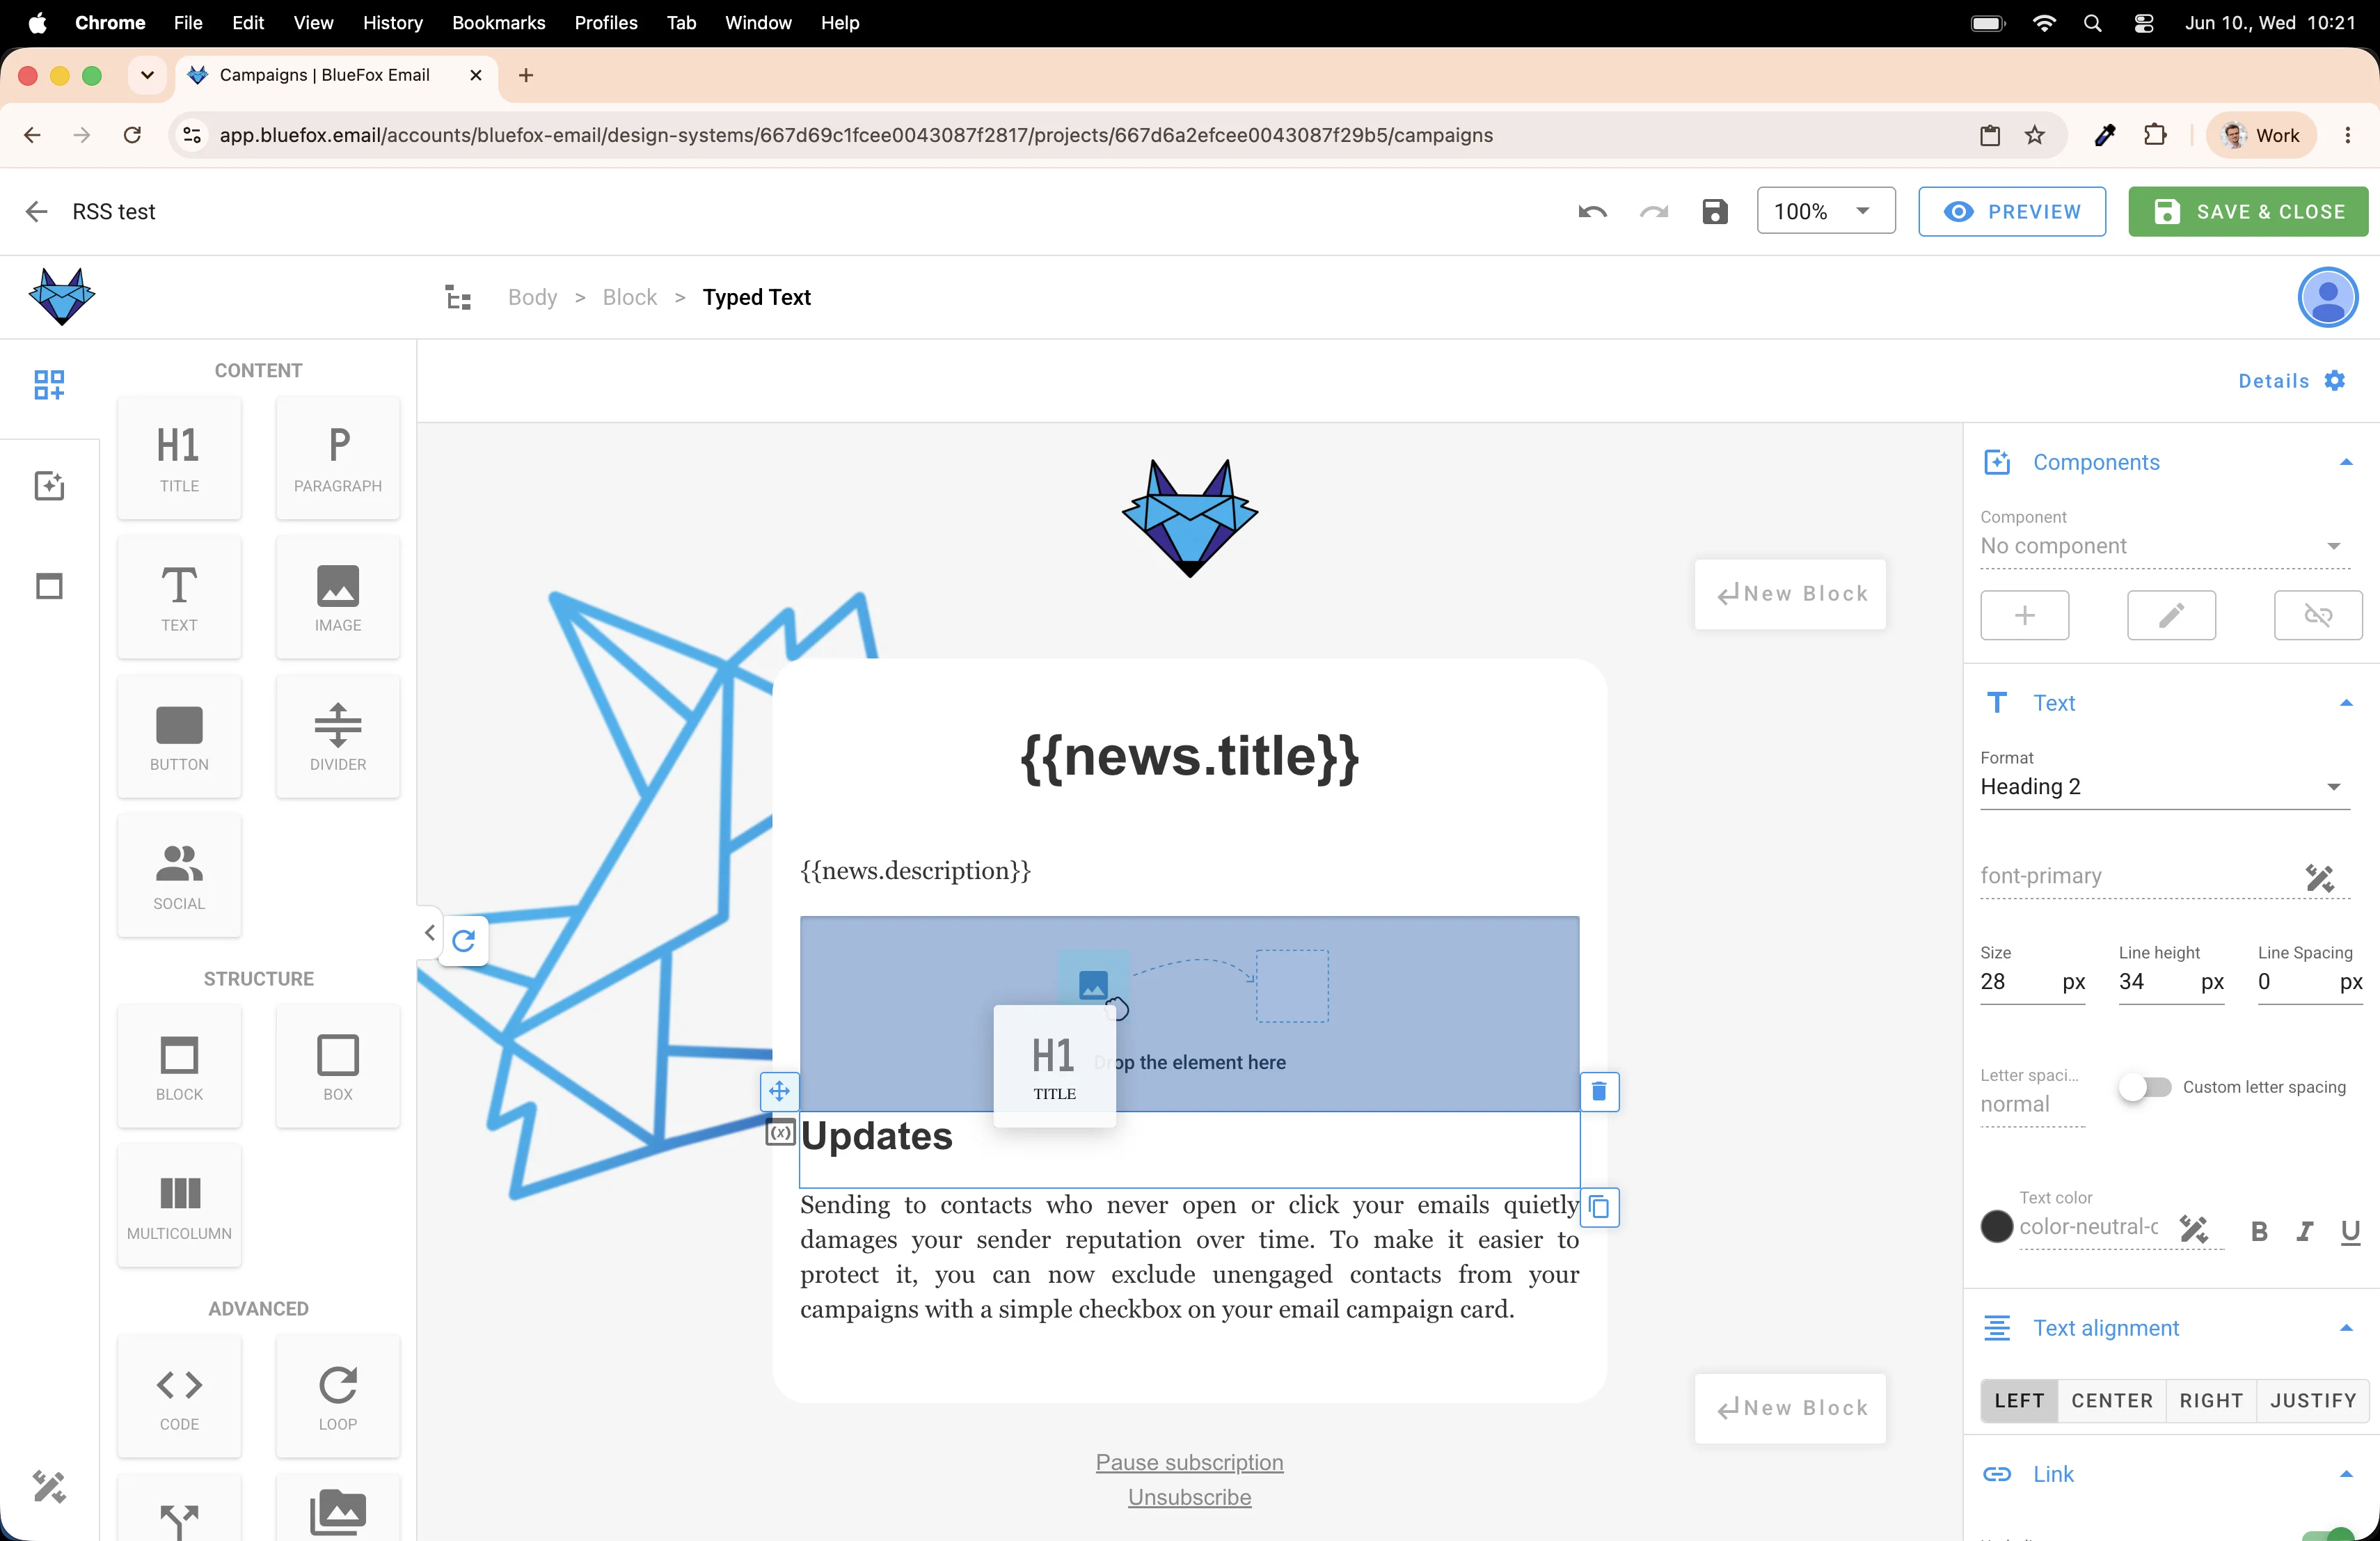
Now drop elements inside the loop and use merge tags to pull in the feed data.
Start with an H2 heading. This will become the article title.
Click the merge tag ({}) button in the toolbar...
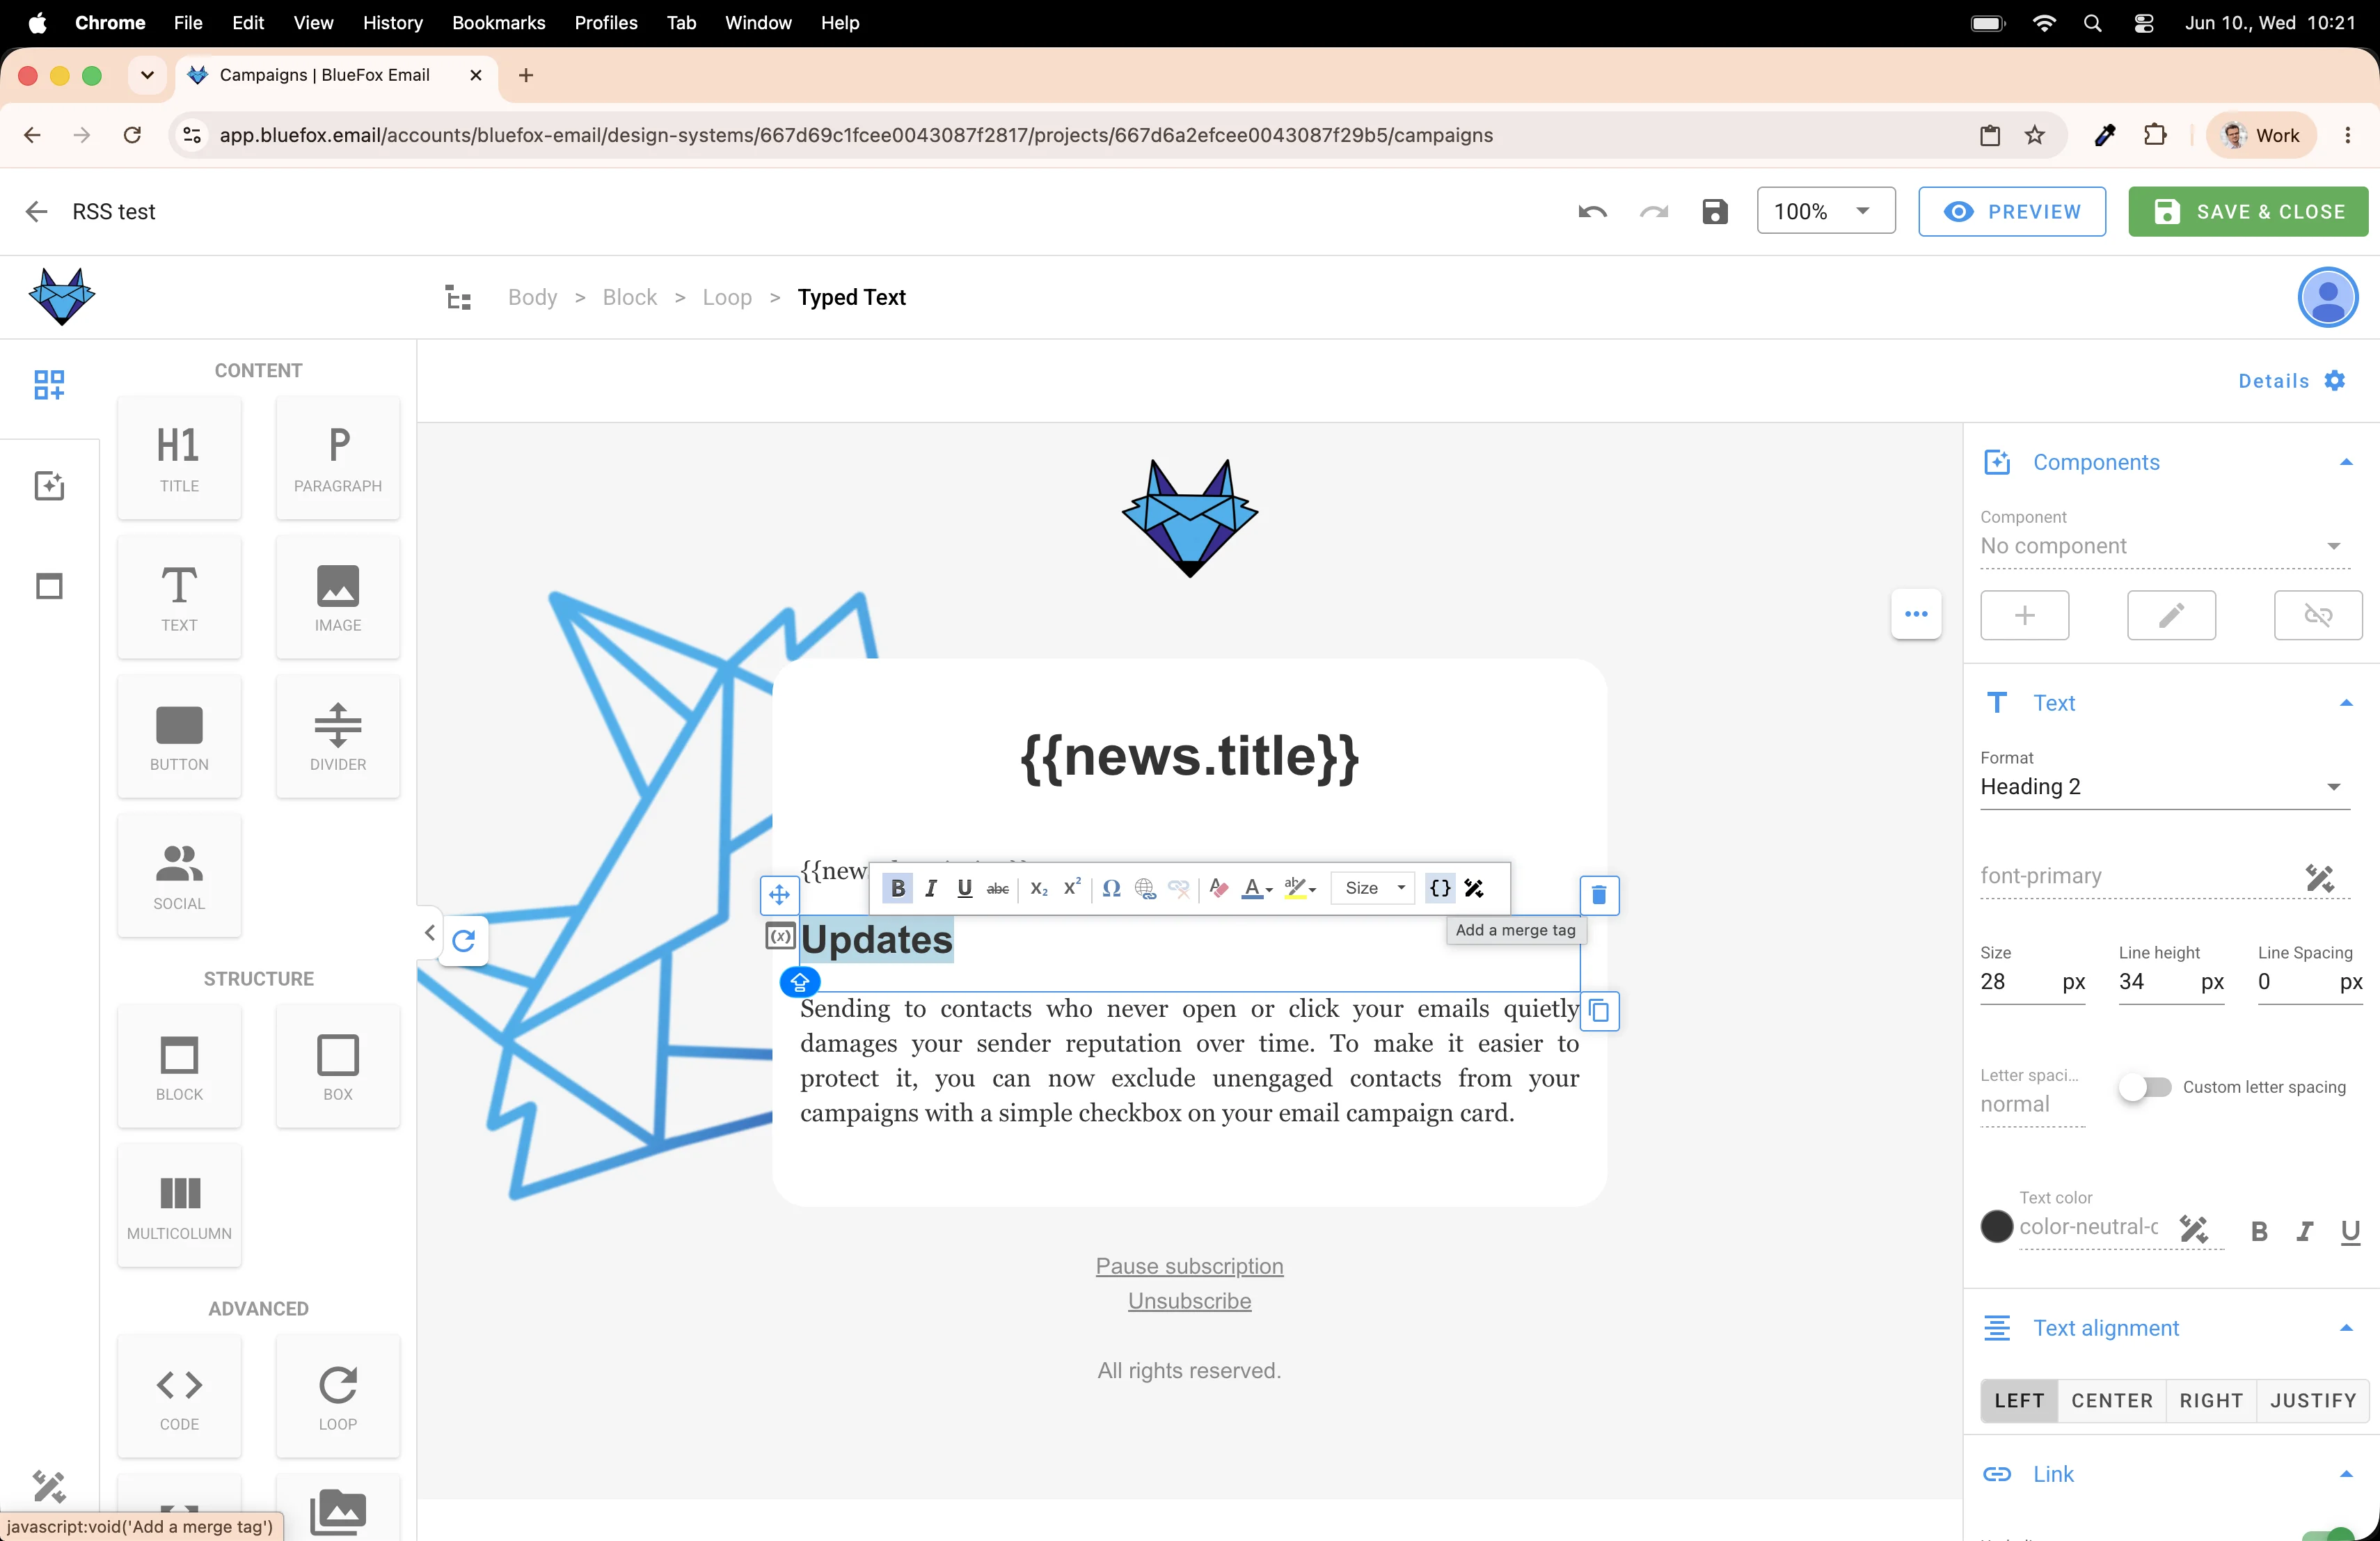
...and select this.title. Here, the keyword this refers to the actual item in the array.
Next, add a Paragraph for the article description.
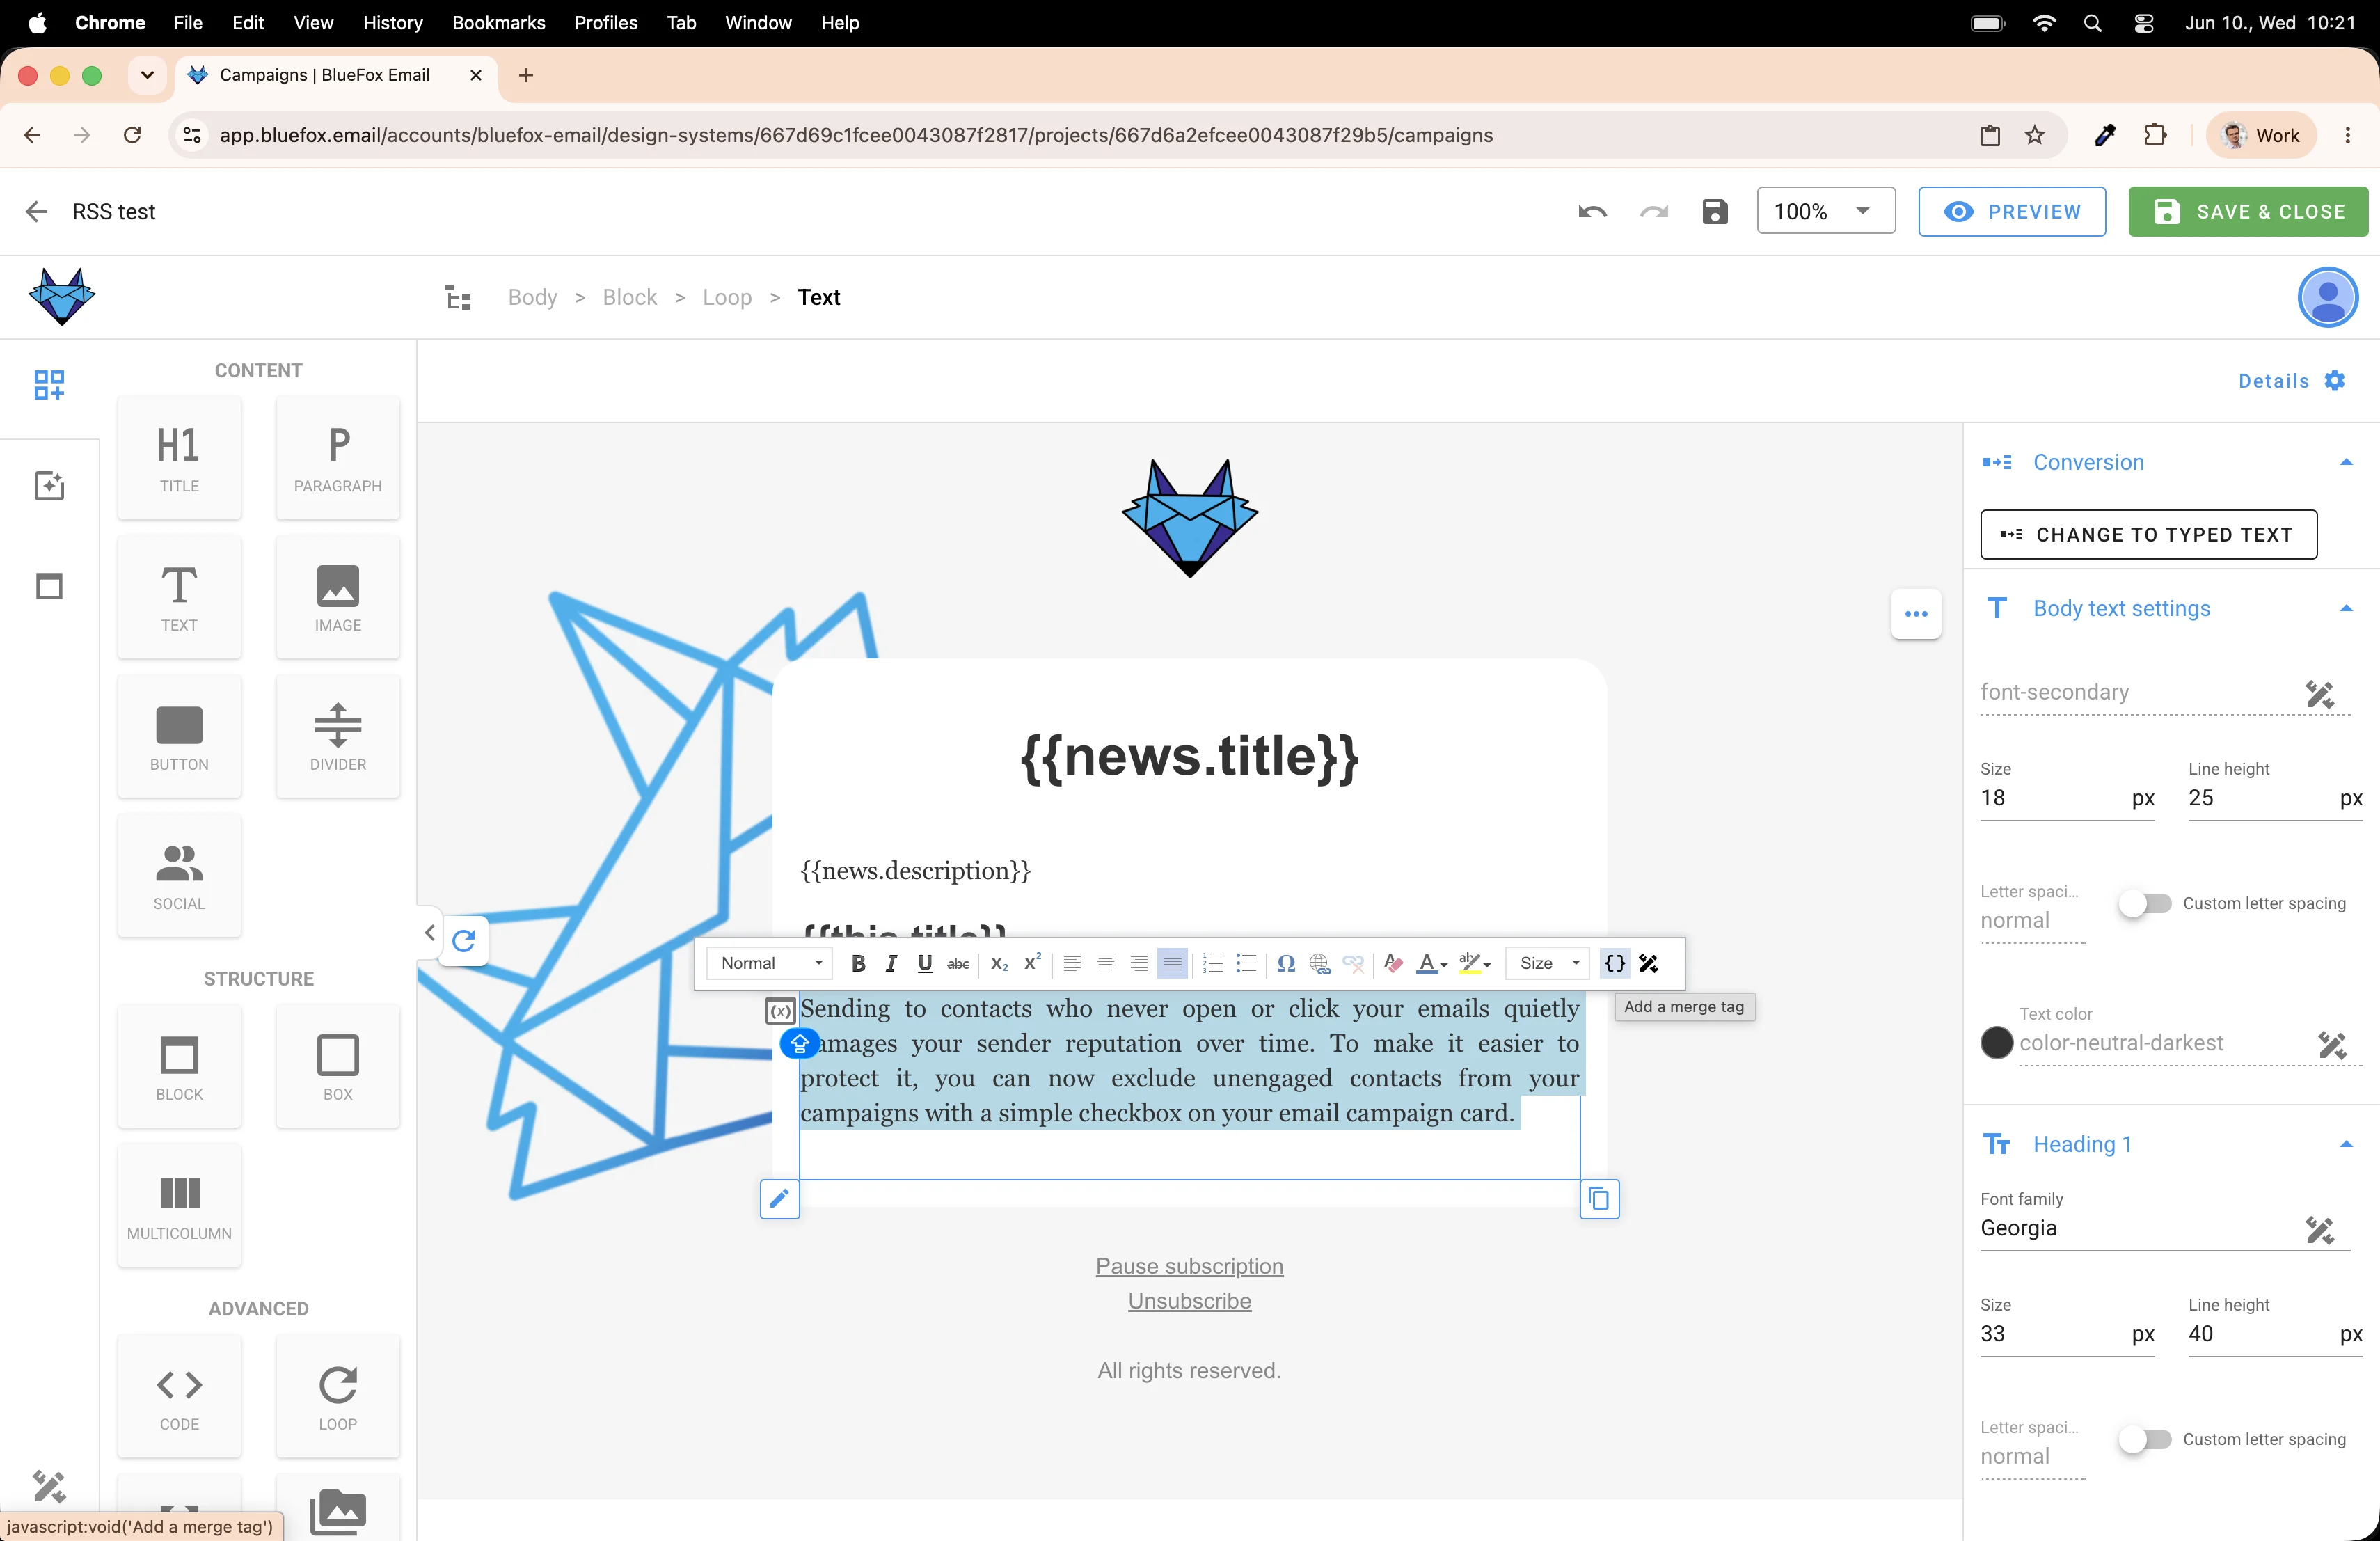
Use the merge tag picker again and select this.description.
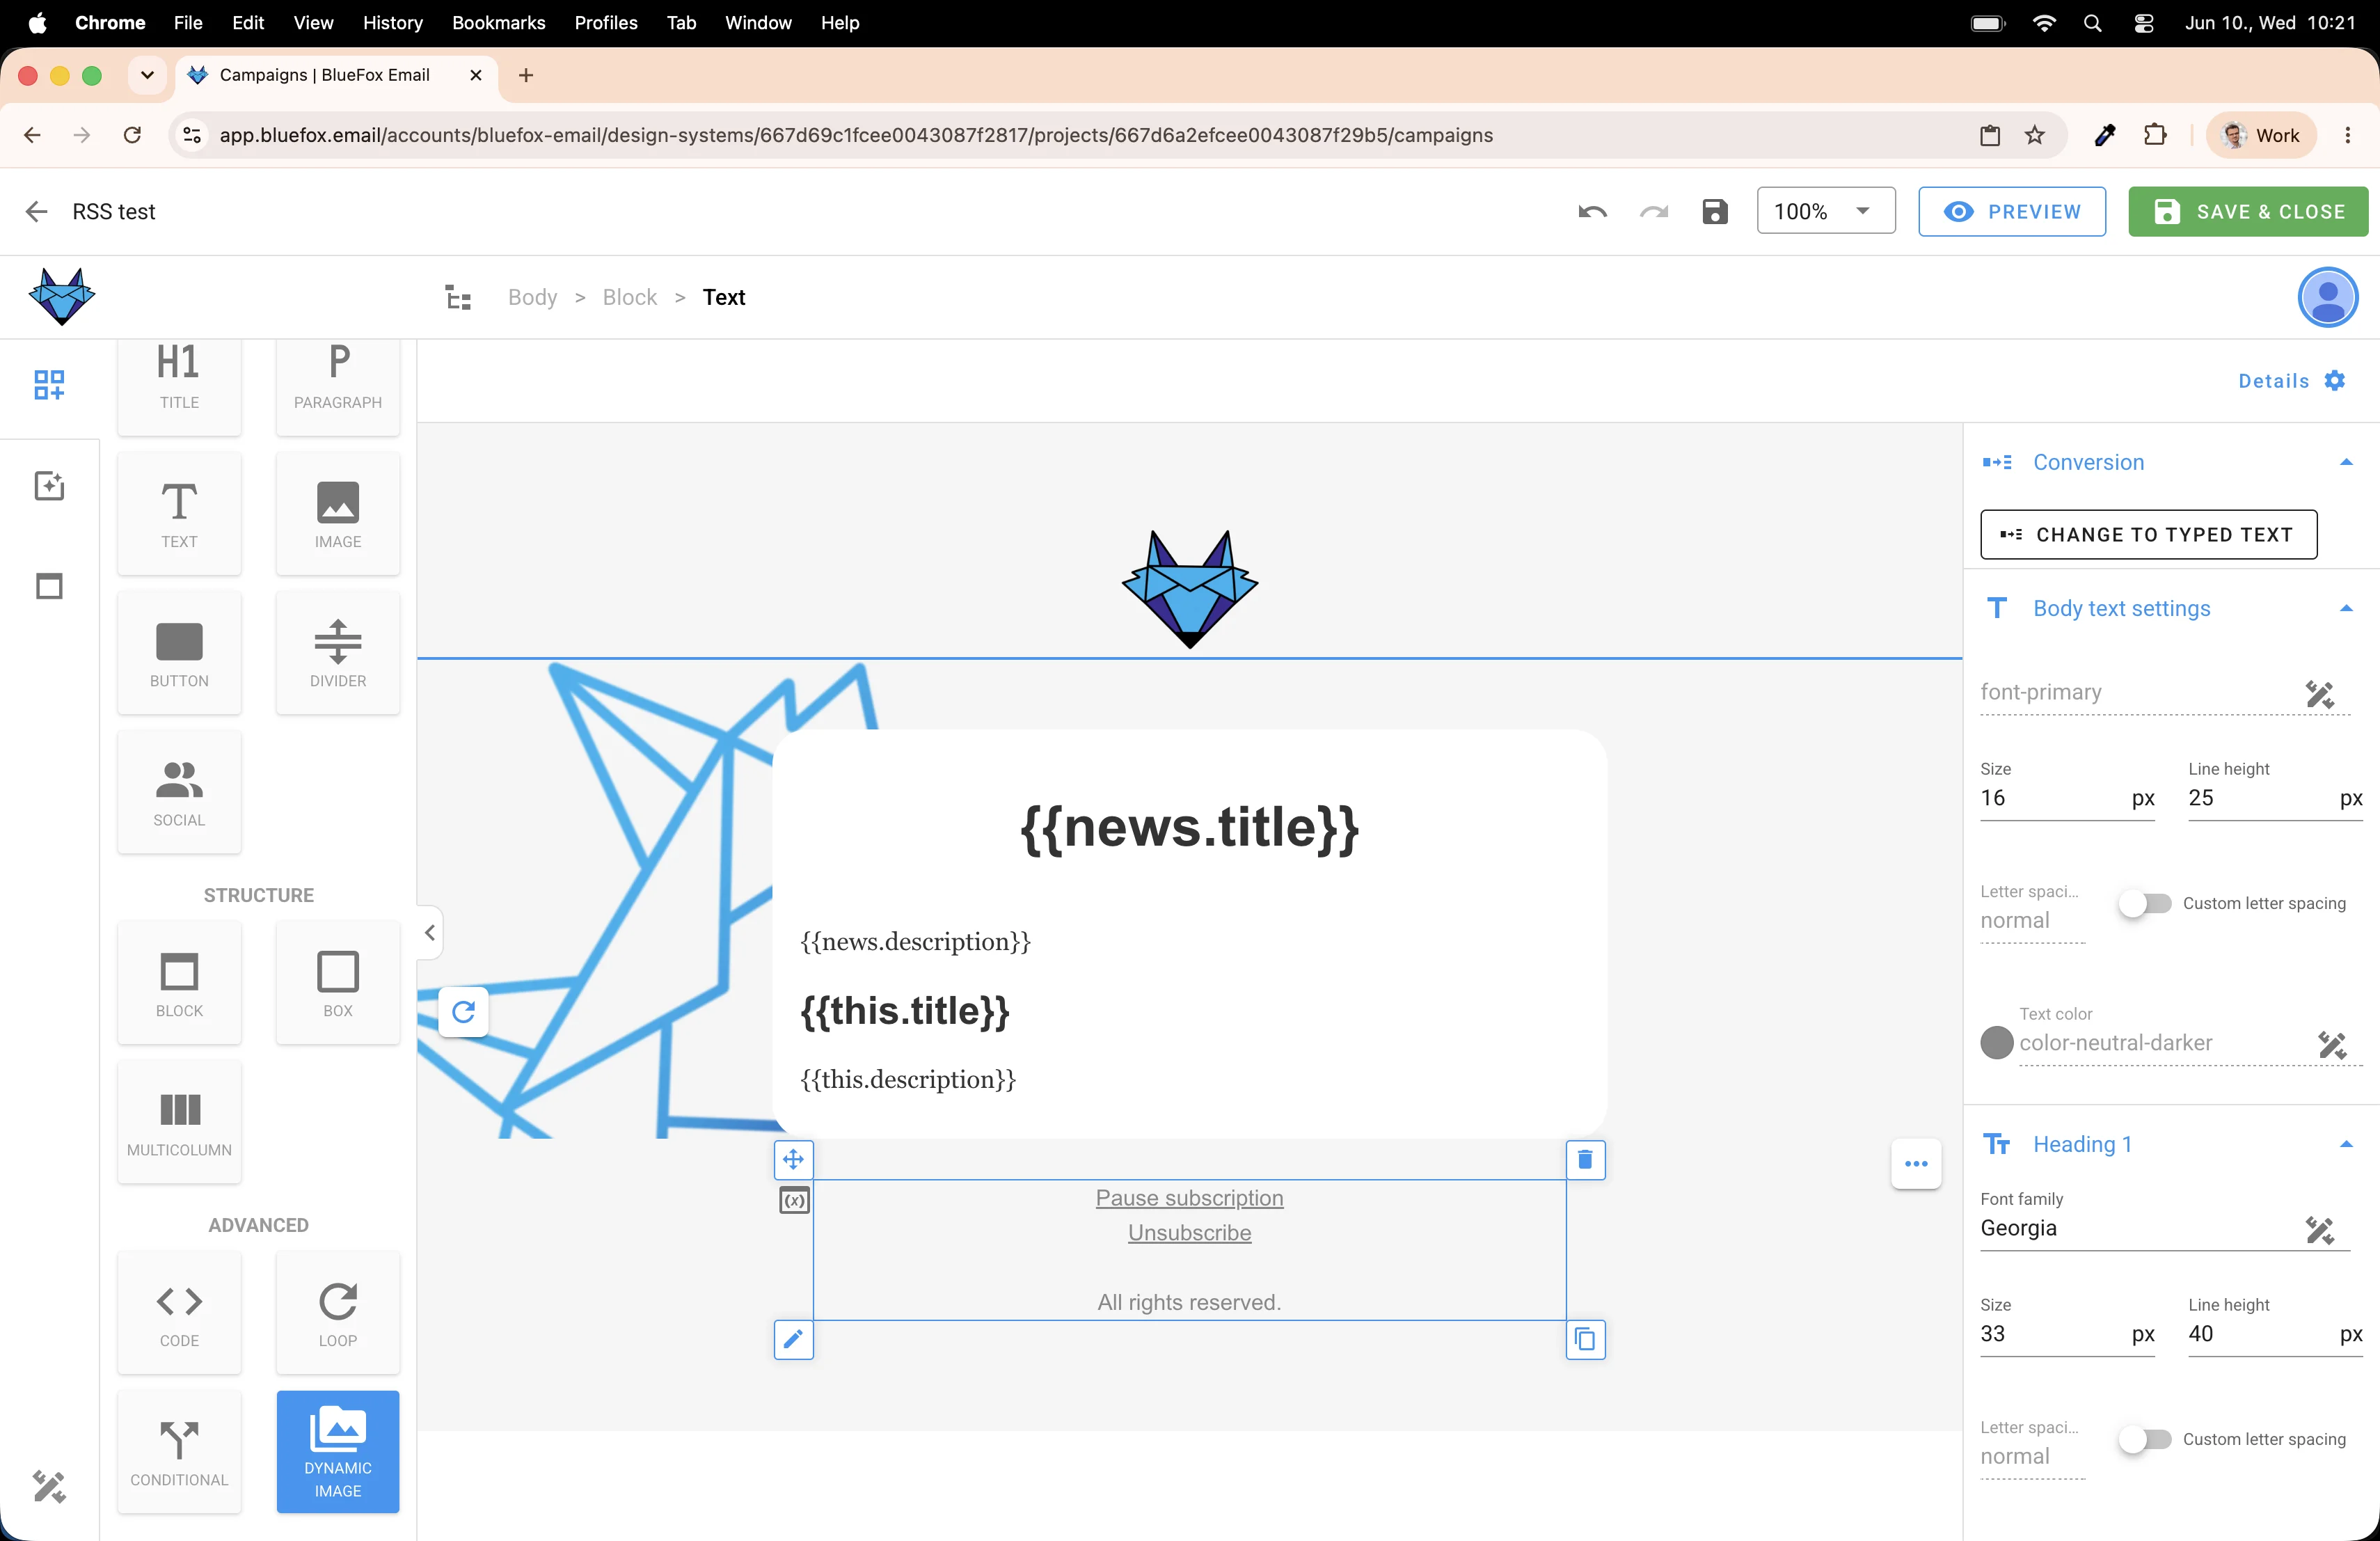
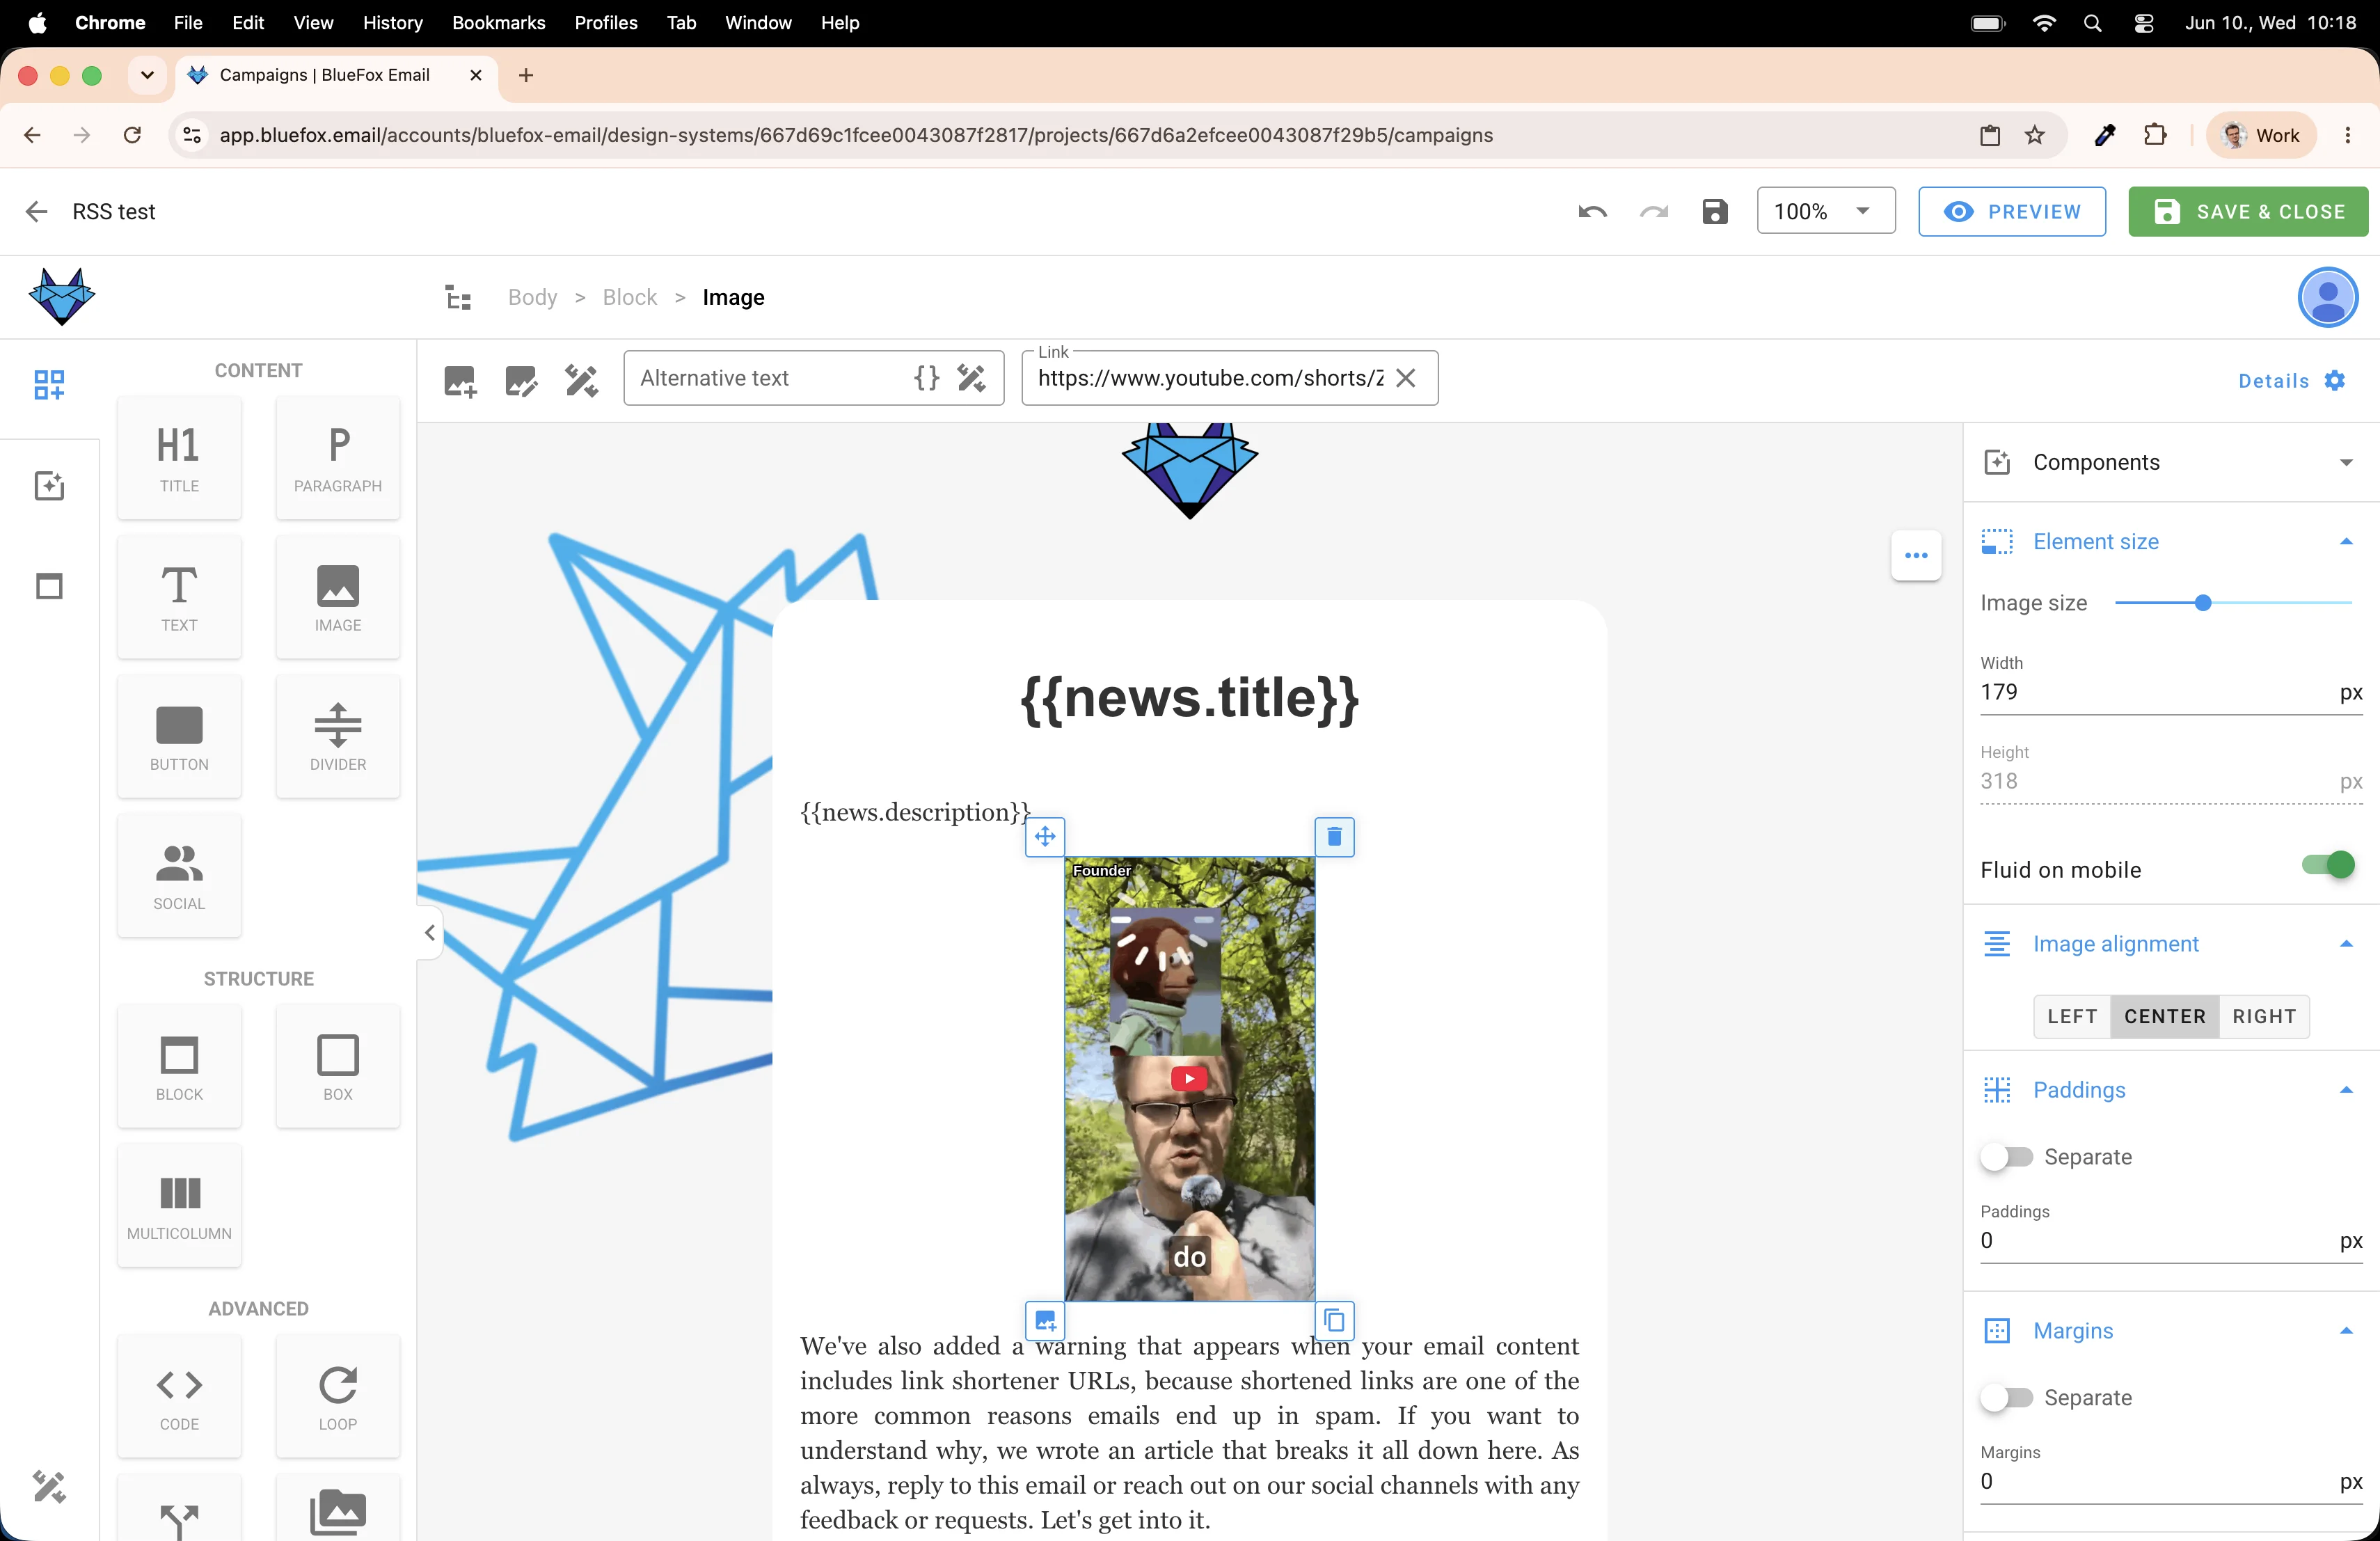
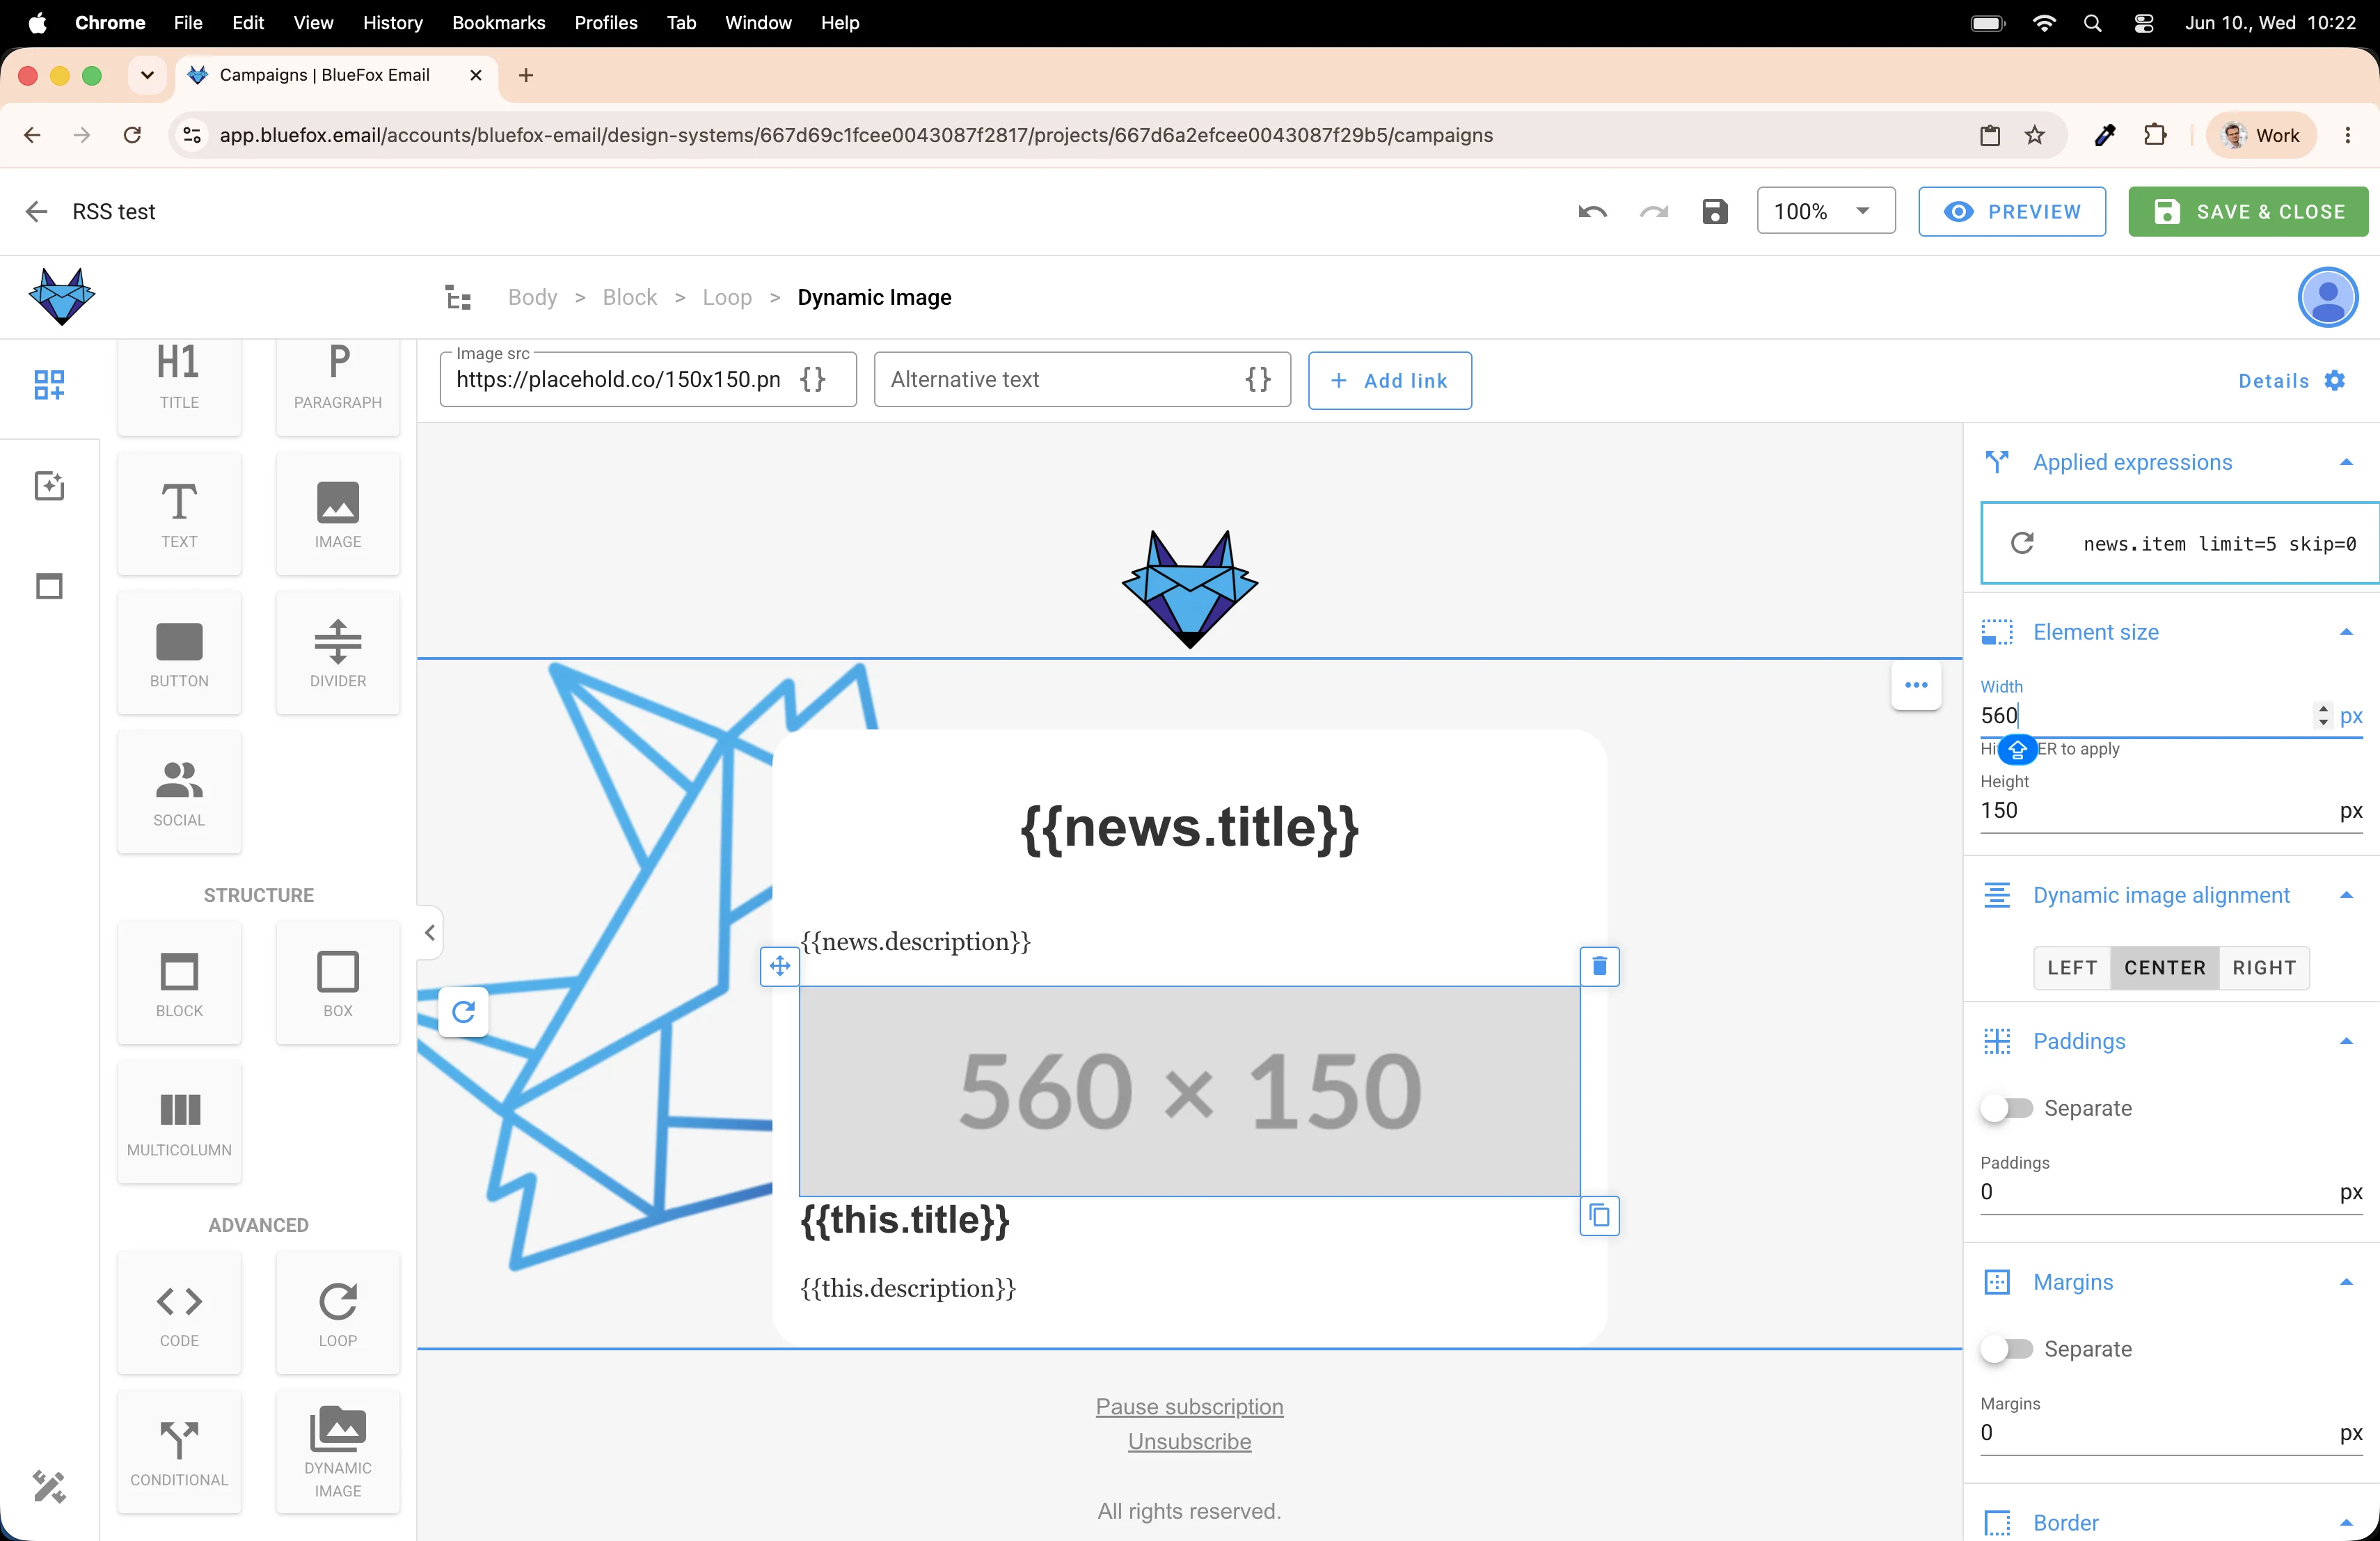
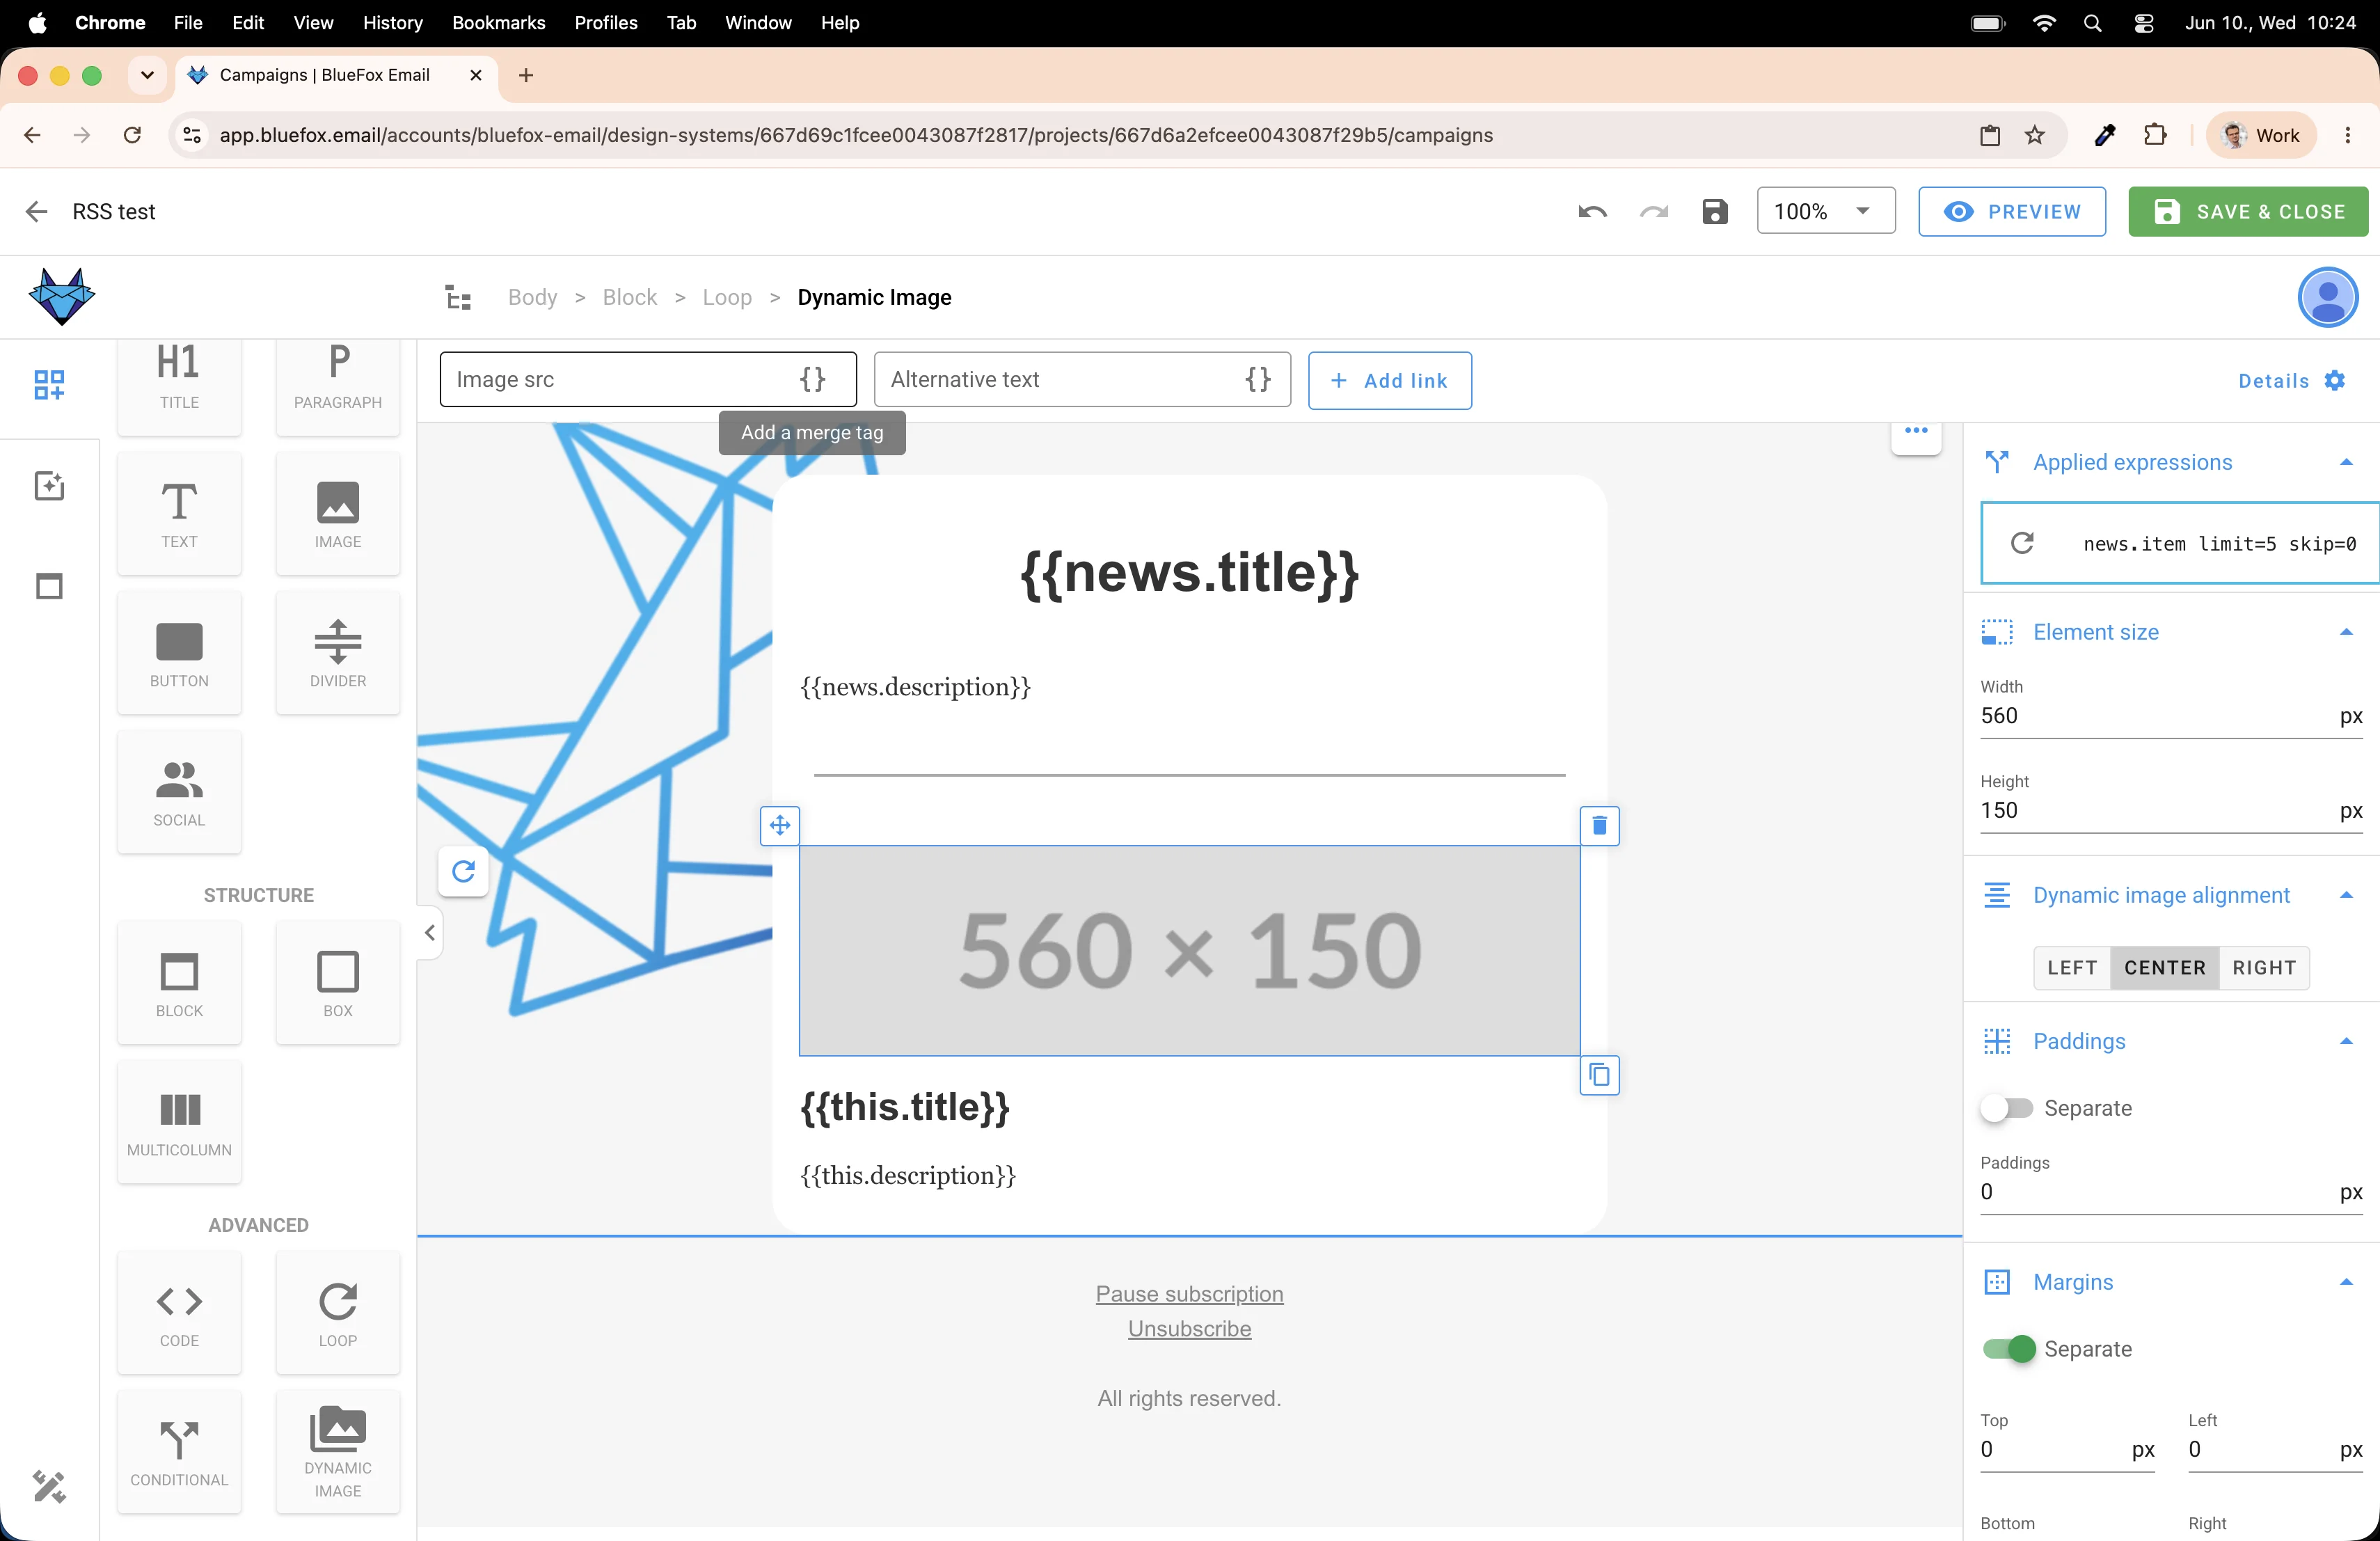
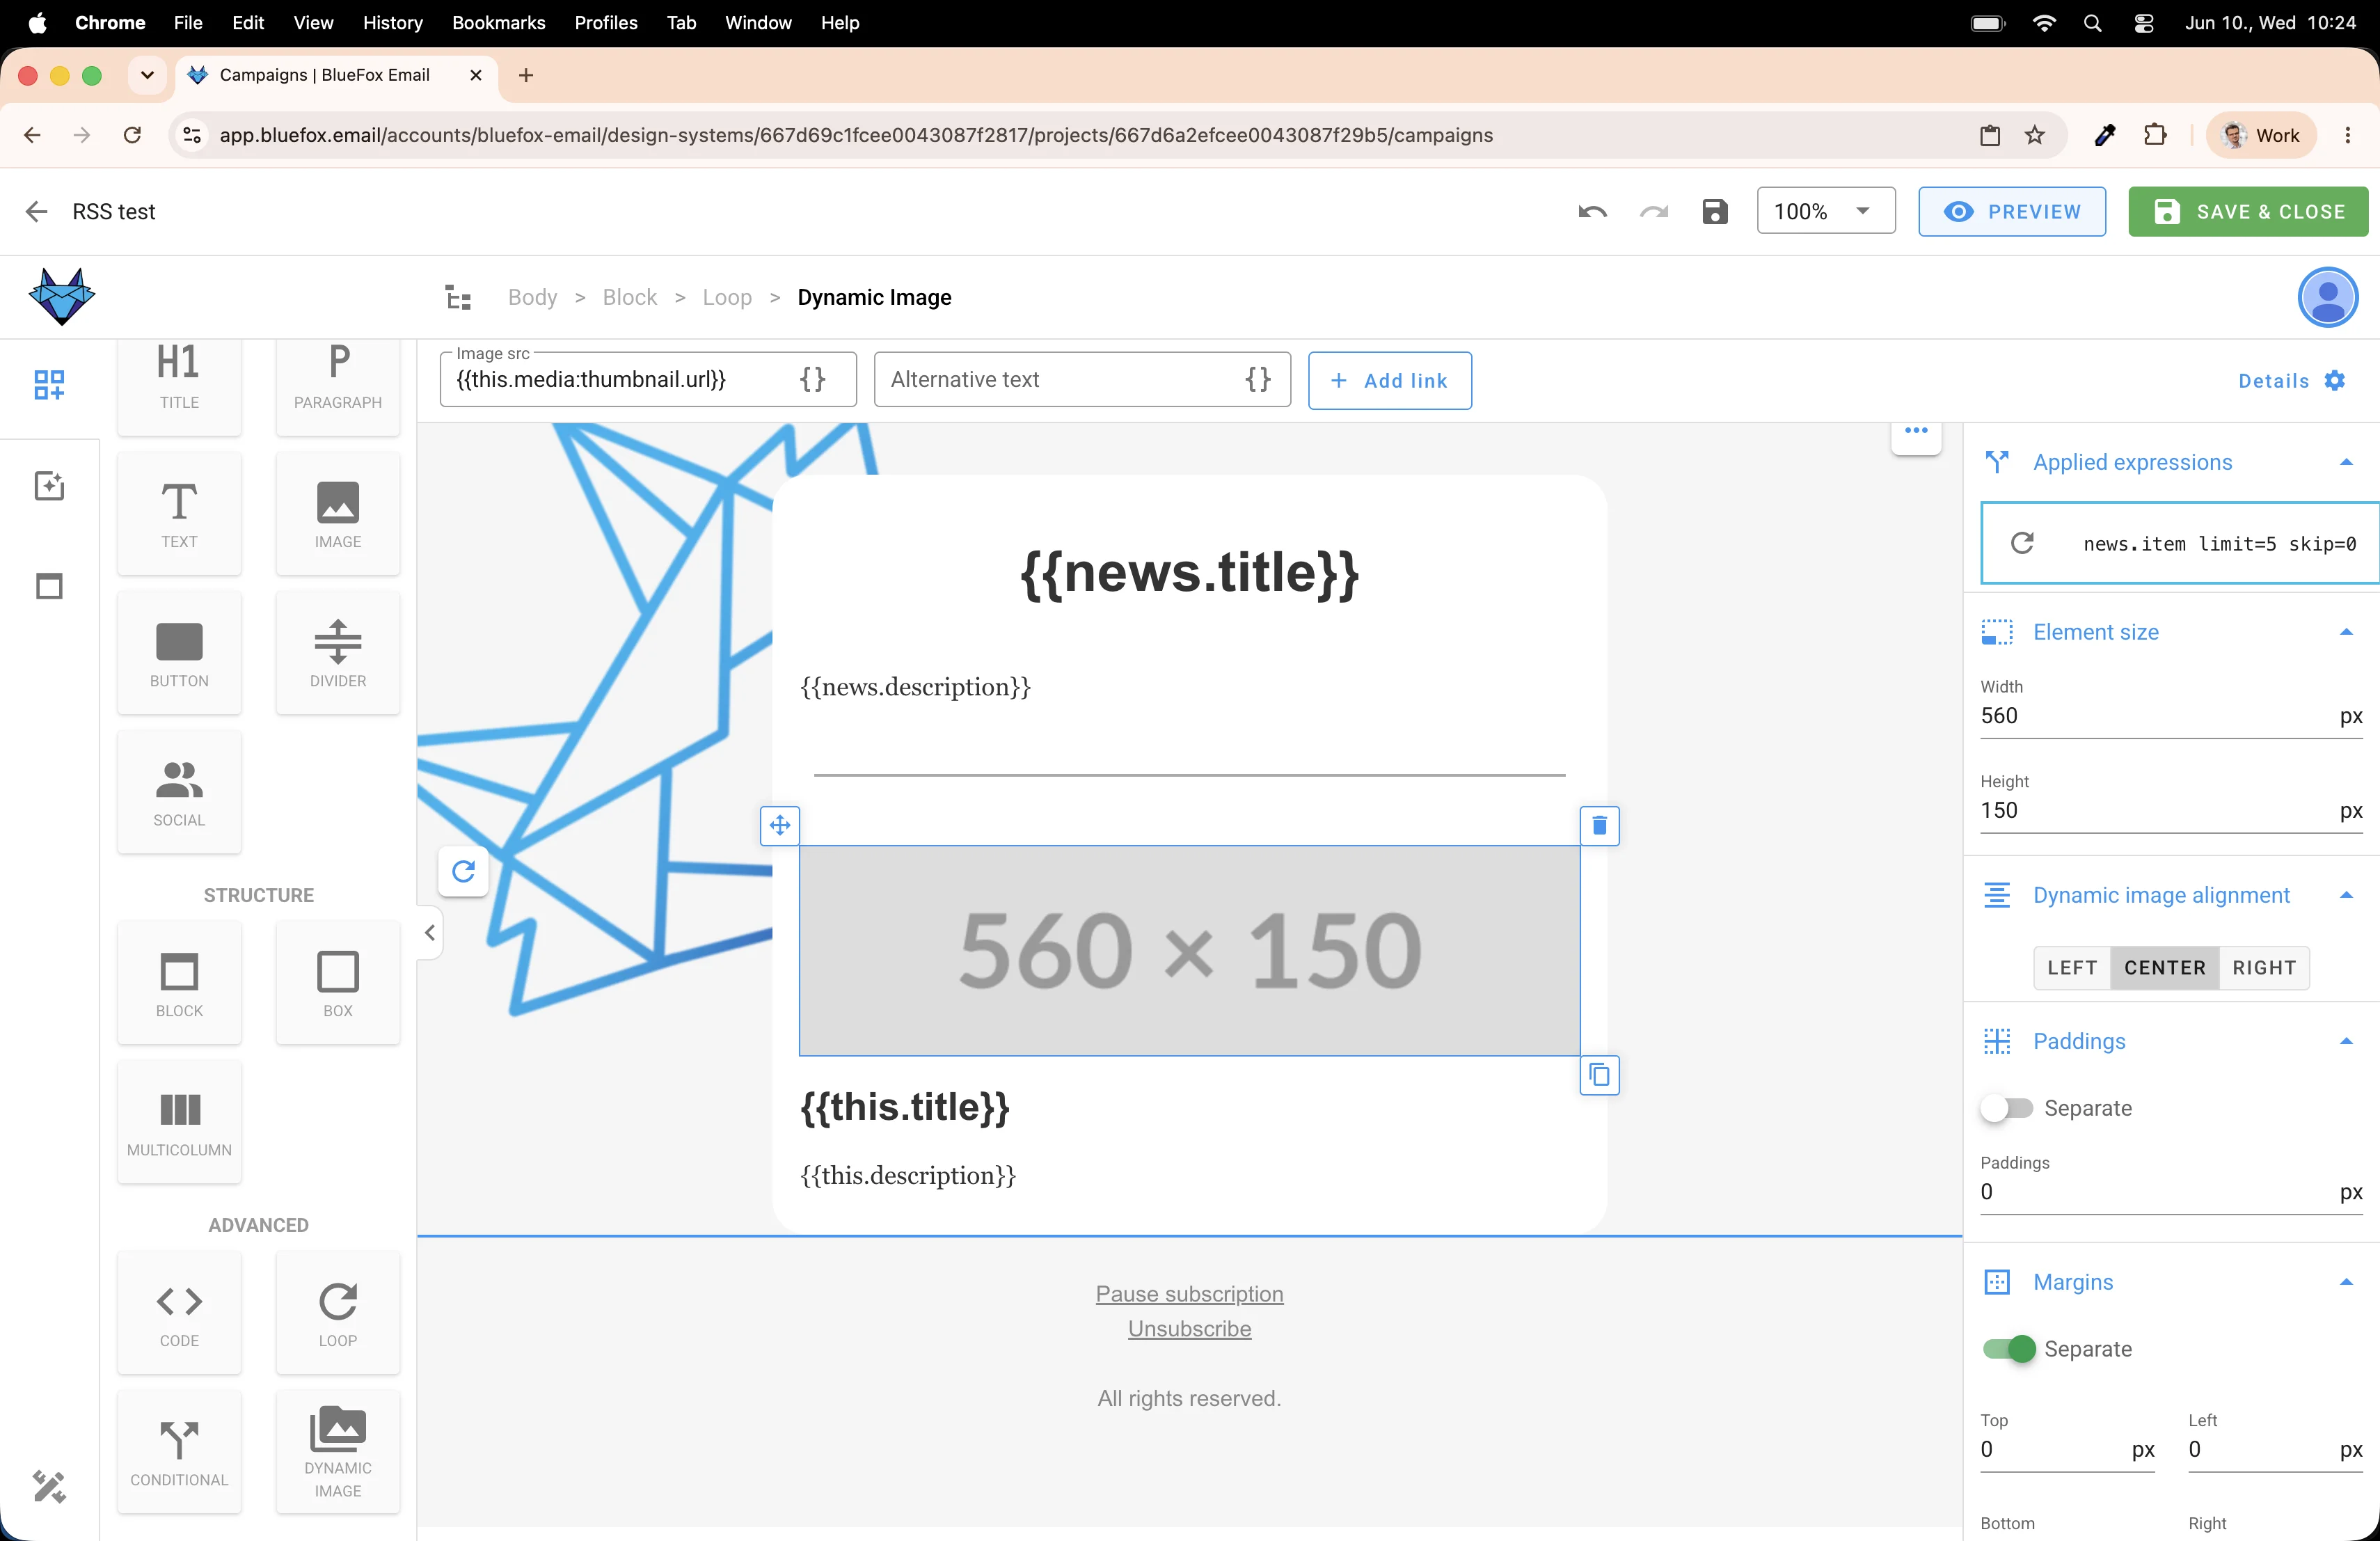
Now drag in a Dynamic Image, not a regular image element. We need a dynamic one because the image URL comes from the feed at send time. Regular image elements can only handle static URLs.
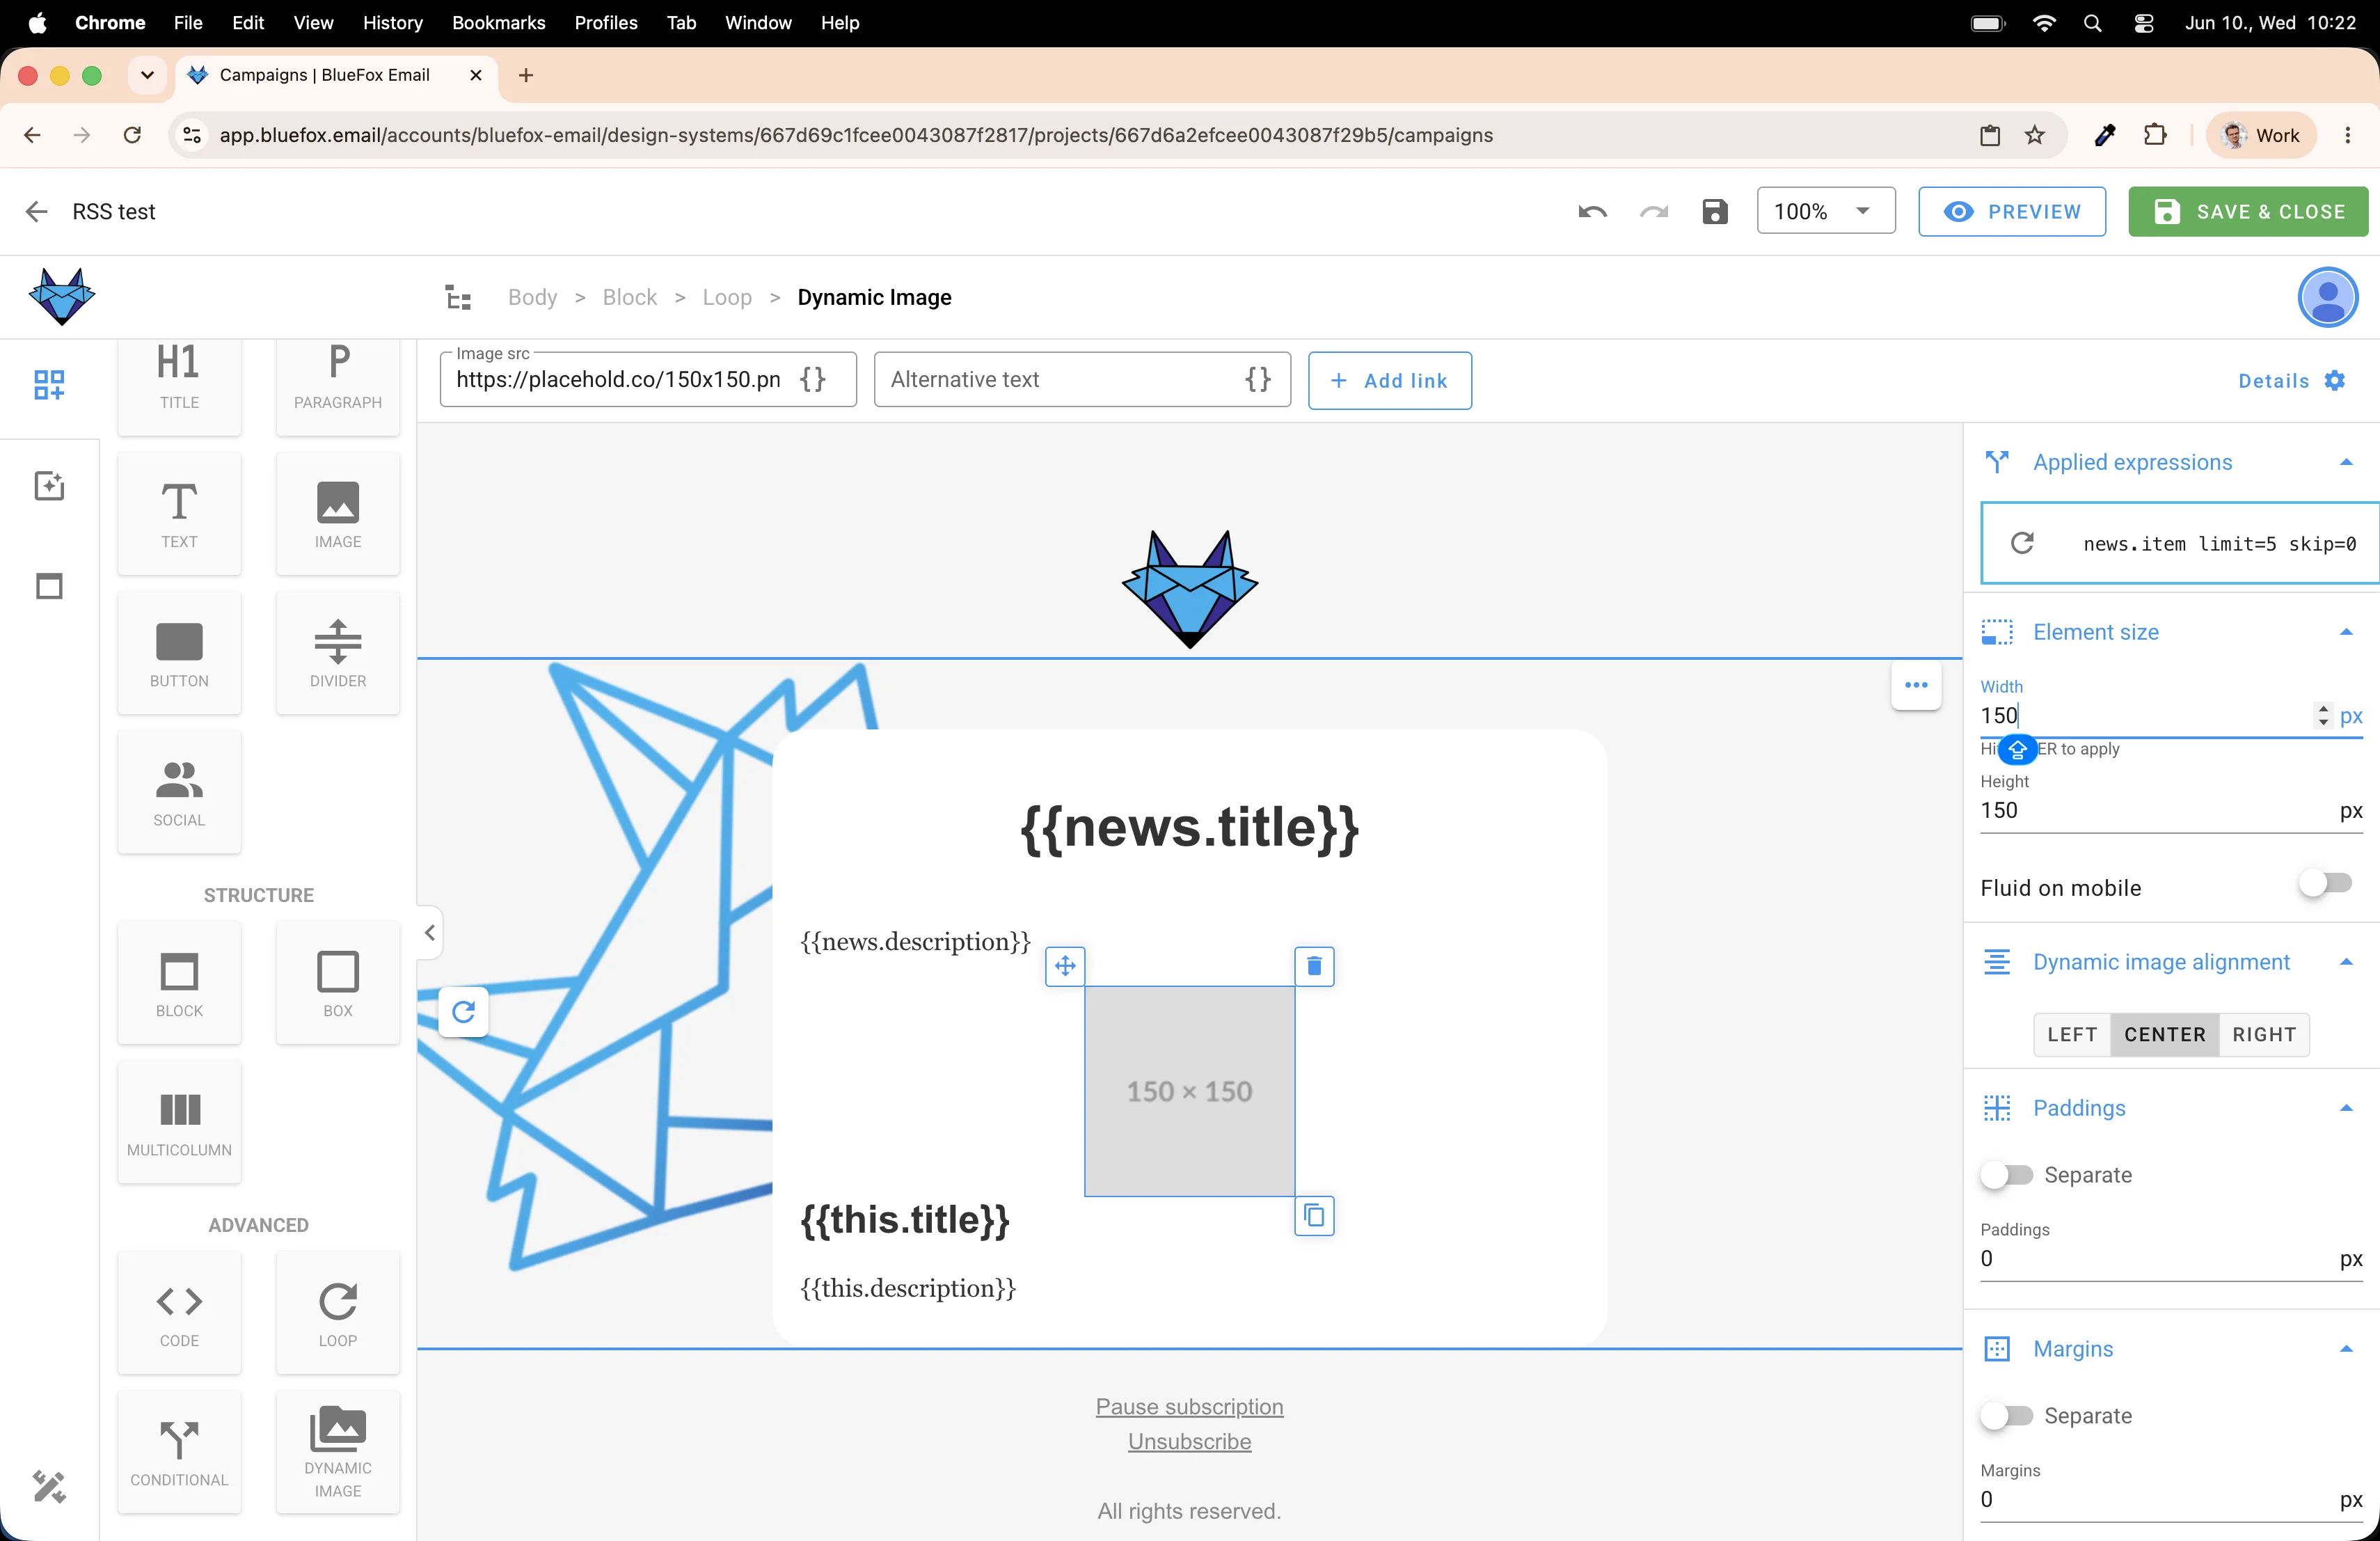
Set a sensible width so it fits nicely in the layout. As you can see, at 'edit time', it's just a placeholder image, since the real image will be used at send time as explained earlier.
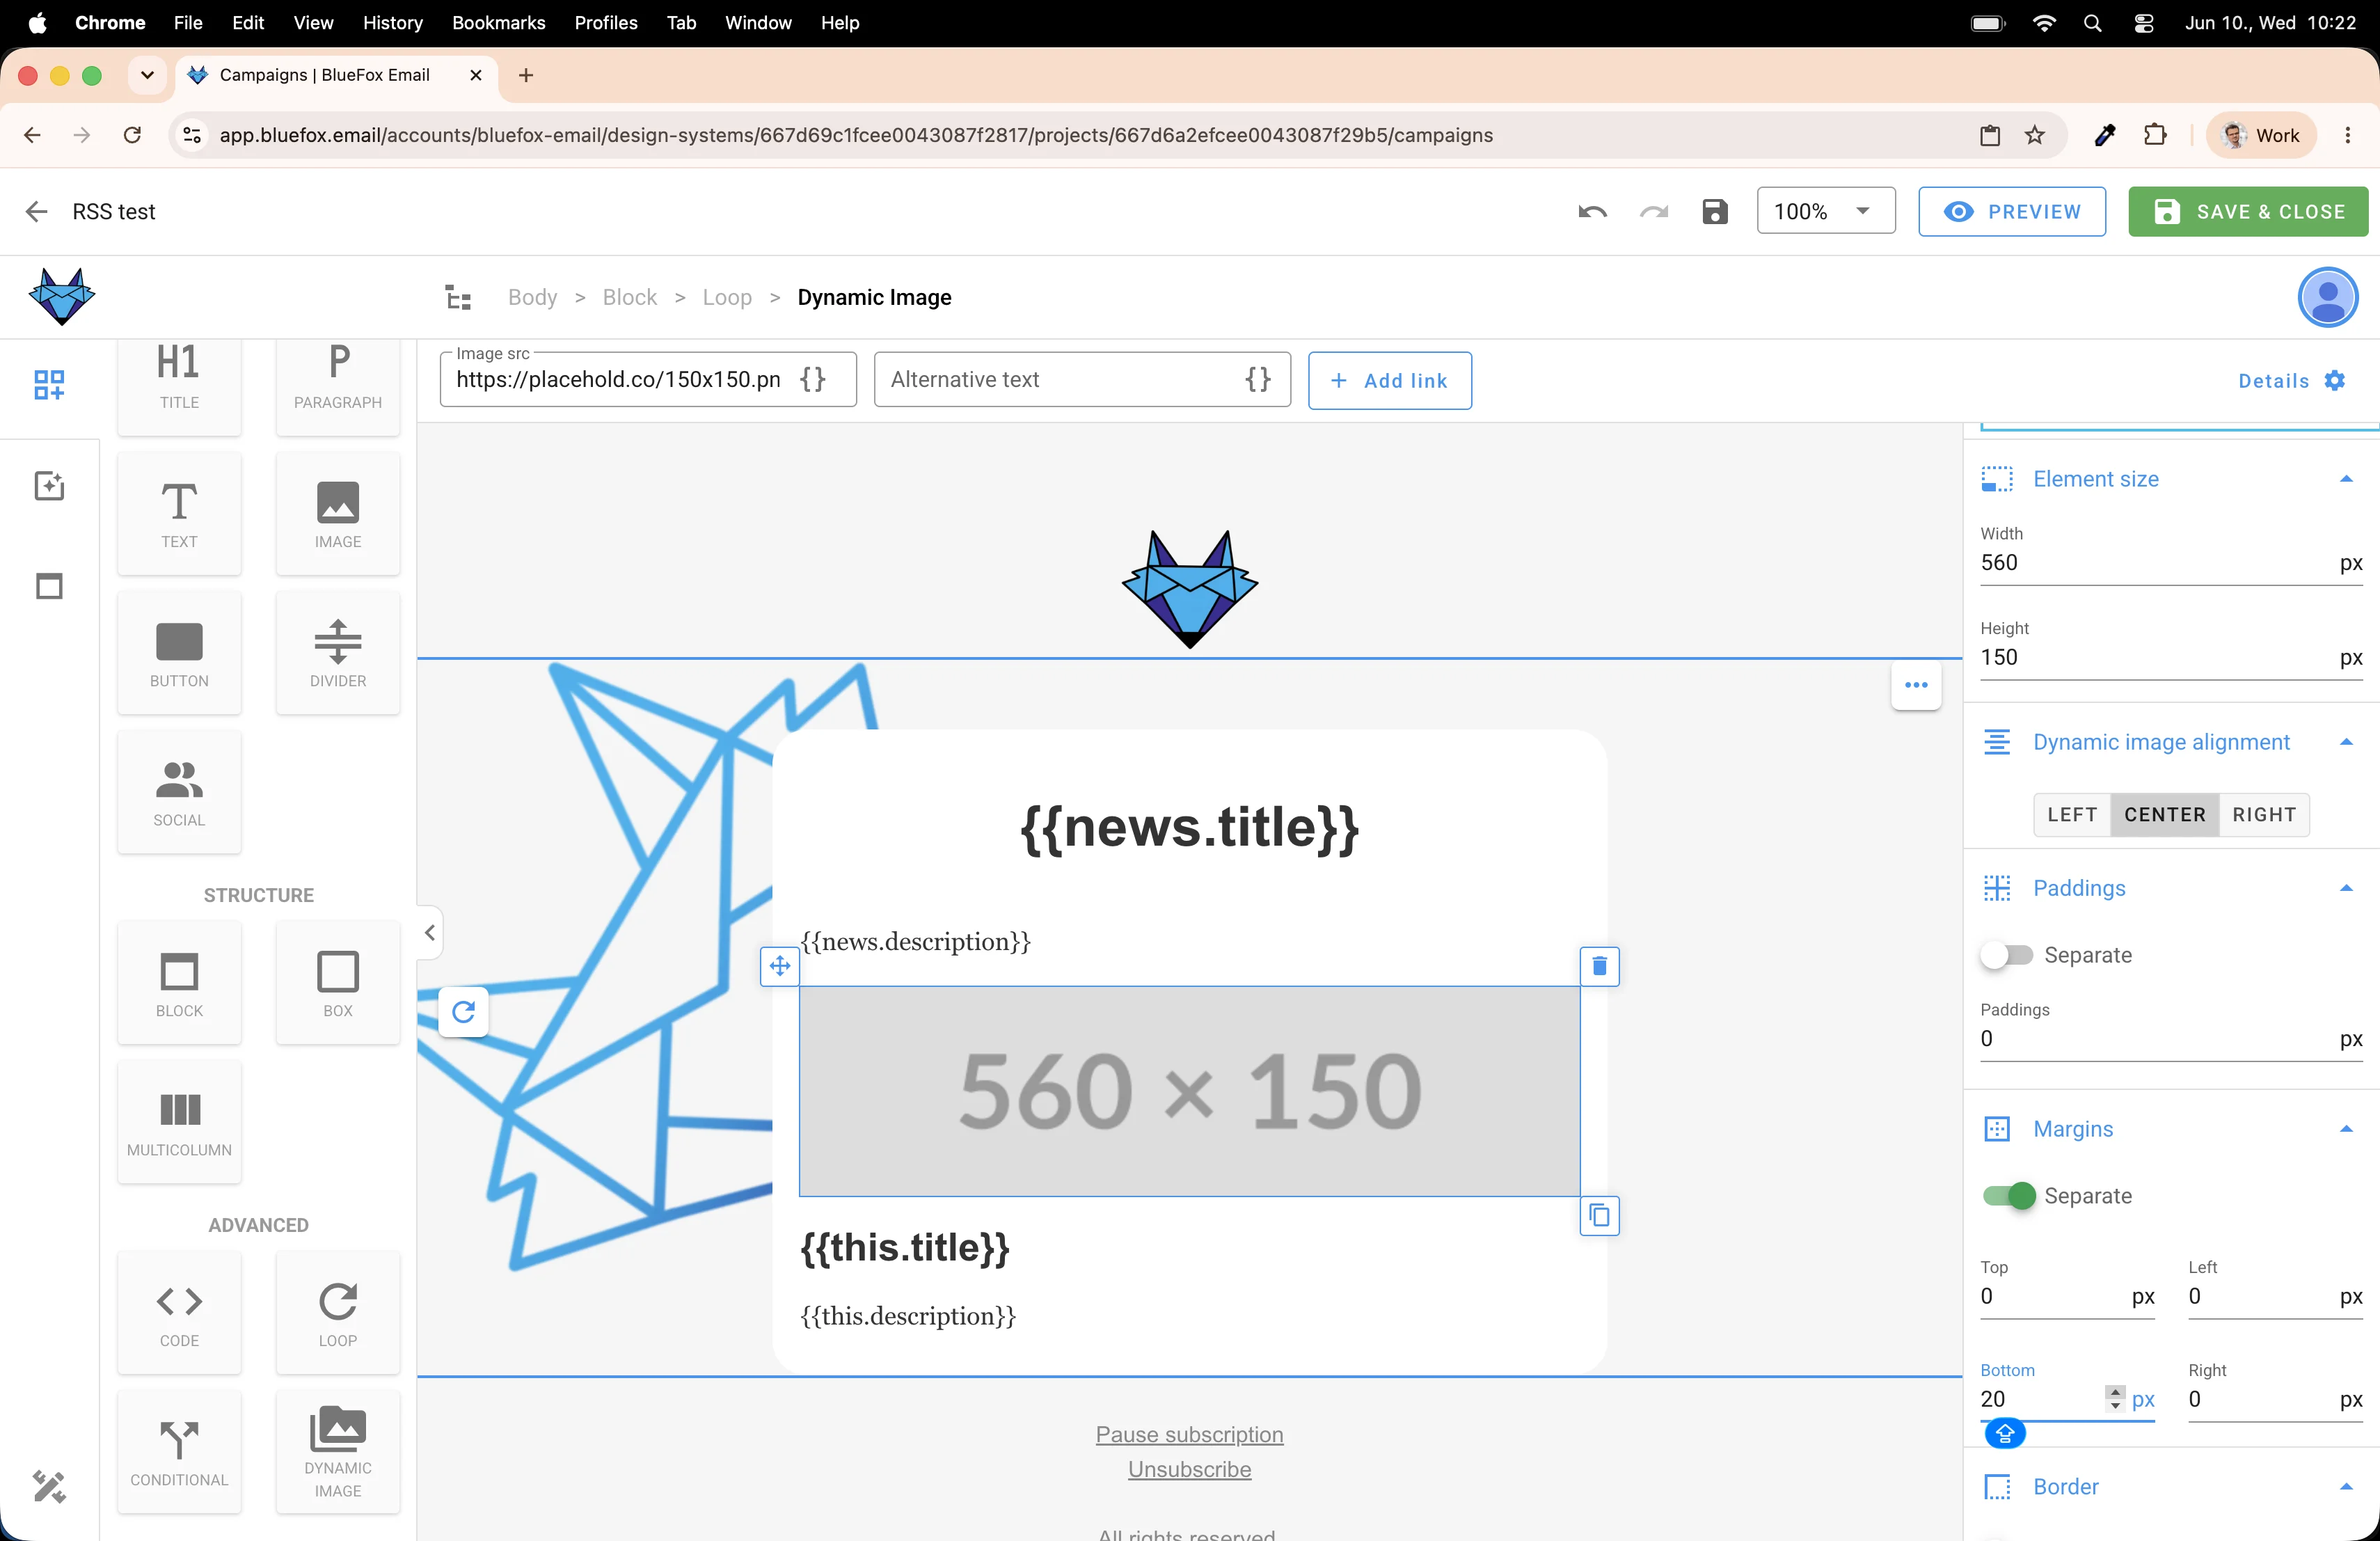
Add some padding so it doesn't feel cramped.
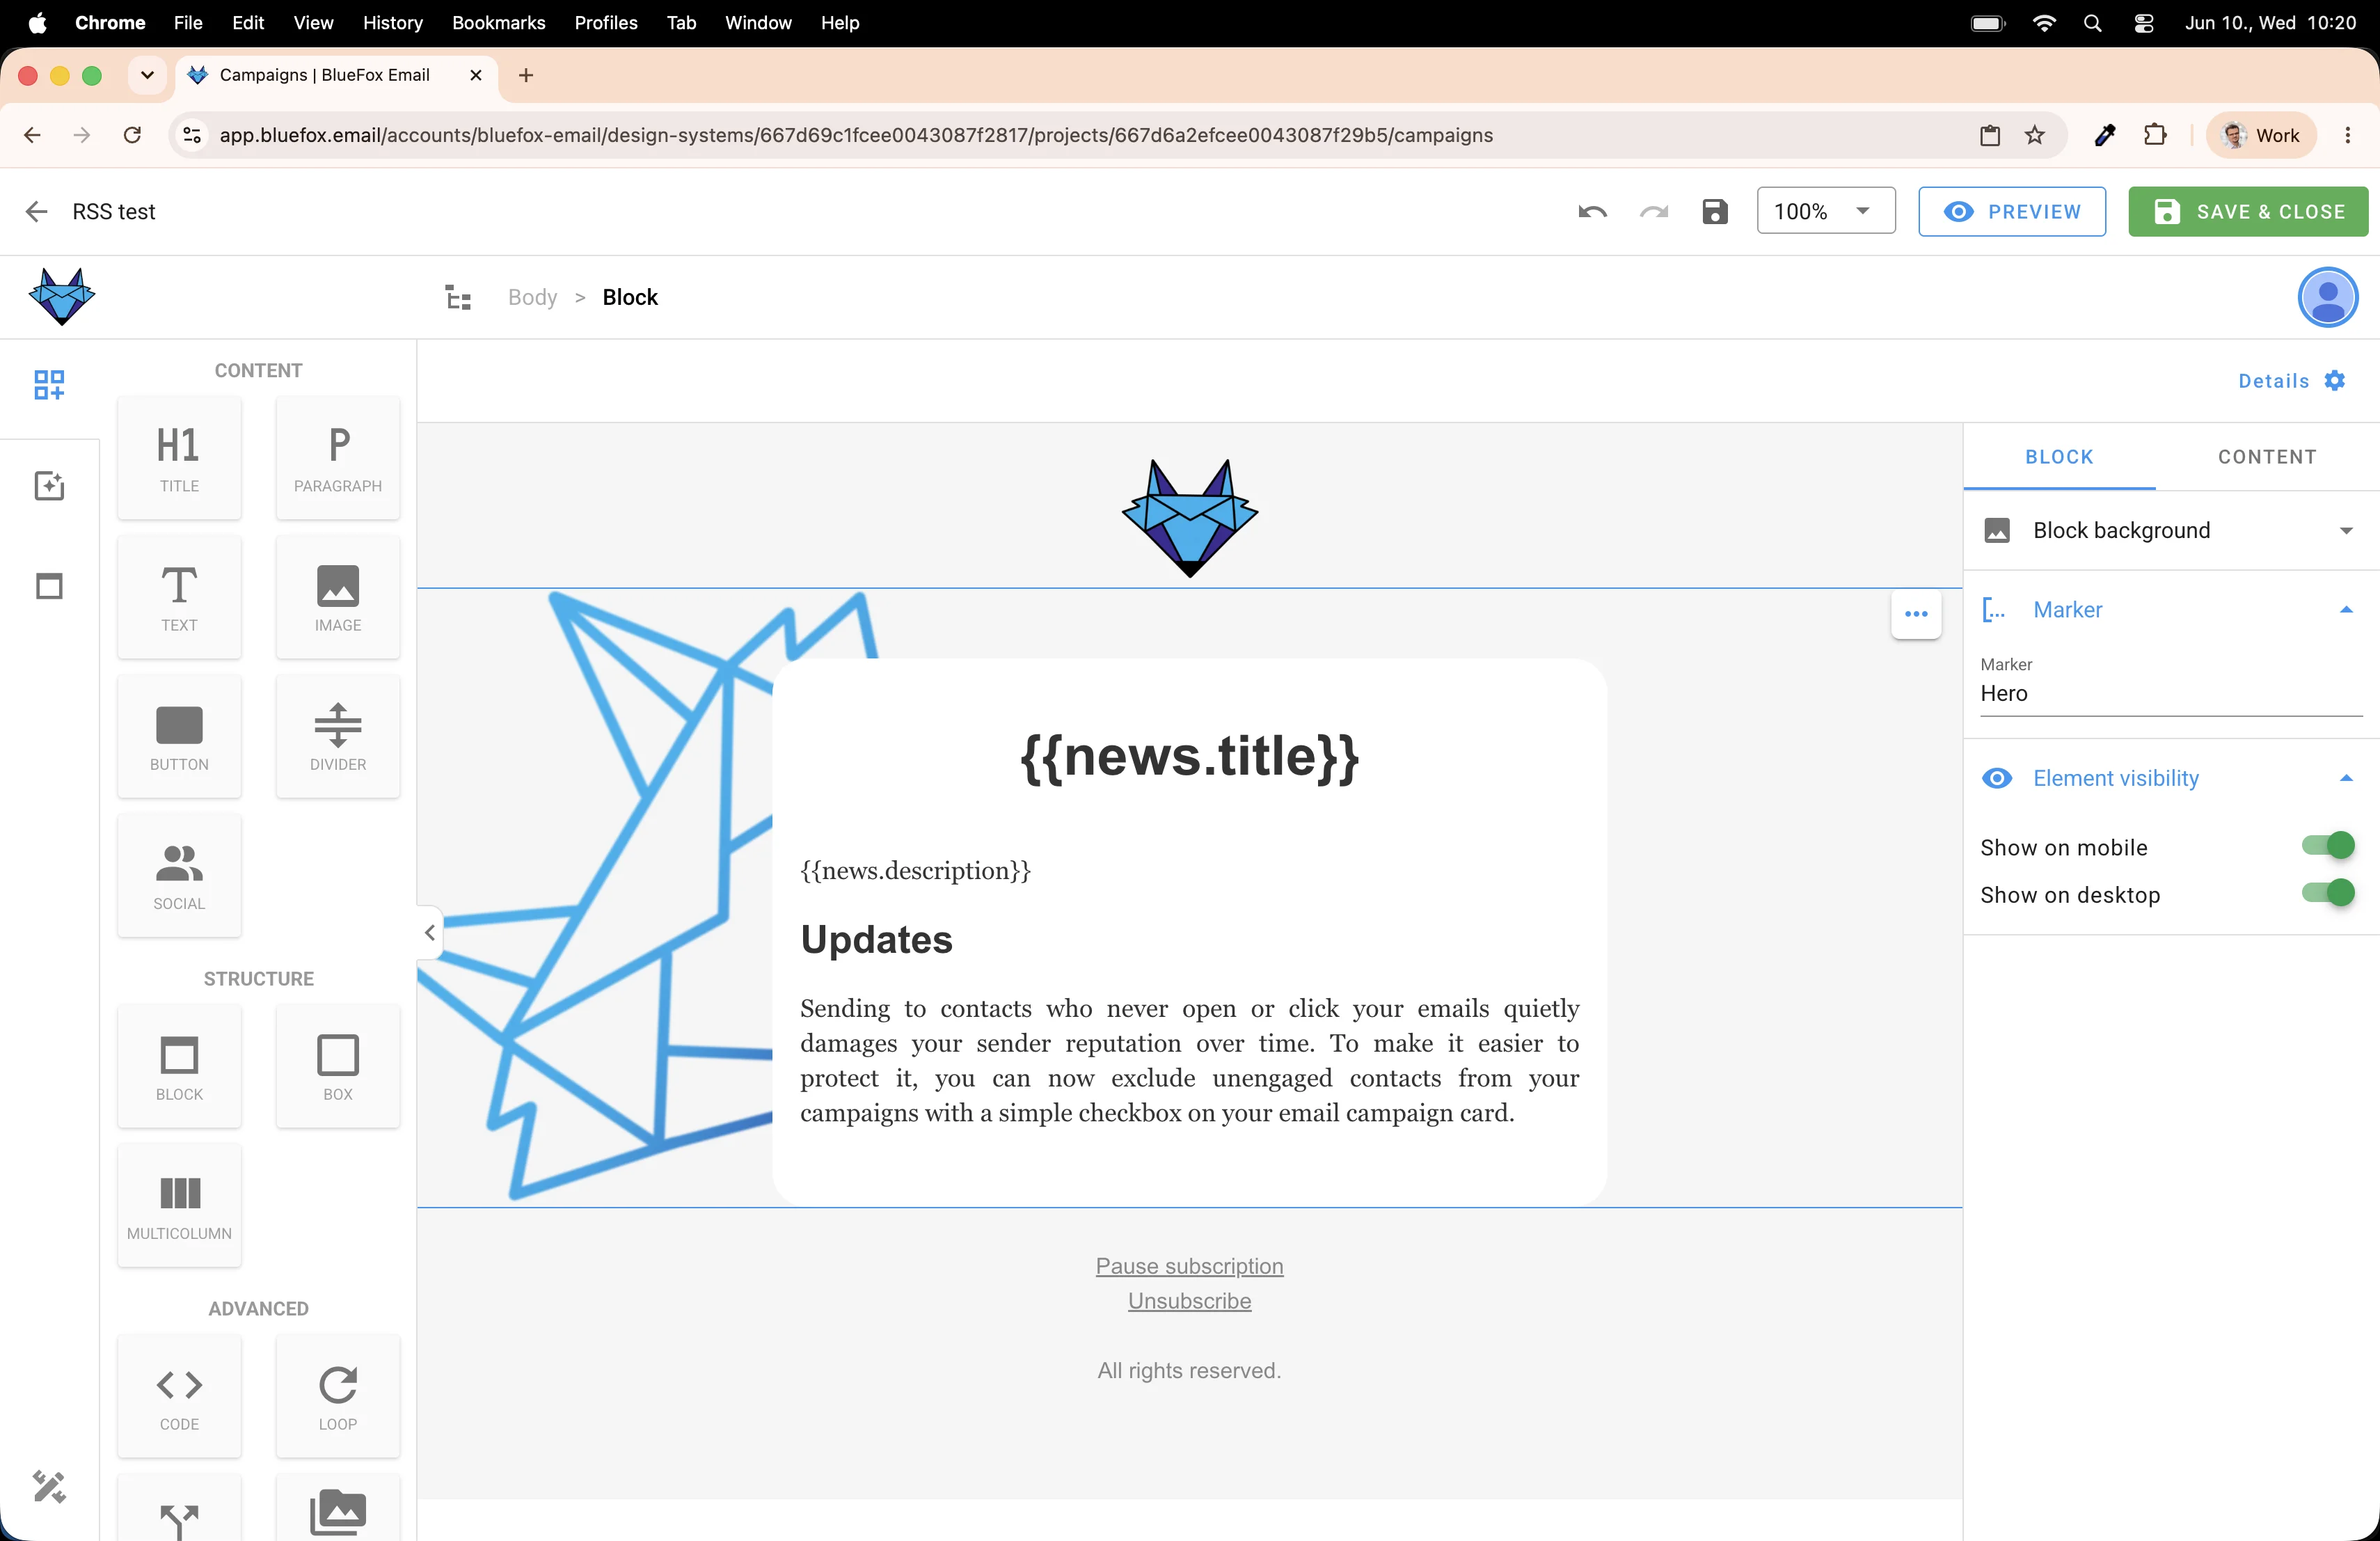
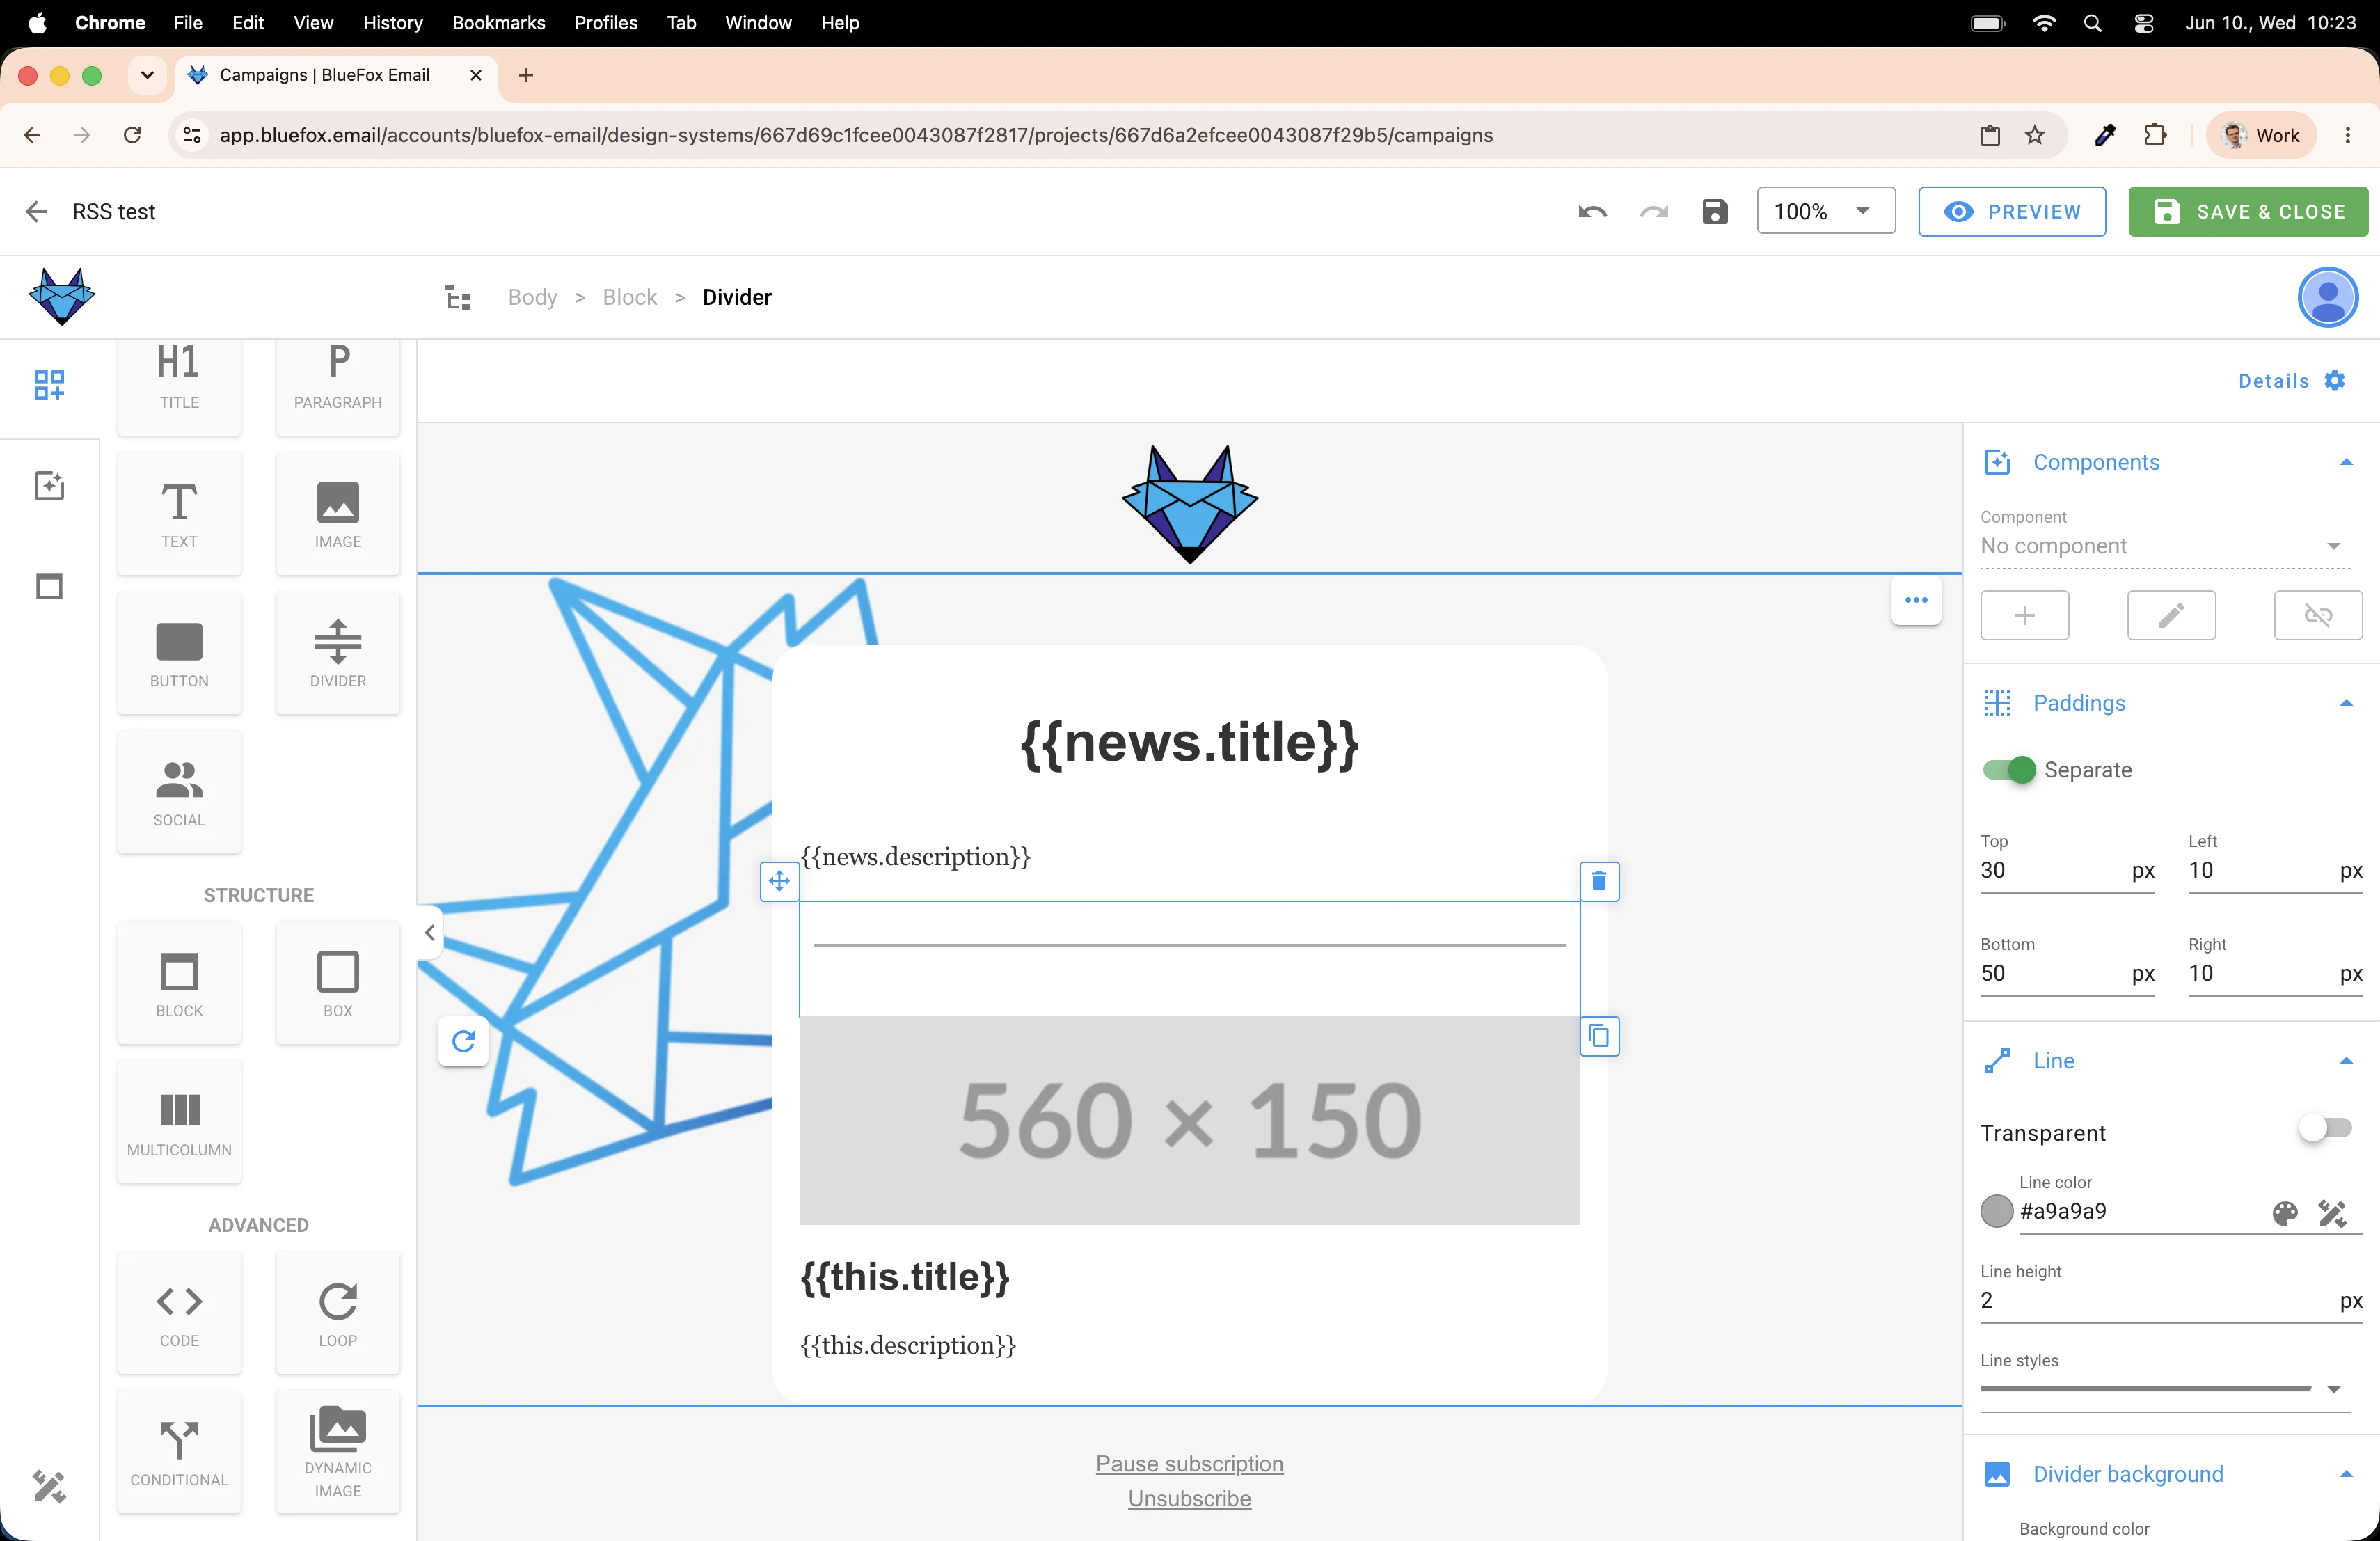
Now we need to handle the separation between articles. Drag a Divider element...
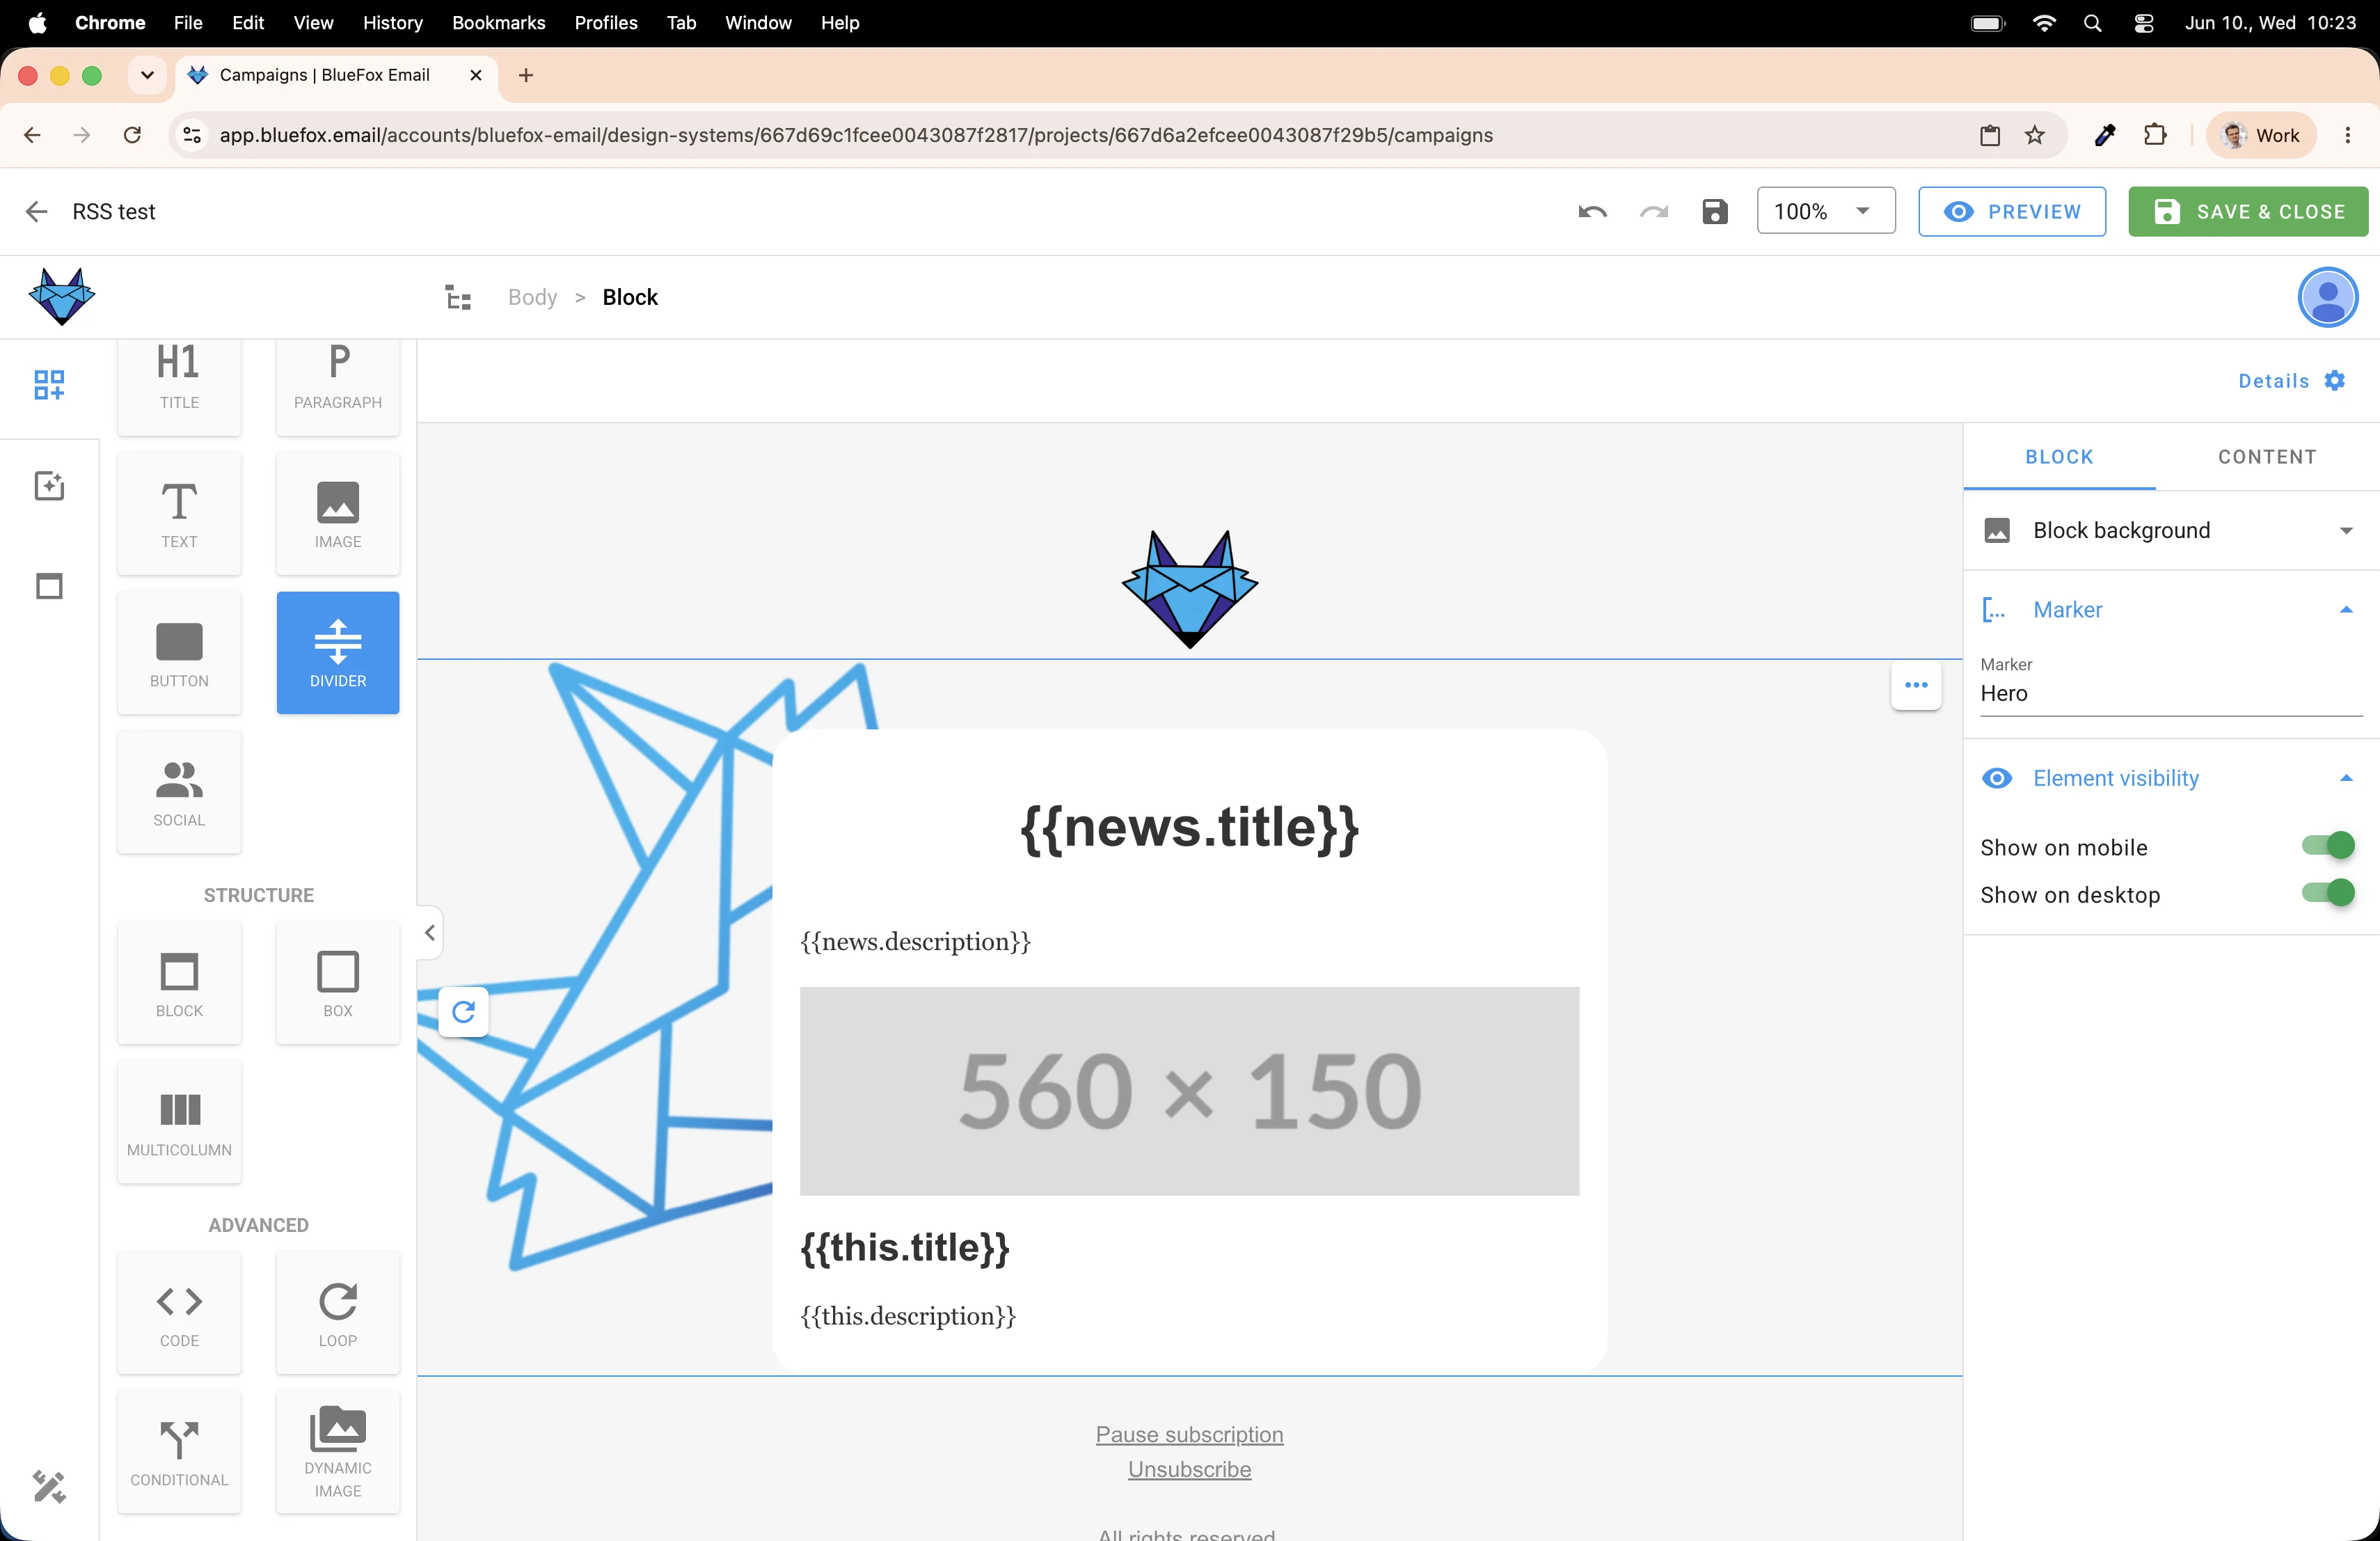
...and drop it outside the loop, right below it. This puts the divider before all the repeated items, not after each one.
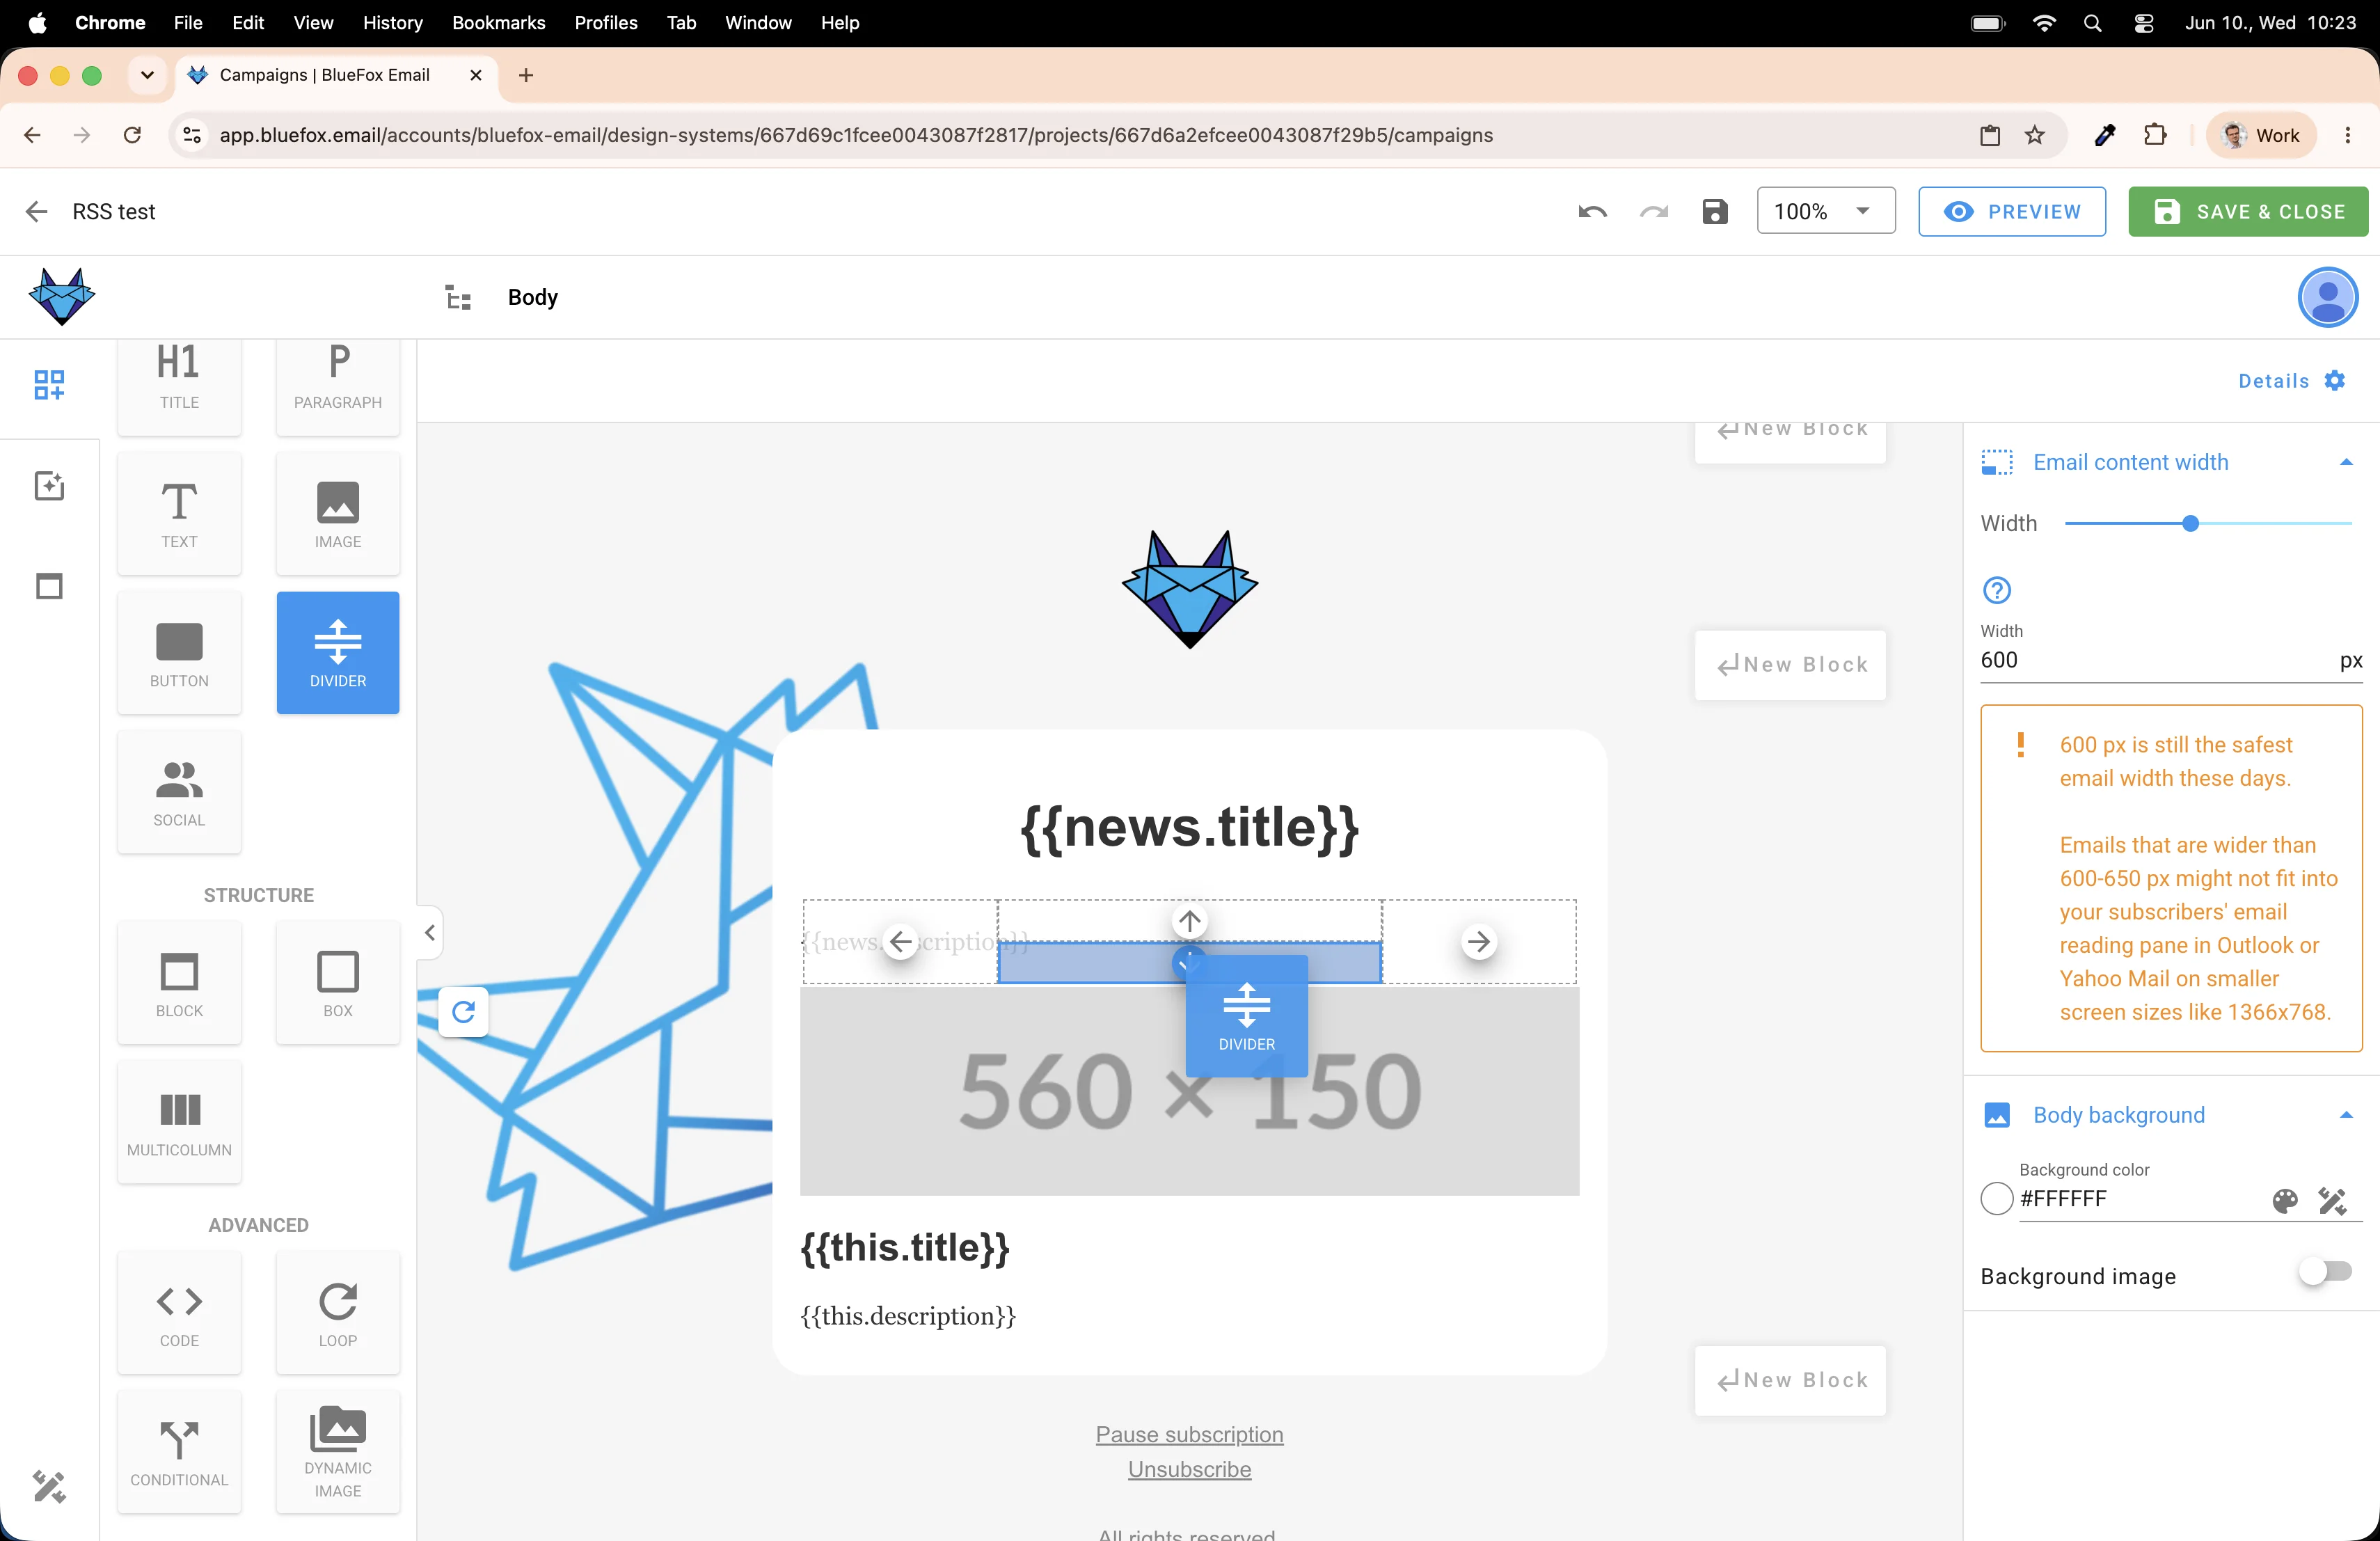
It basically divides the header section from the articles.
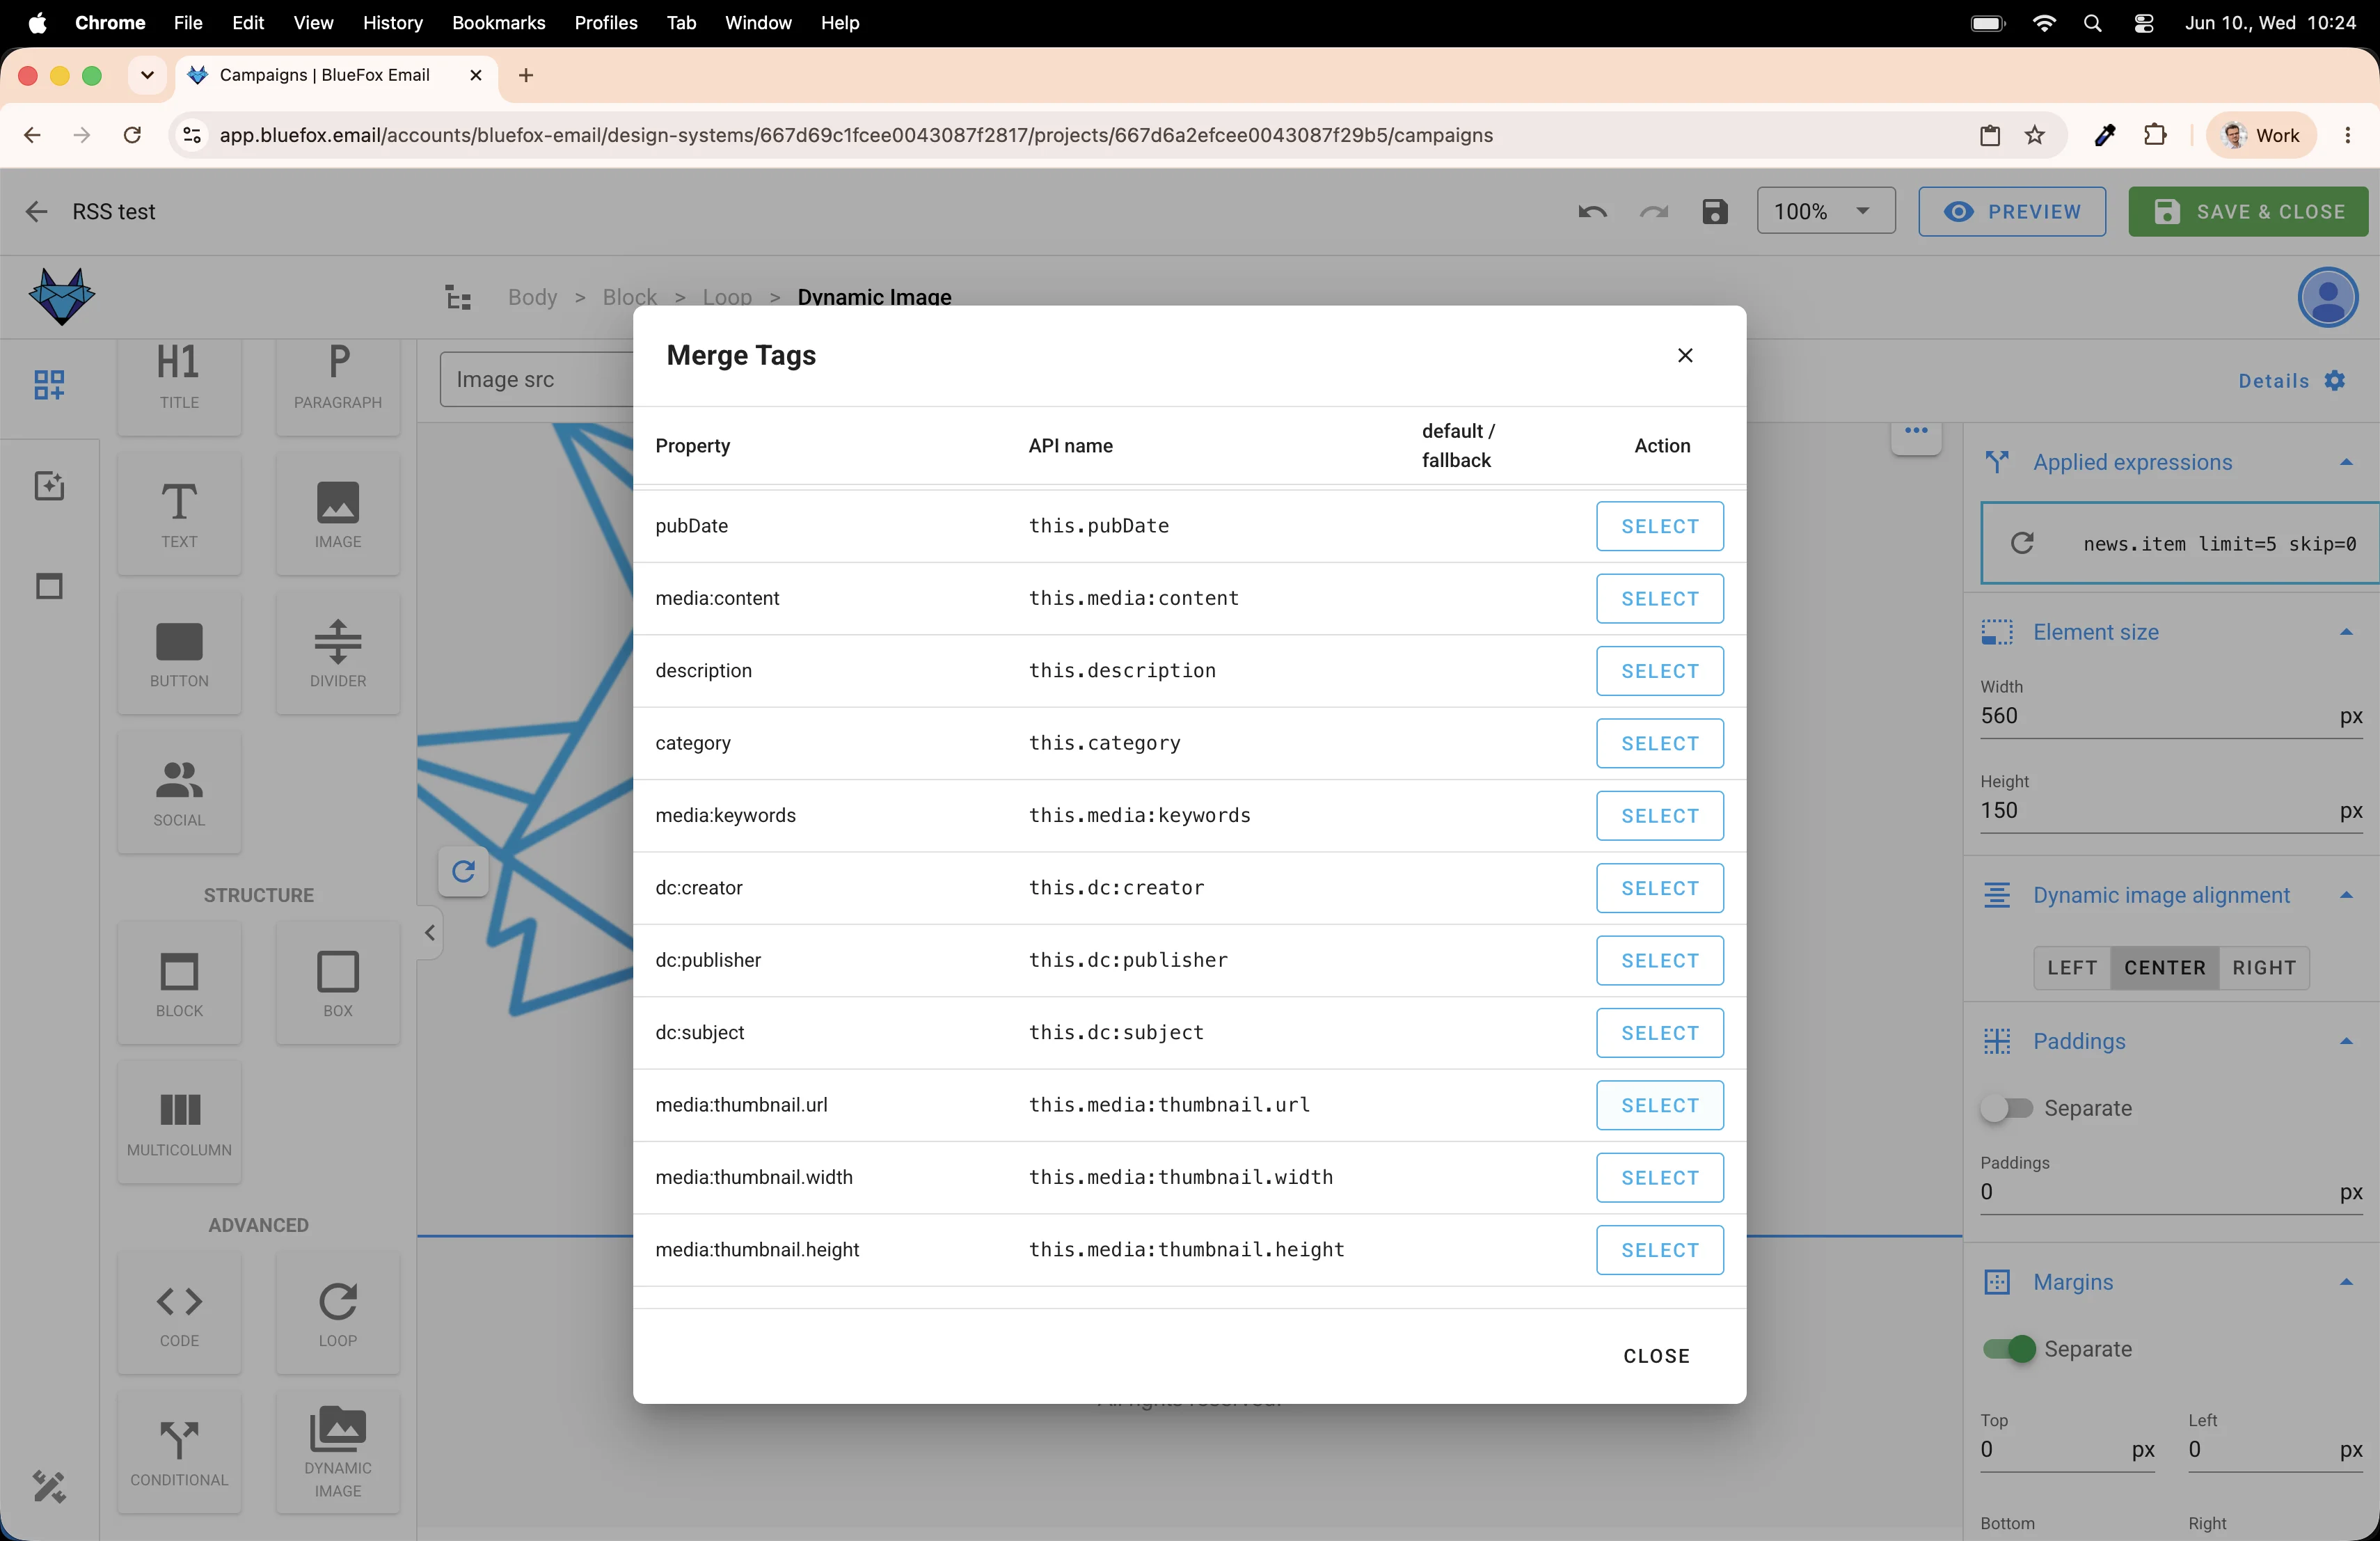
Next, let's wire up the dynamic image's source. Click on the image, open the link settings, and add a link using a merge tag.
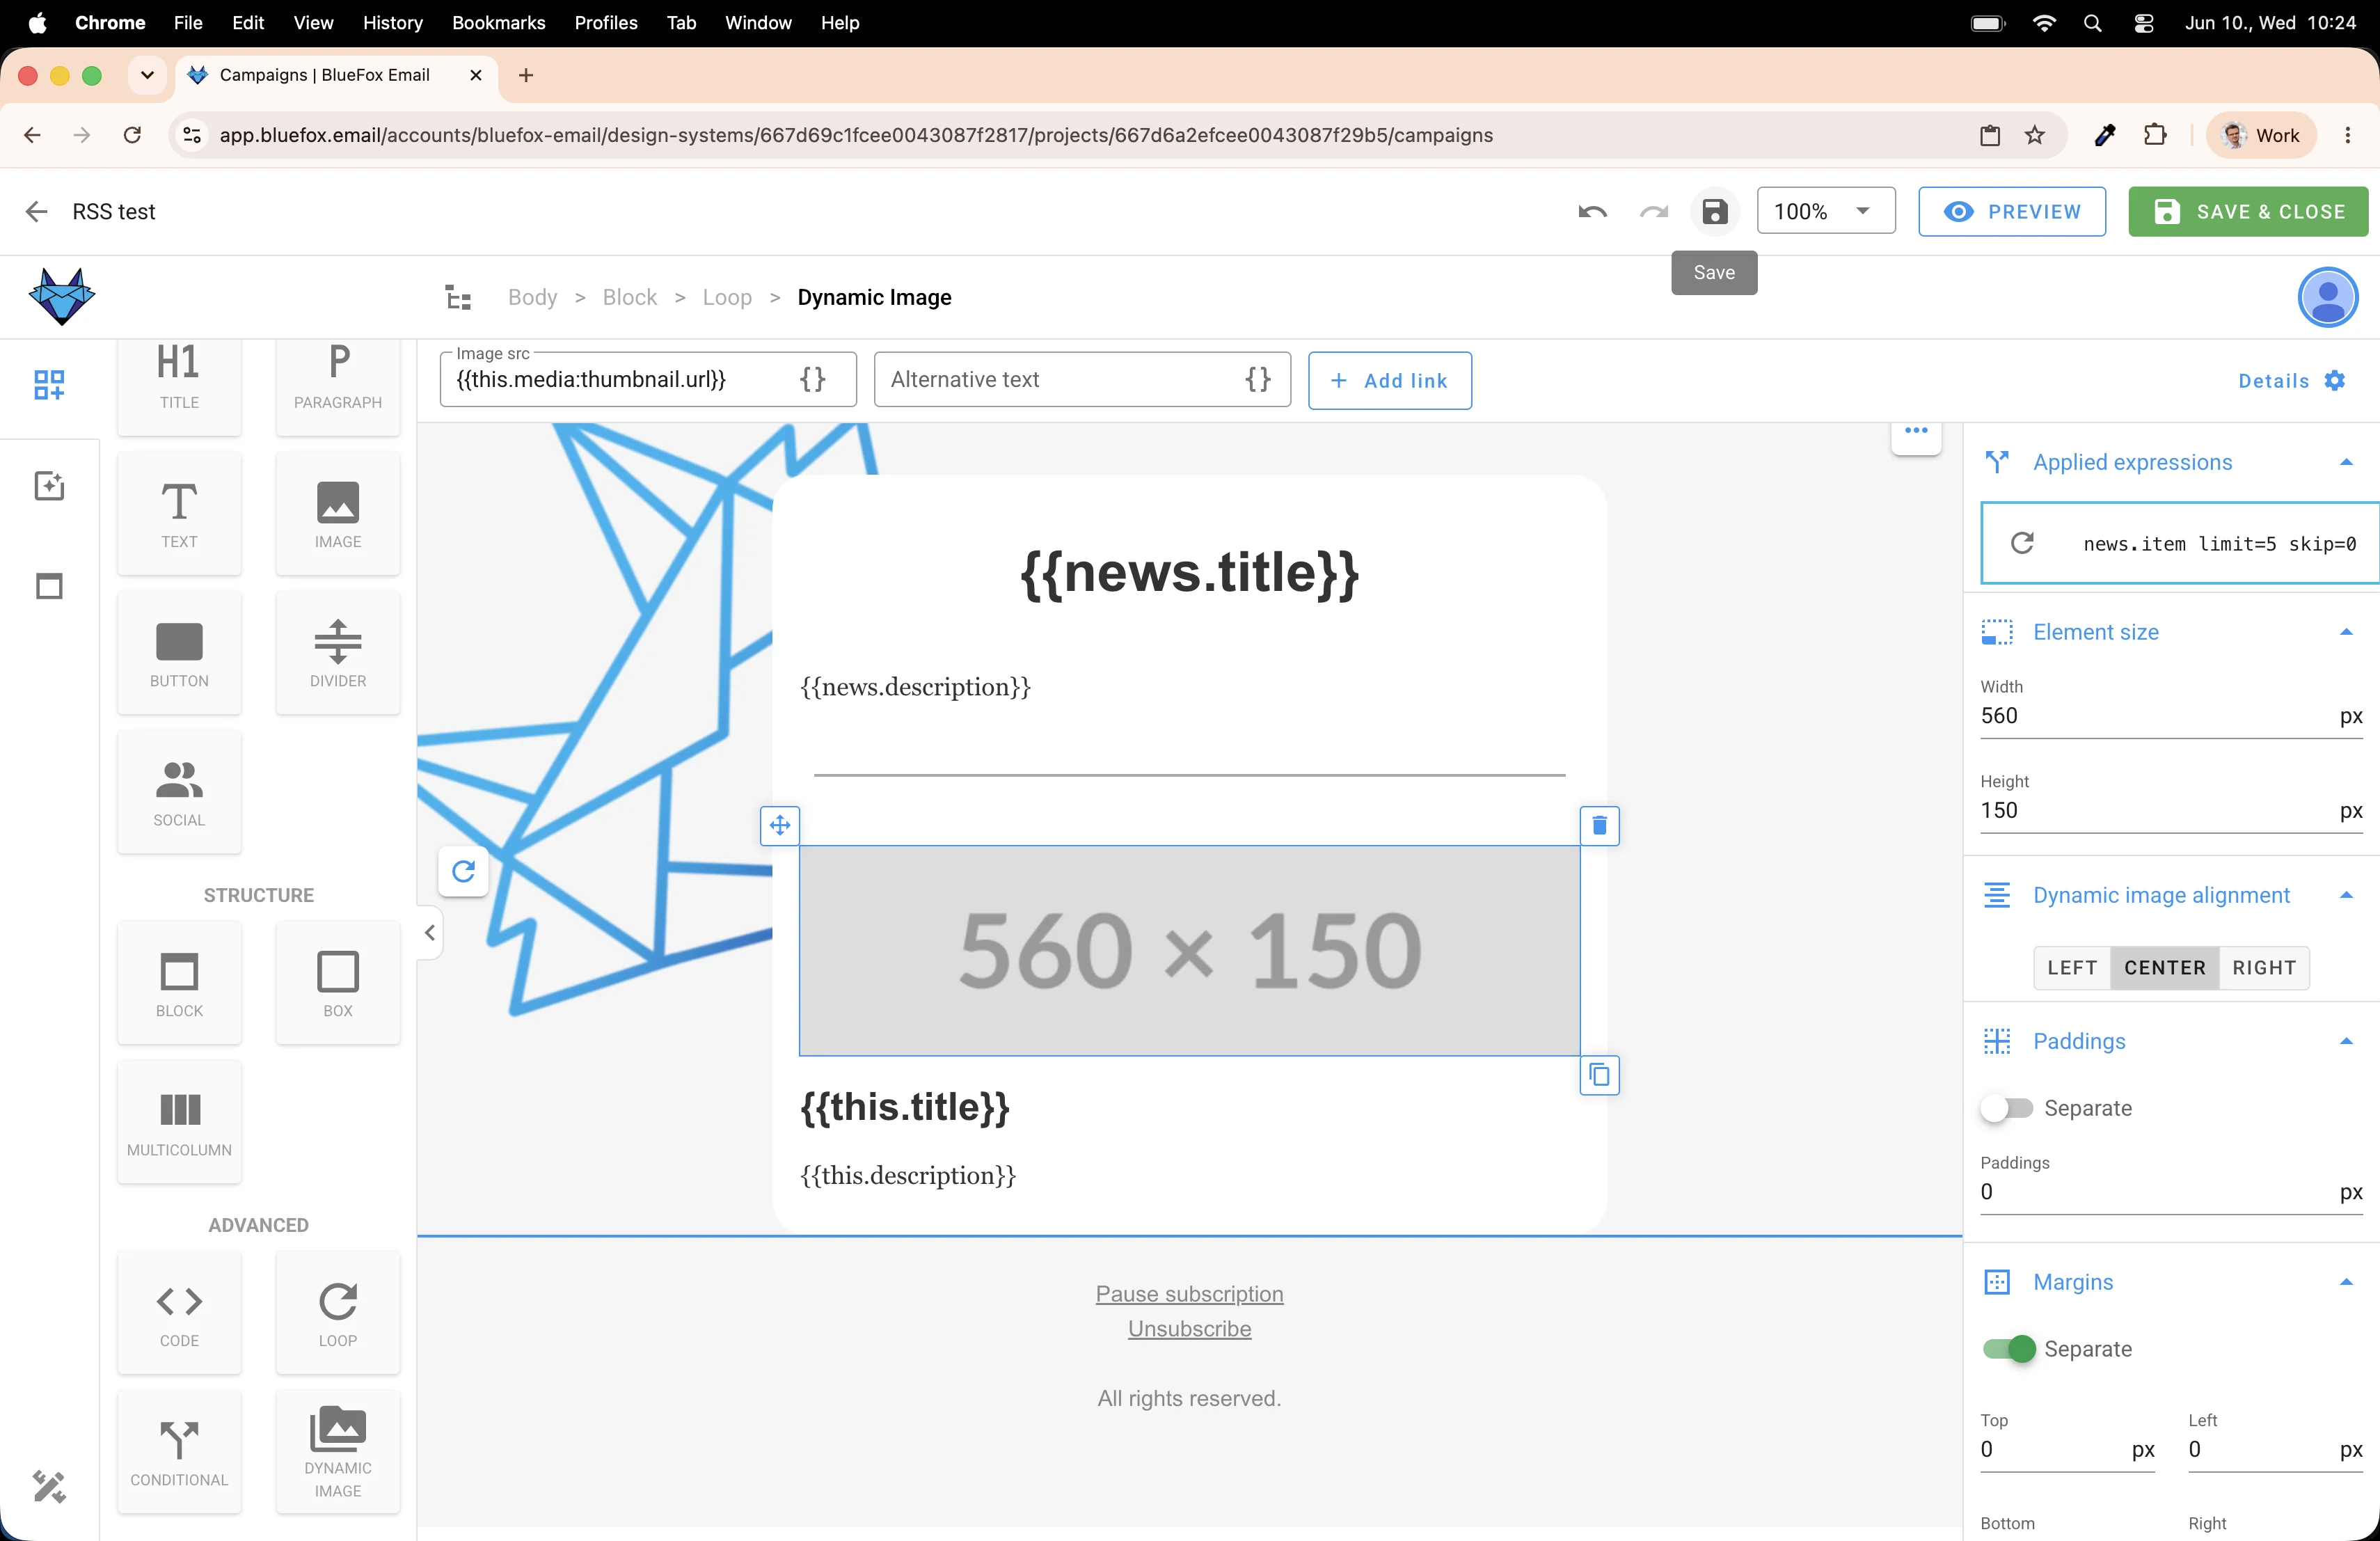
Select the thumbnail merge tag. This is the feed's image URL field (typically this.media:thumbnail.url or similar, depending on the feed).
The merge tag is applied. Press Save.
Previewing the result
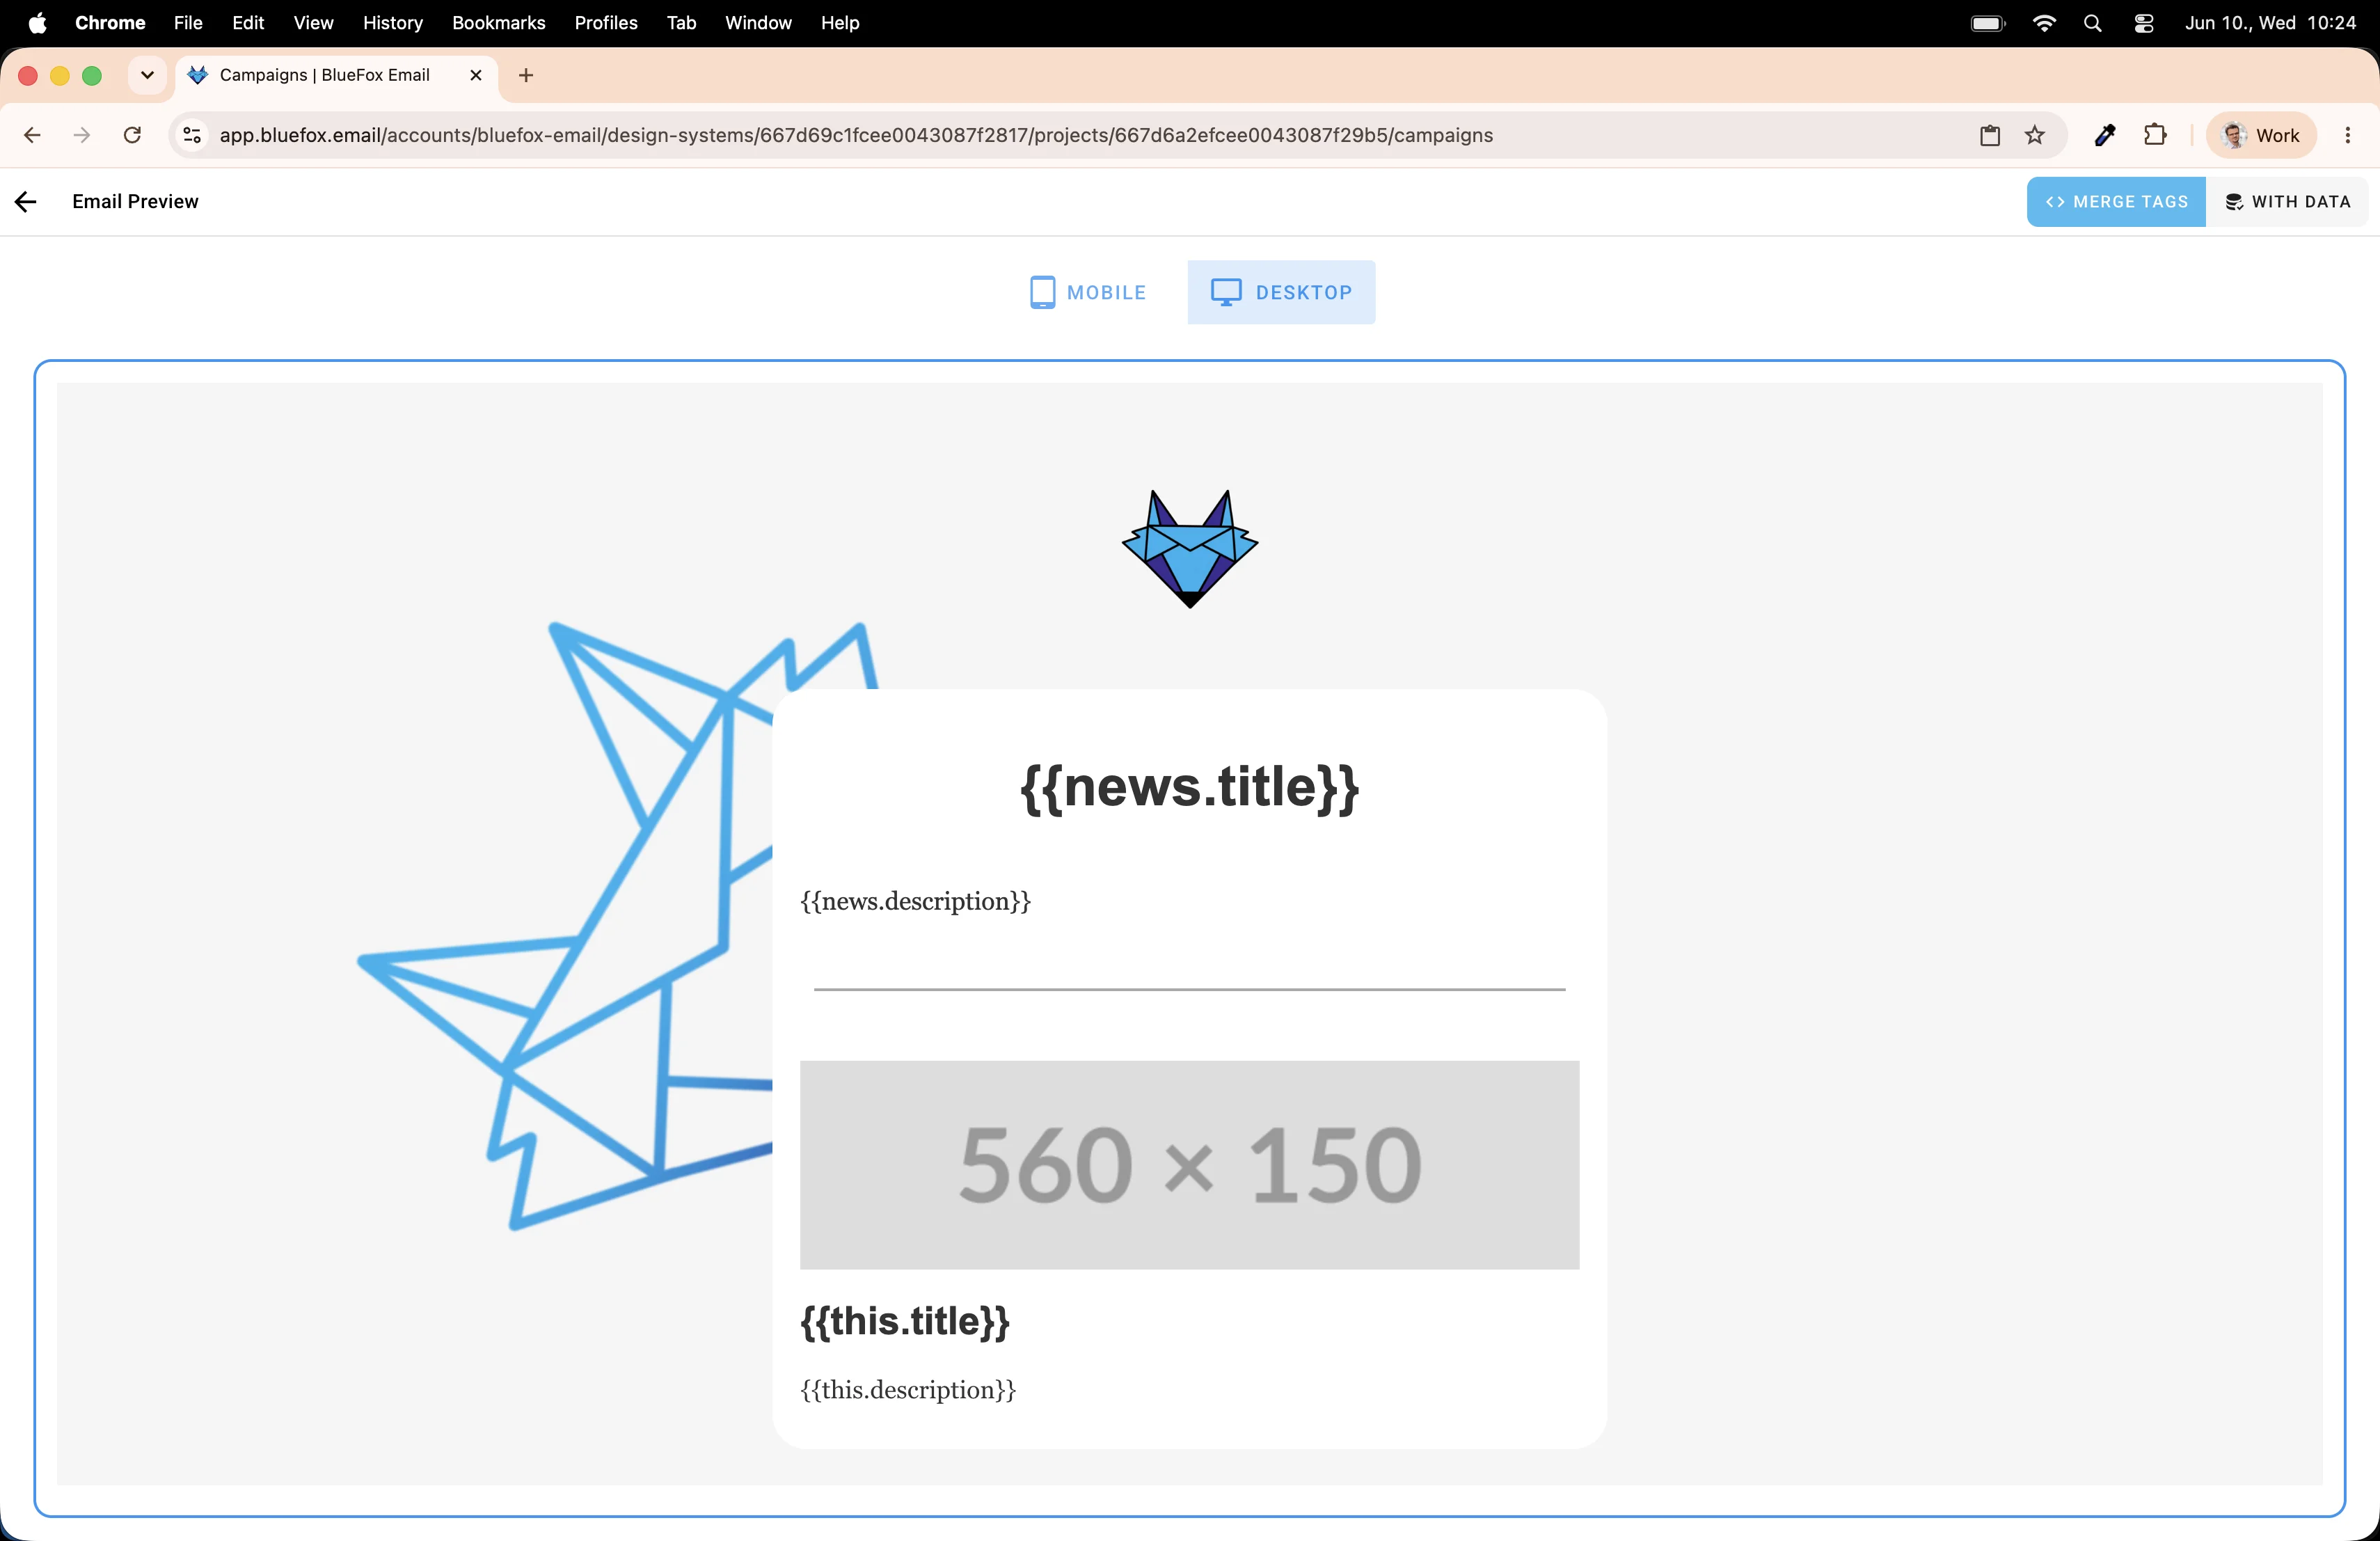
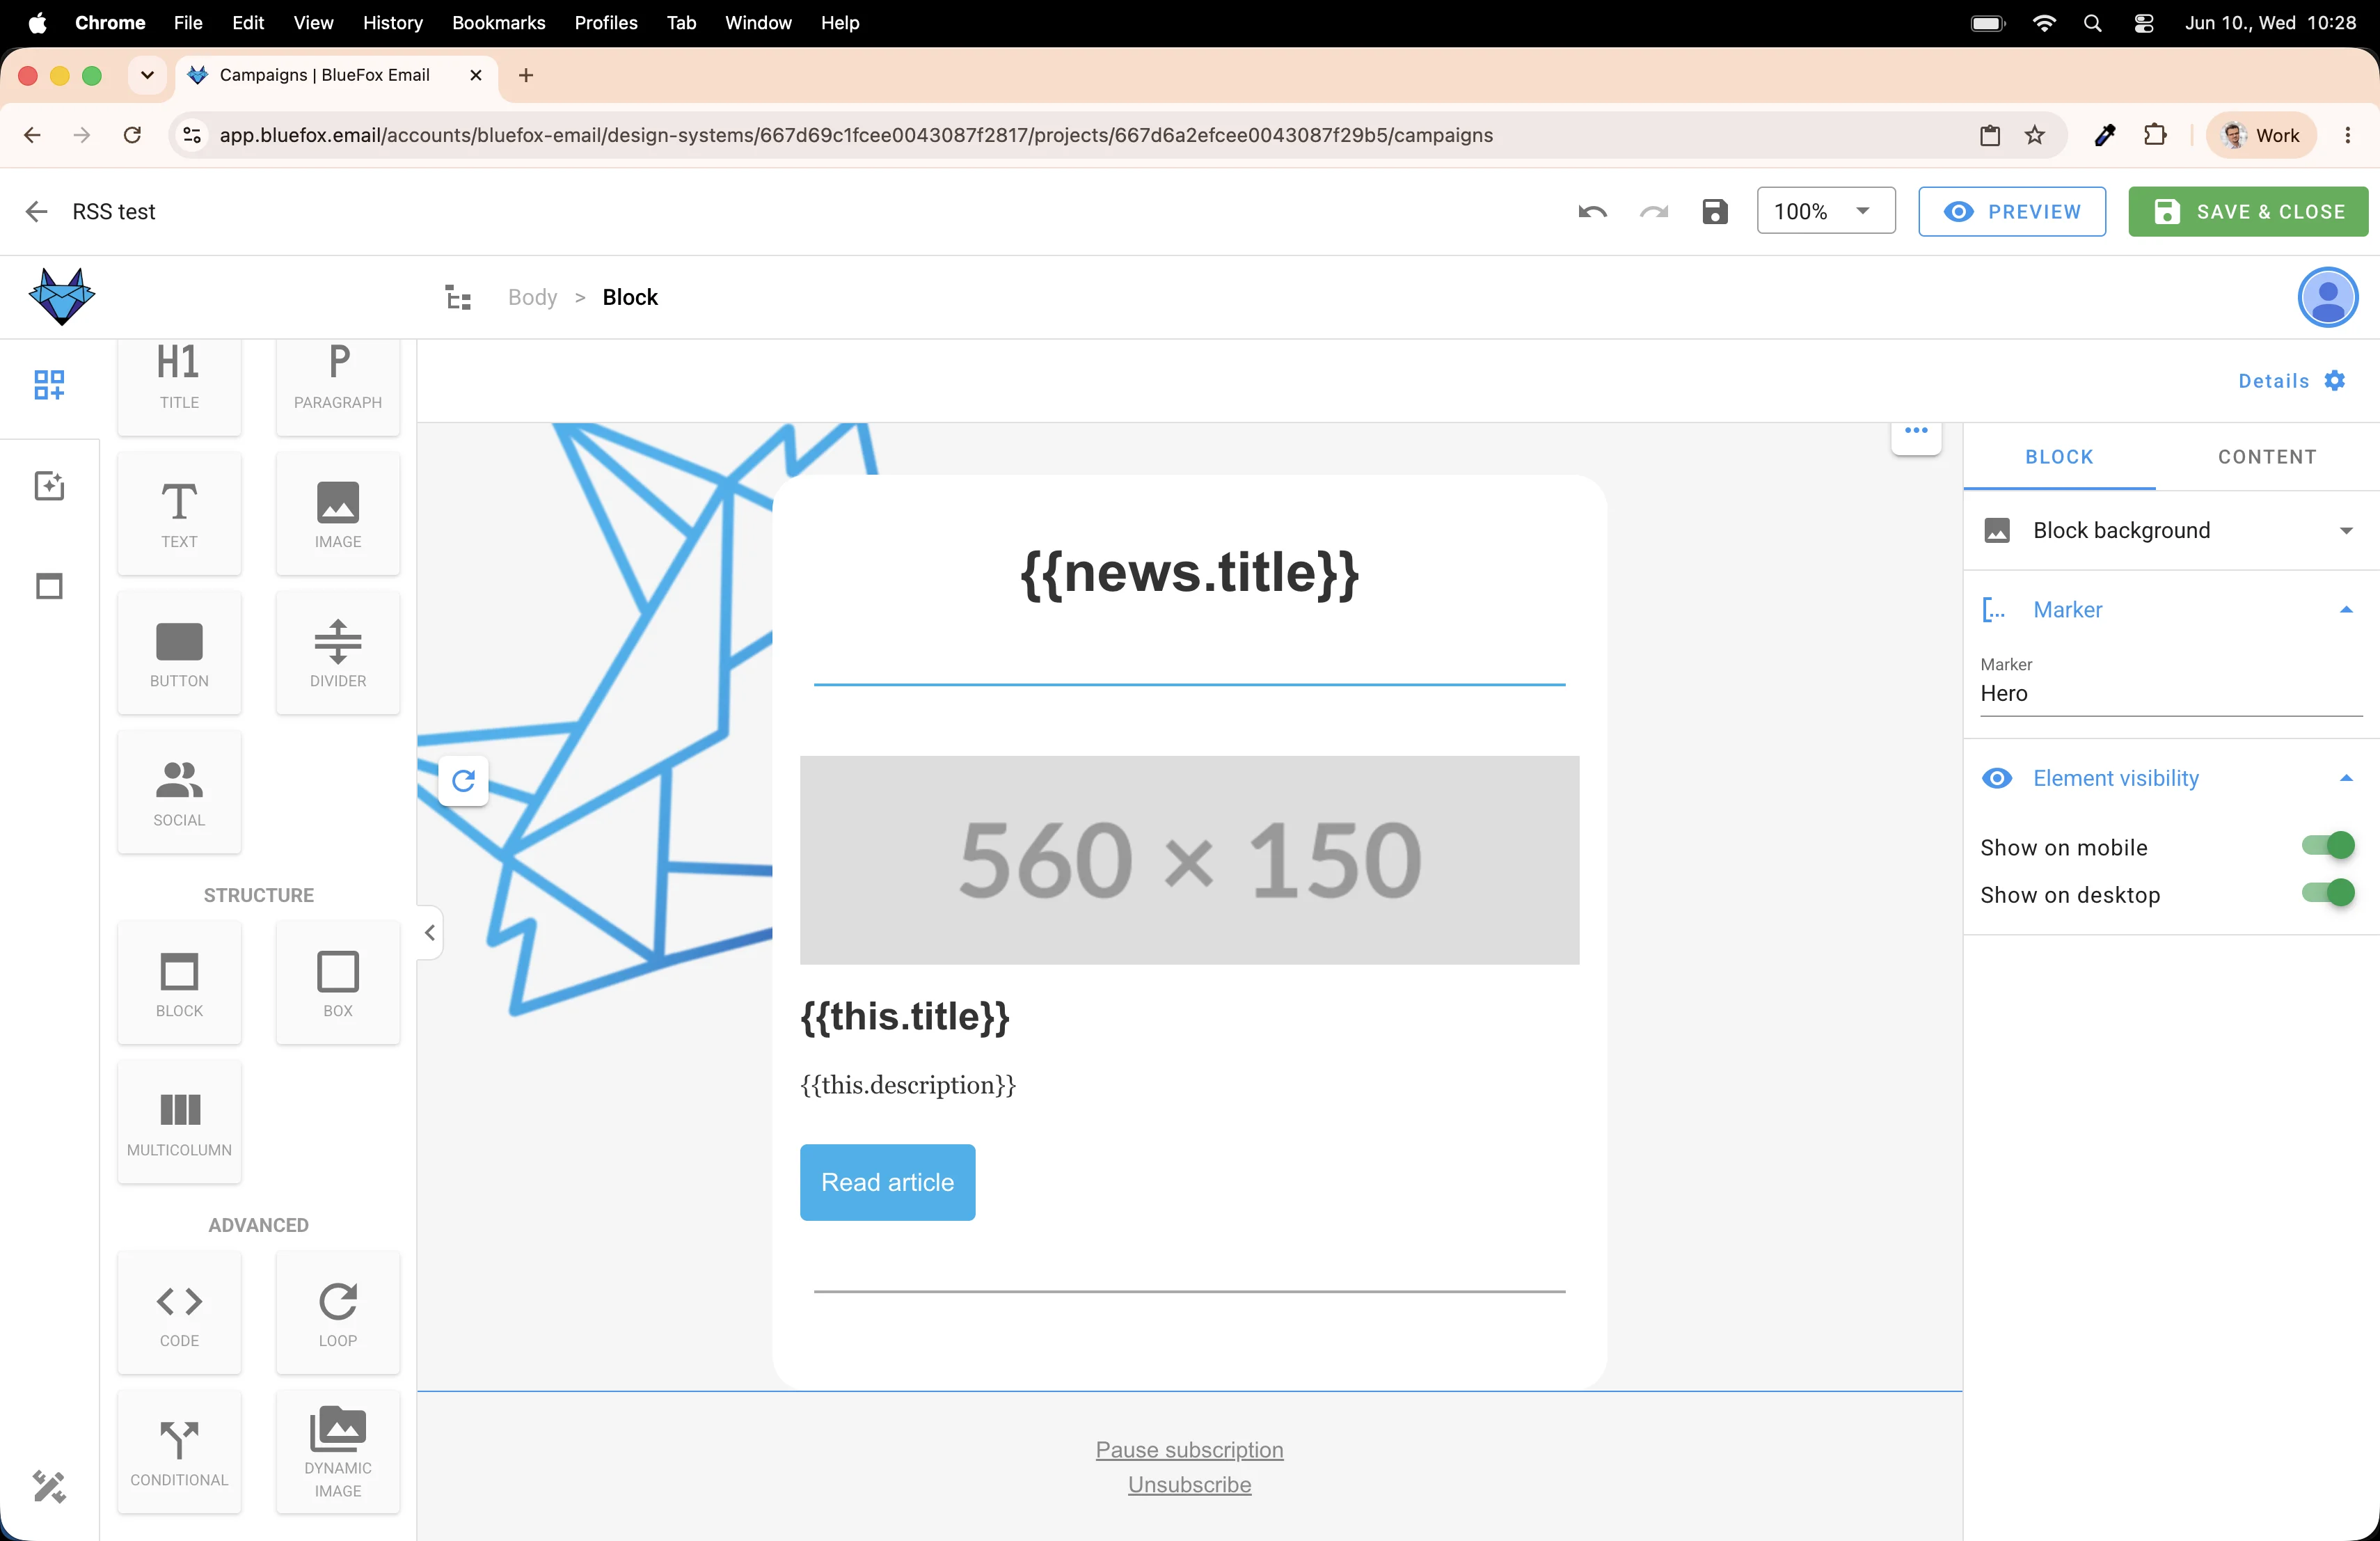
Let's see how it looks. Press the Preview button.
In the plain preview you'll see the merge tags as placeholders. That's fine, it just means the template is set up correctly.

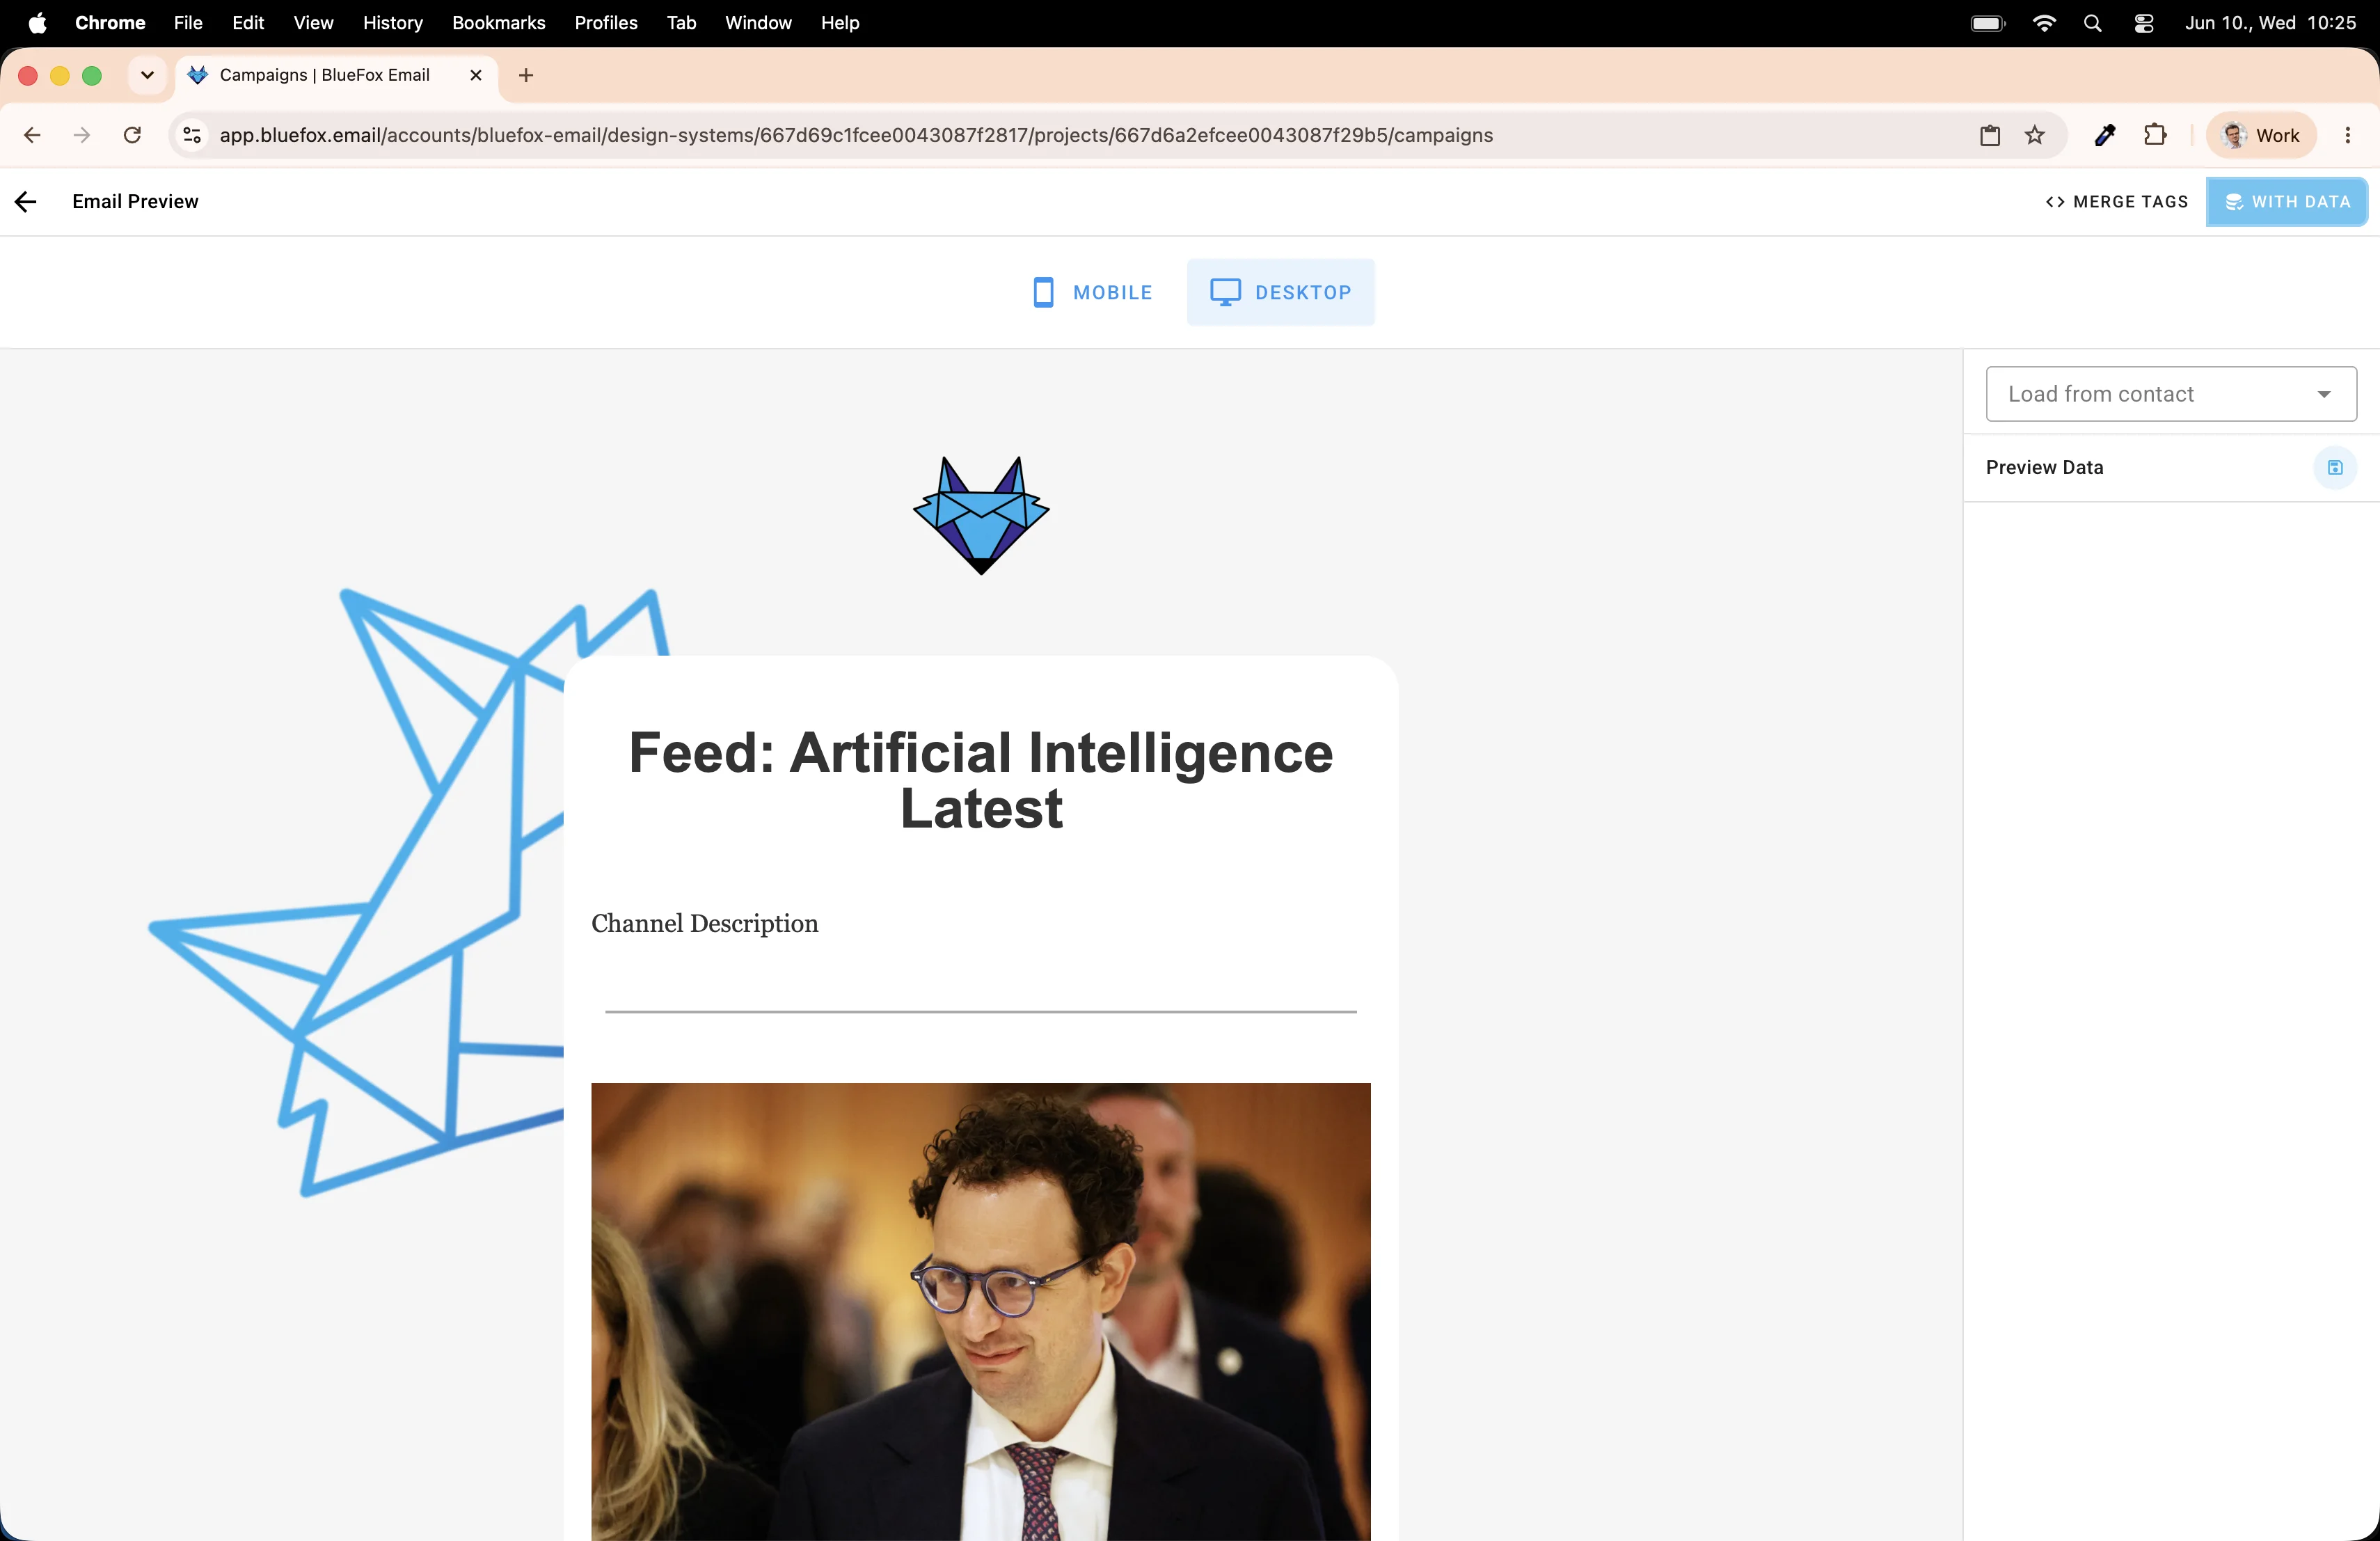
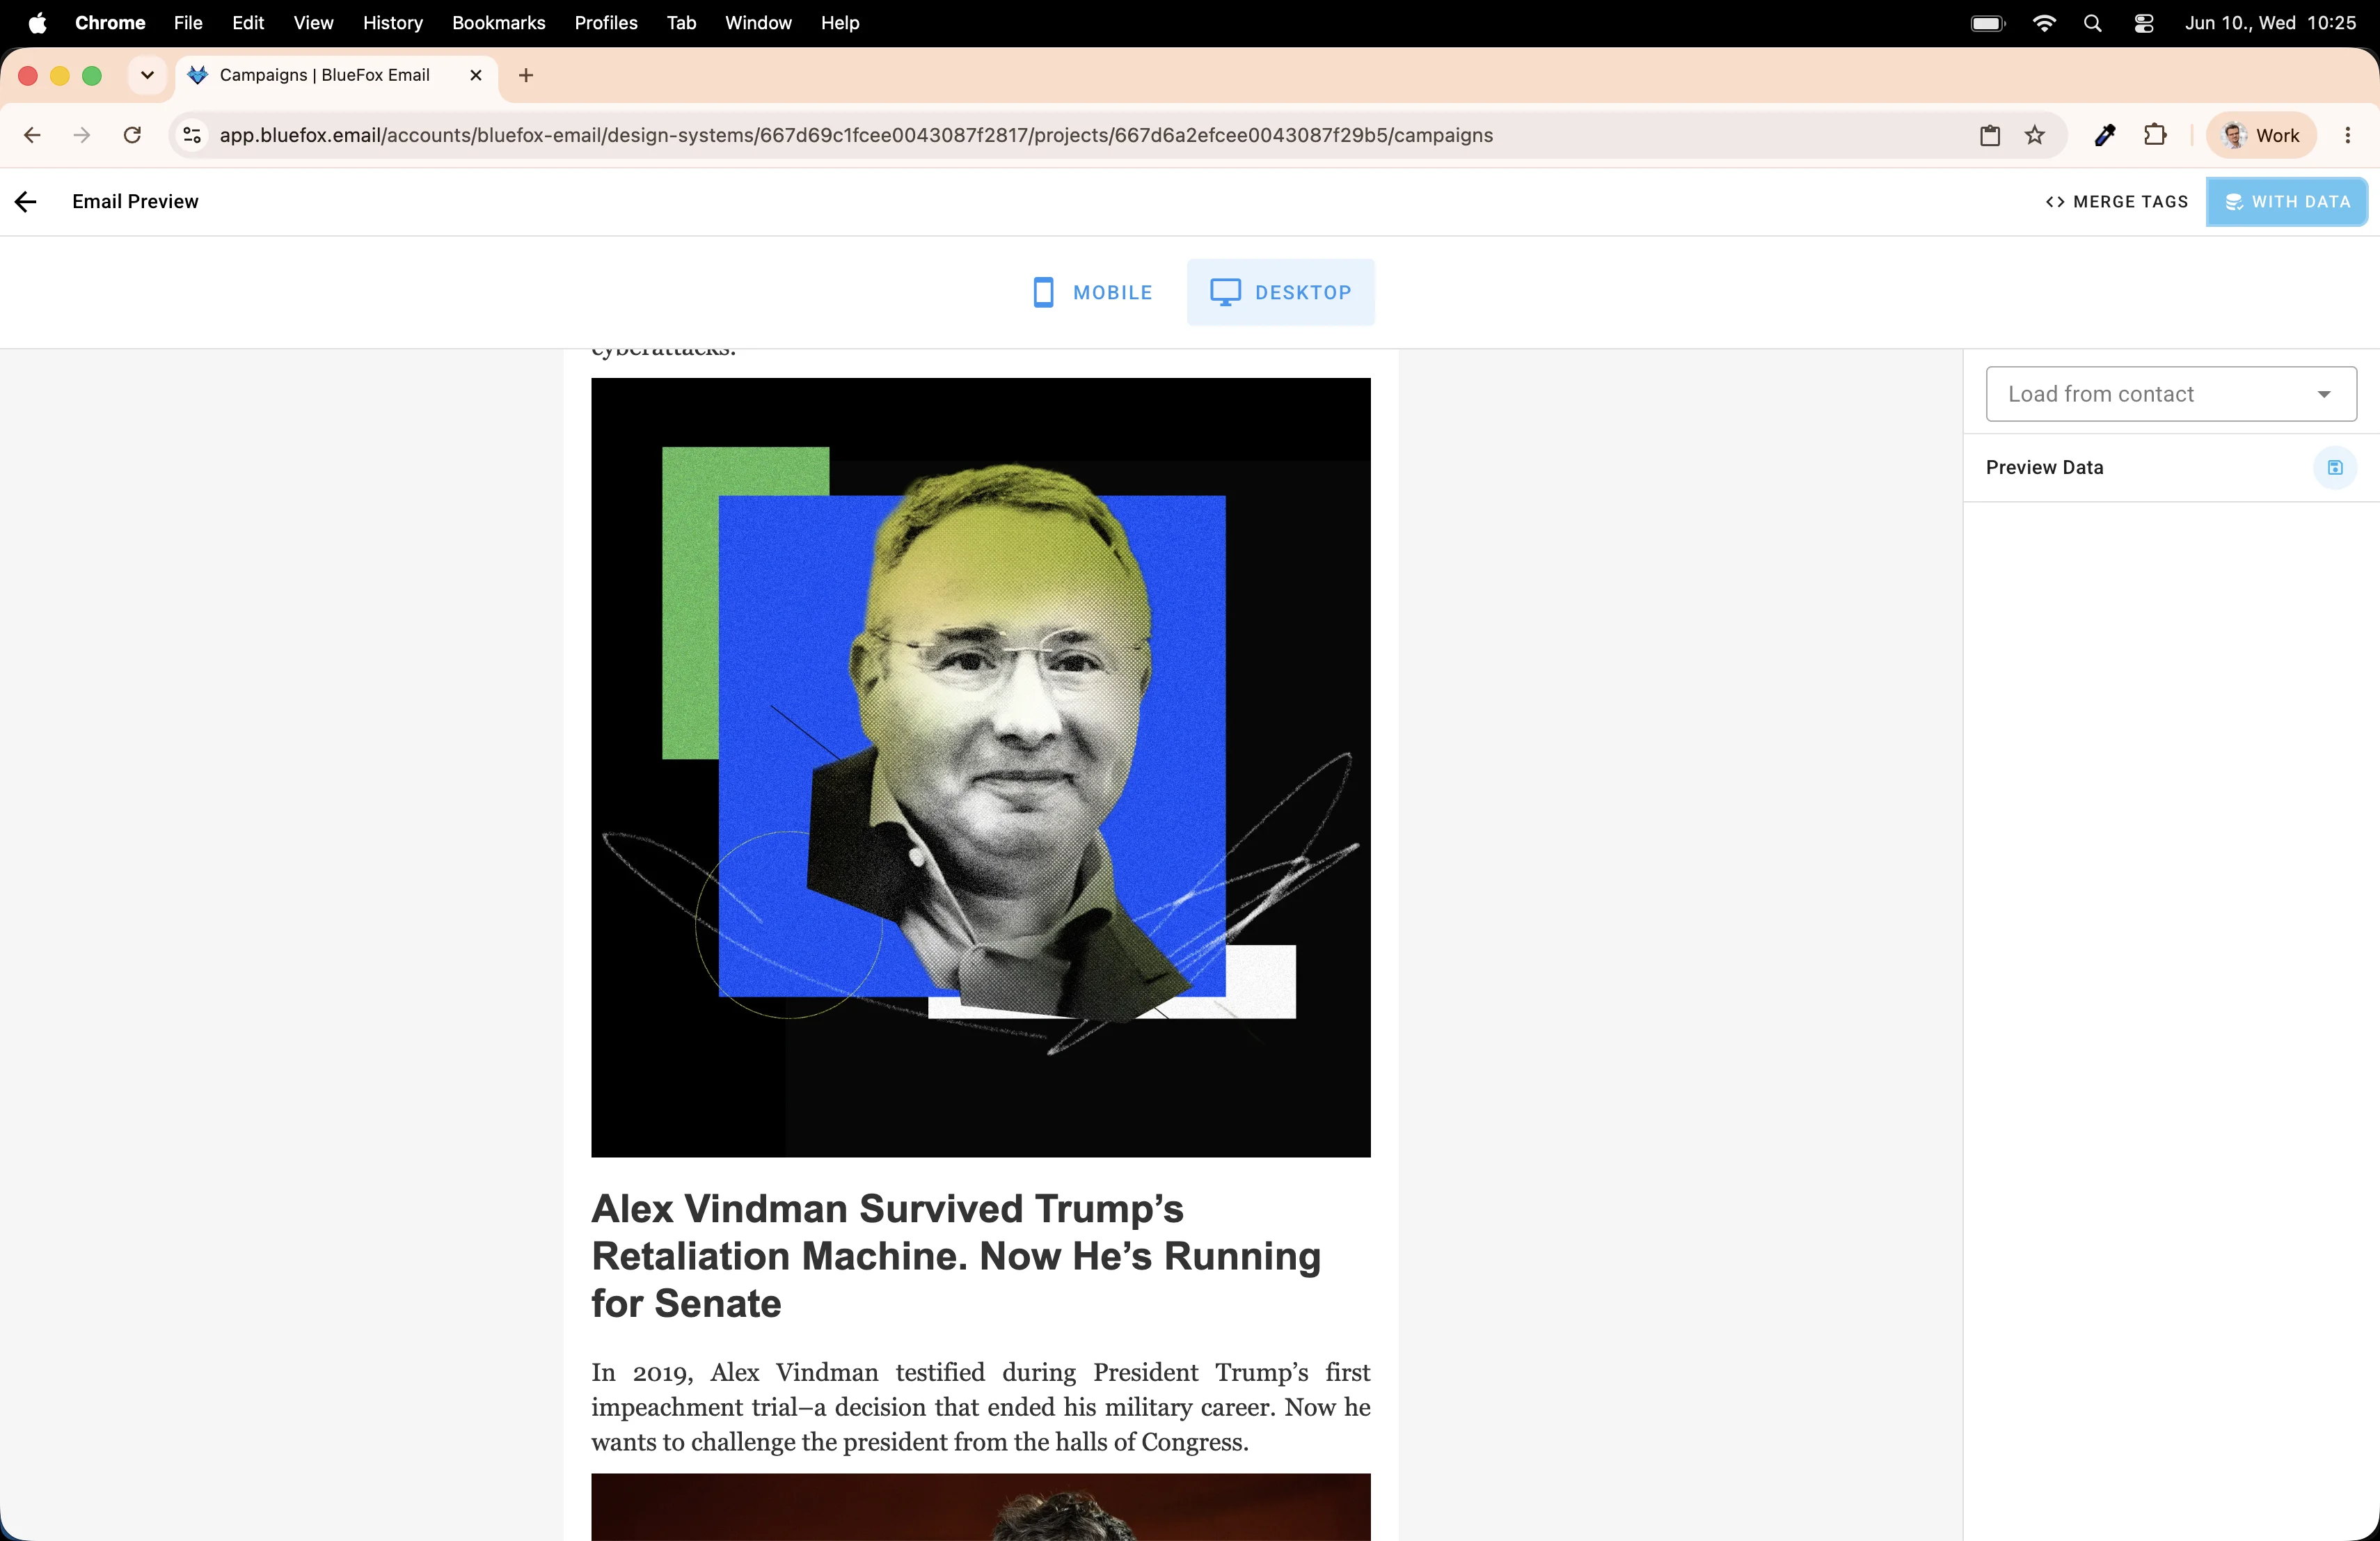
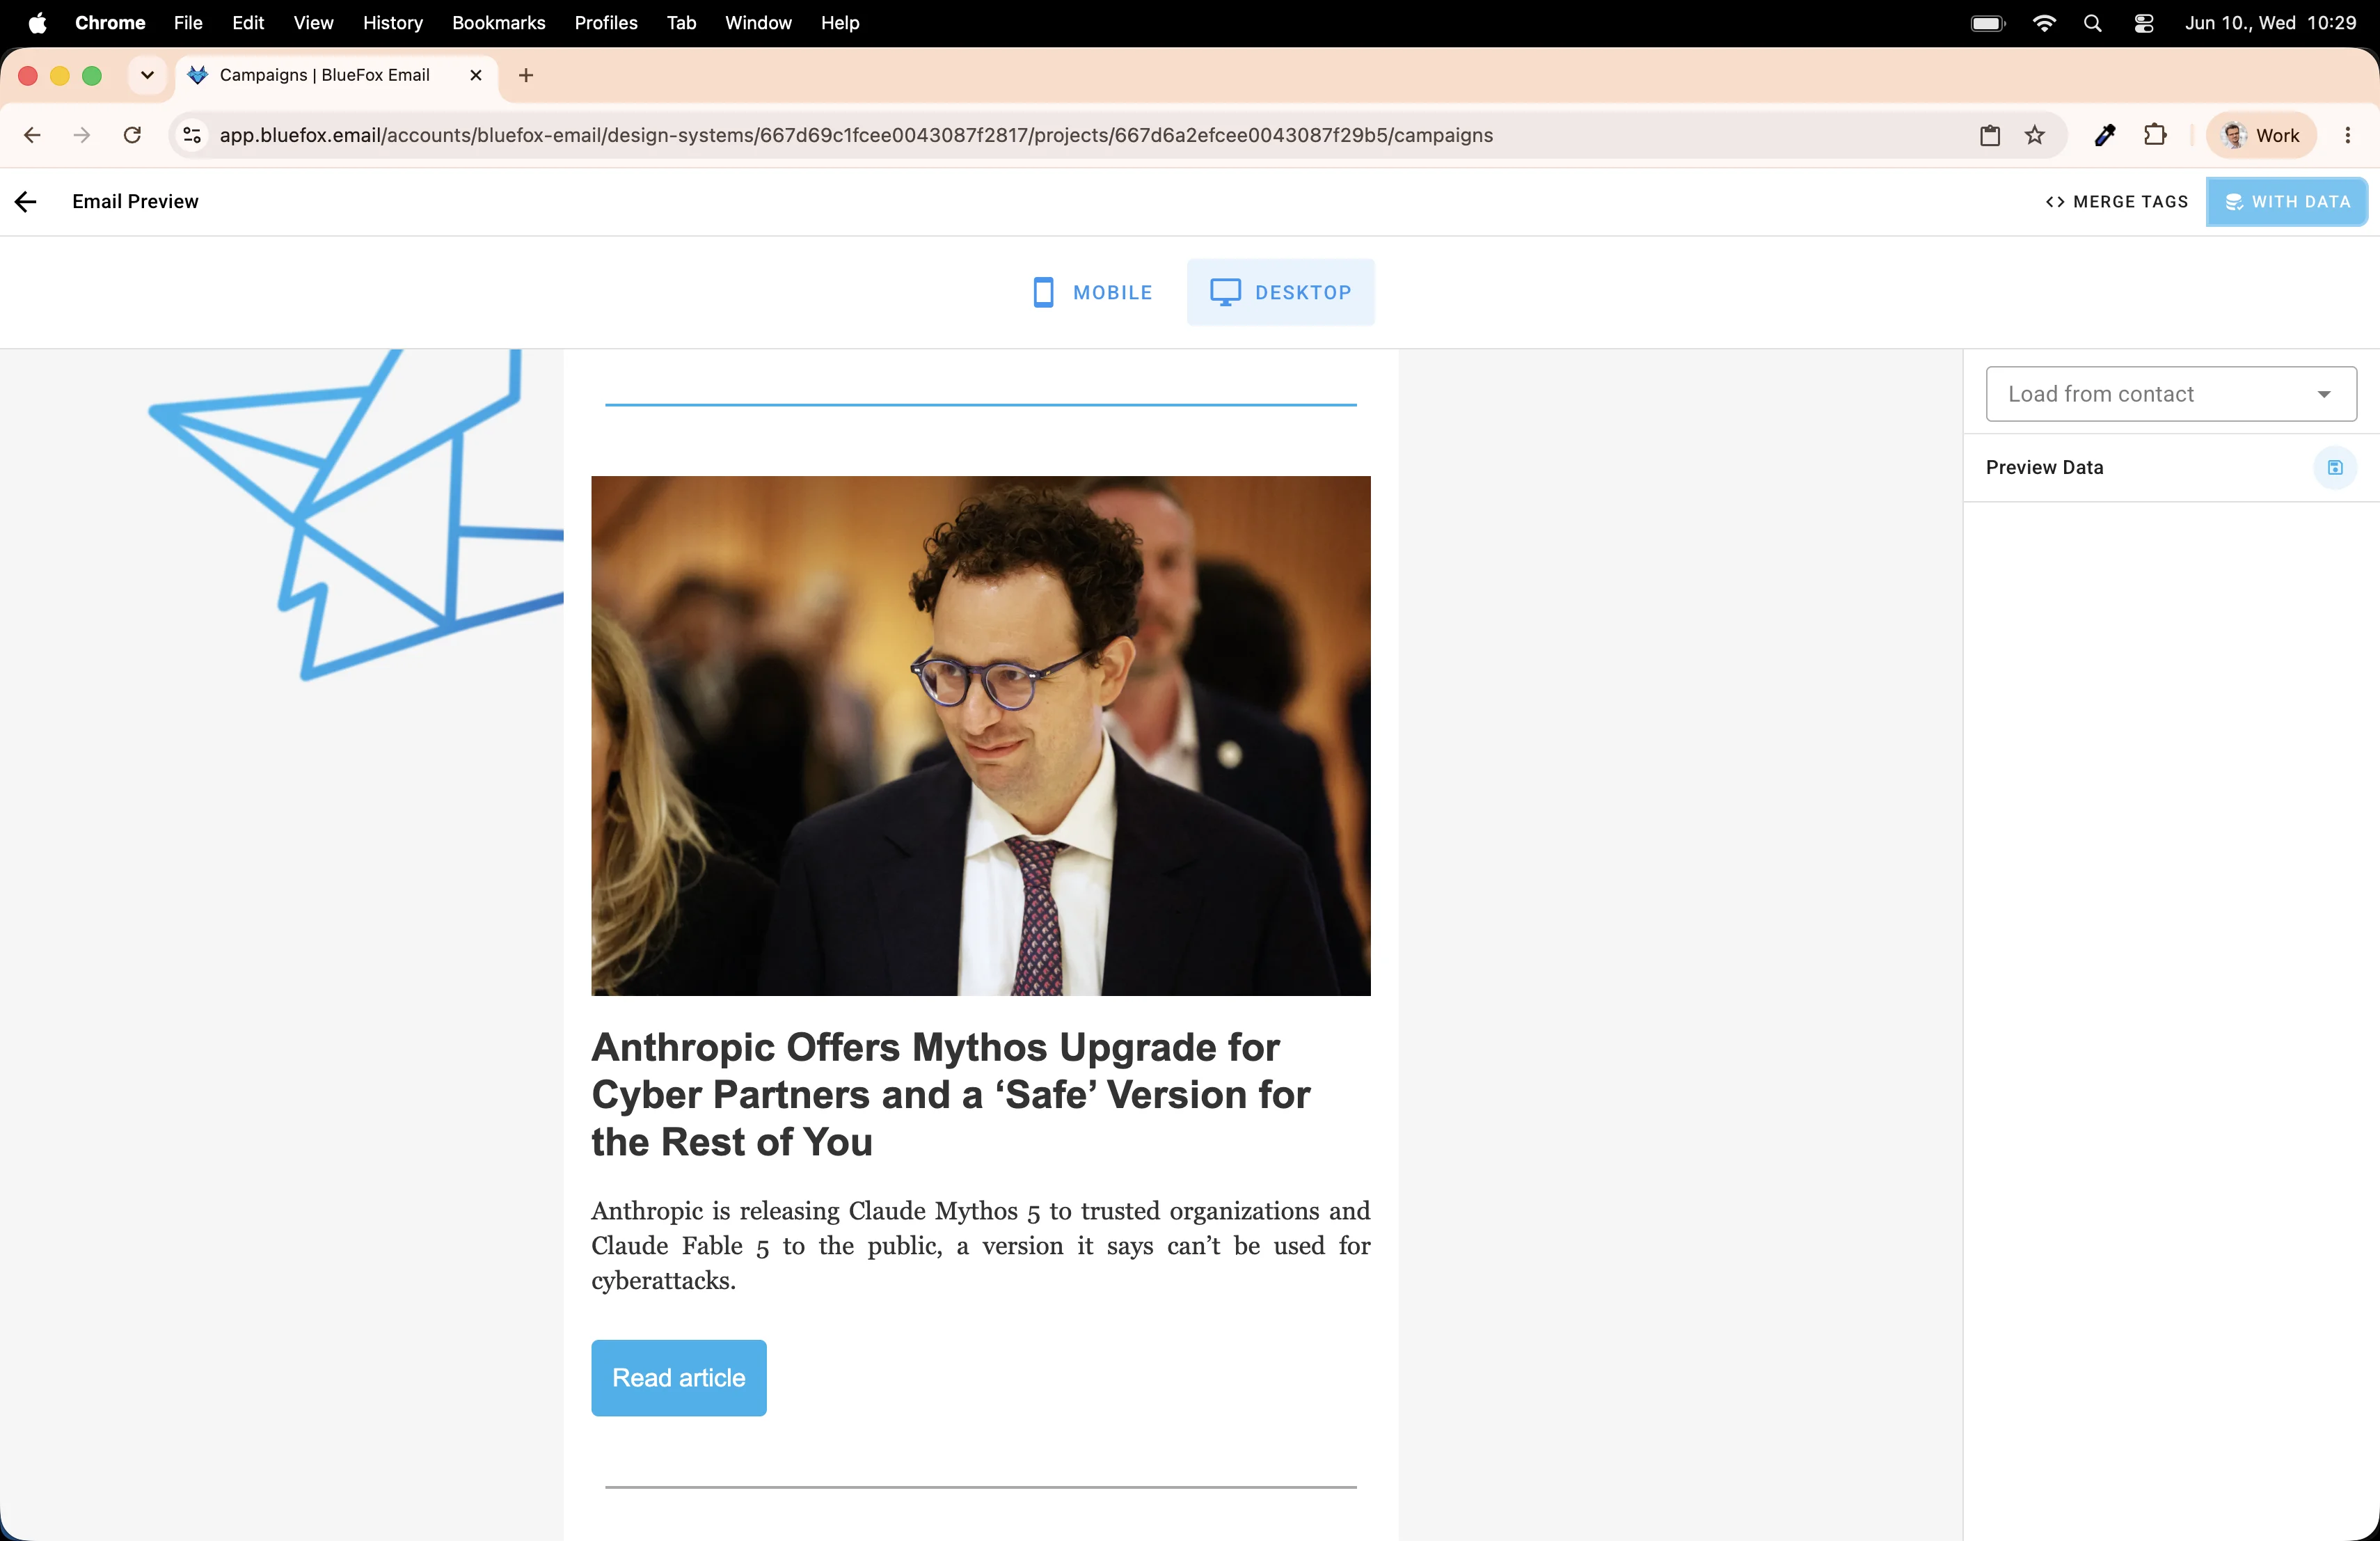
Now switch to Preview with data to see what the email will actually look like when it sends.
Real articles from the Wired AI feed are rendered in the loop. Title, description, and image. All pulled in live.
Scroll...
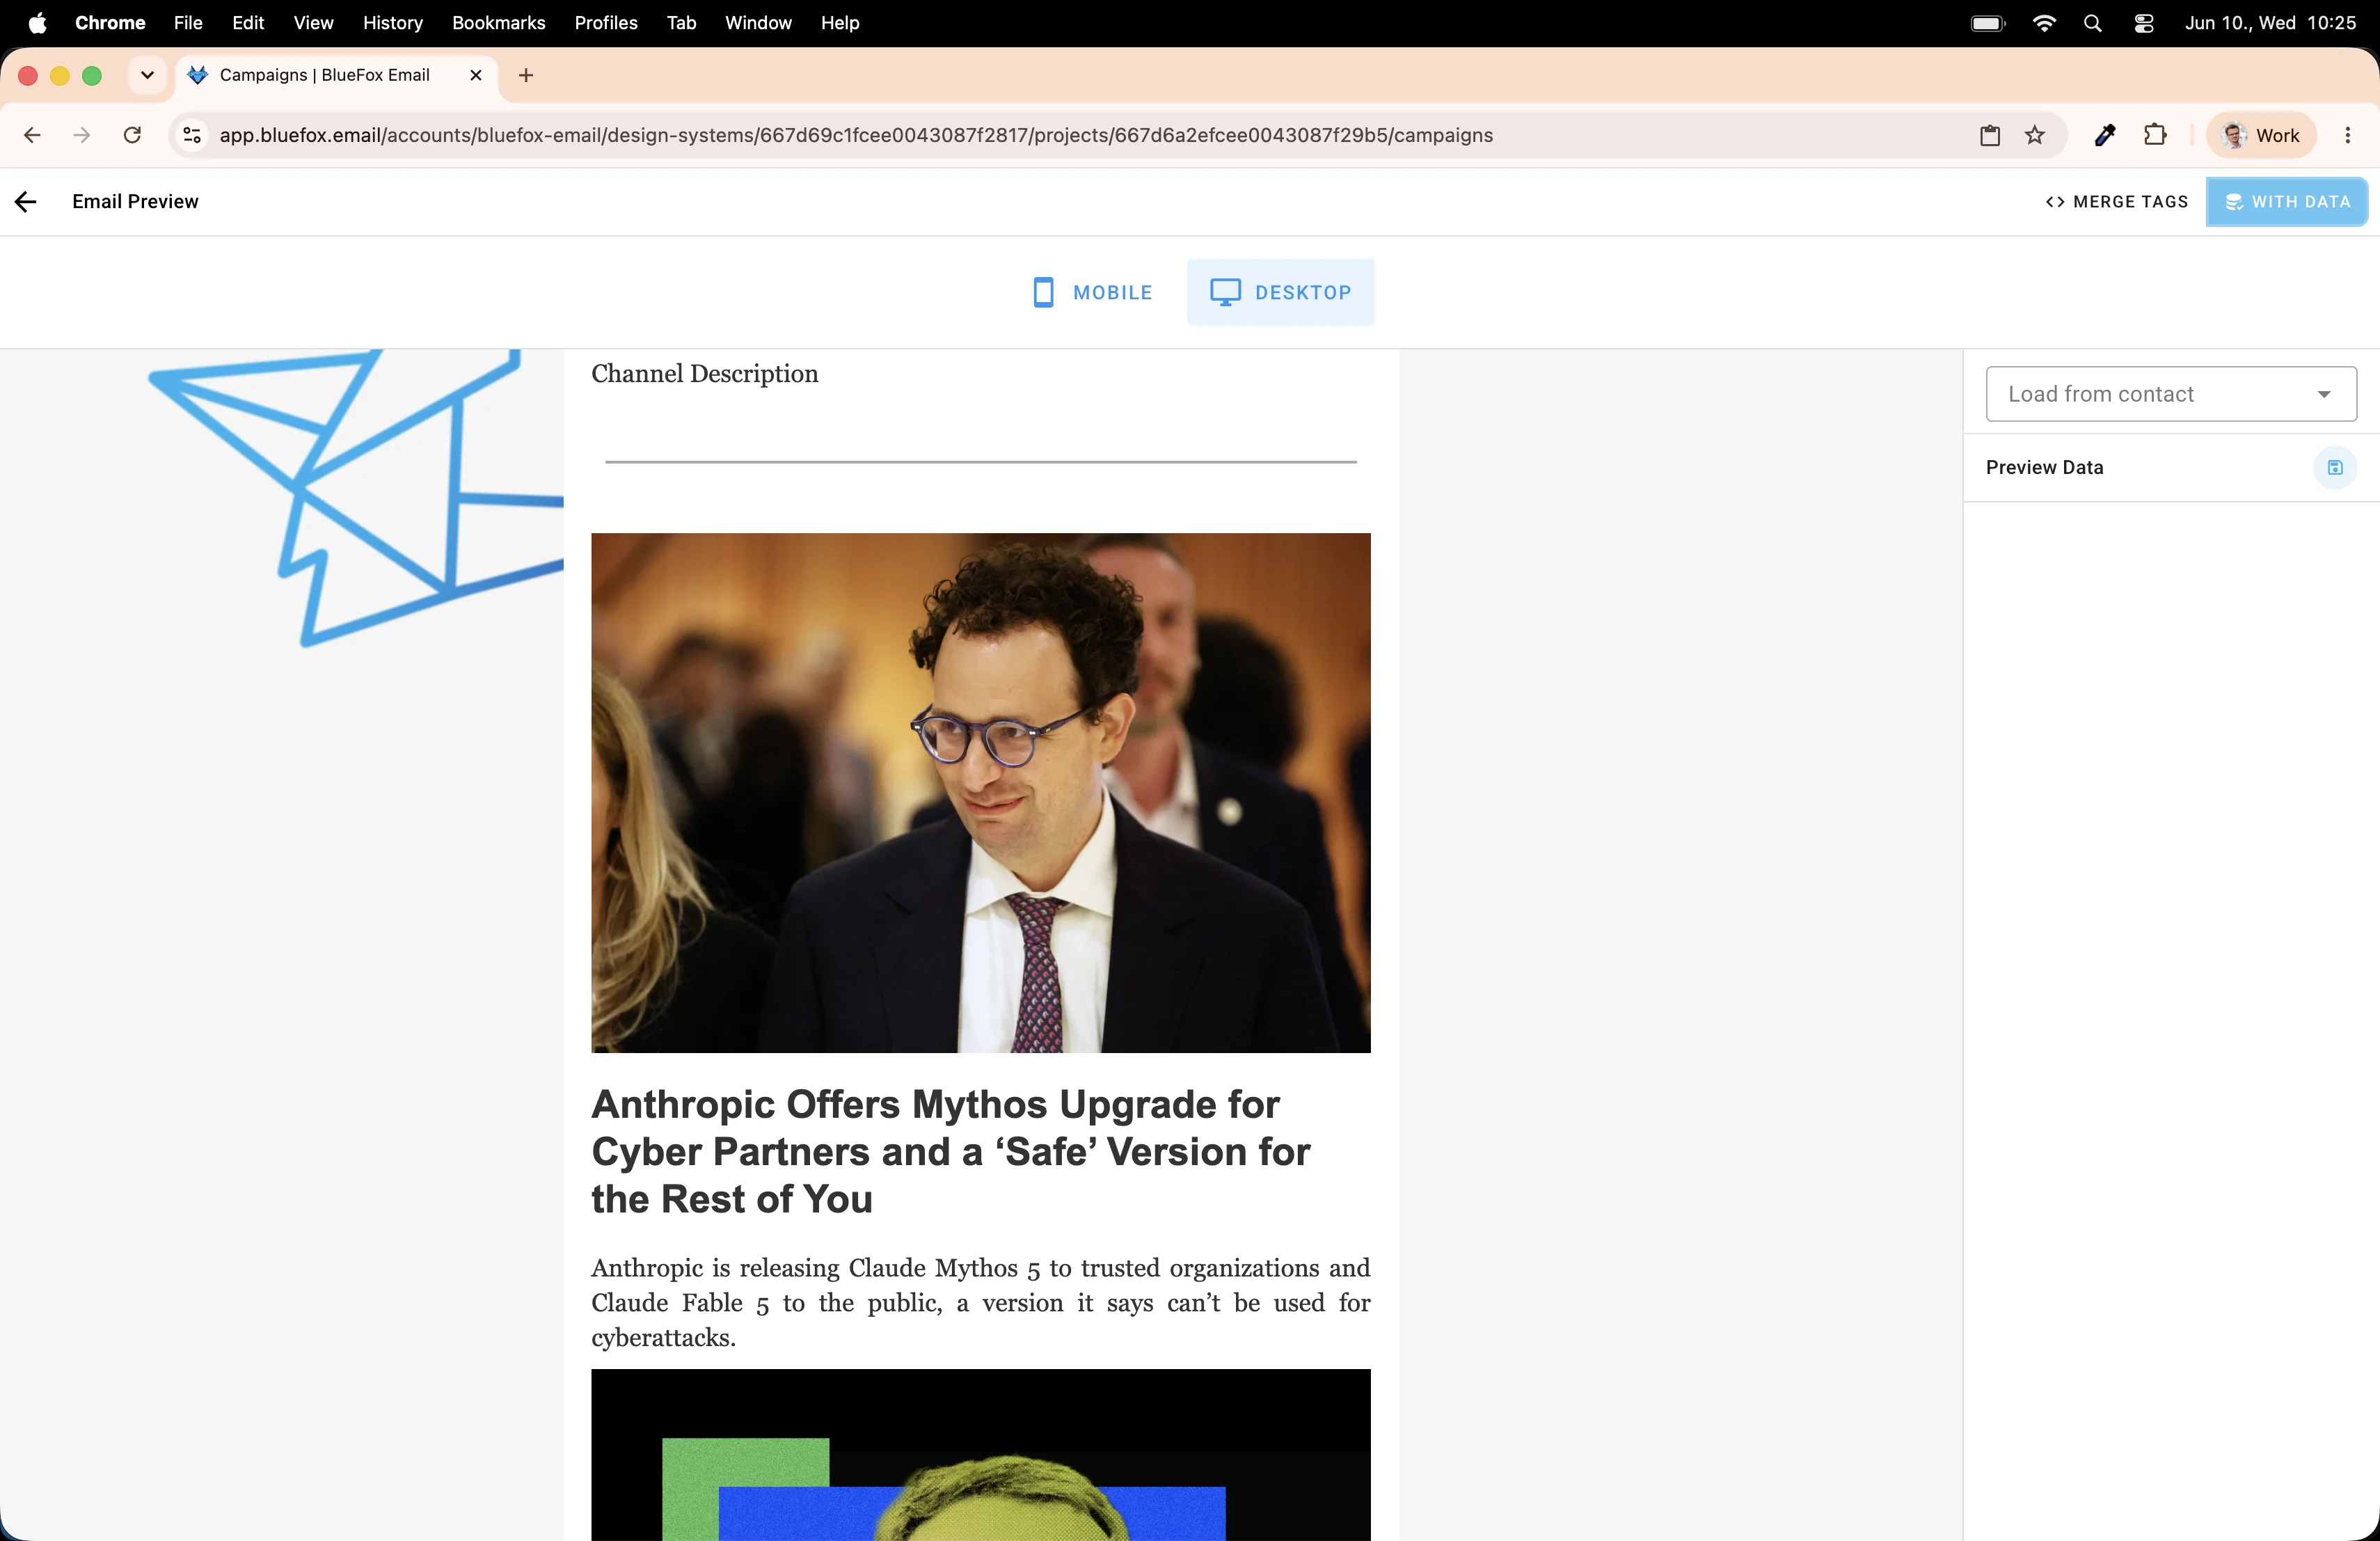
Scroll...
Looking good! But a reader has no way to click through to the full article yet. Let's add a button.
Adding a "Read more" button
Drop a Button element inside the loop.
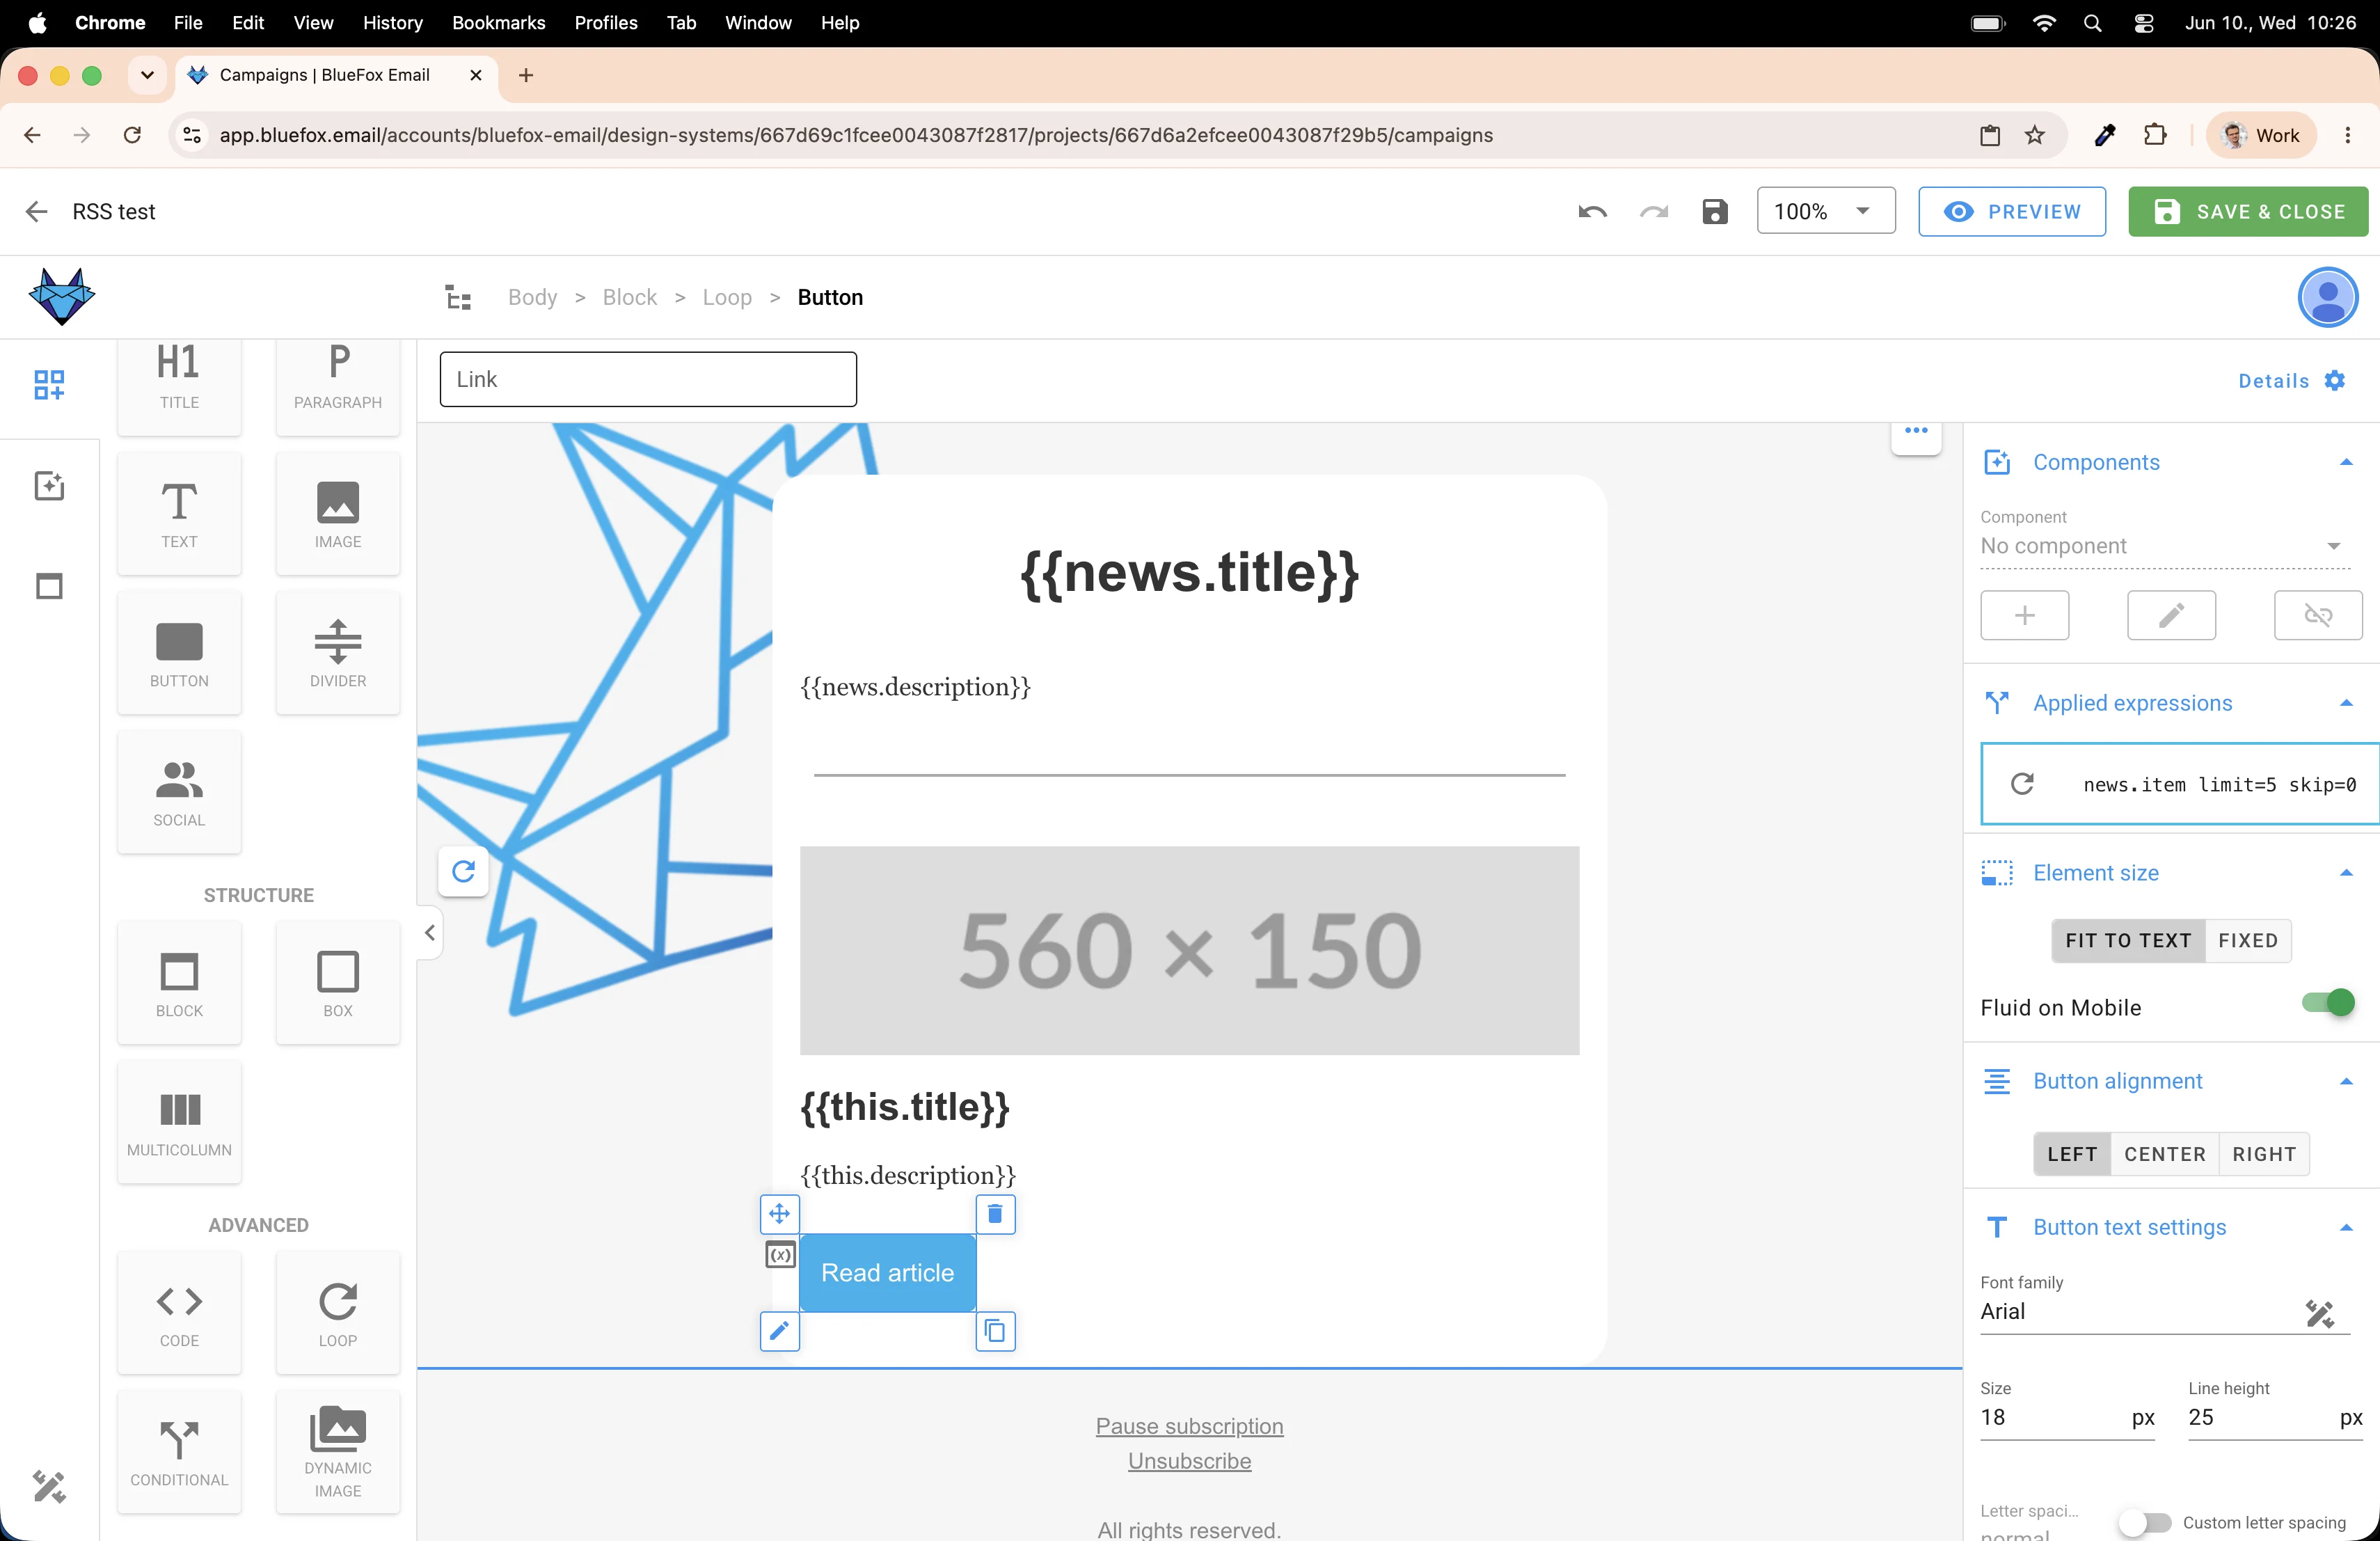
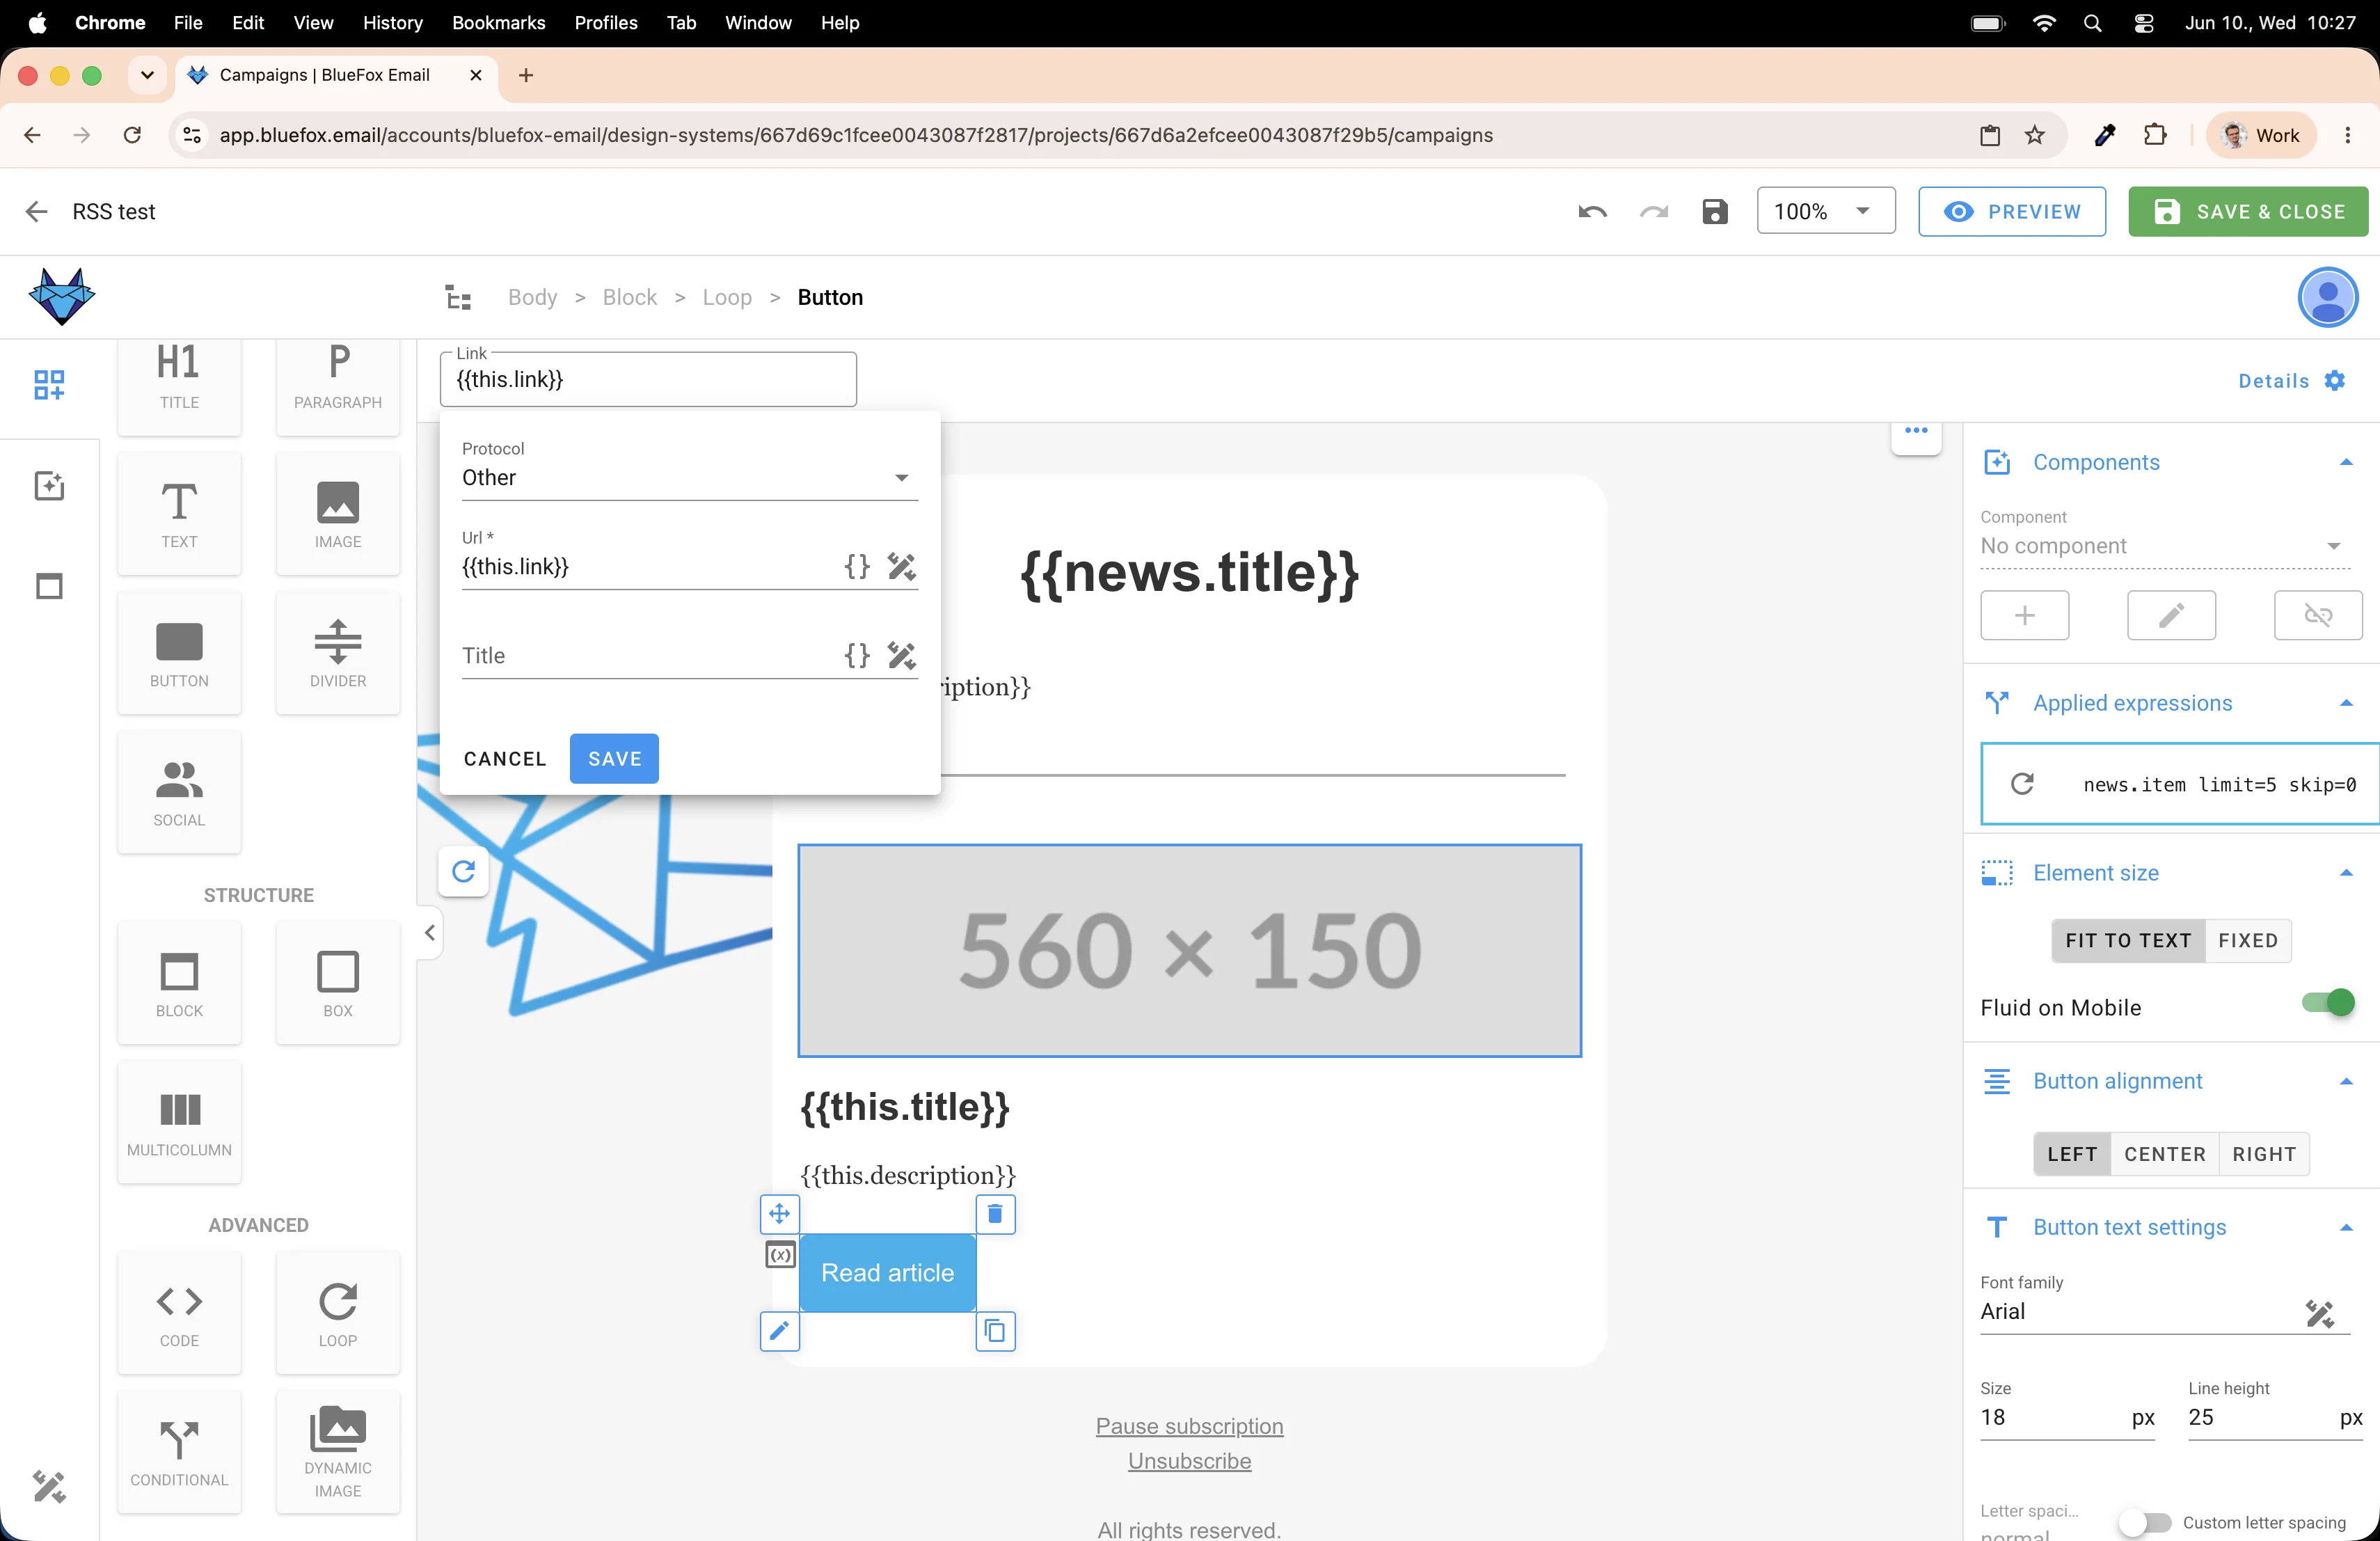
In the button's link settings, set the protocol to Other. This lets us use a merge tag as the URL instead of picking a fixed protocol from the dropdown.
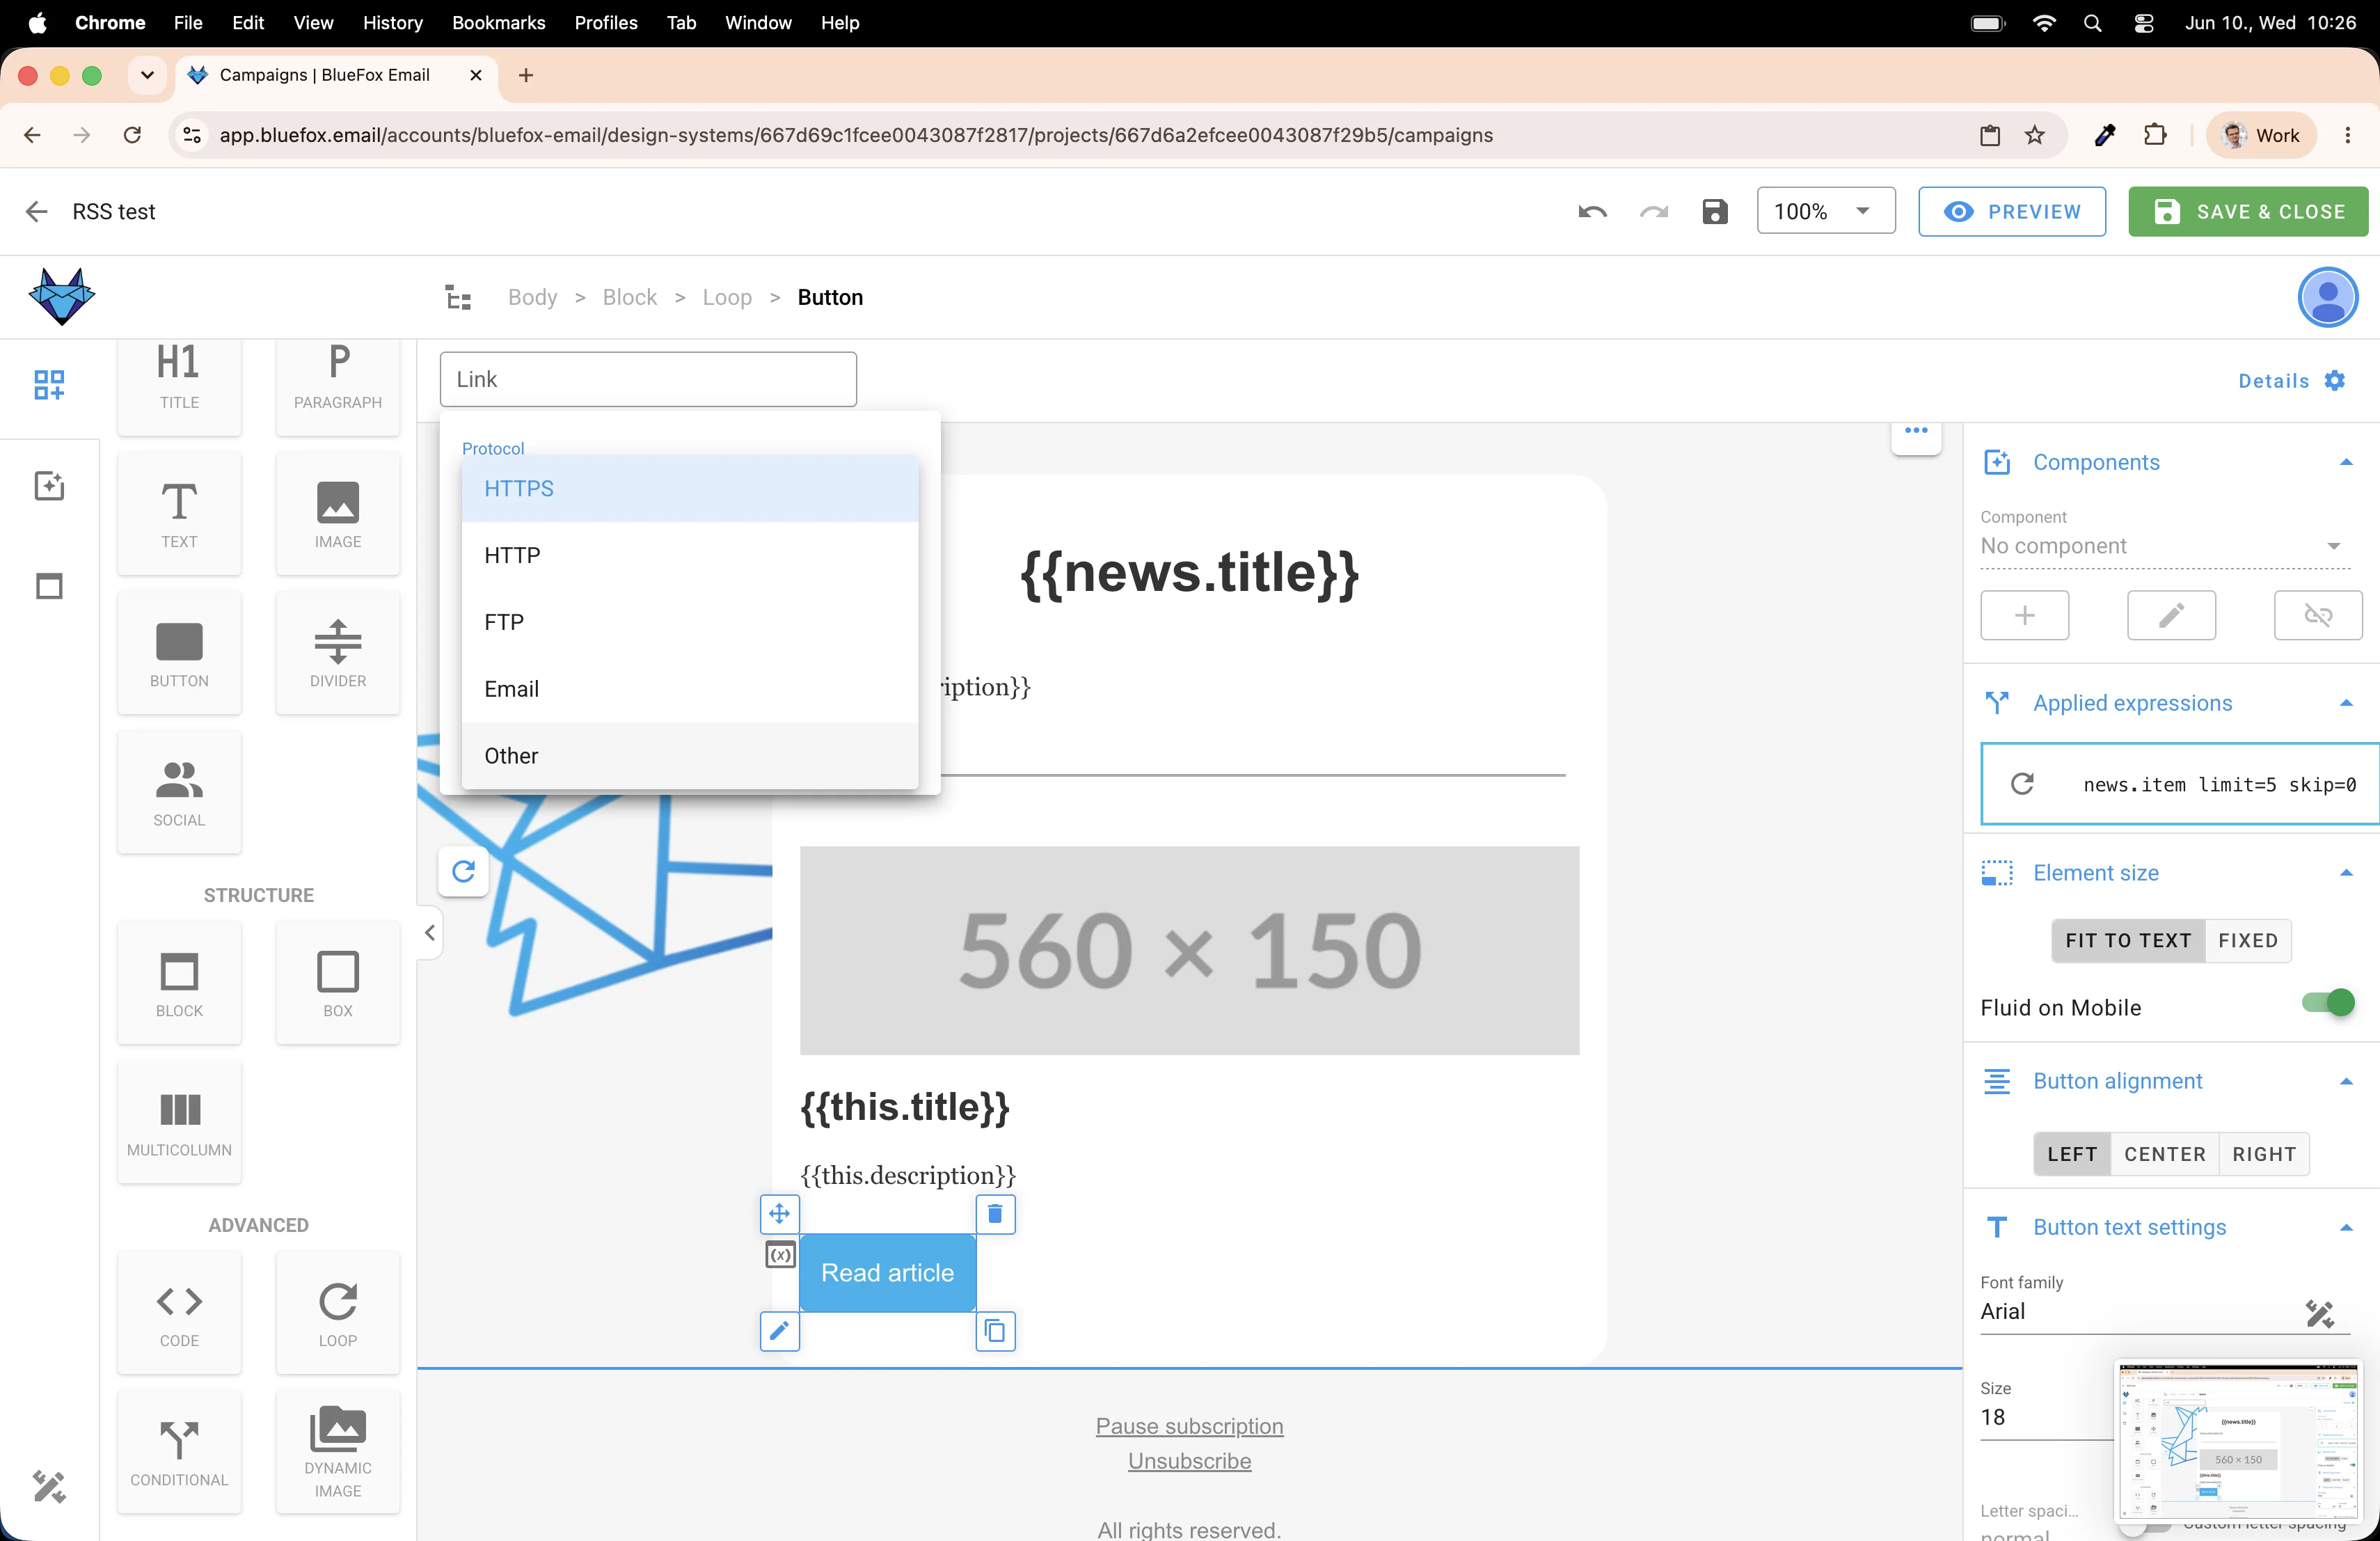
Click the merge tag icon next to the link field...
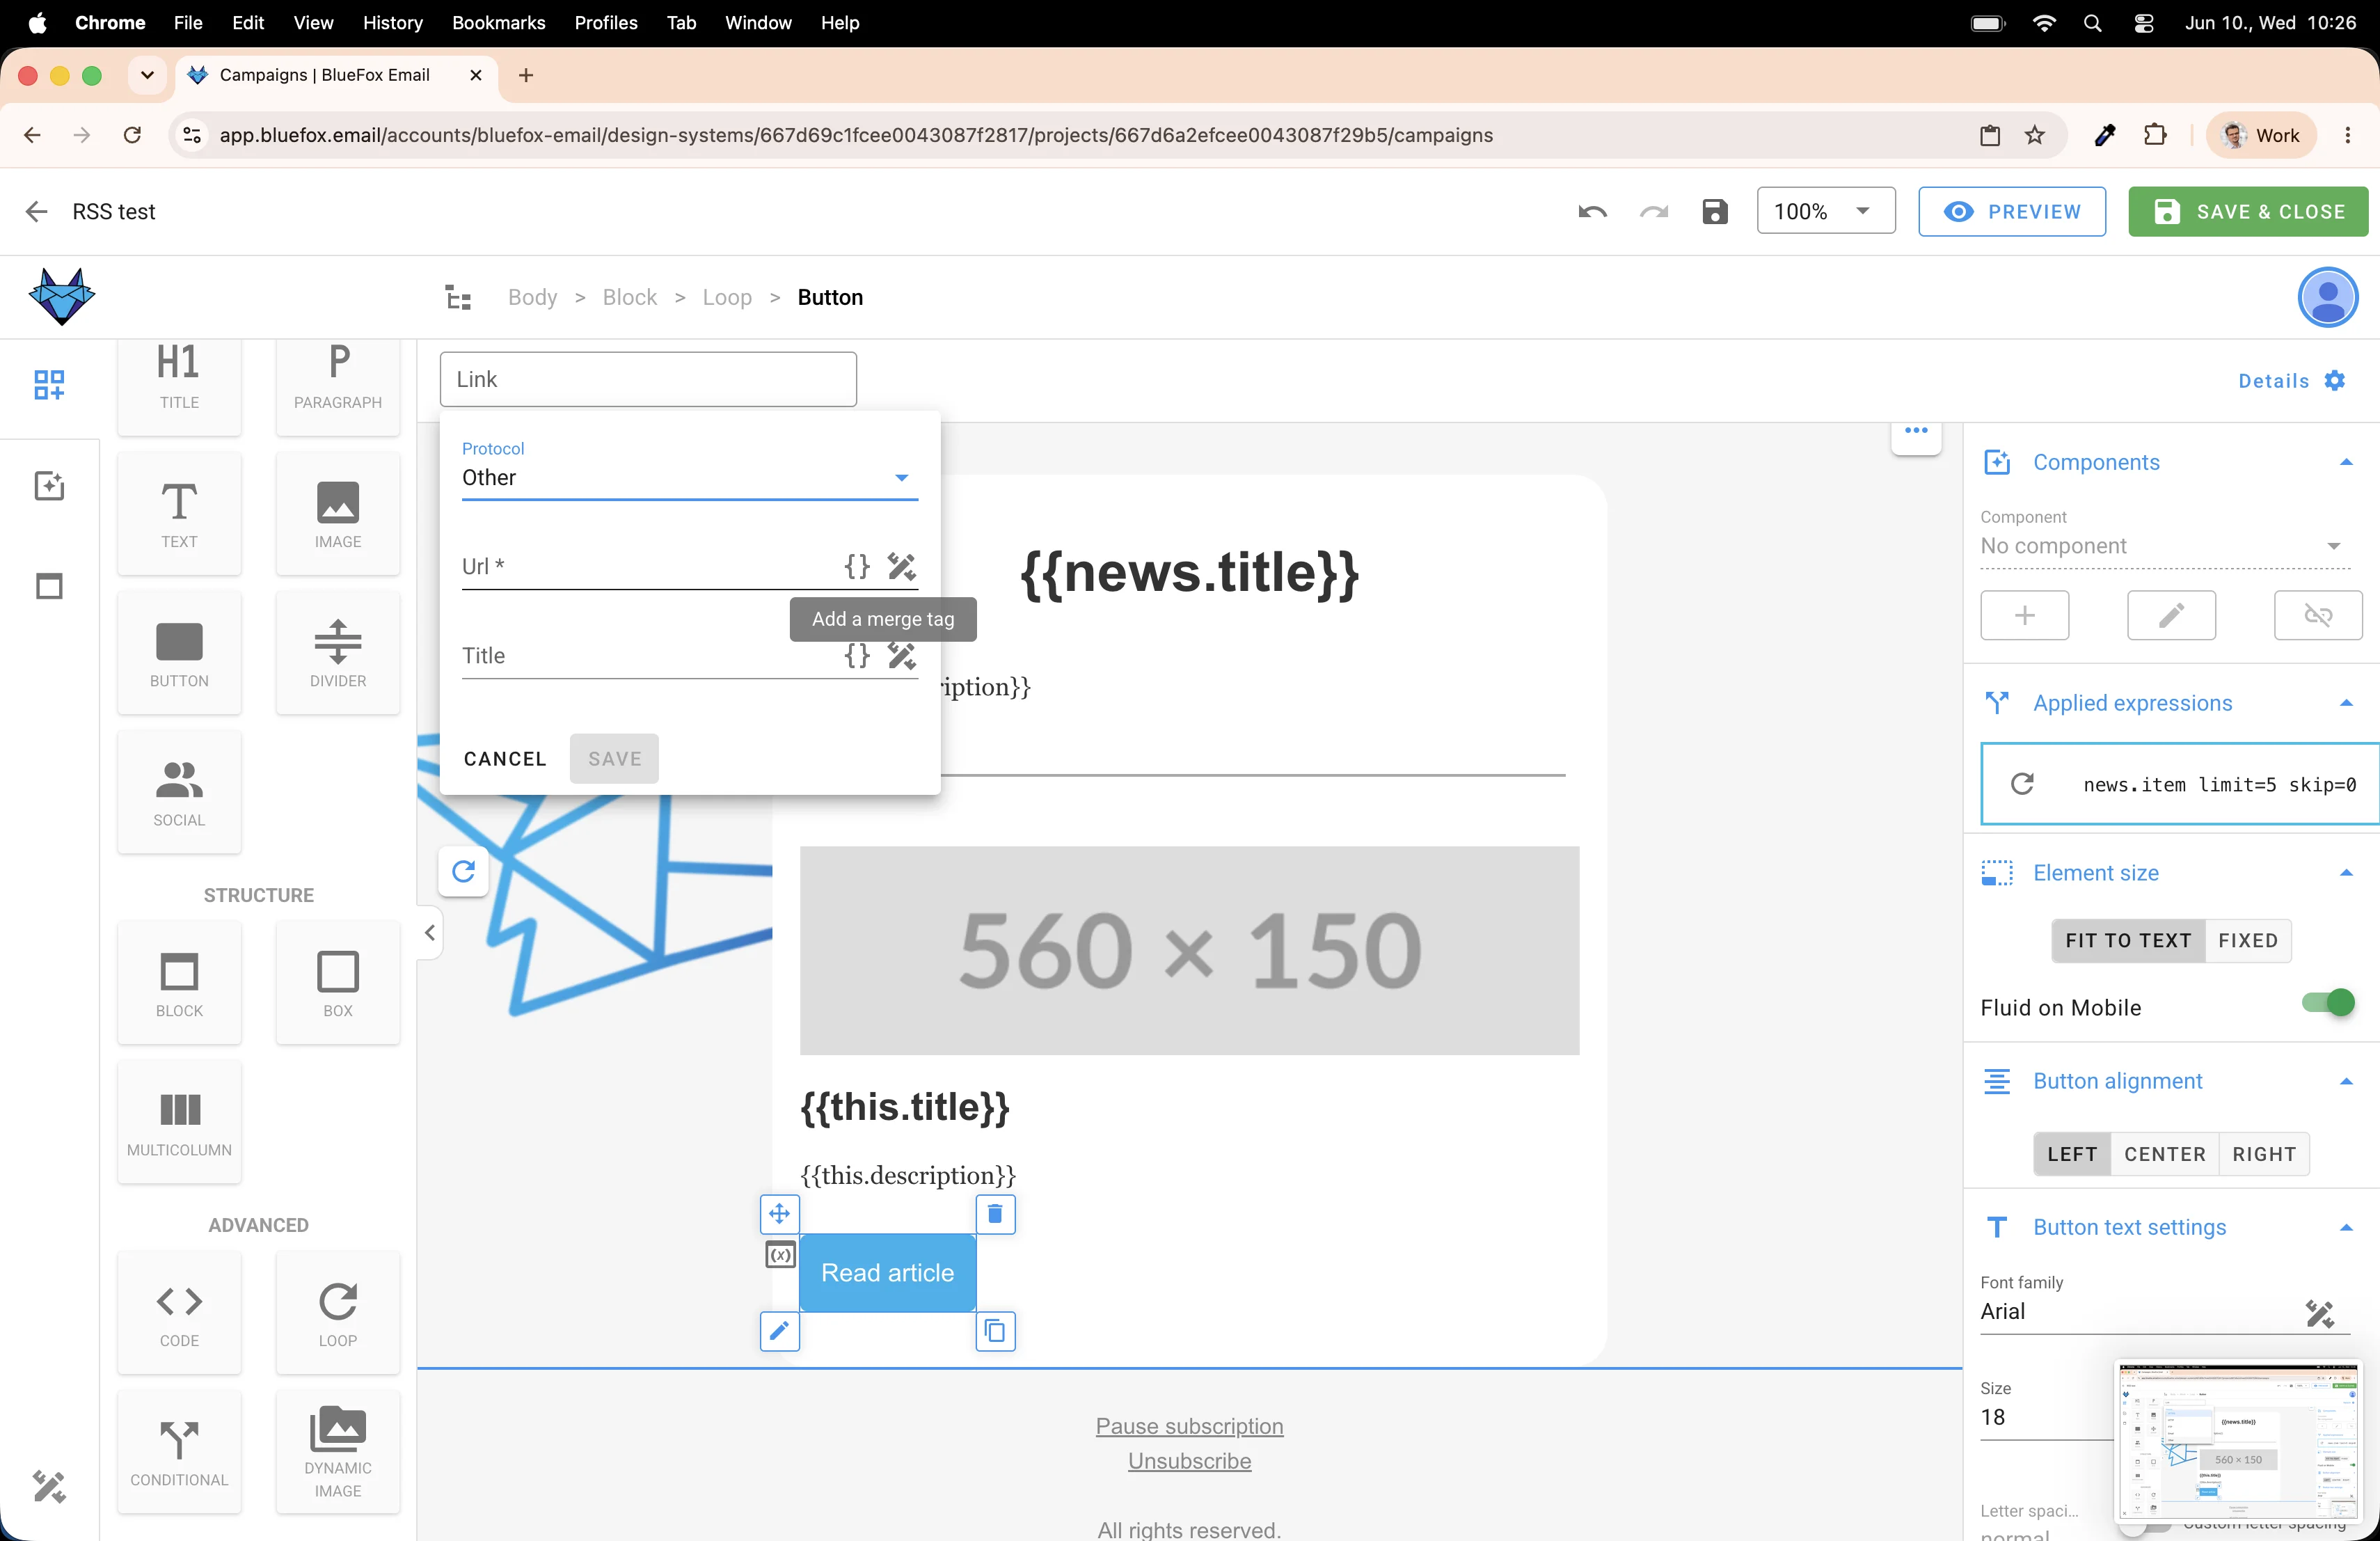
...and select this.link. That's the article URL from the feed.
Save it.
And add a Divider inside the loop too. This one goes between articles, so each item is visually separated.
Preview with data one more time. Now each article has a "Read more" button and clean dividers between them.
The template is done. Save and close the editor.
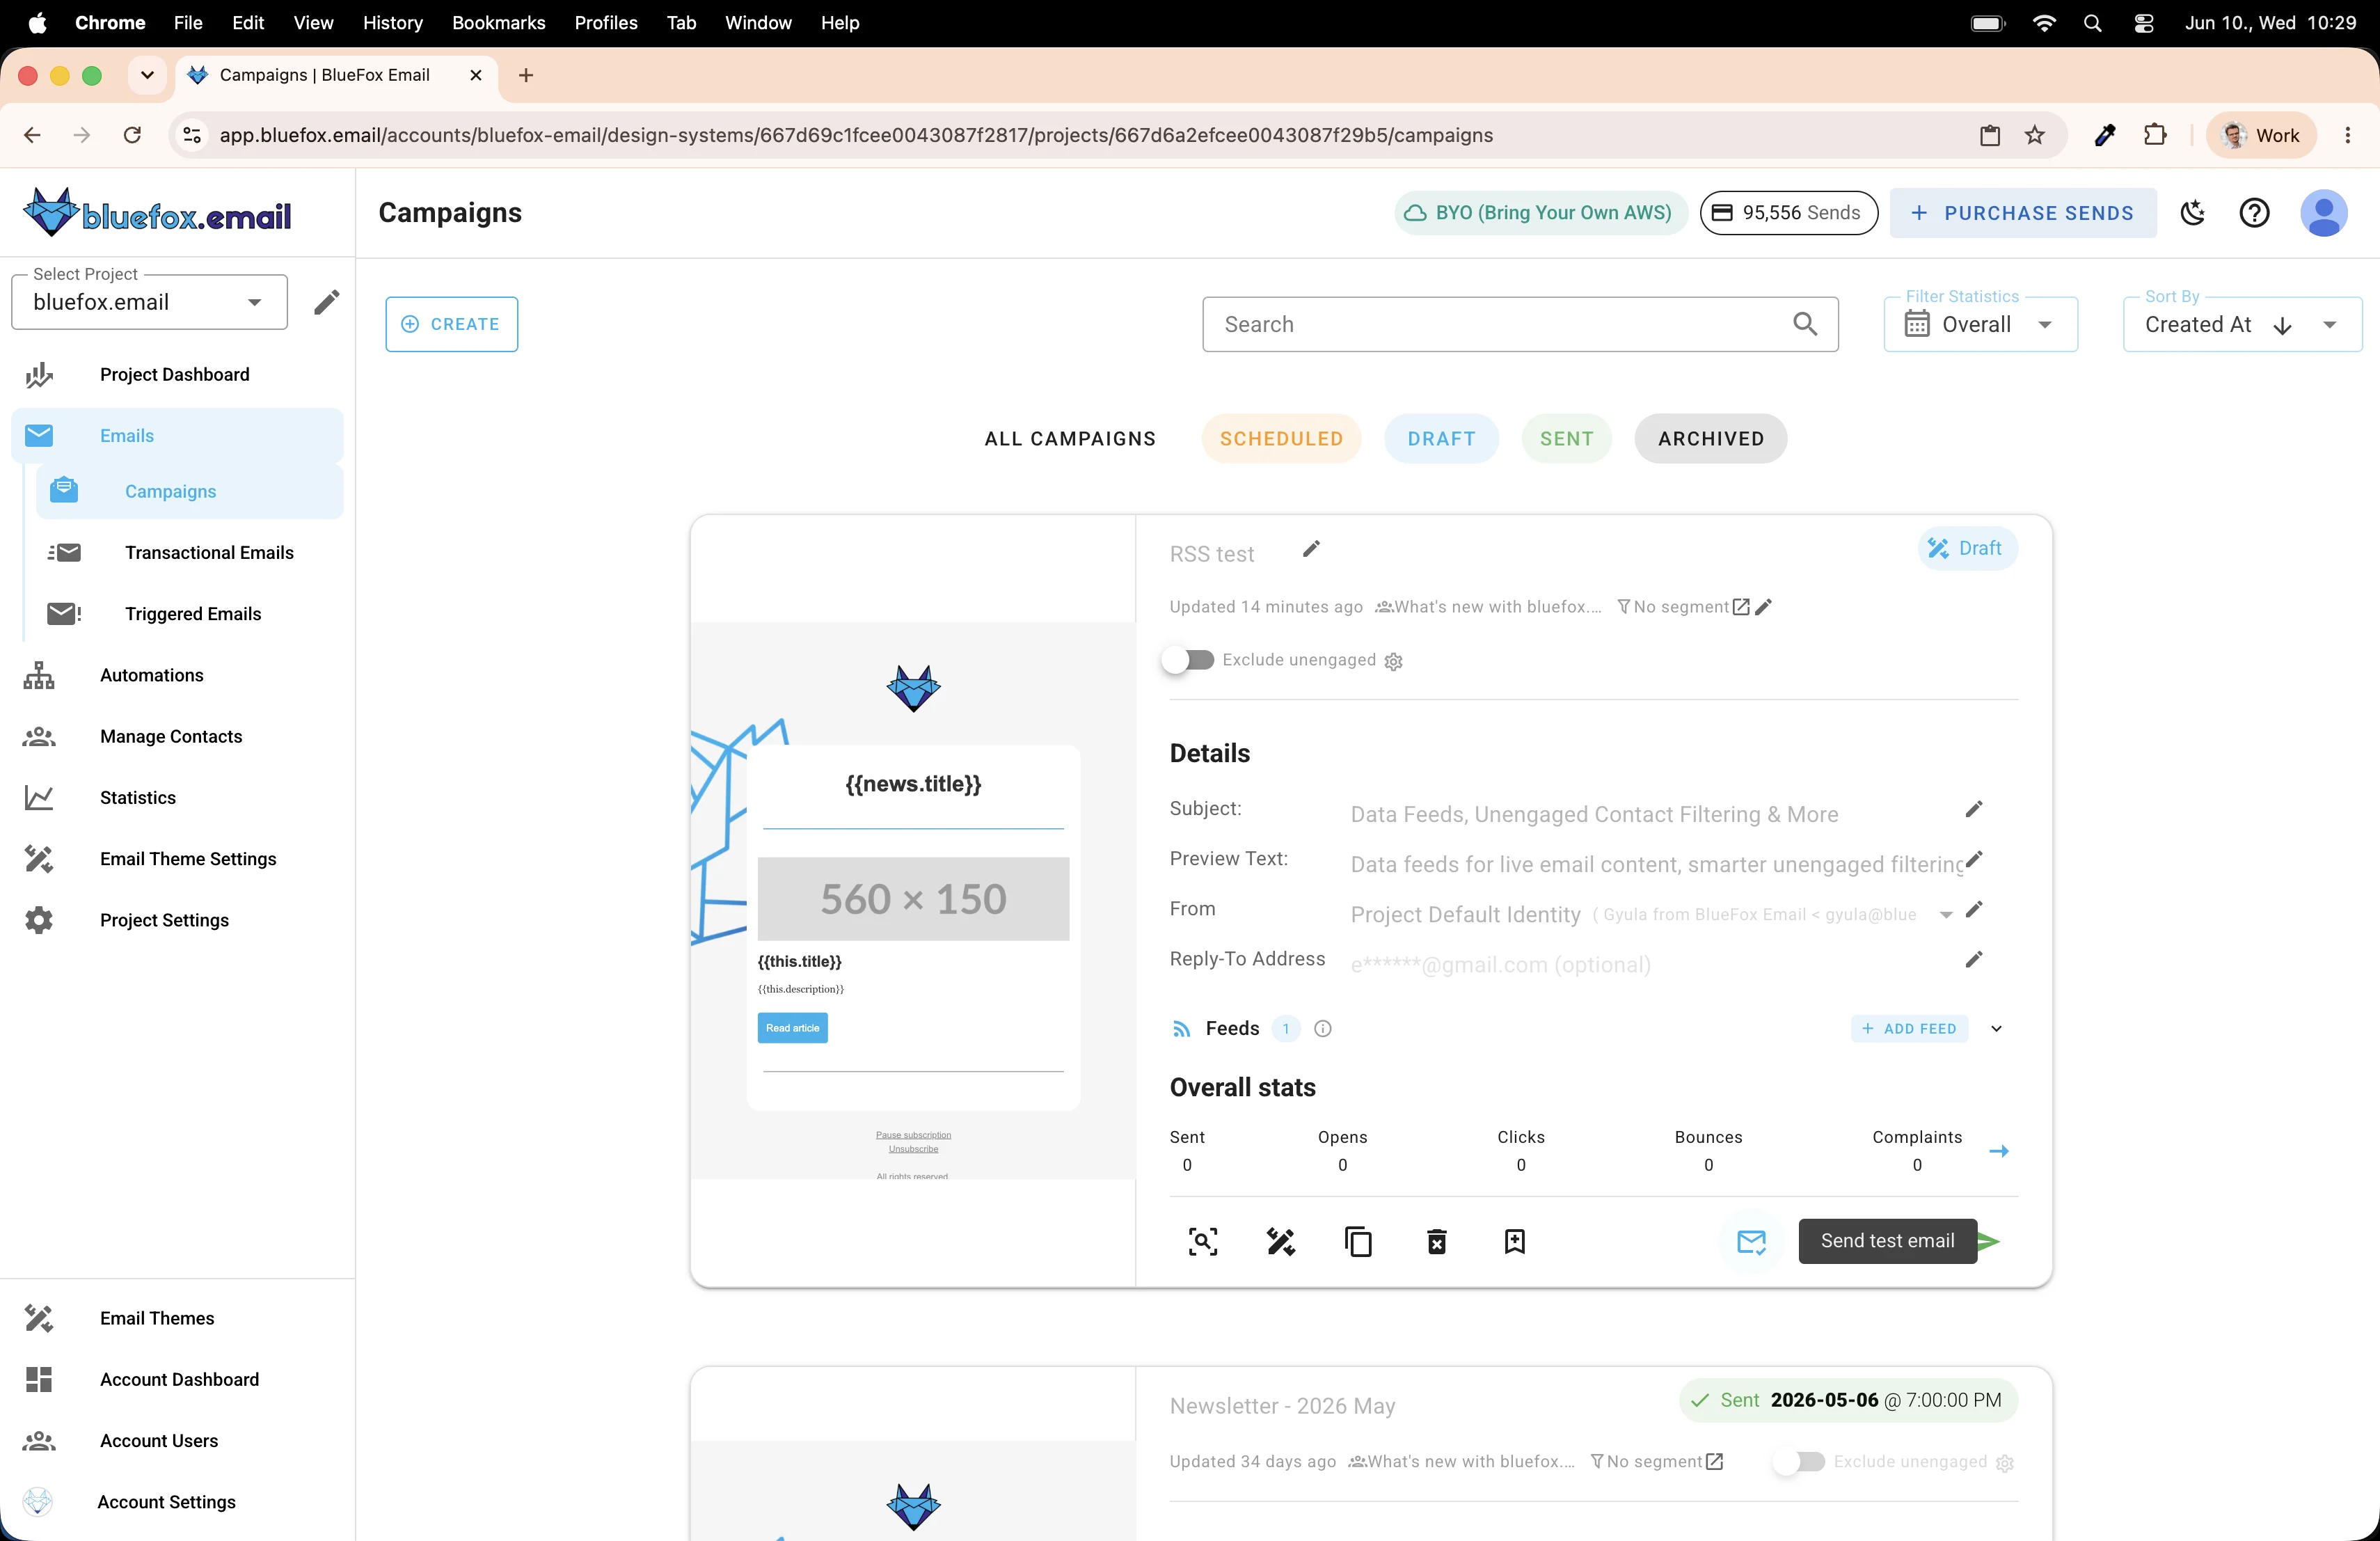
Testing it out
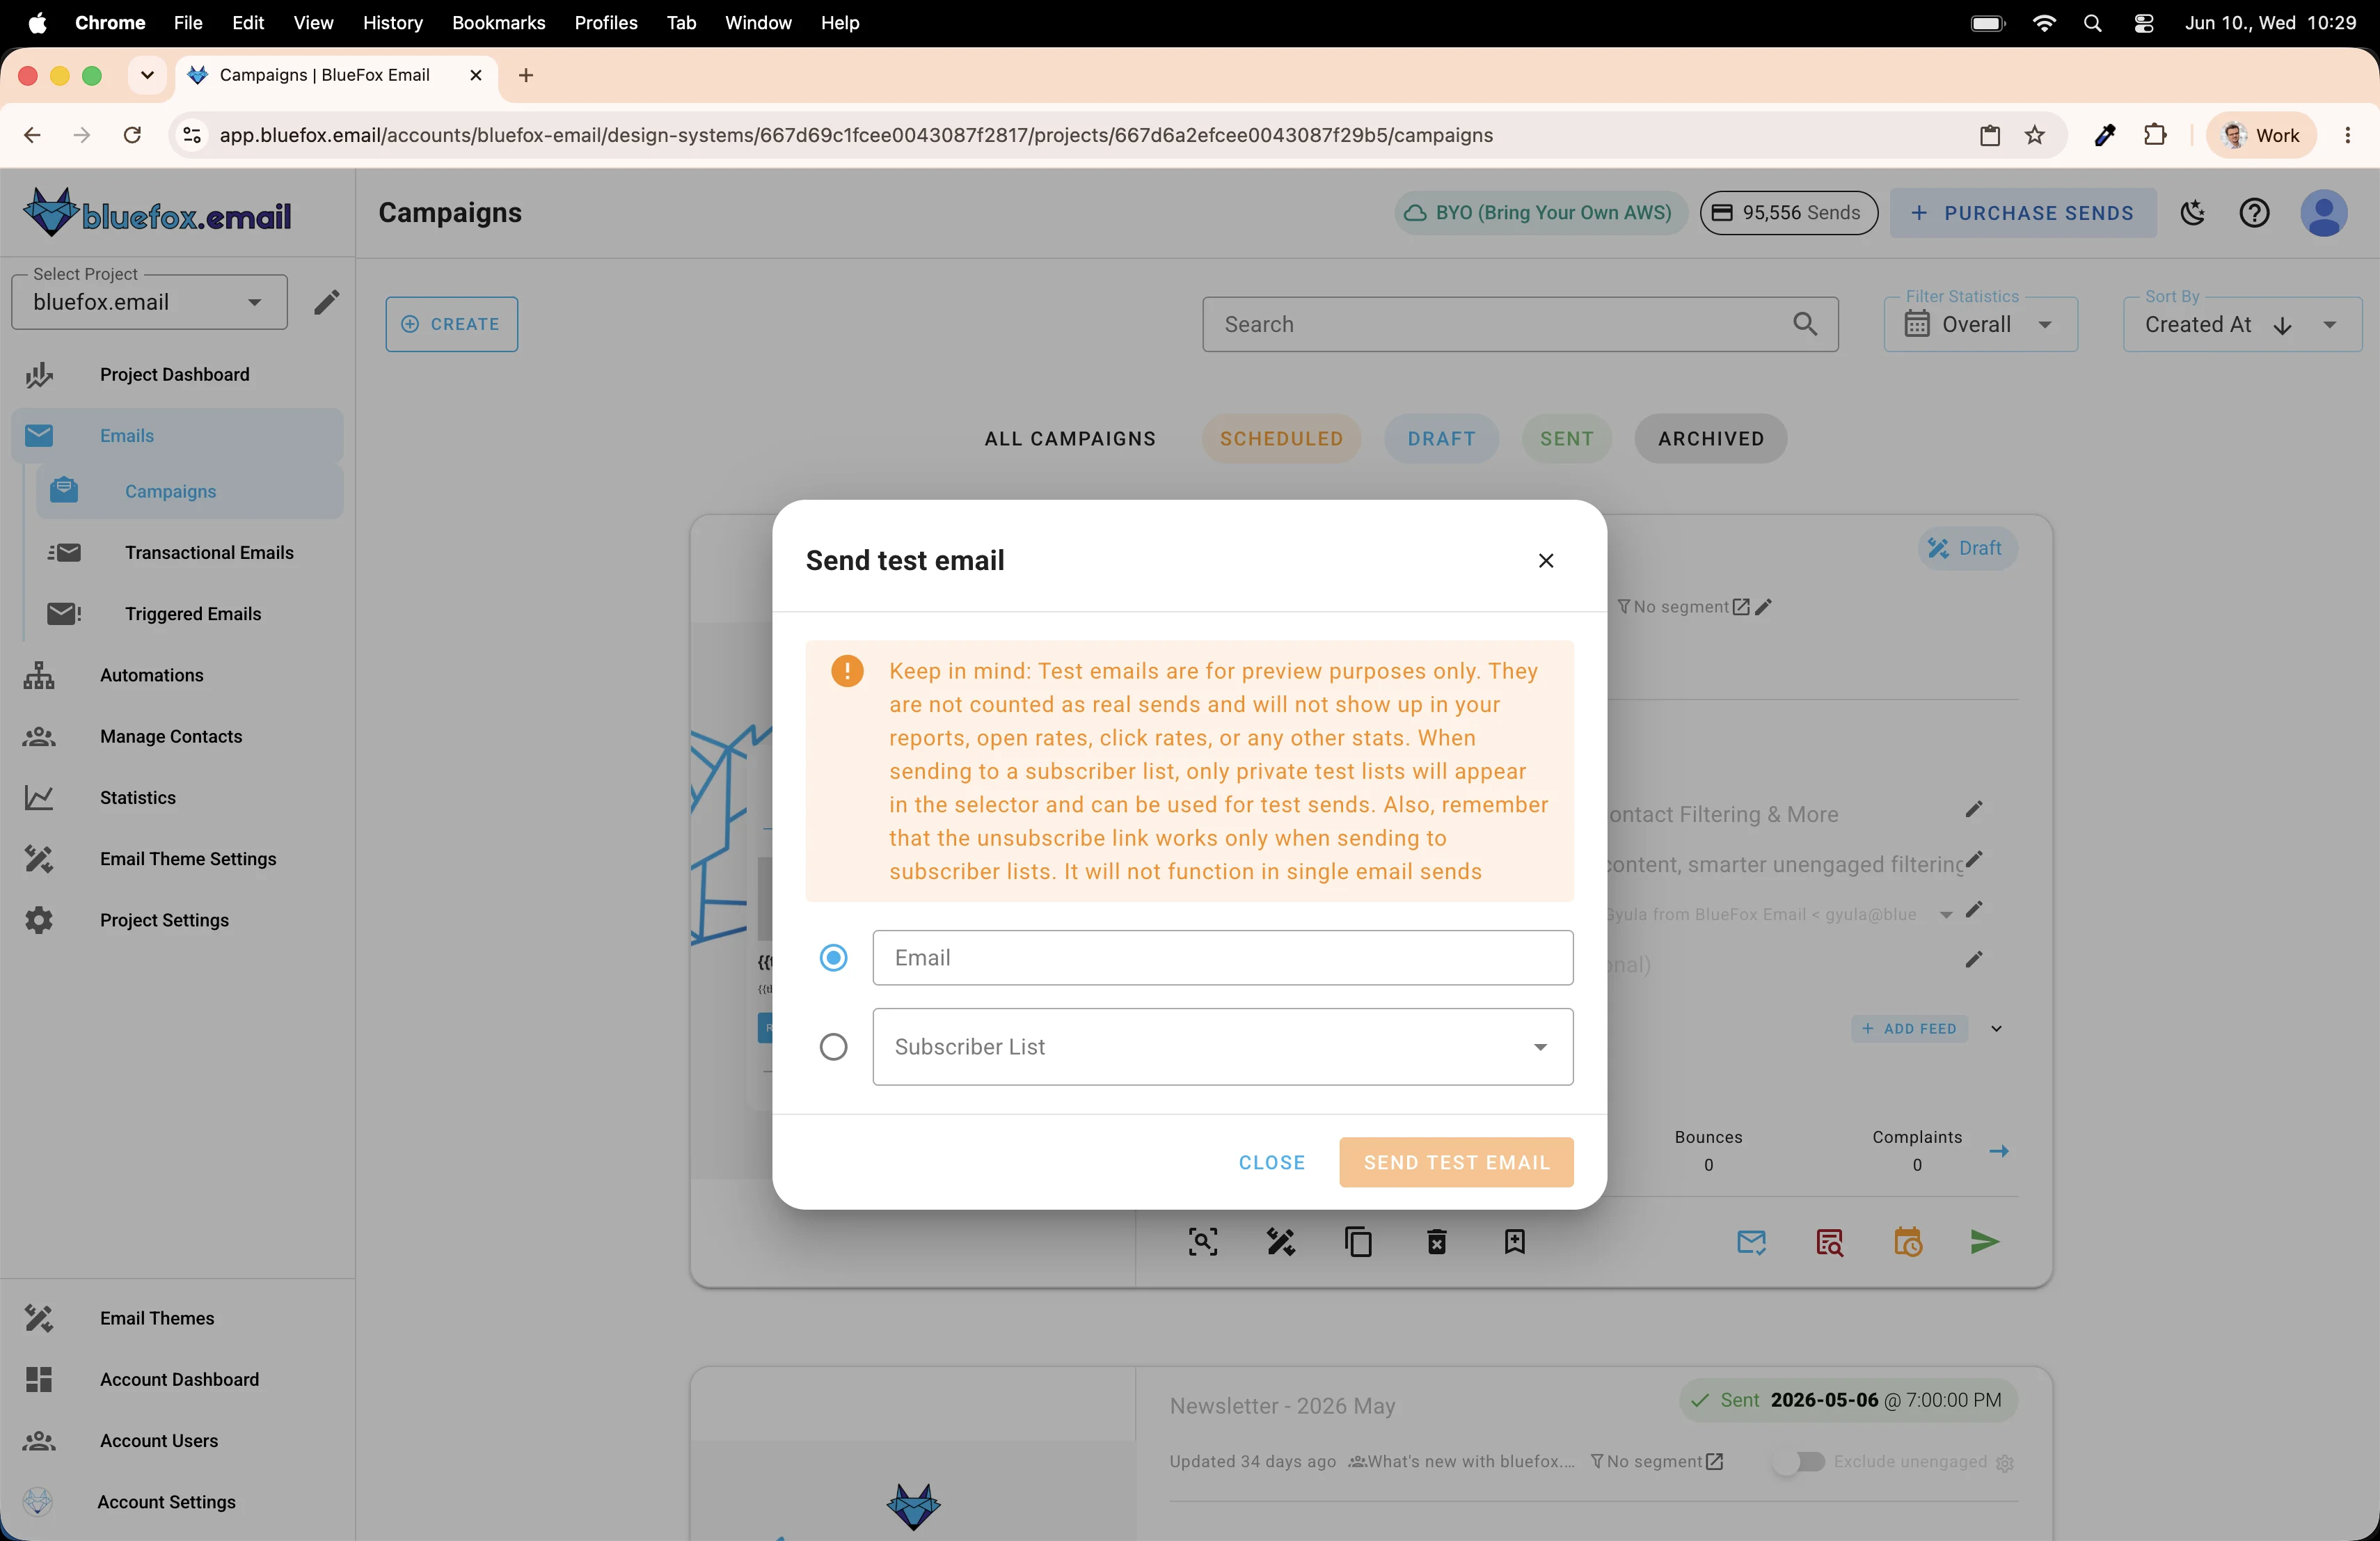
Before we send to anyone, let's make sure it works. Click Send Test Email on the campaign card.
Enter your email address and send it.
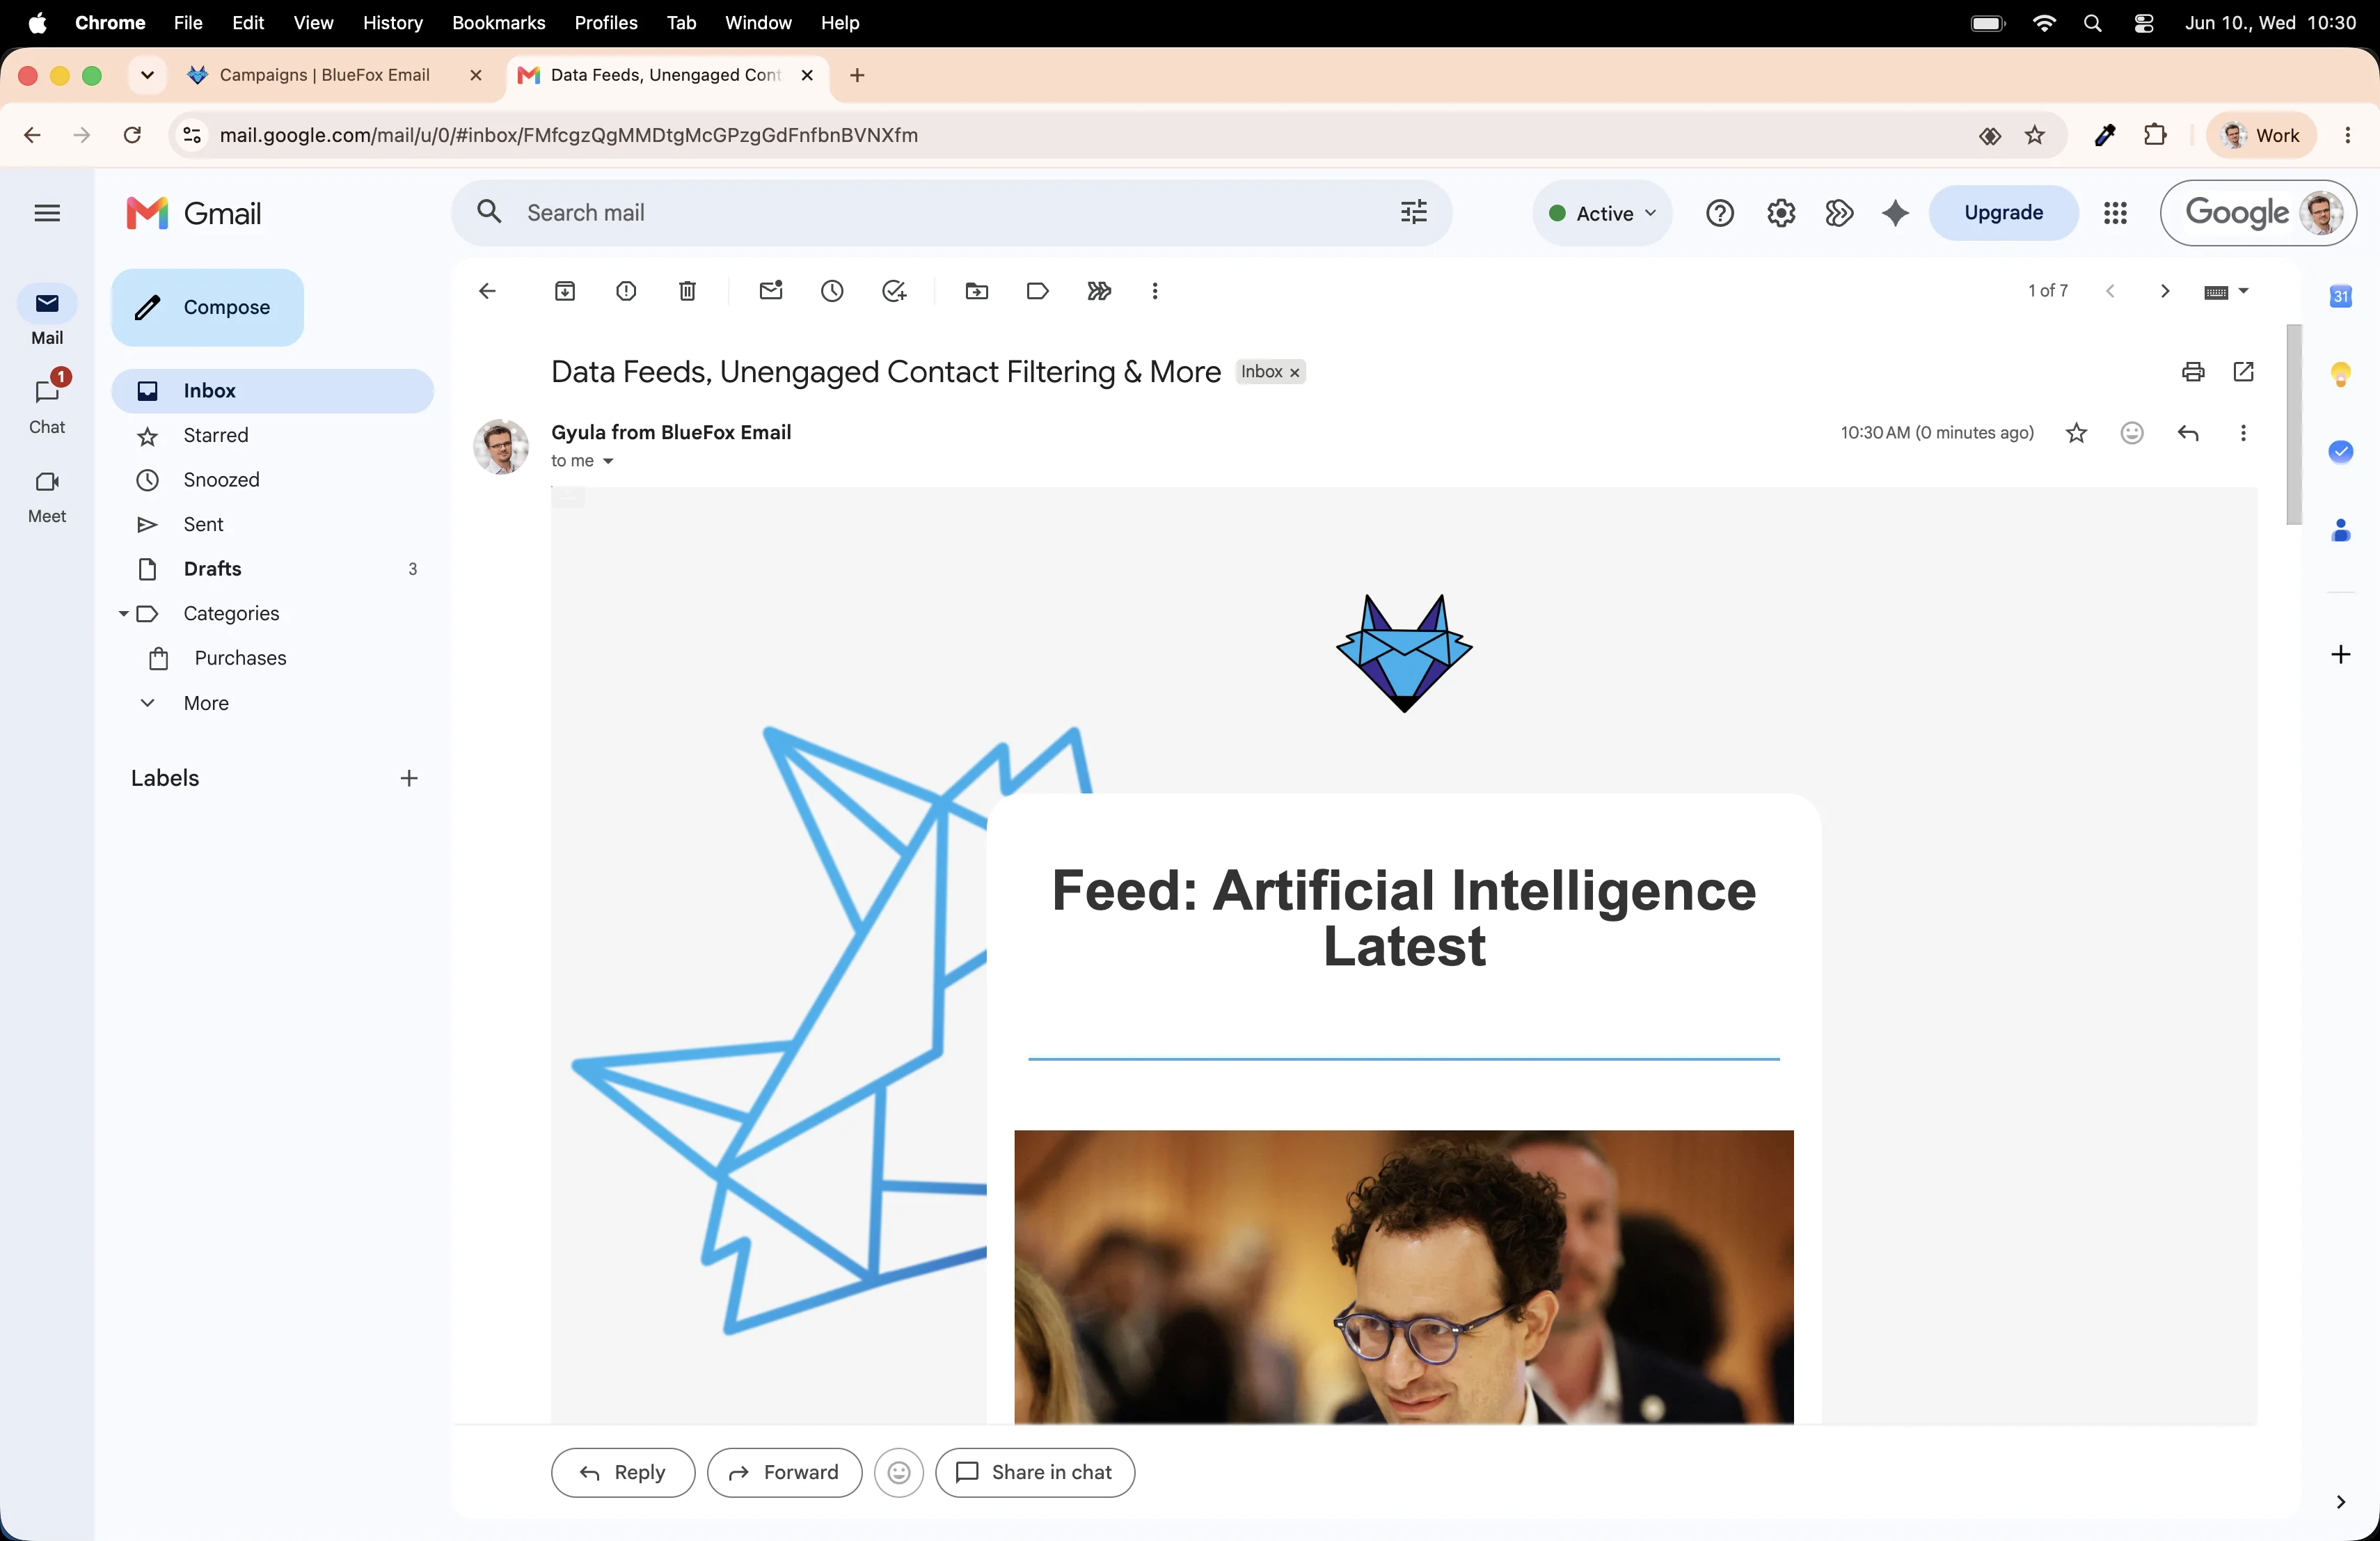
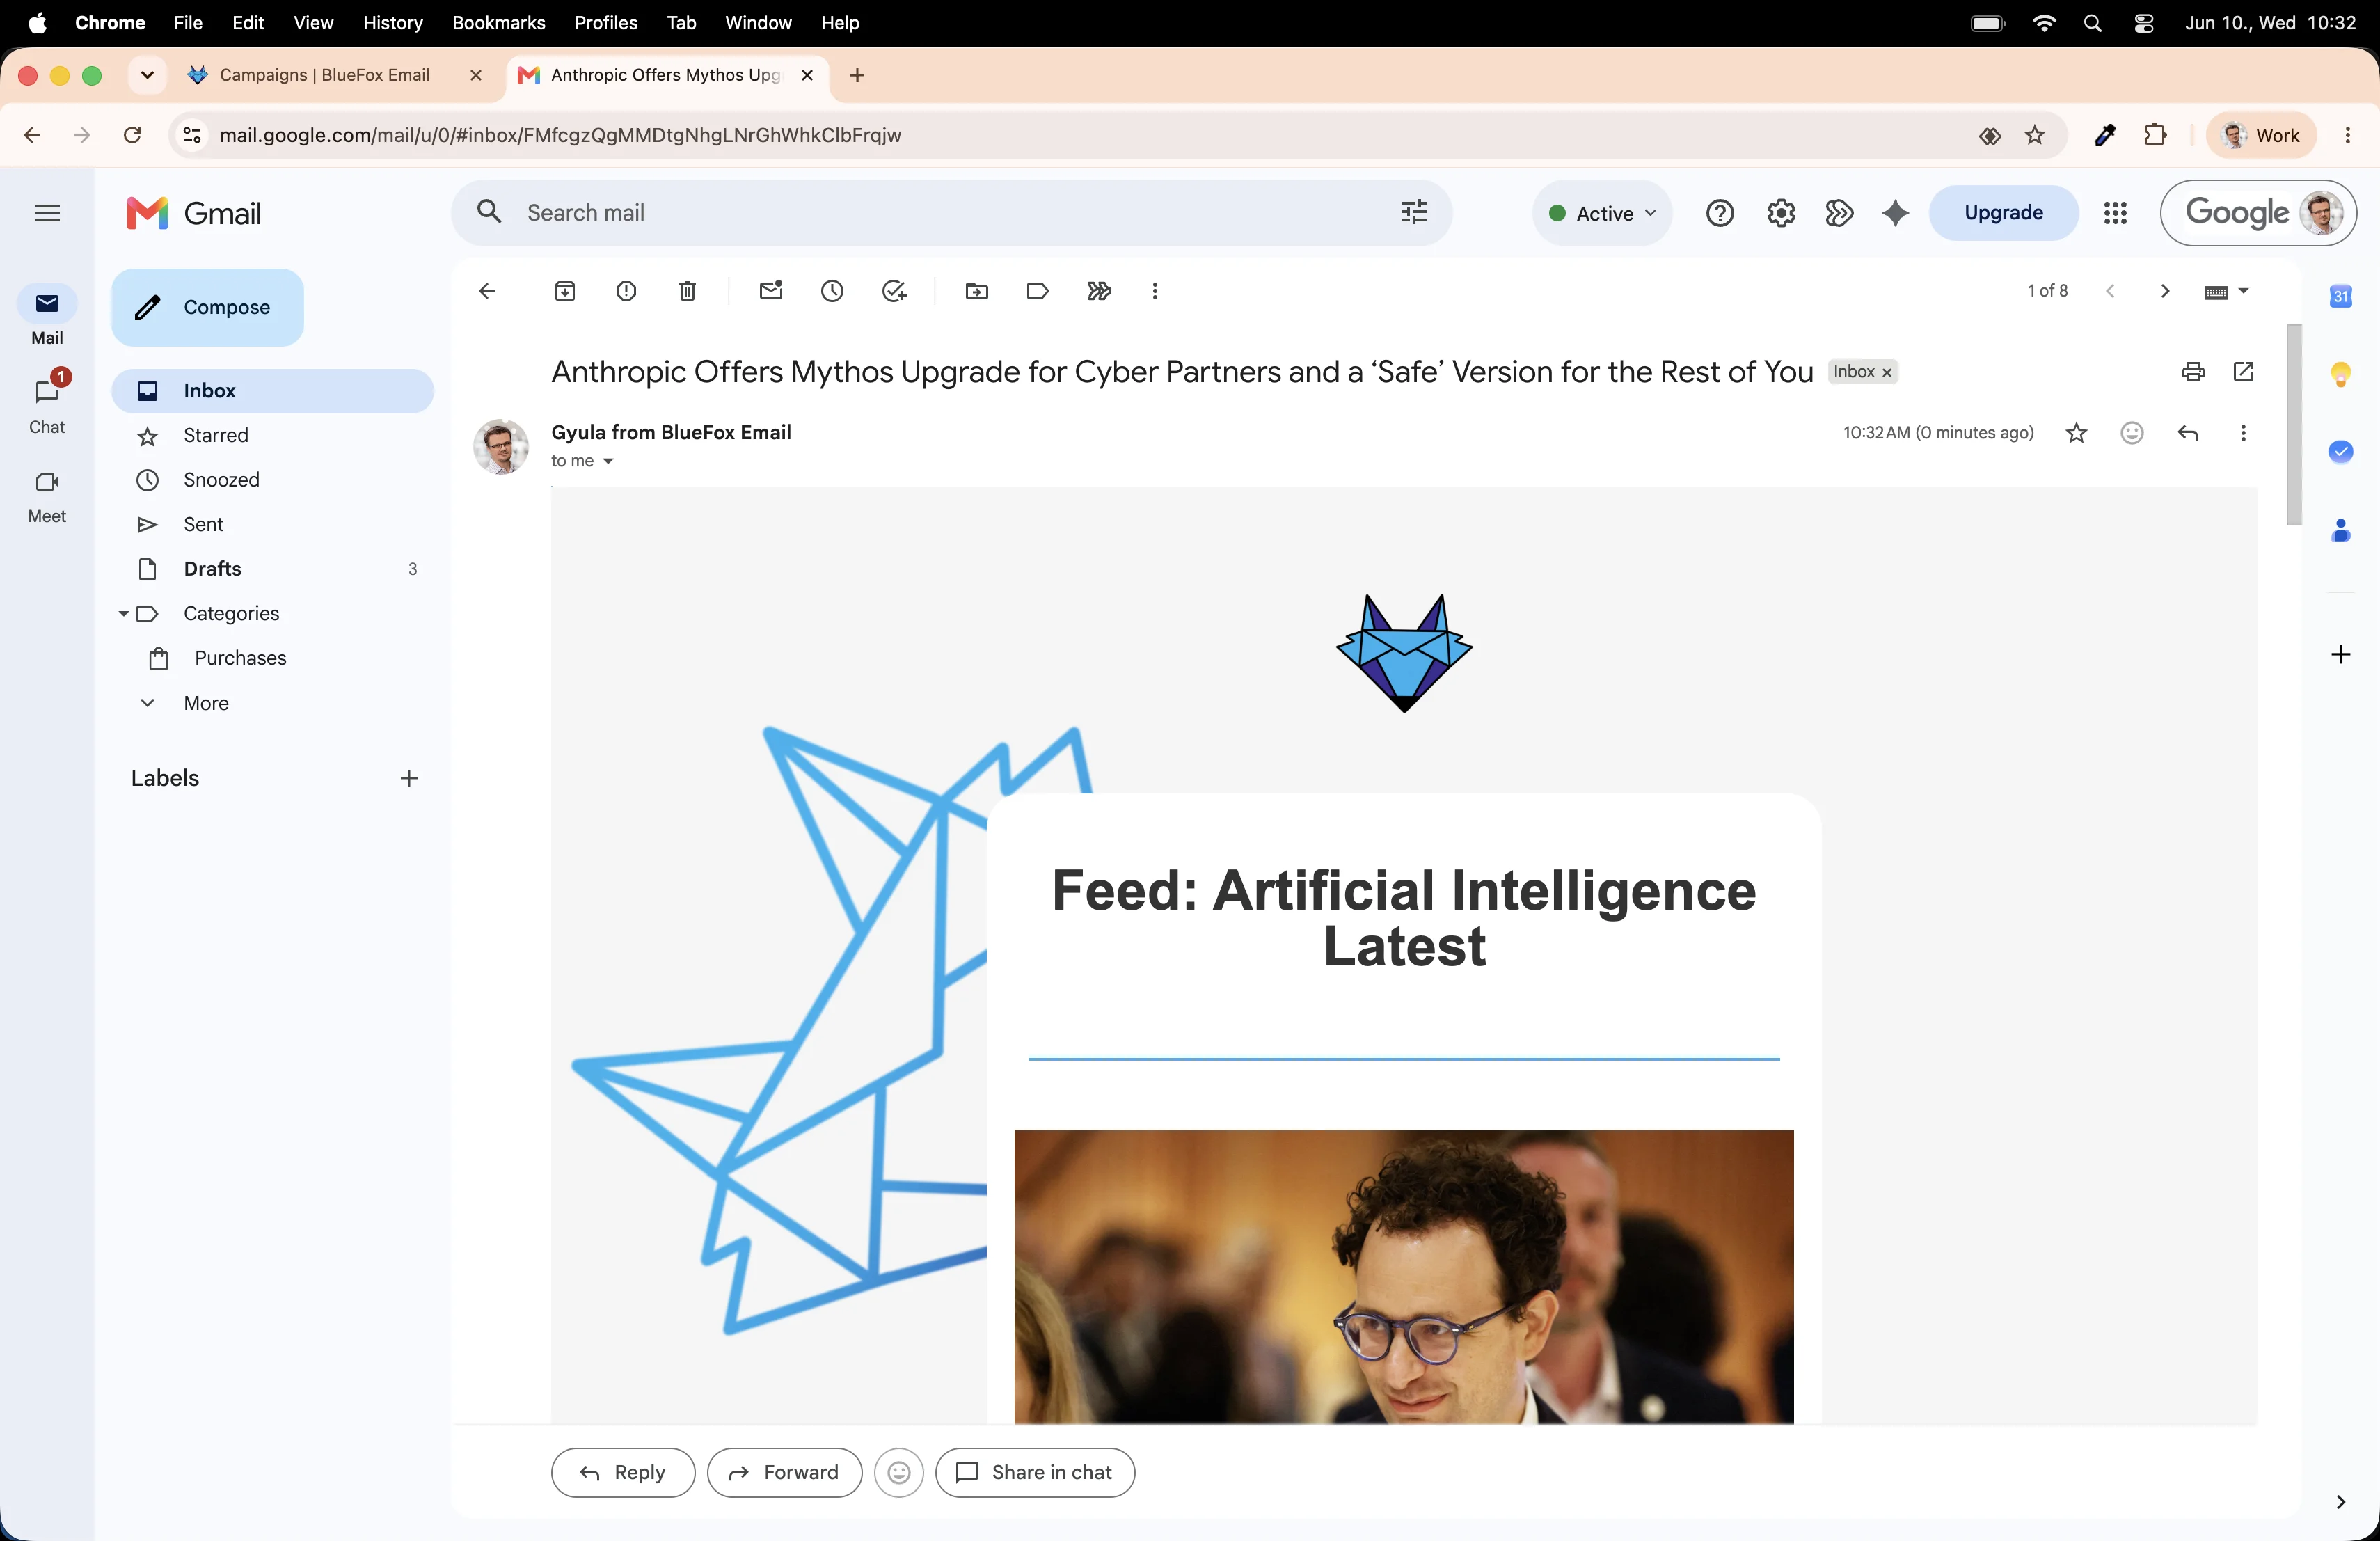
Check your inbox. The newsletter should arrive with real articles from the RSS feed. Title, description, image, and working "Read more" links.
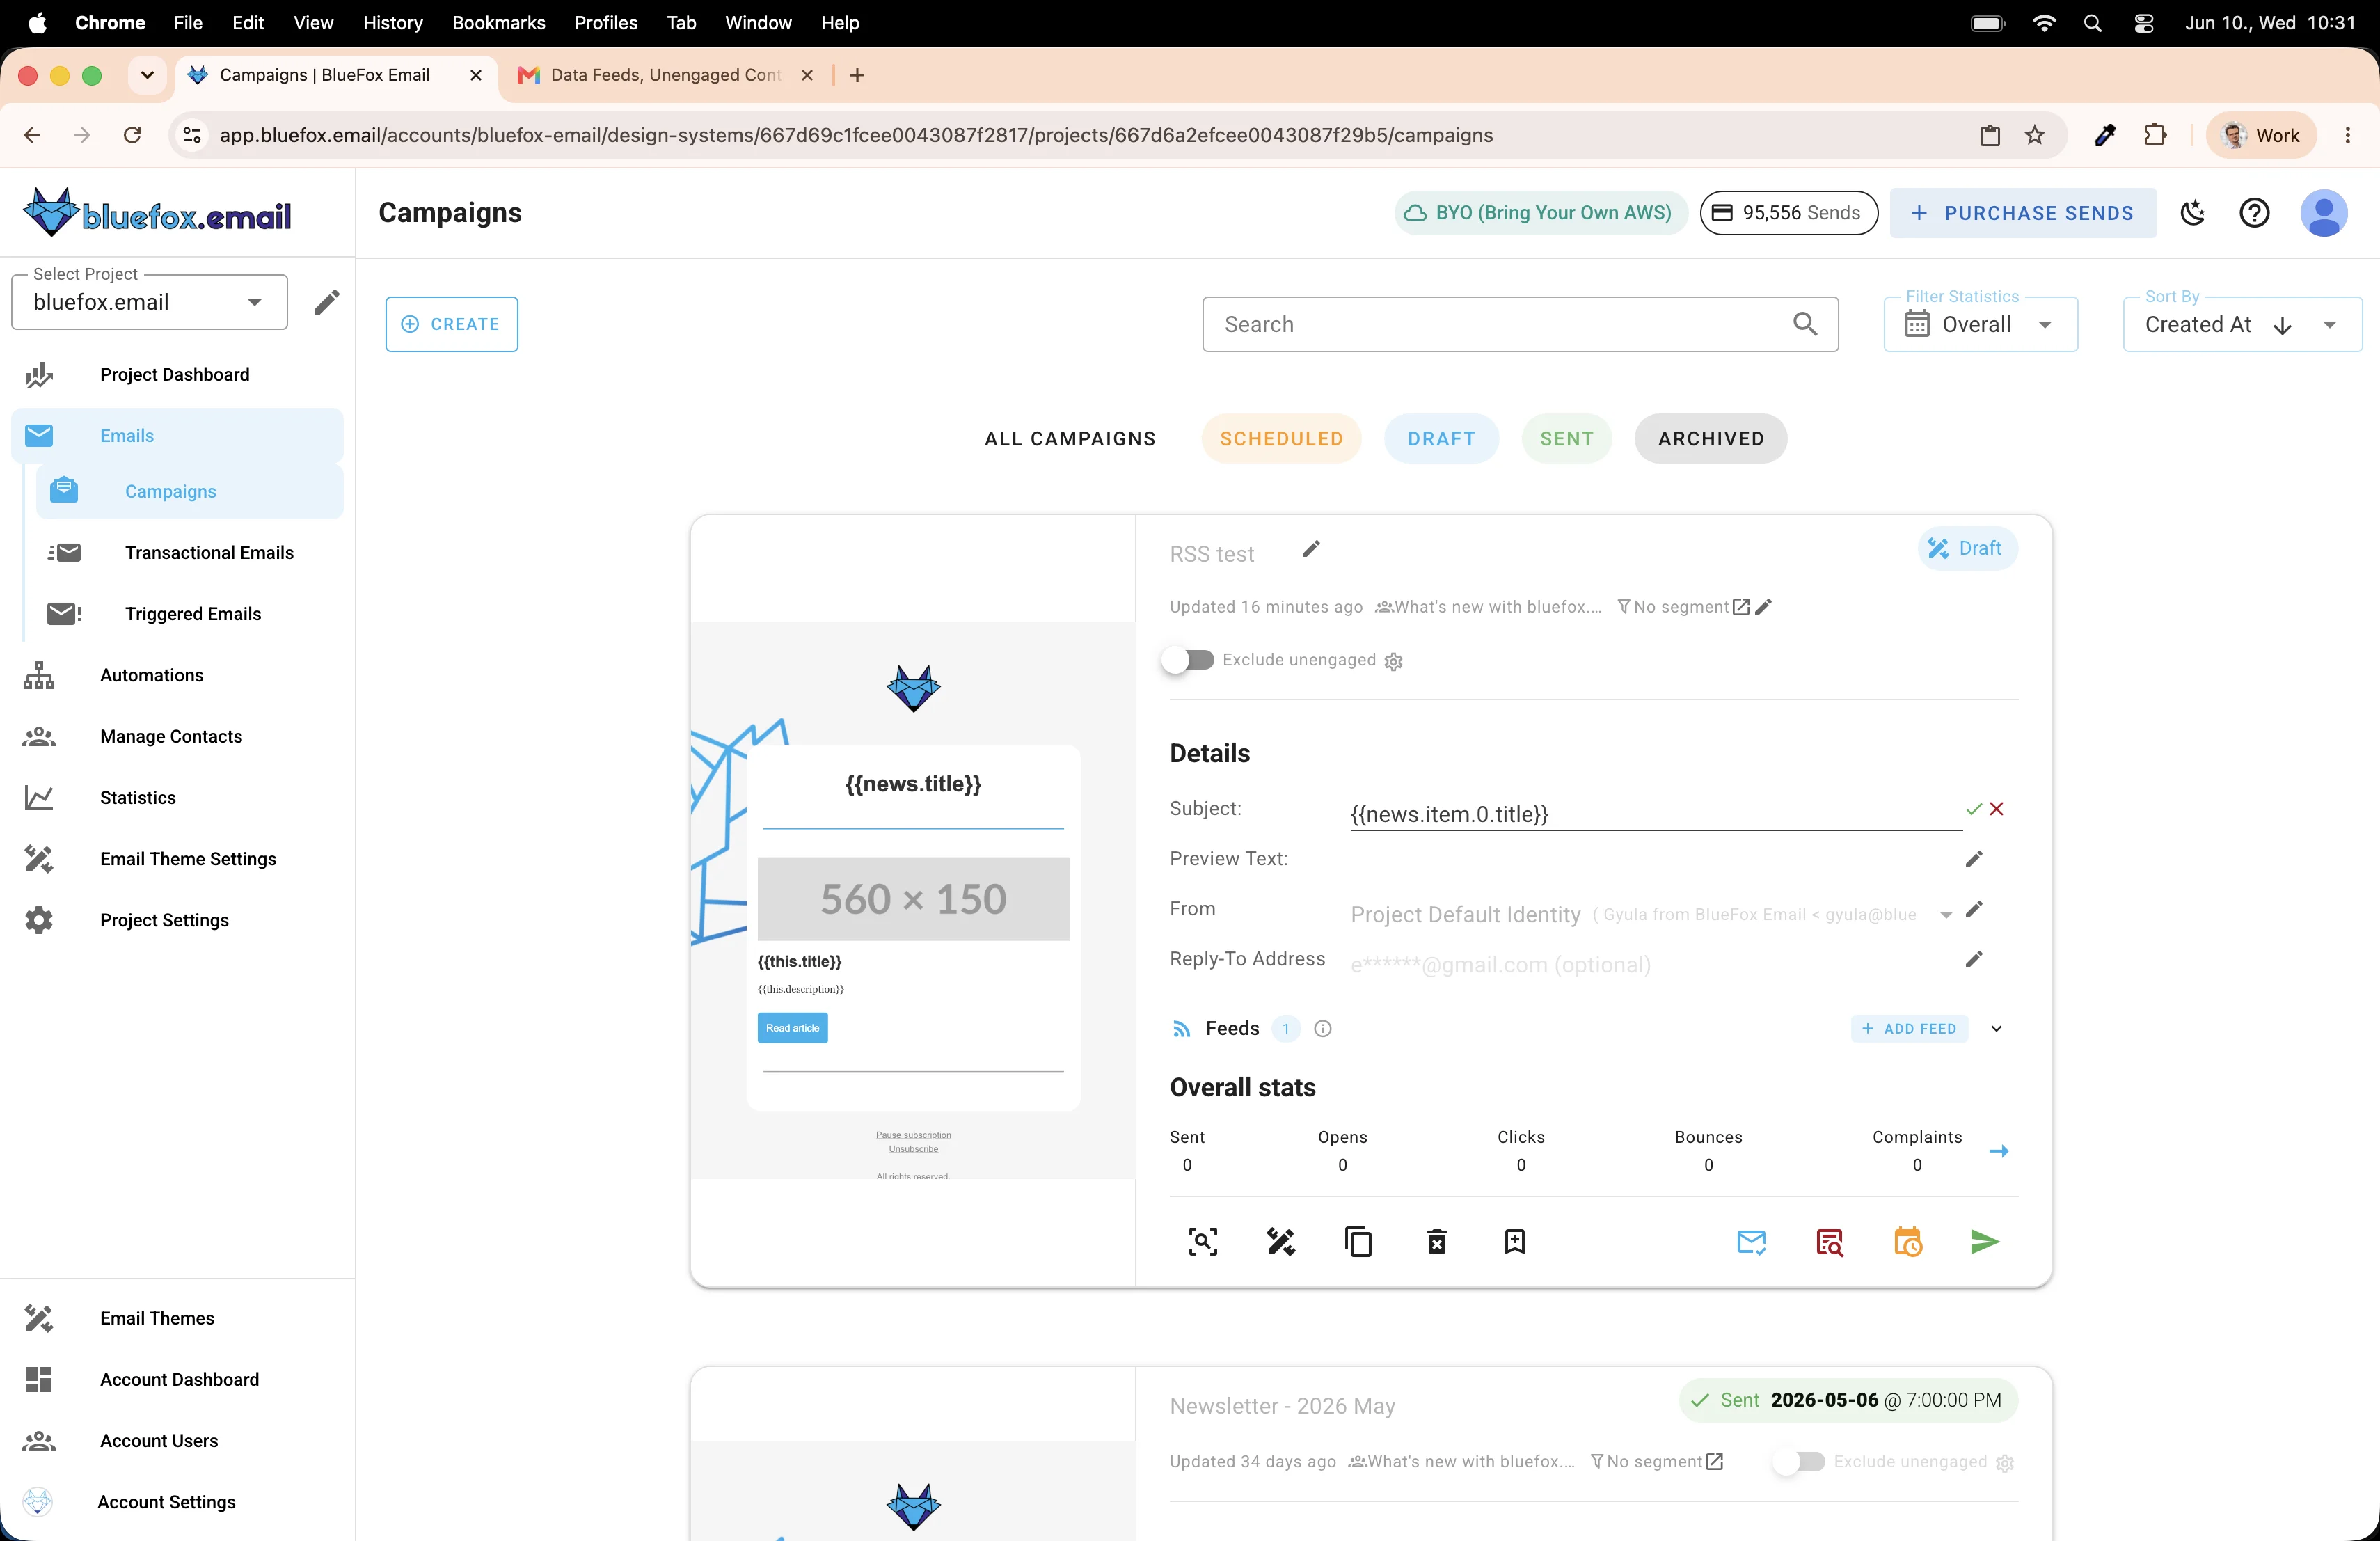
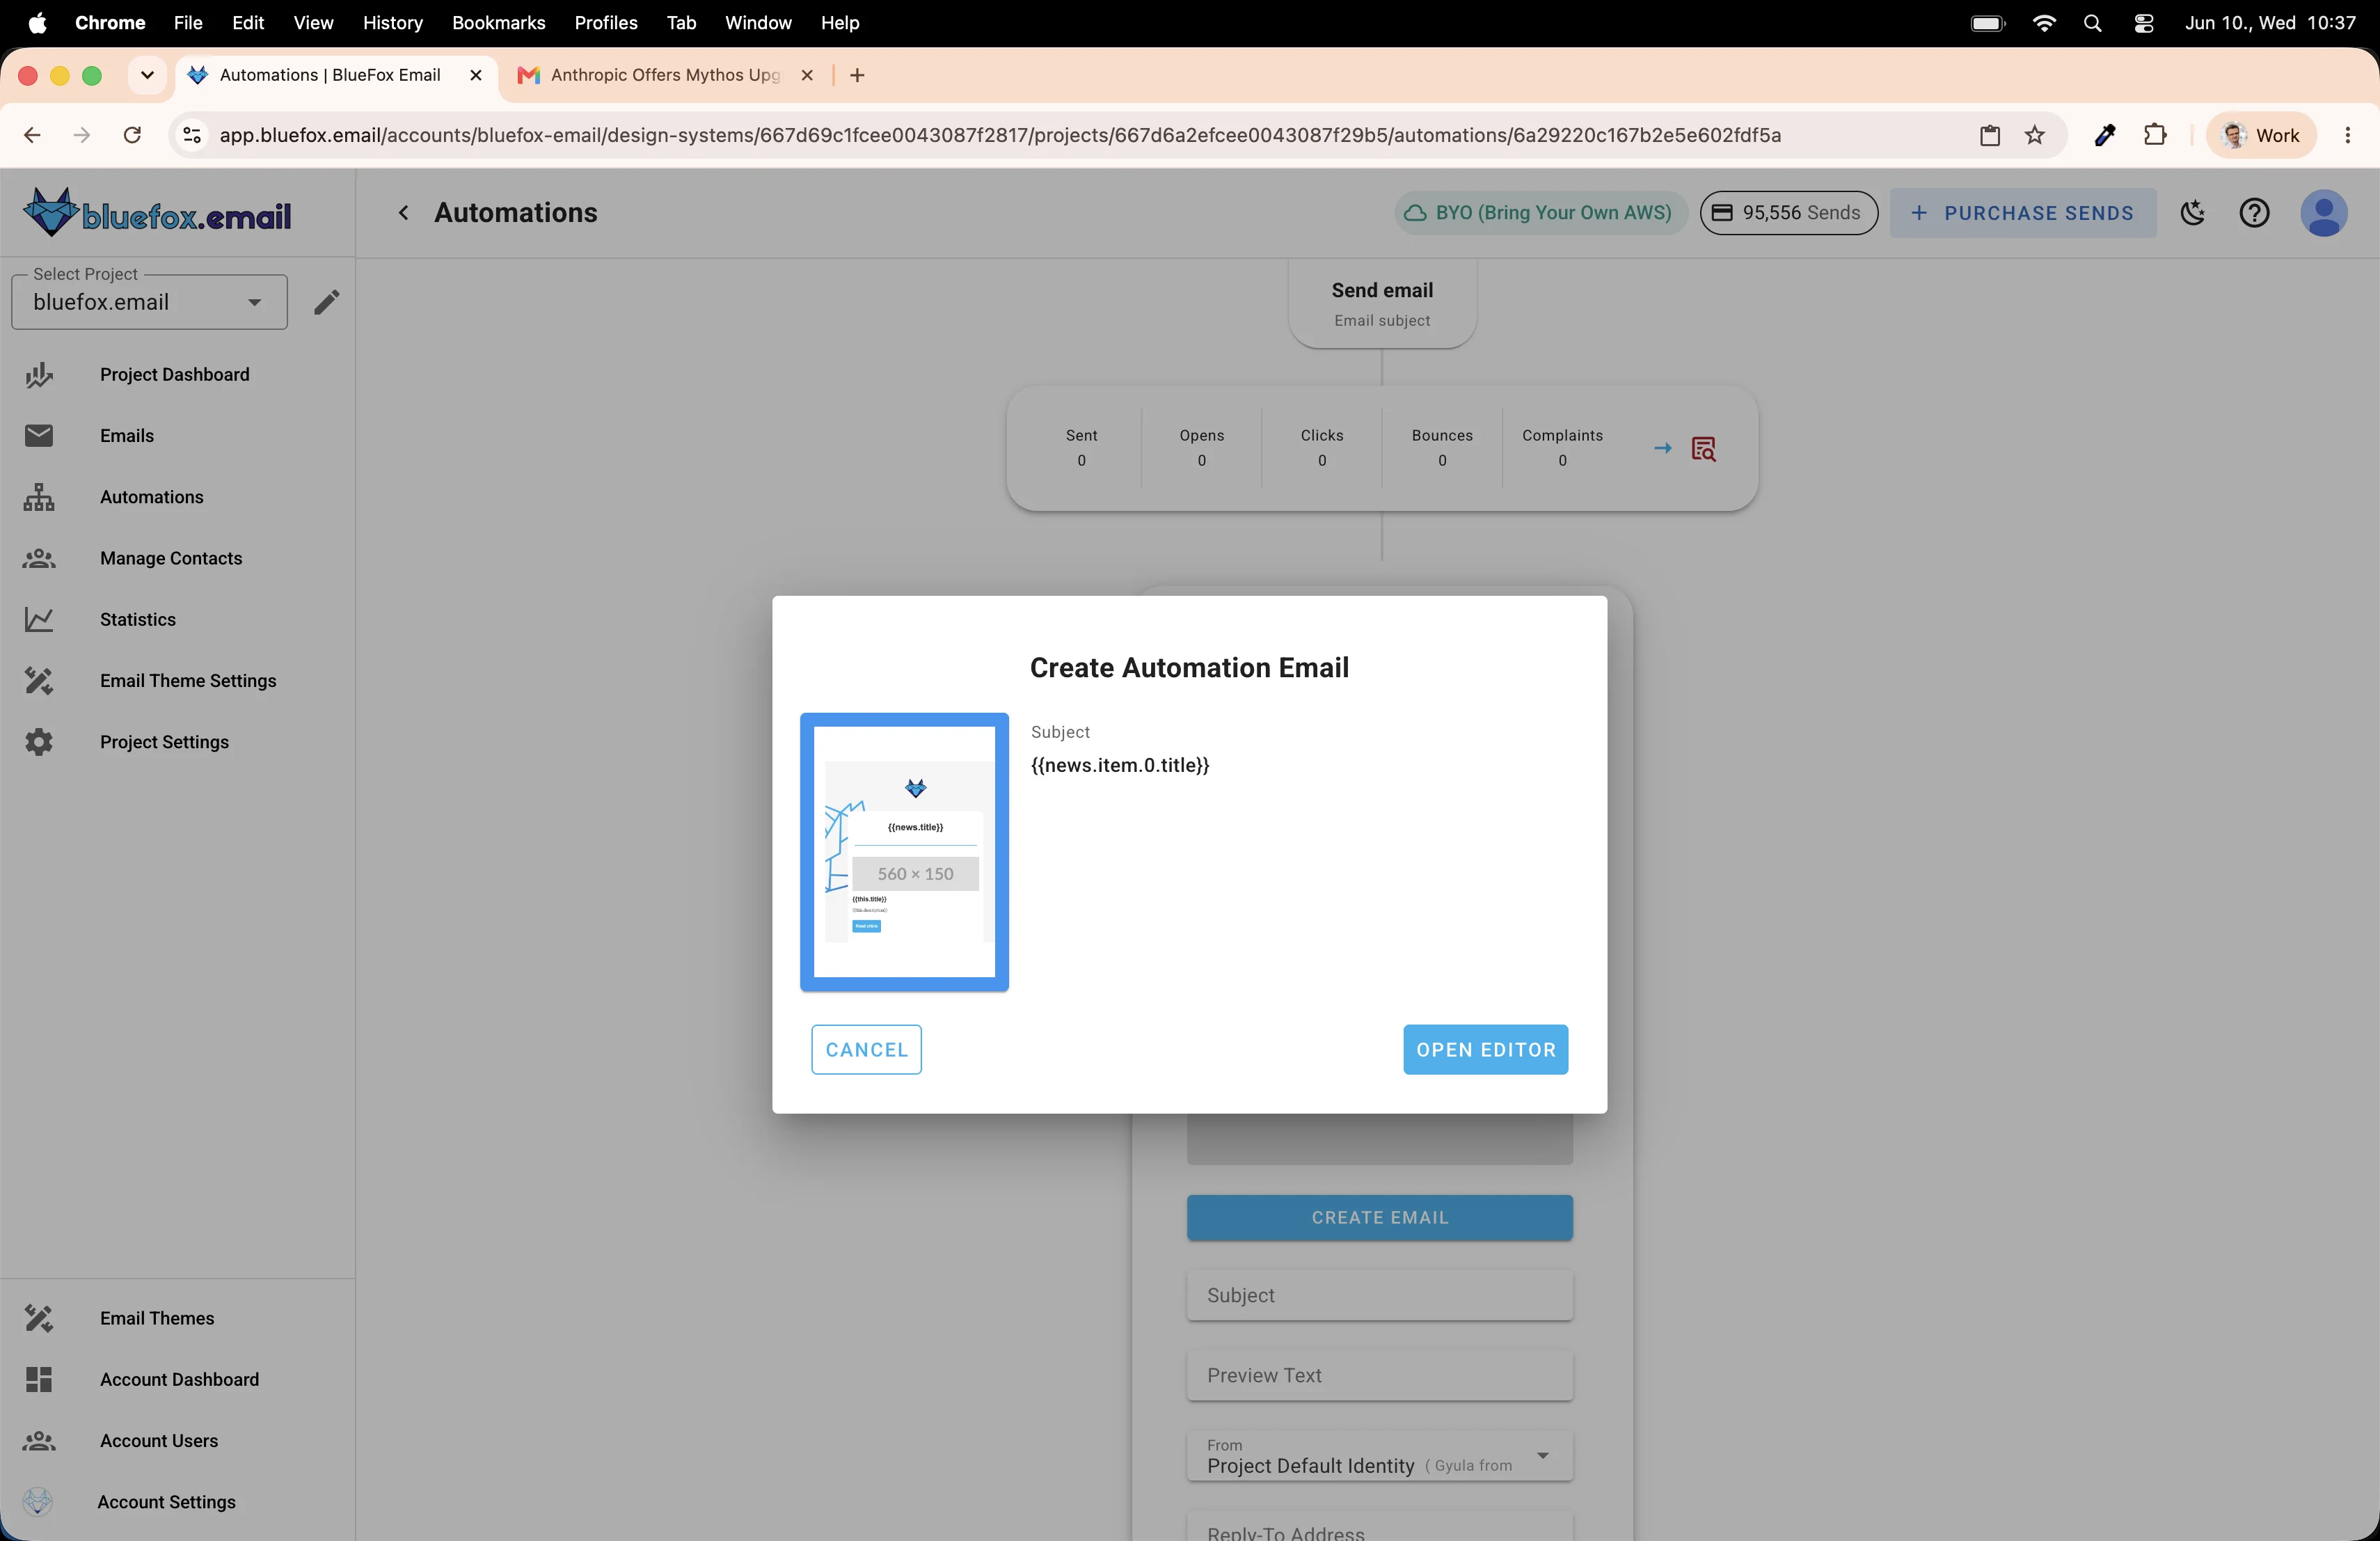
One more thing! The subject line can use merge tags too. Go back to the campaign card and update the subject with something dynamic, like the current date or the feed title. In our example, we use the title of the first item: this.item.0.title. I think that makes it perfect, because the subject line will always change with new stories coming in.
Send the test again and confirm it shows up correctly in your inbox.
The email looks great. Now let's automate the whole thing.
Creating the weekly automation
We're going to set up an automation that fires every Monday at 9am and sends this newsletter automatically.
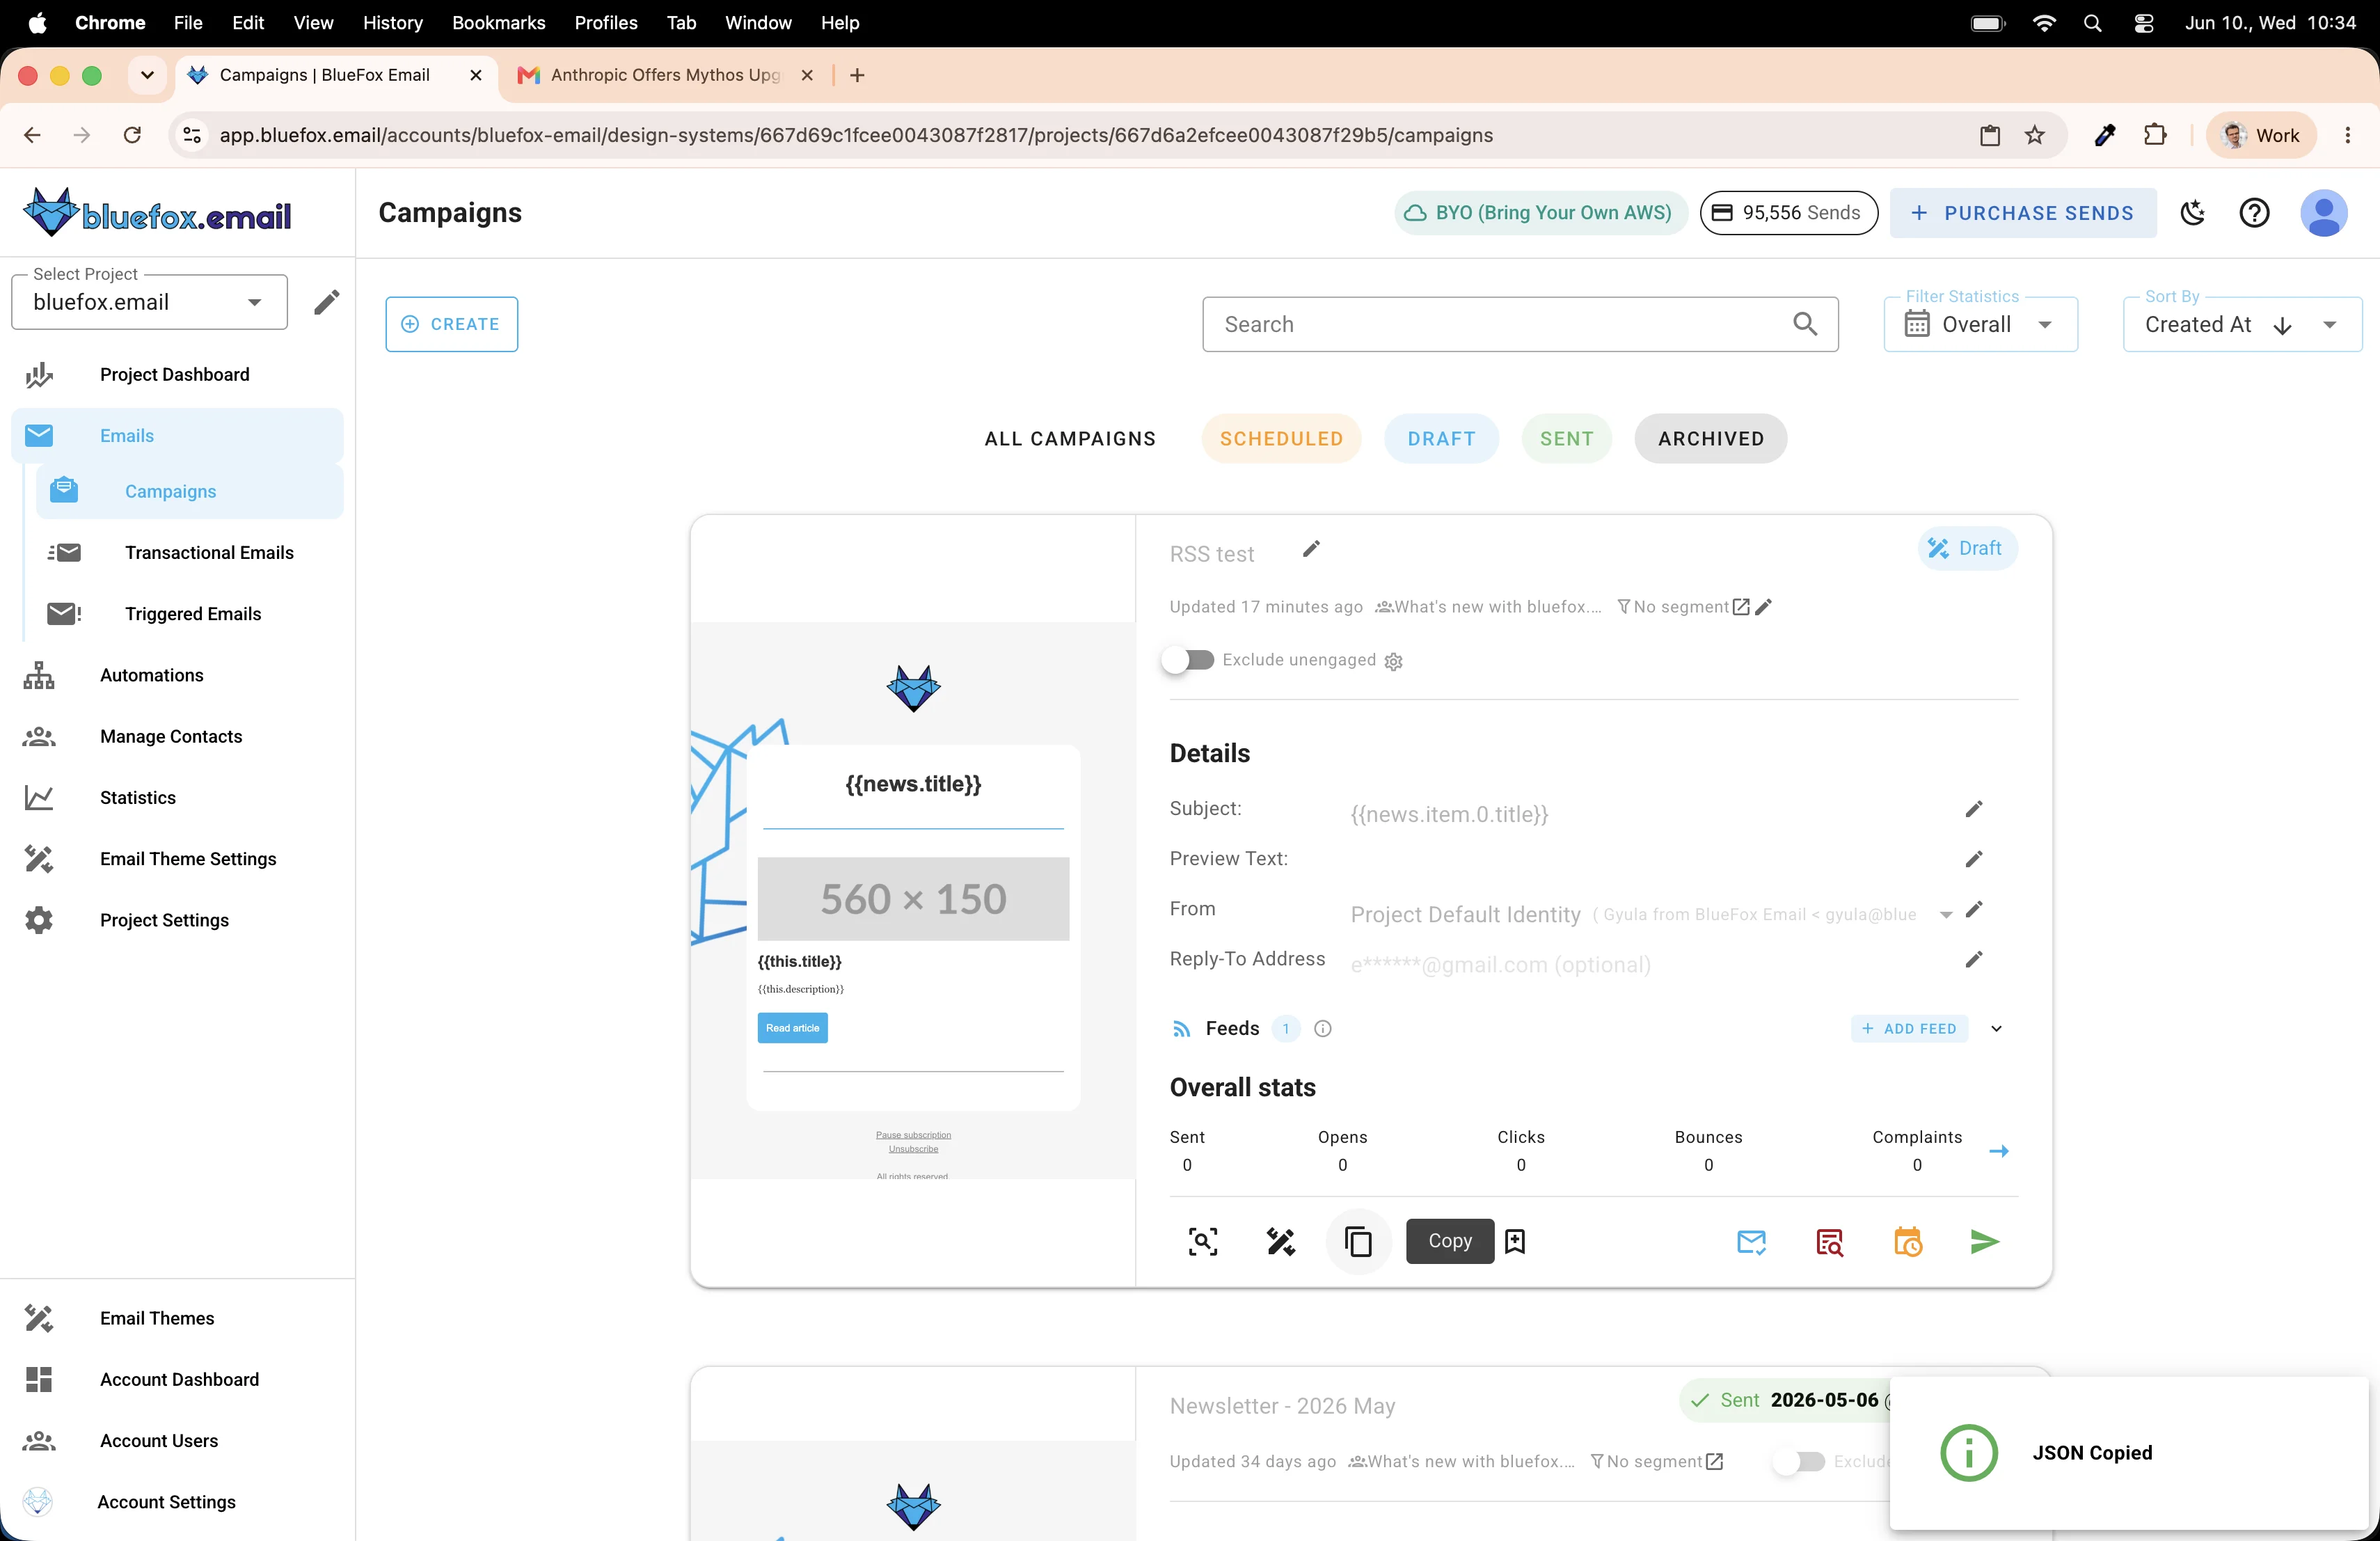
First, copy the campaign. We'll paste it into the automation in a moment.
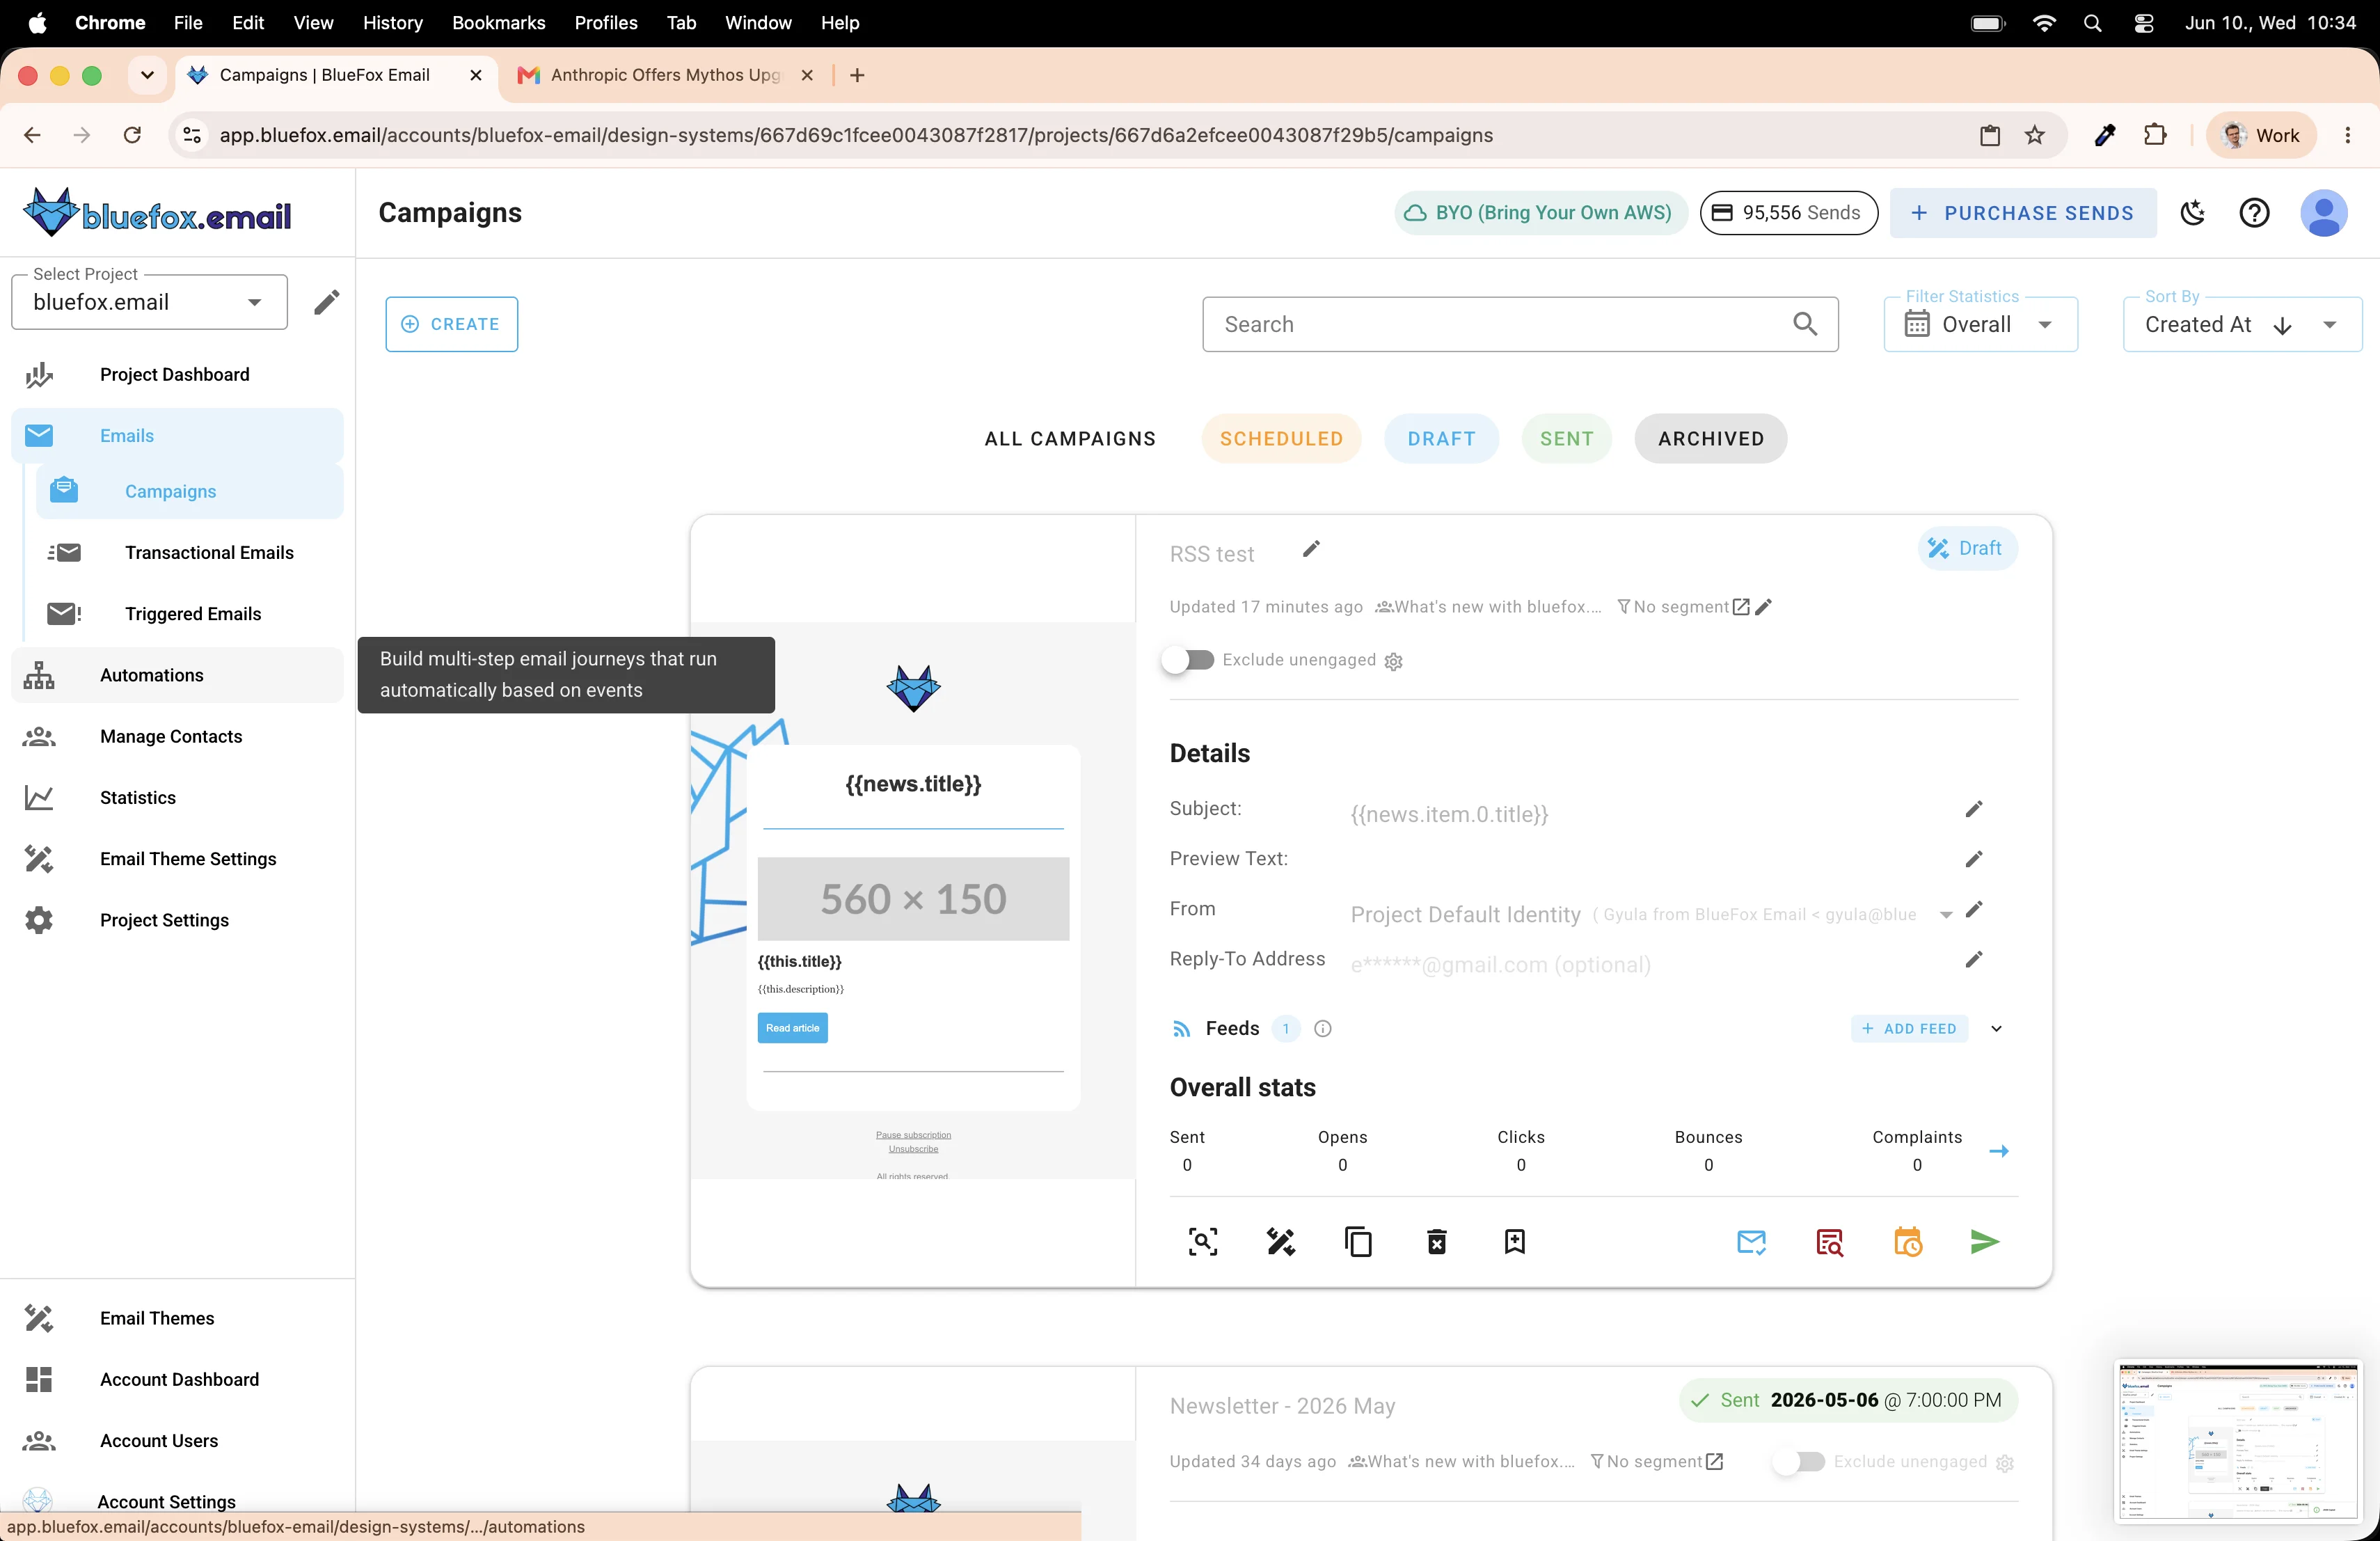
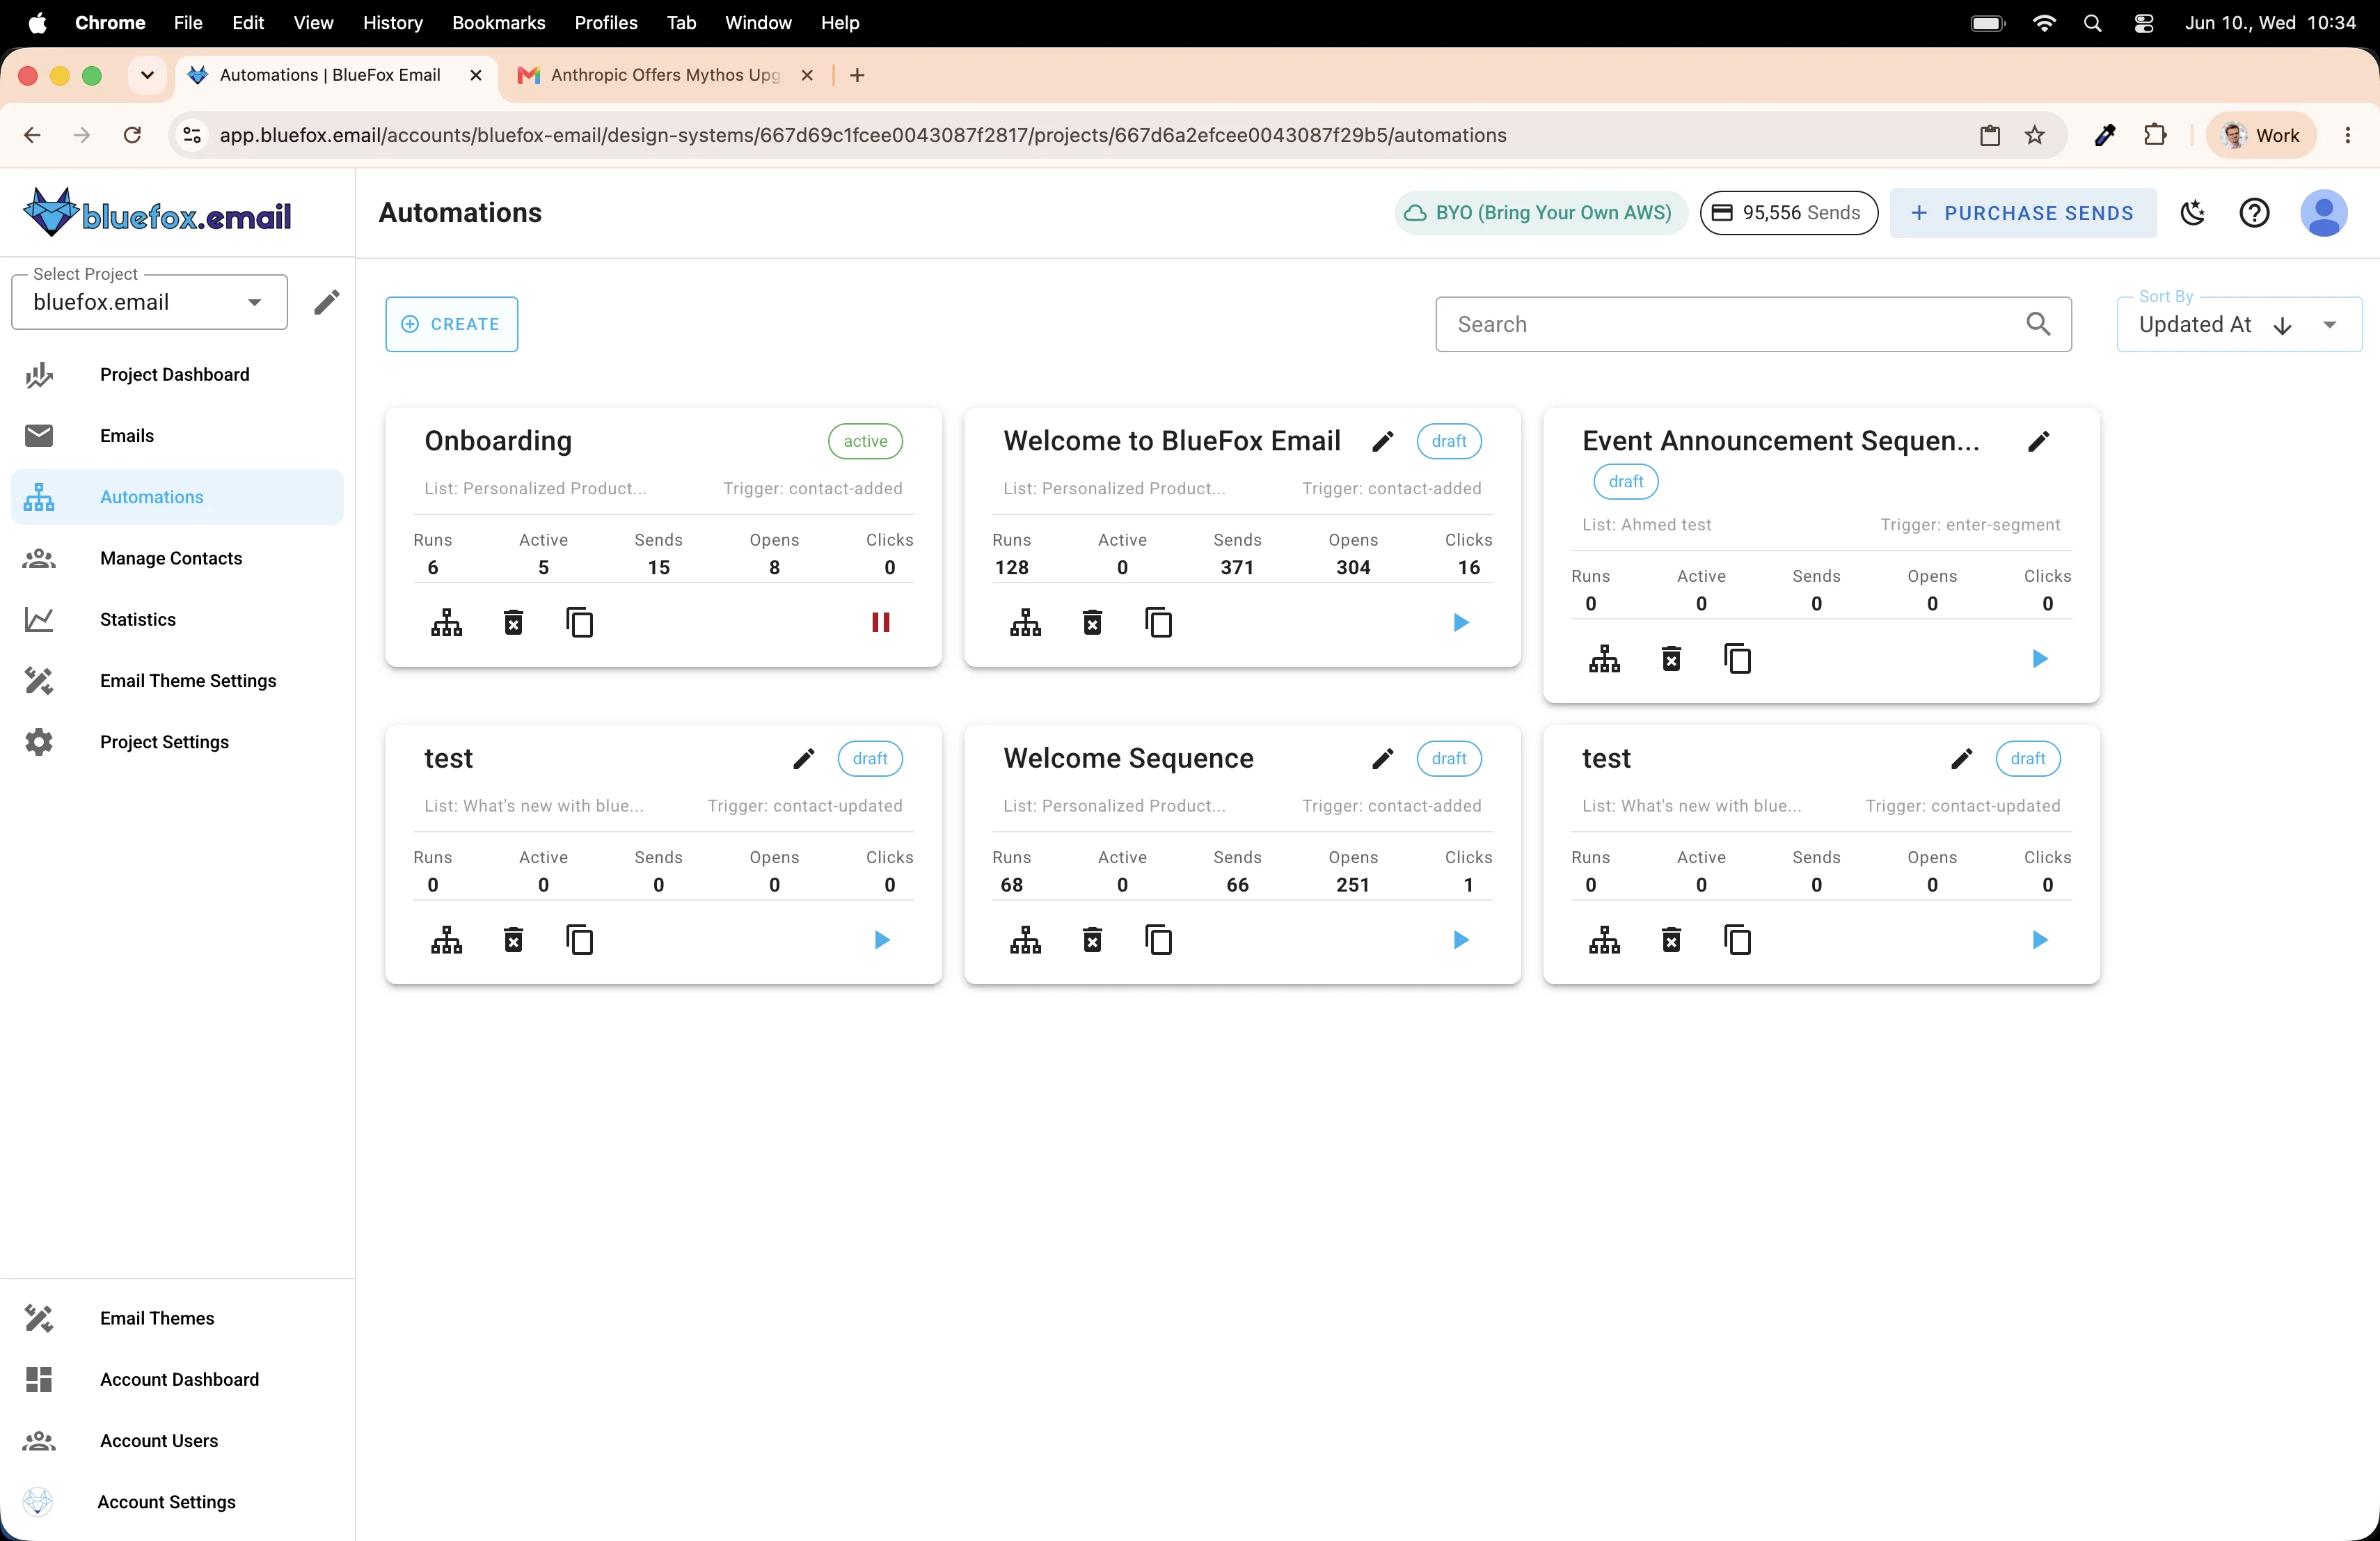
Head over to the Automations tab.
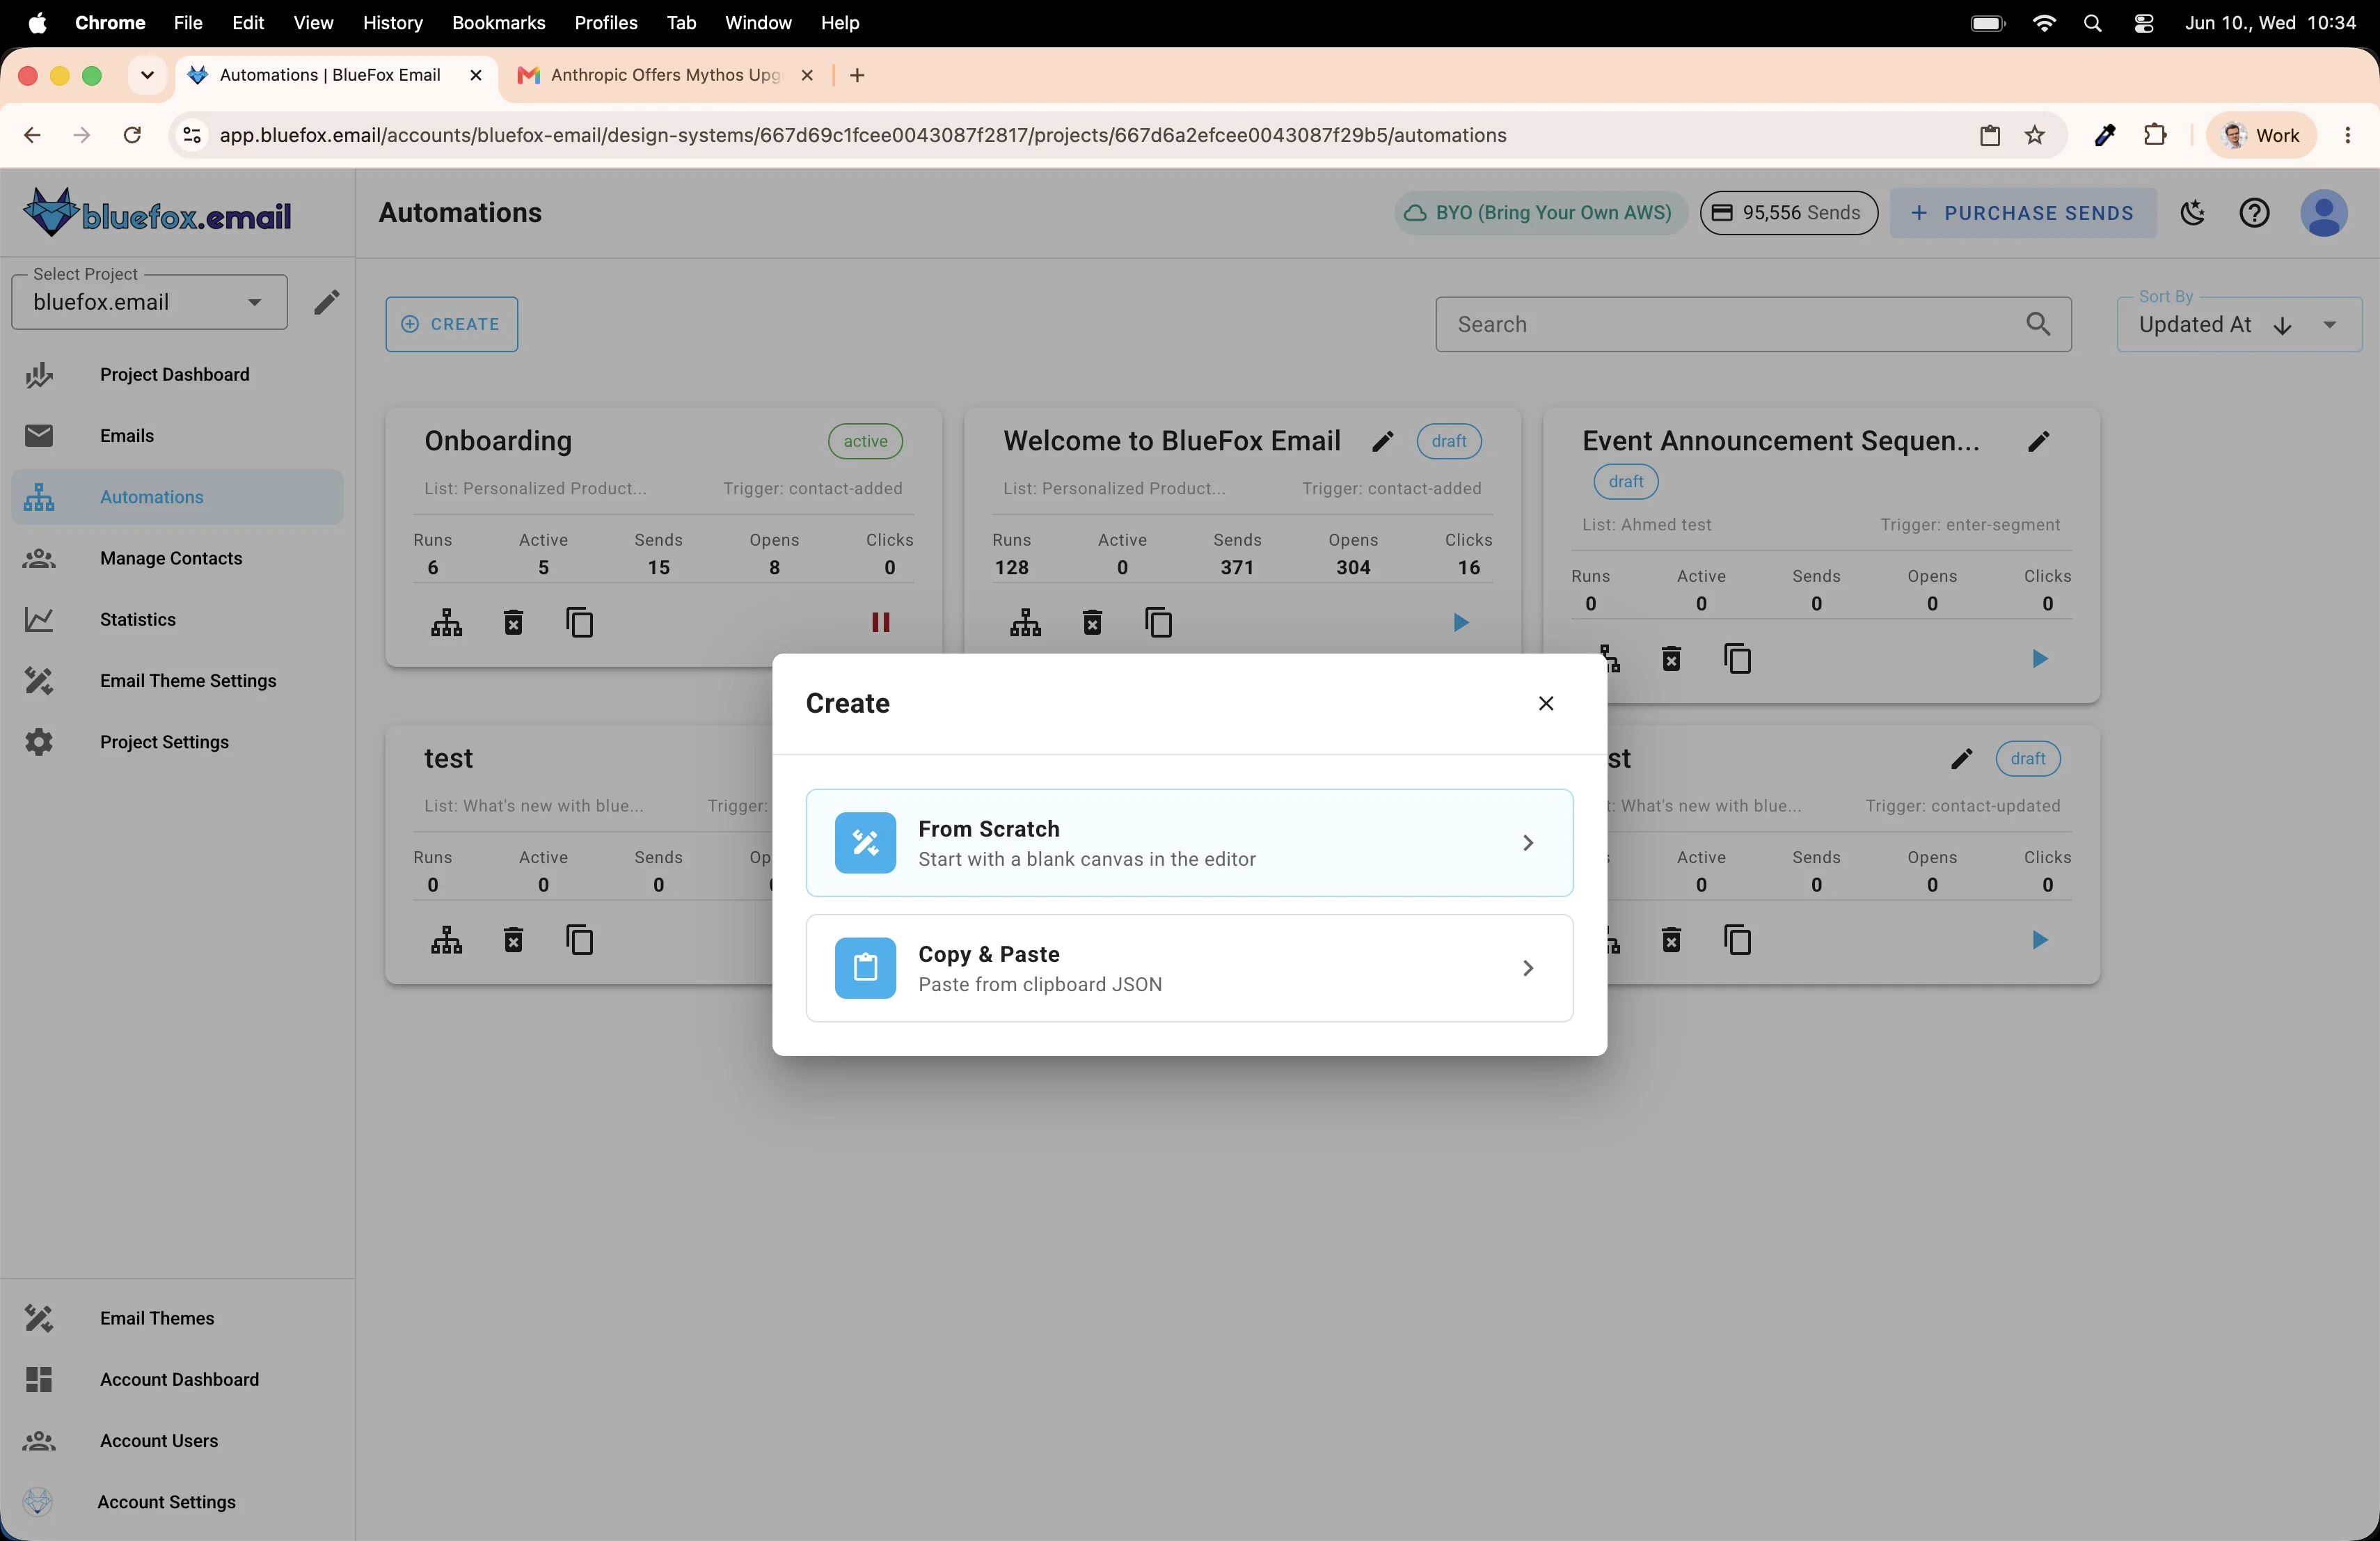
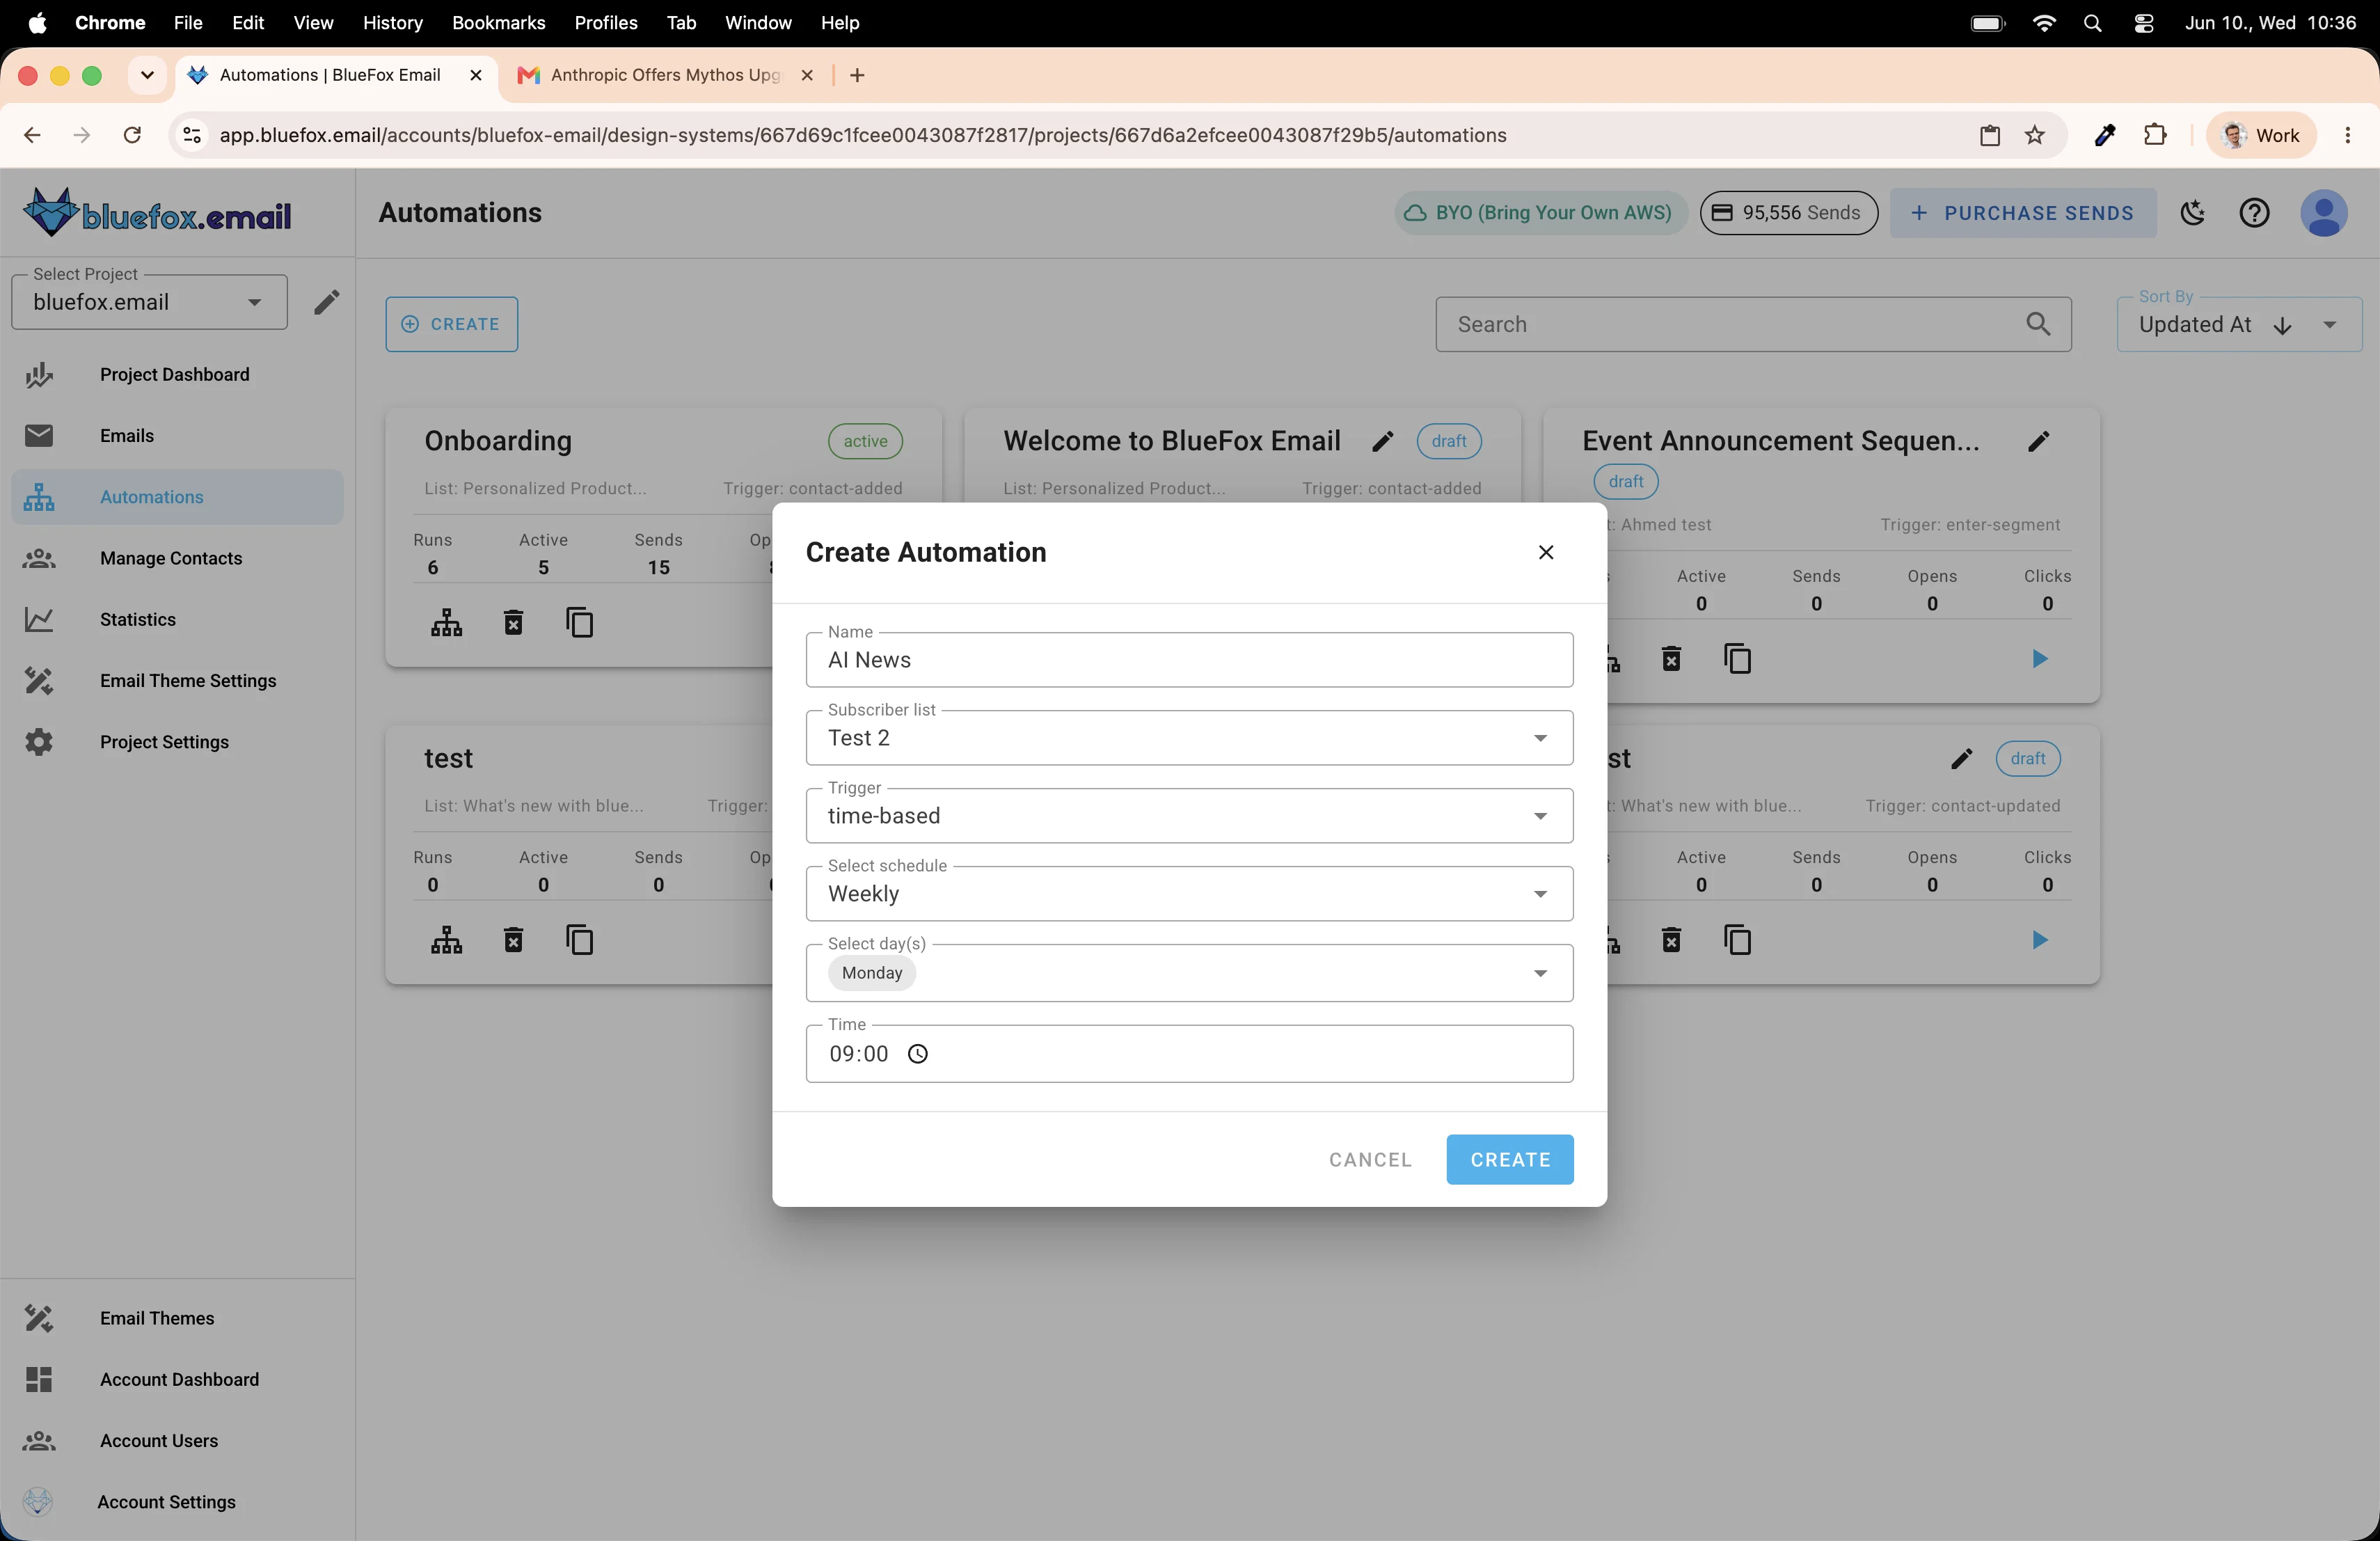
Create a new automation.
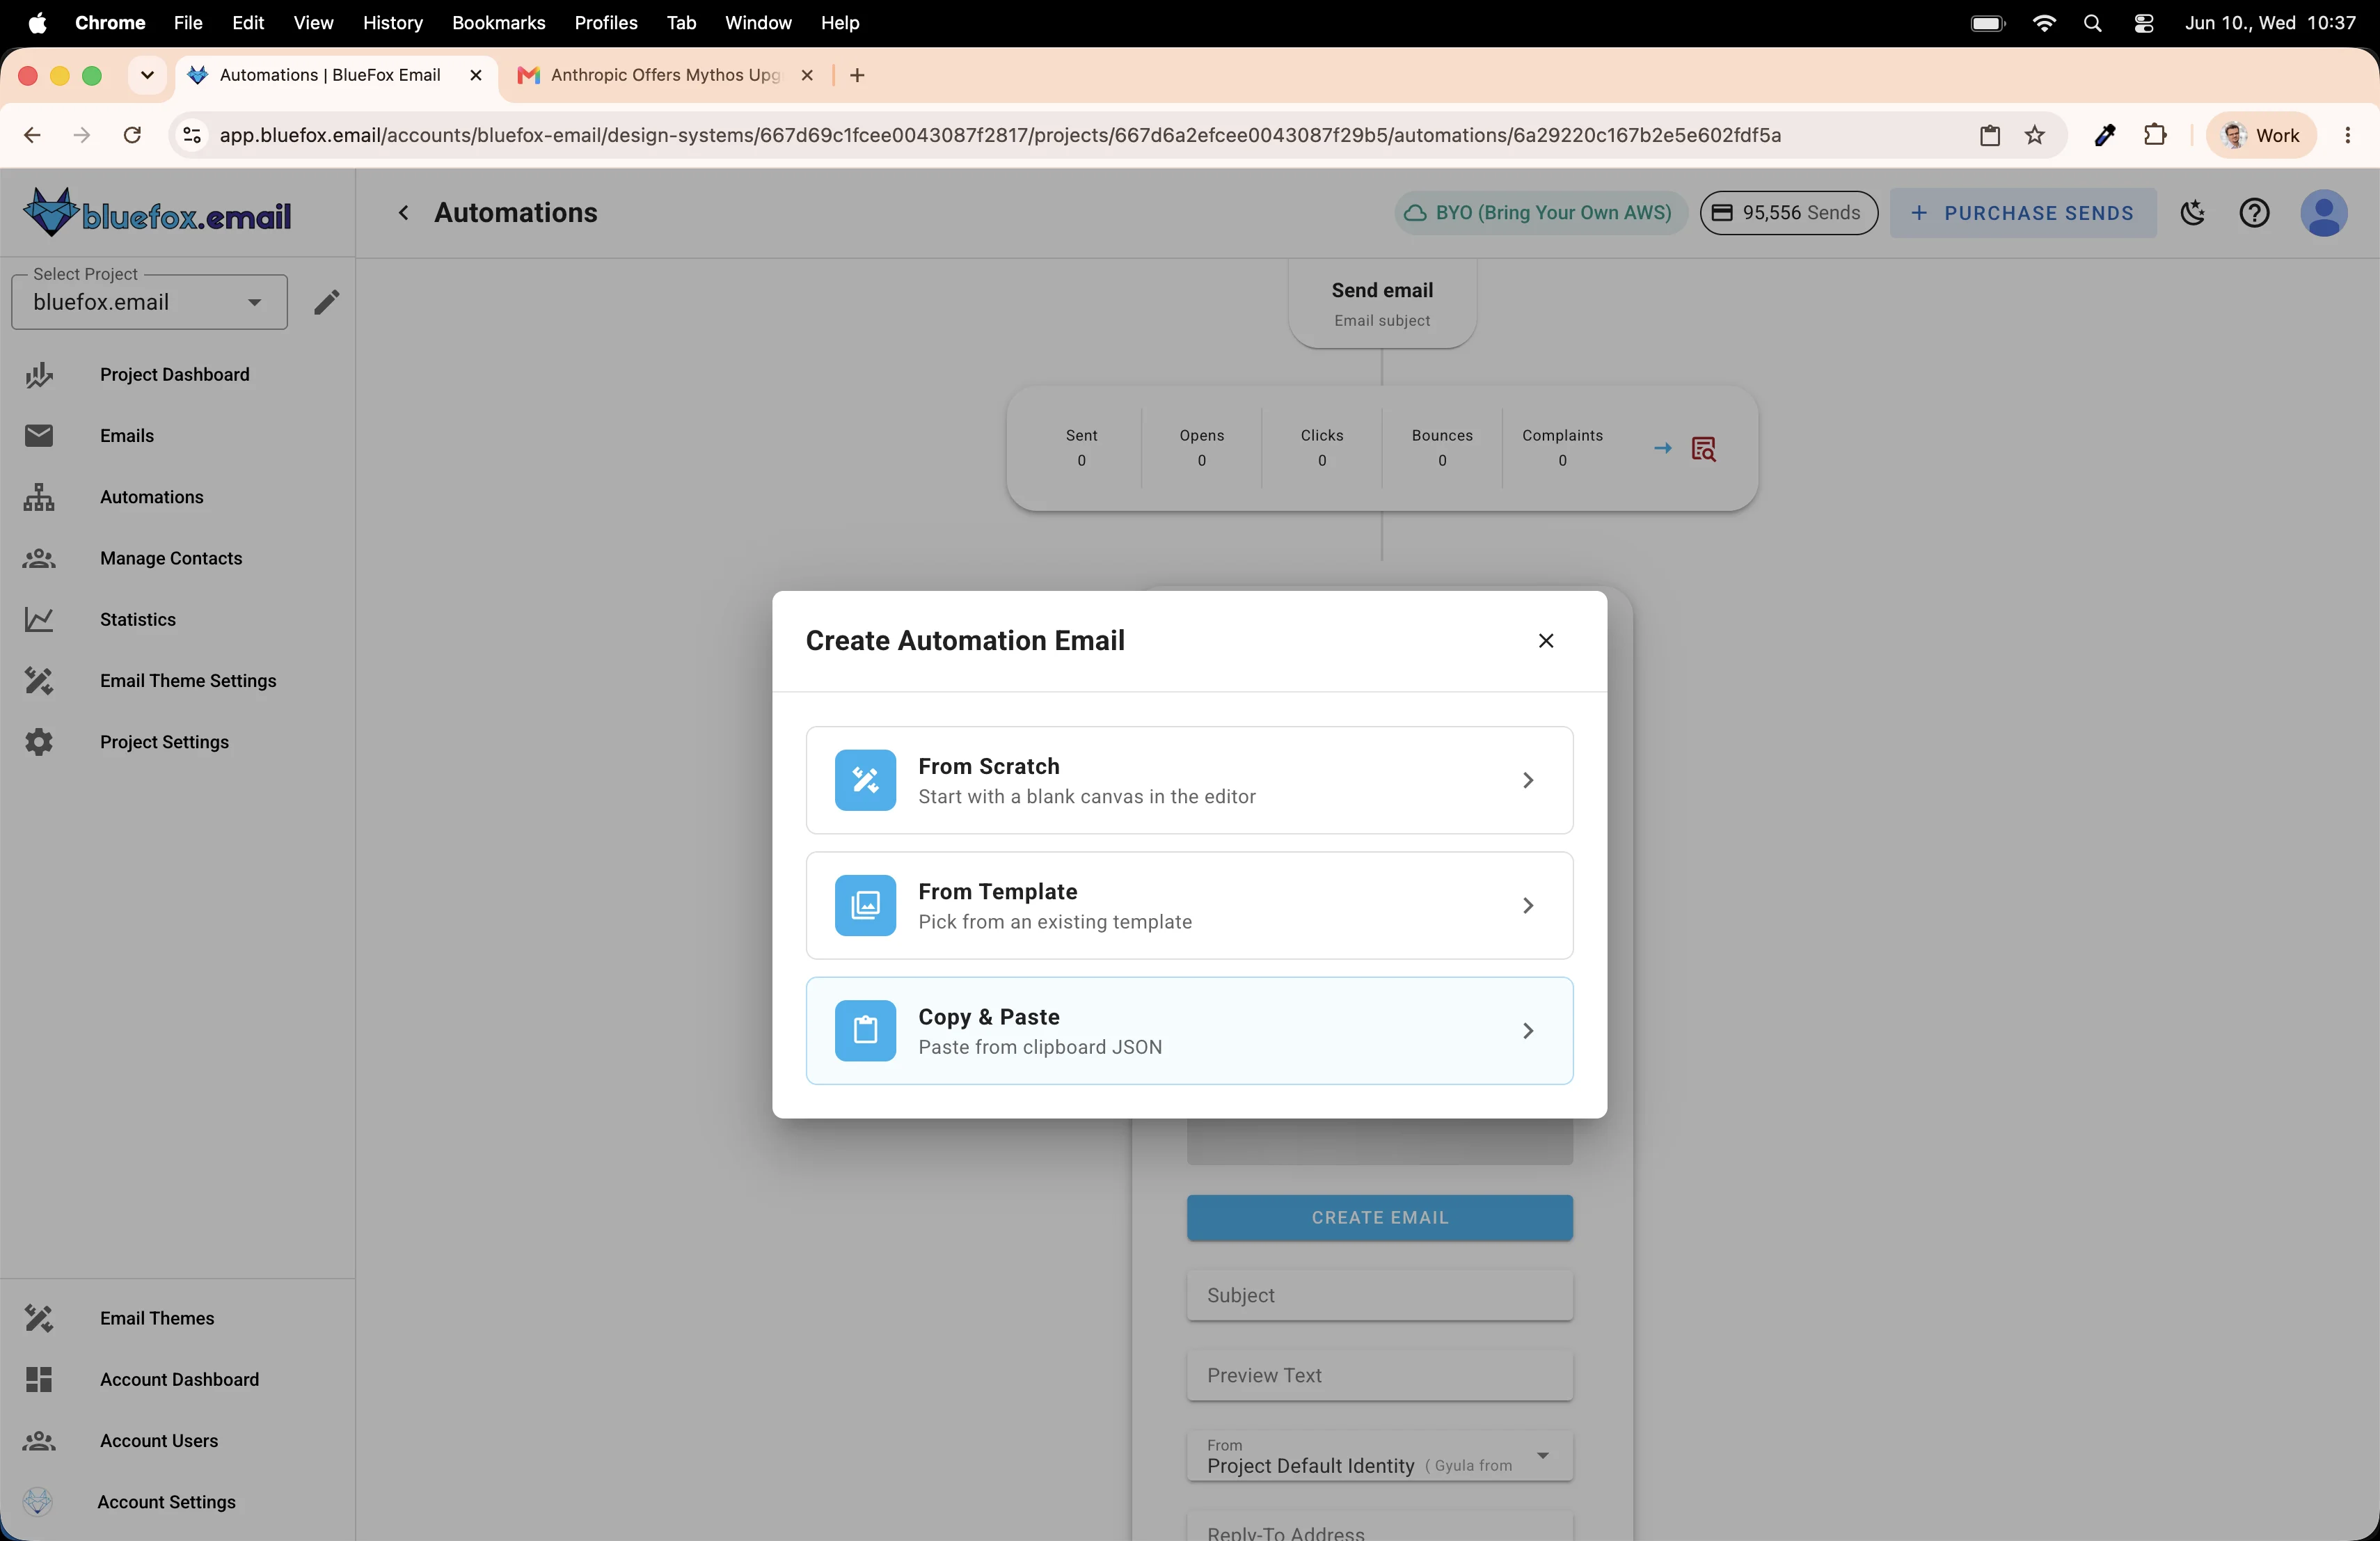
Choose to start from scratch.
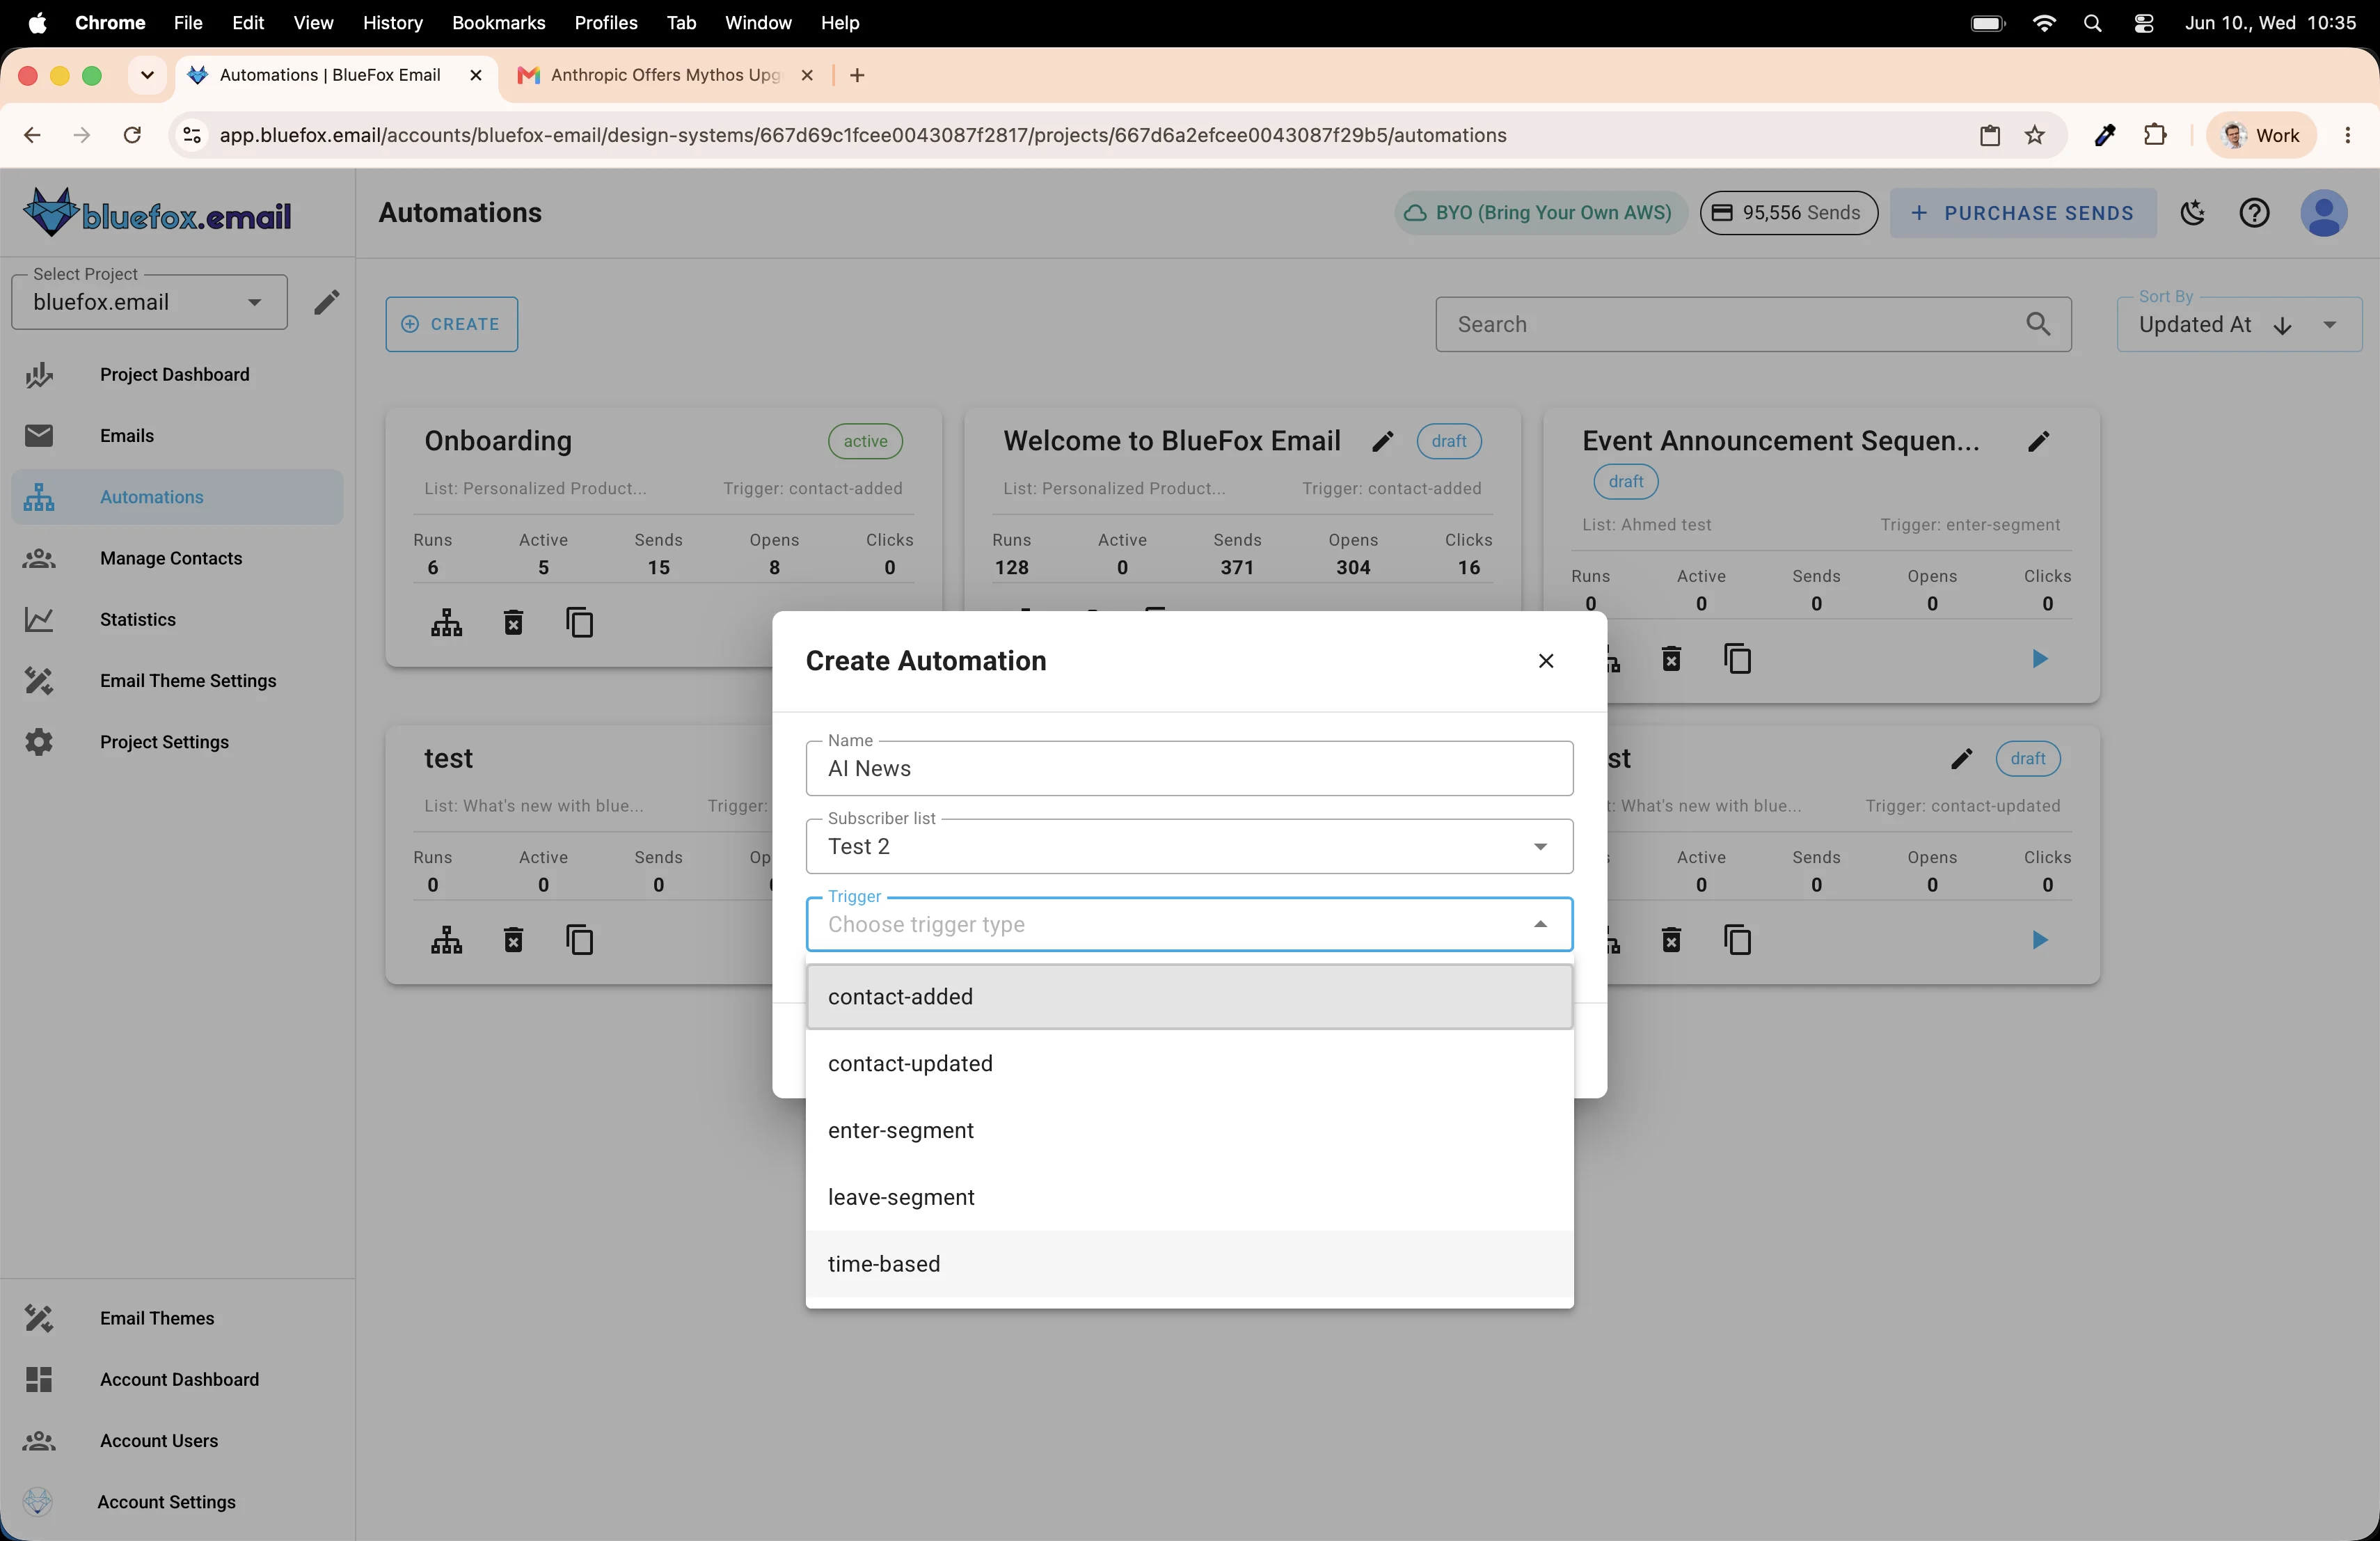
For the trigger, select Time-based.
Set the frequency to Weekly.

Choose Monday as the day.
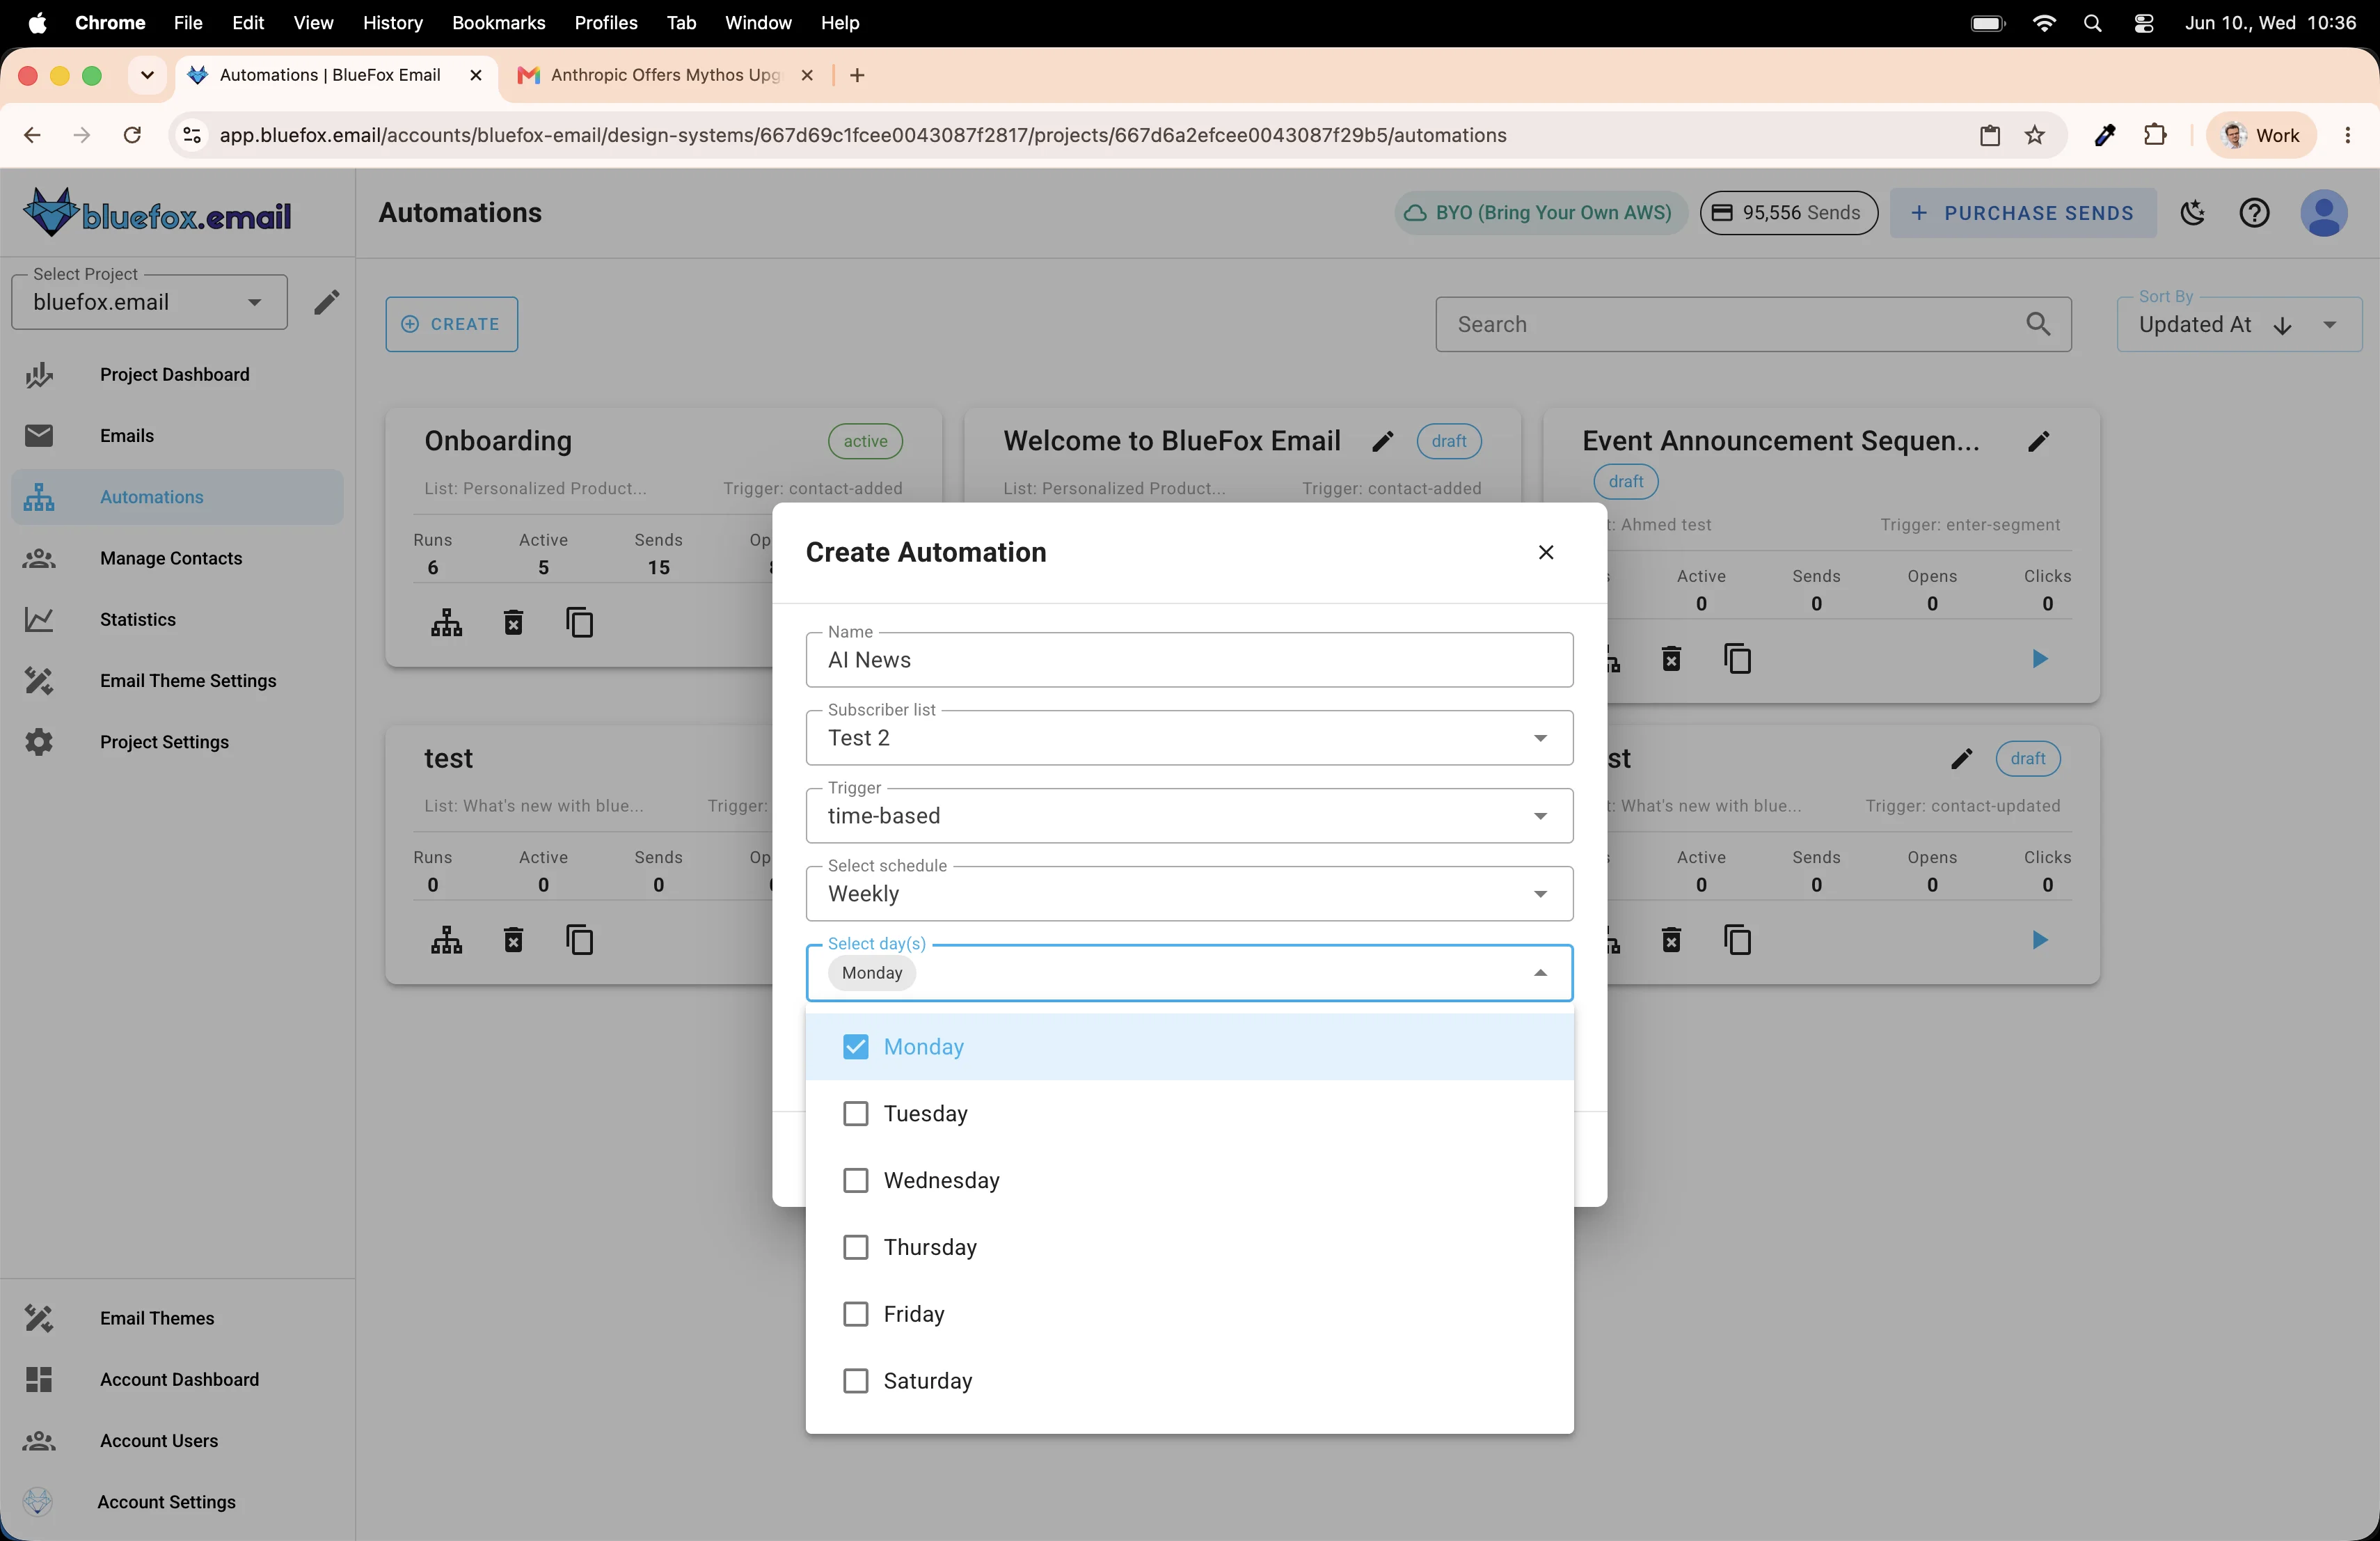
Set the time to 9:00.
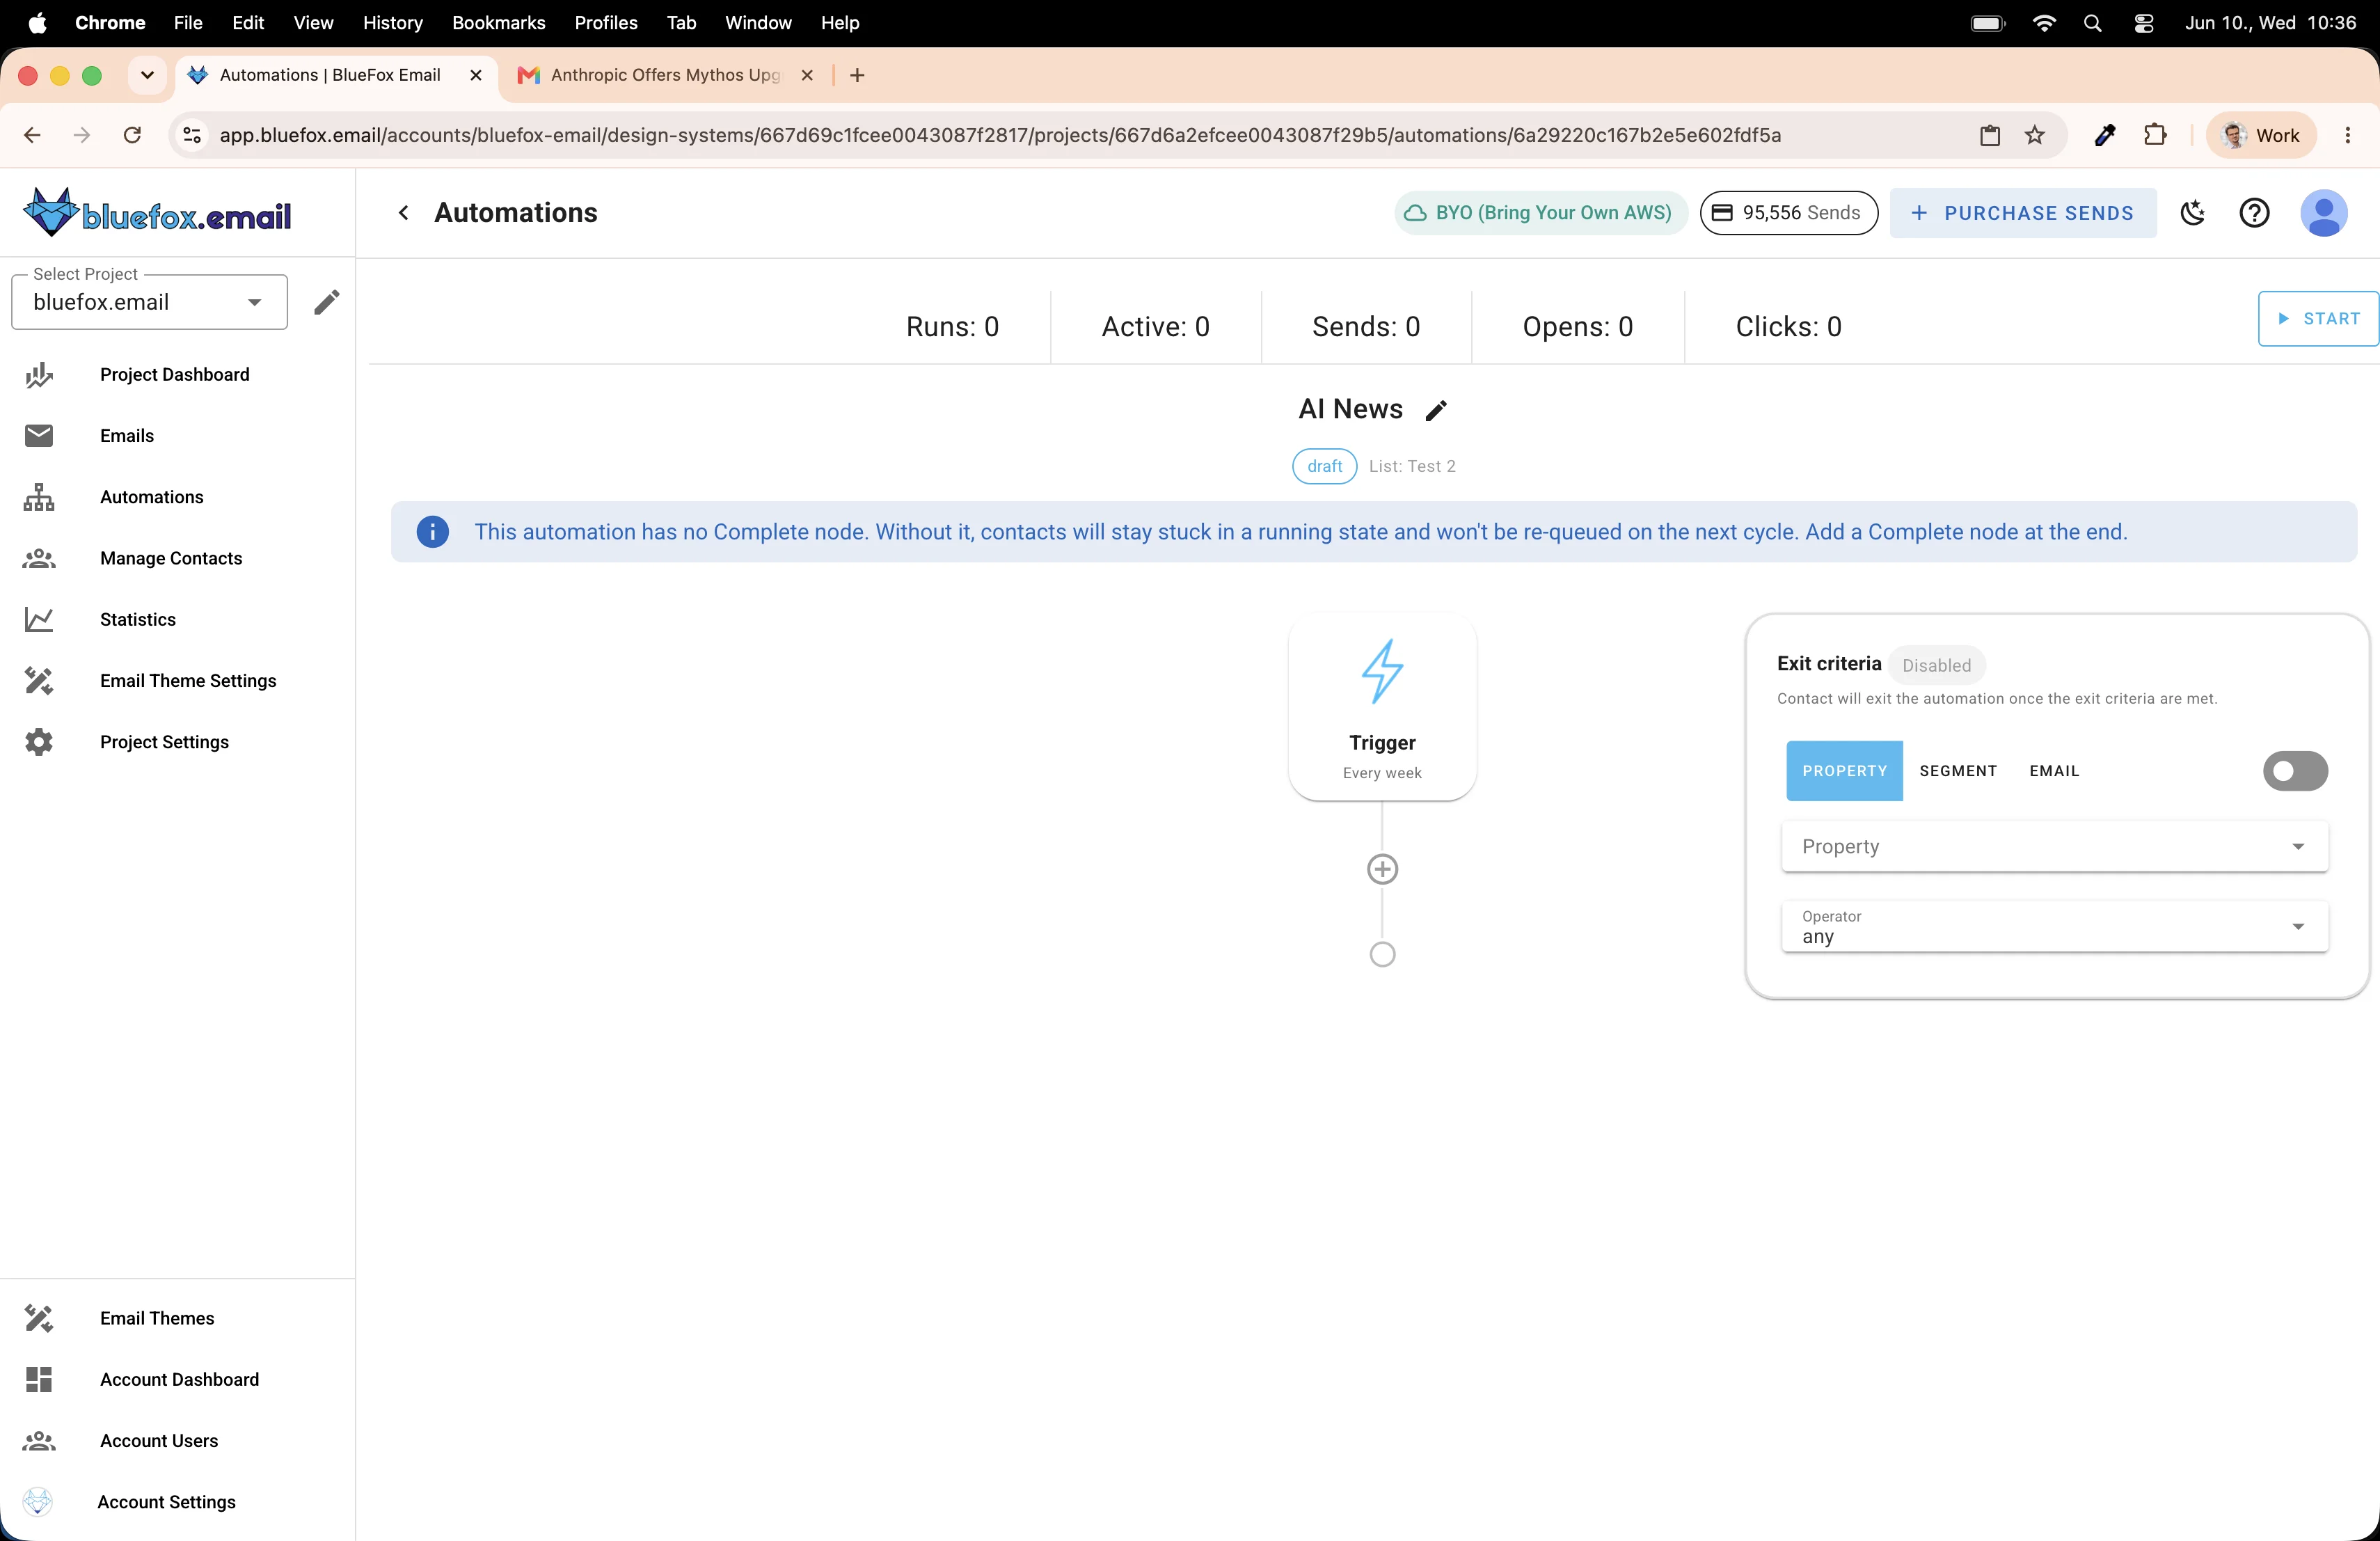
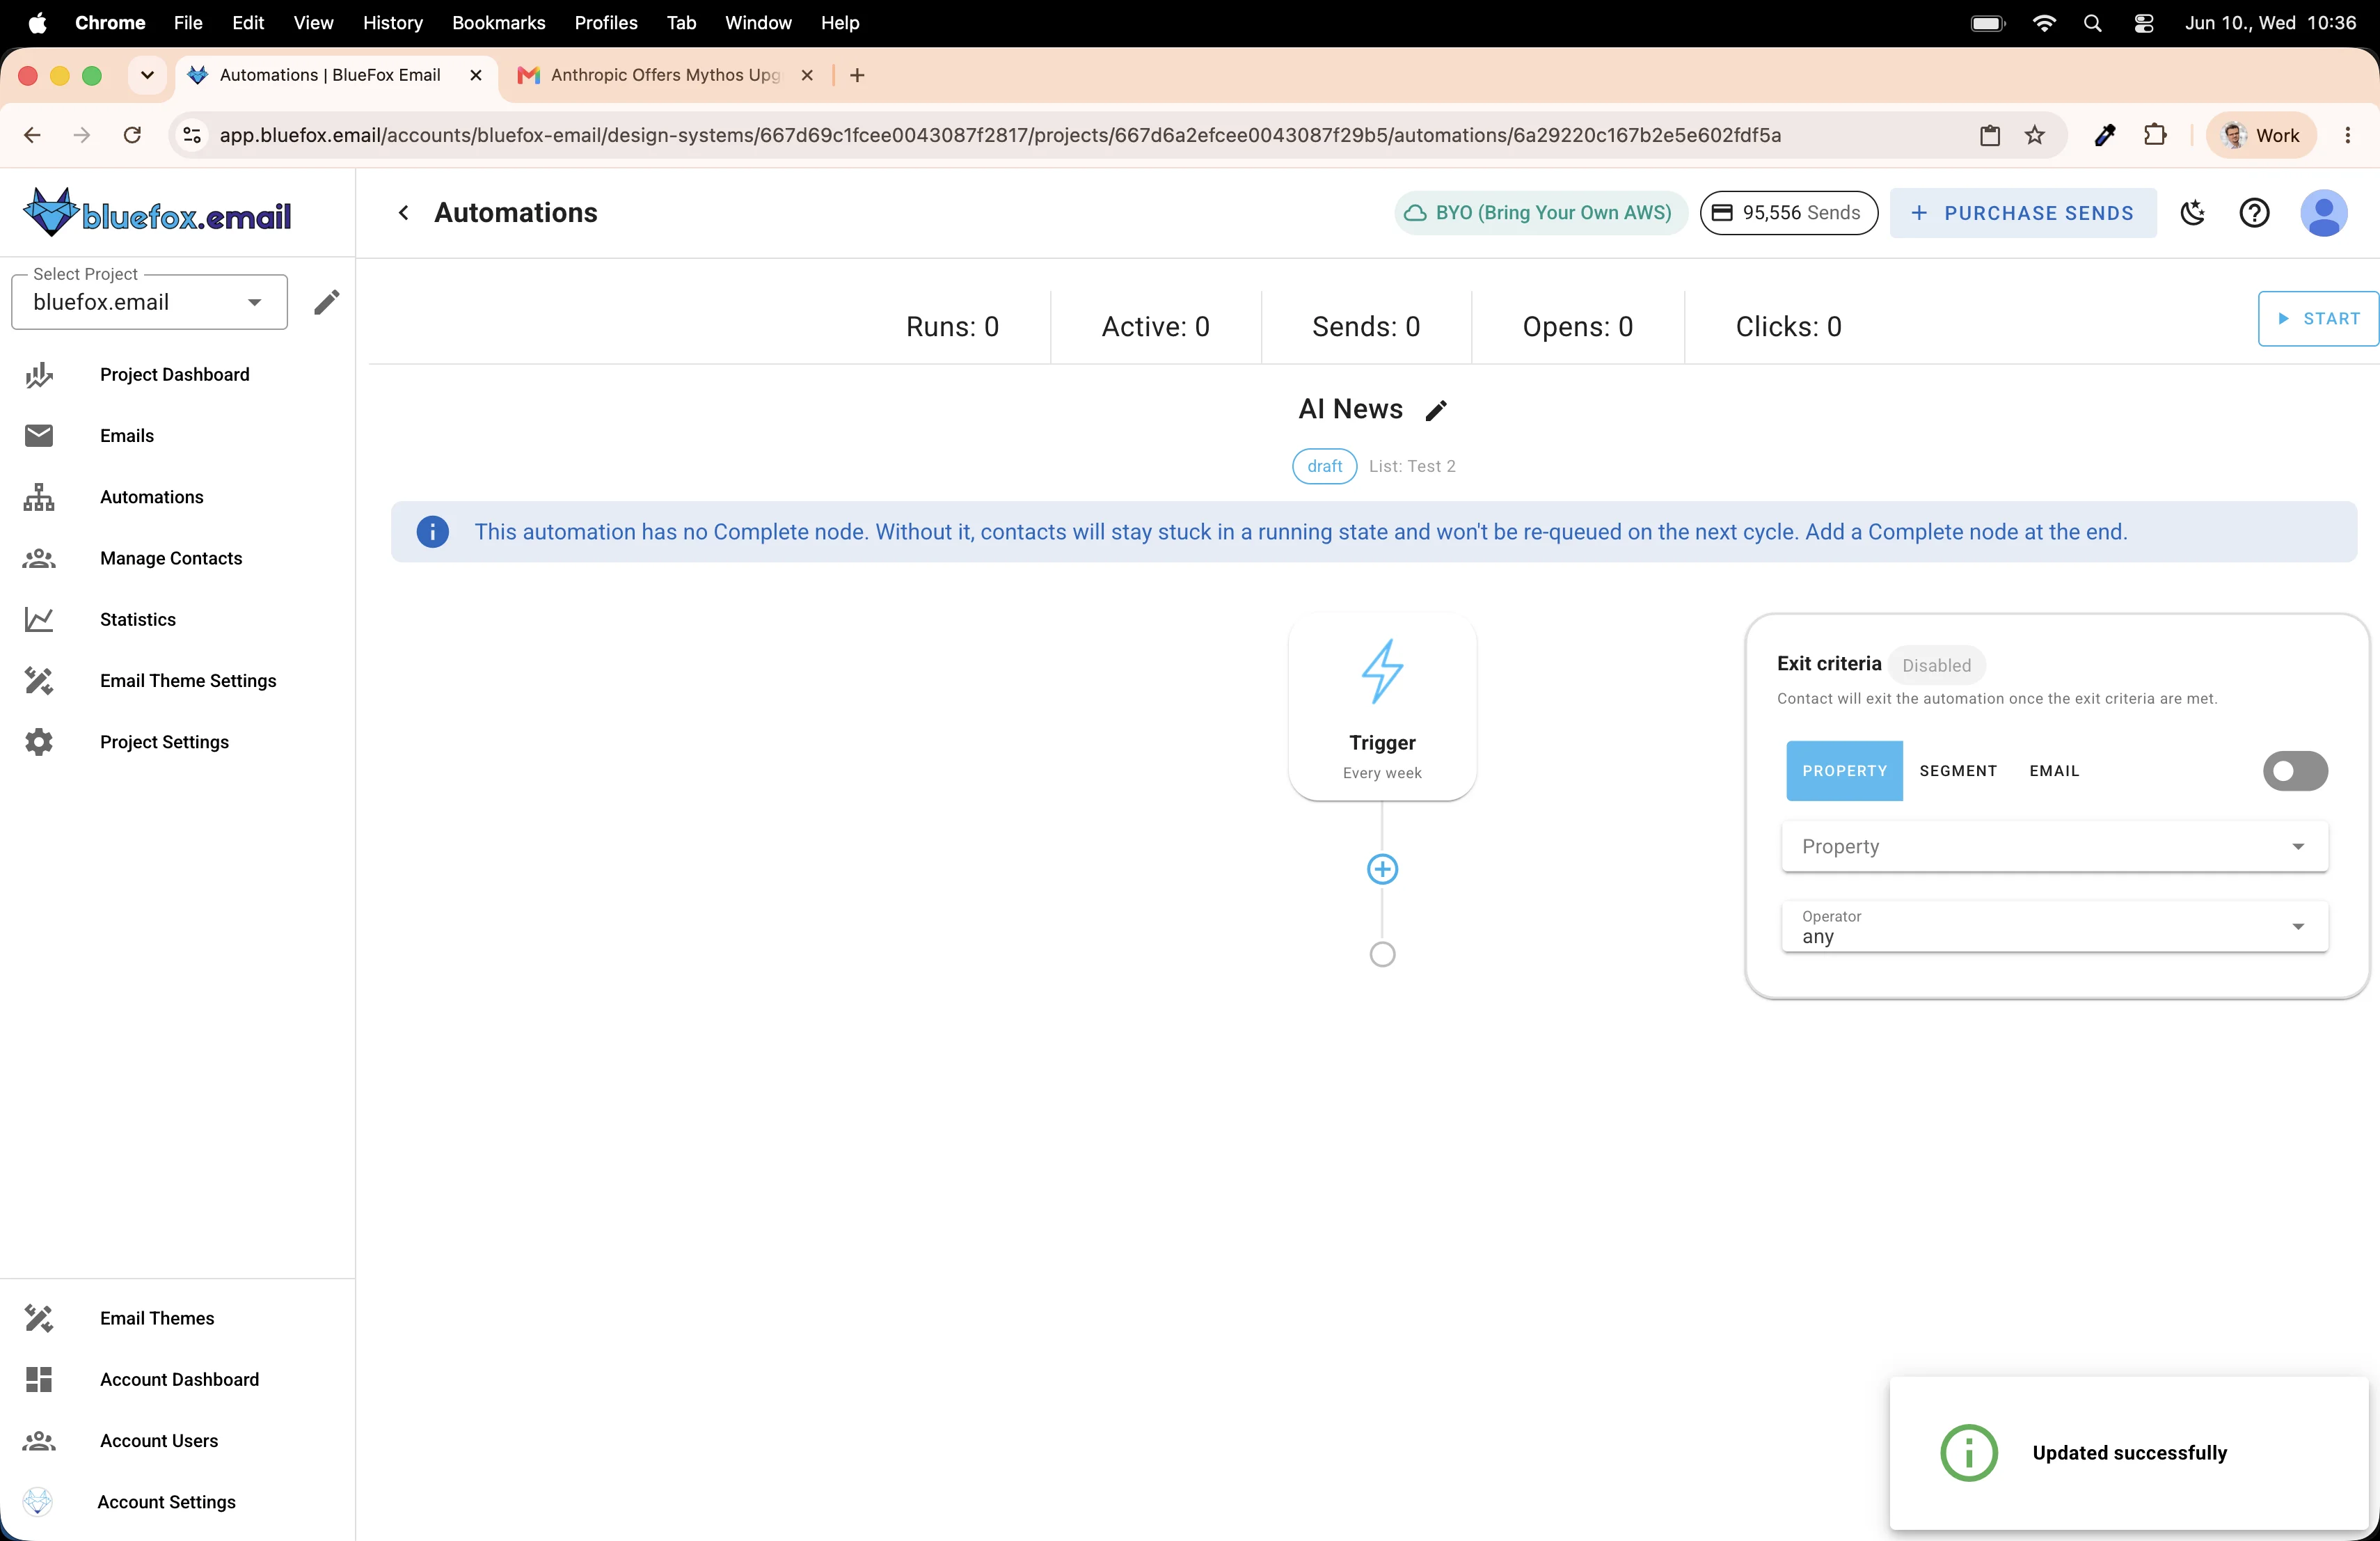
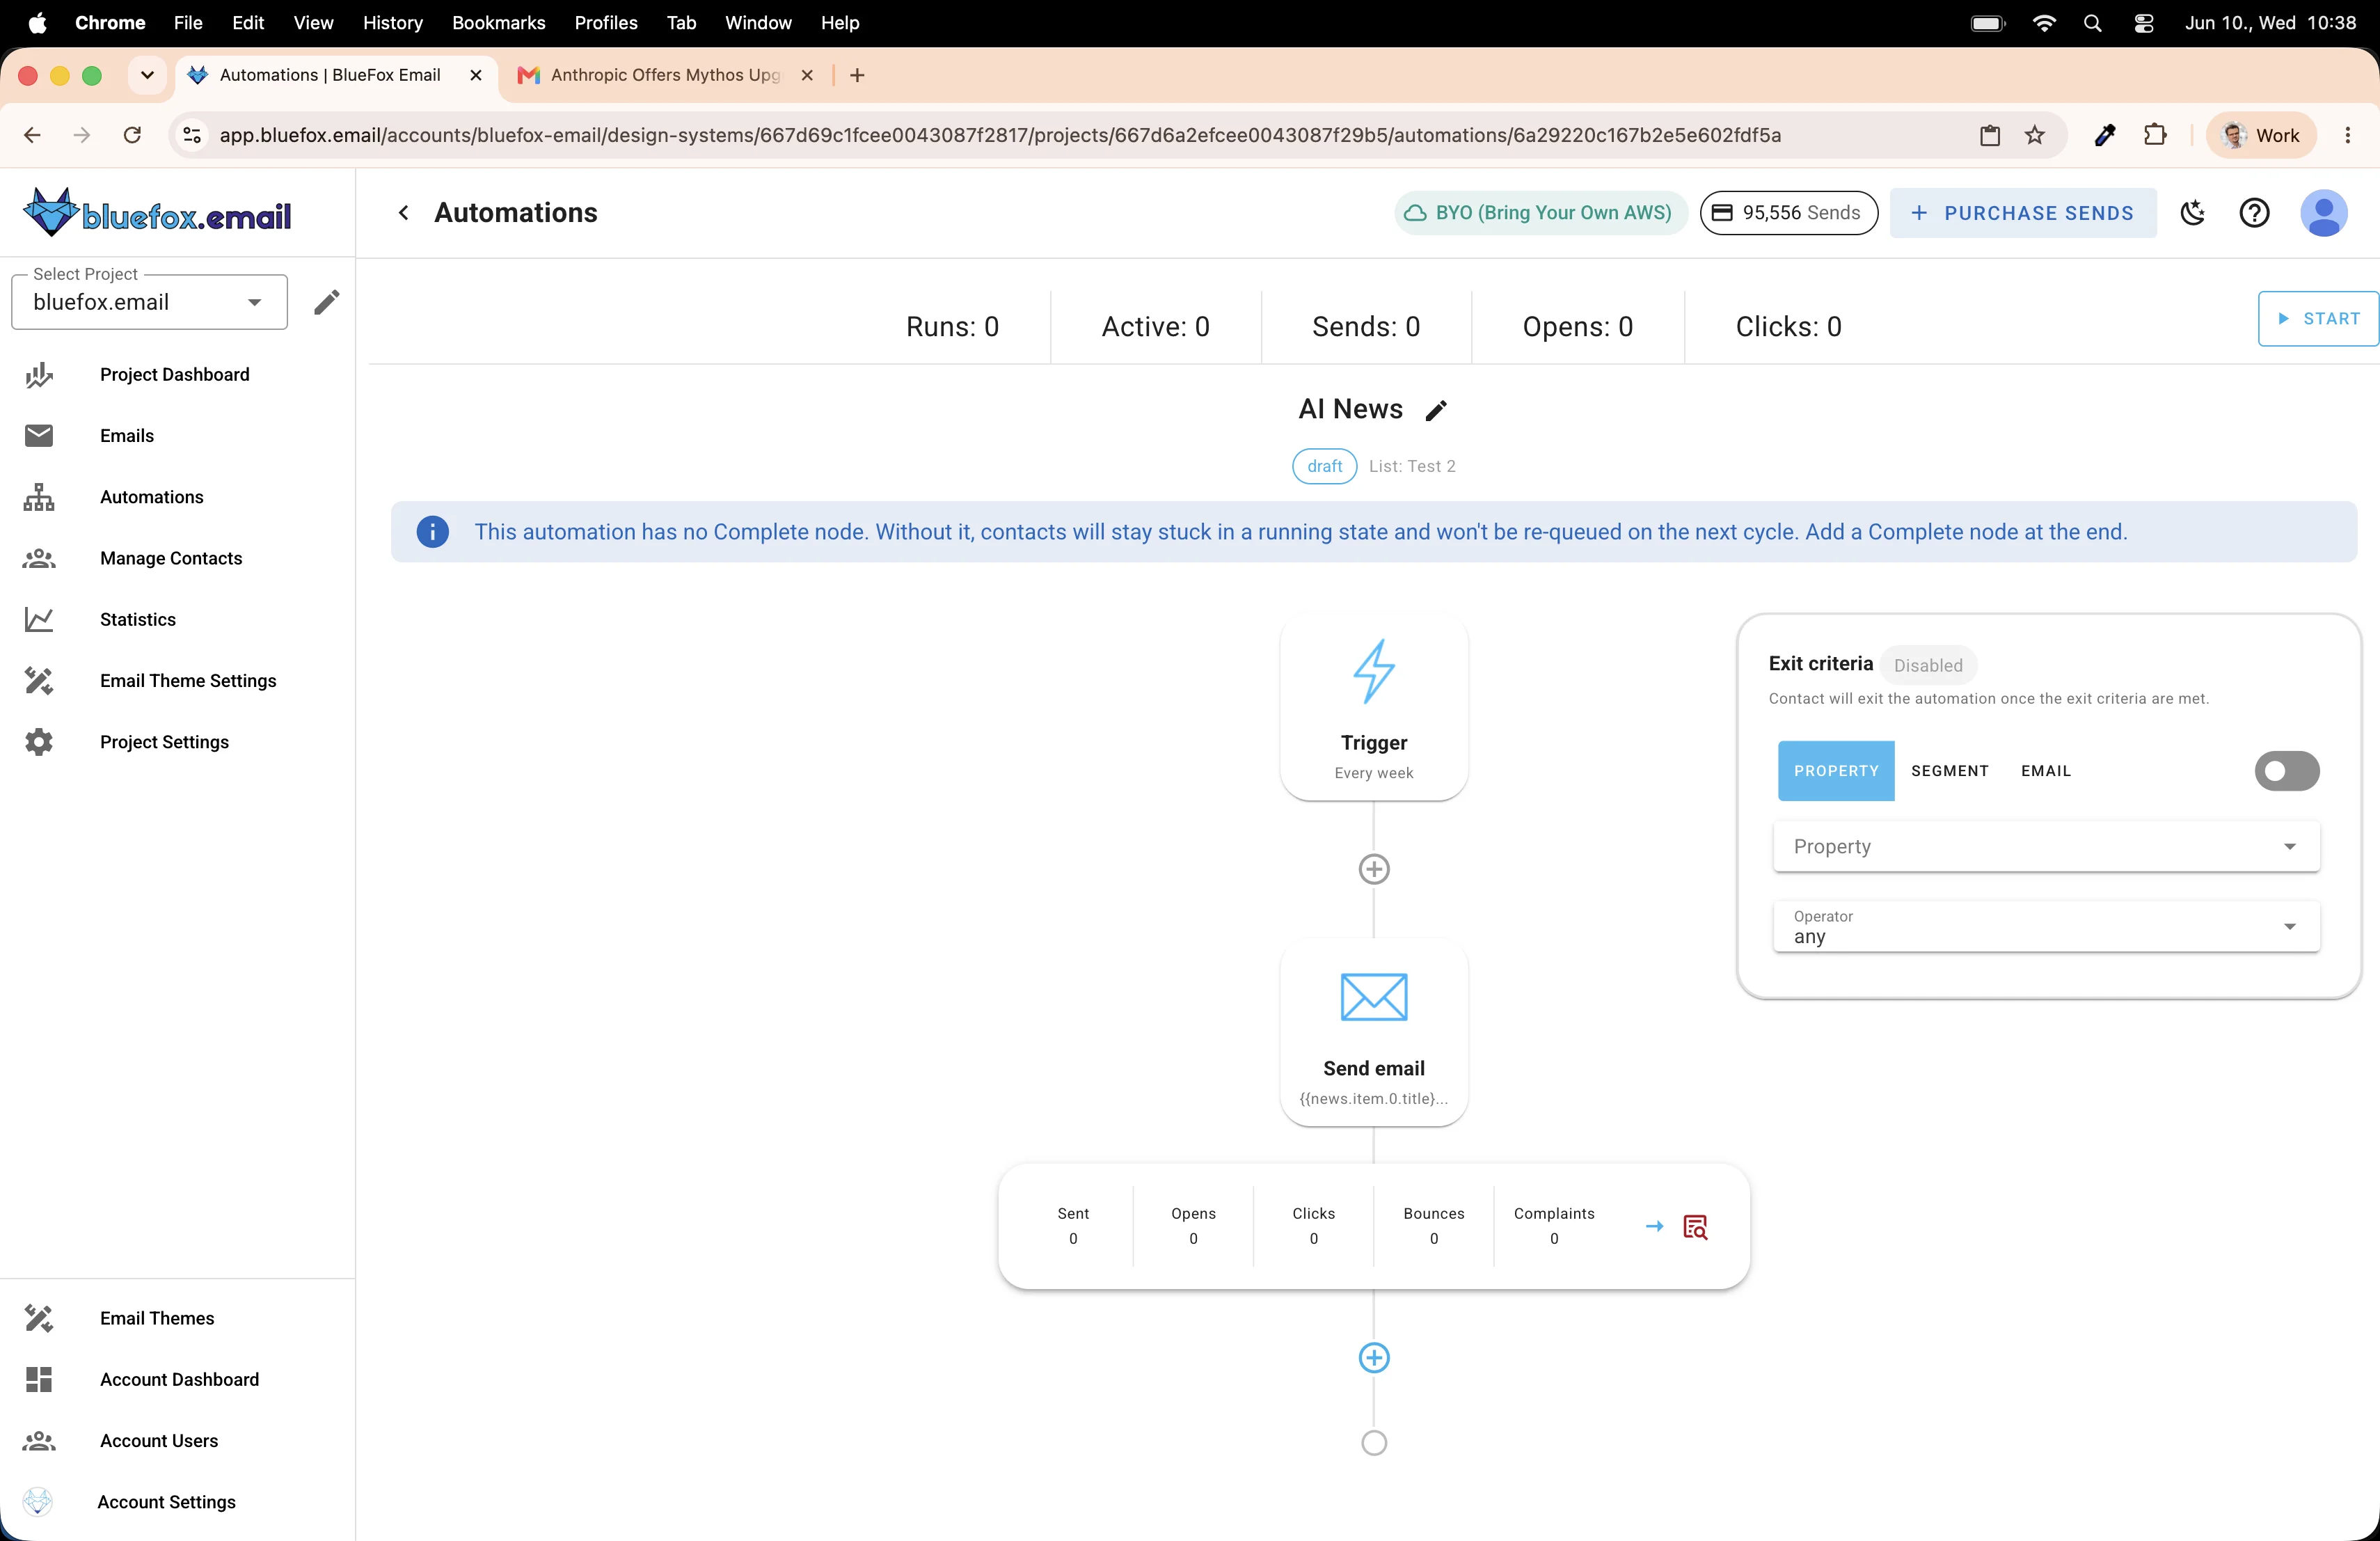
The automation editor opens with just the trigger node in place.
Adding the send email node
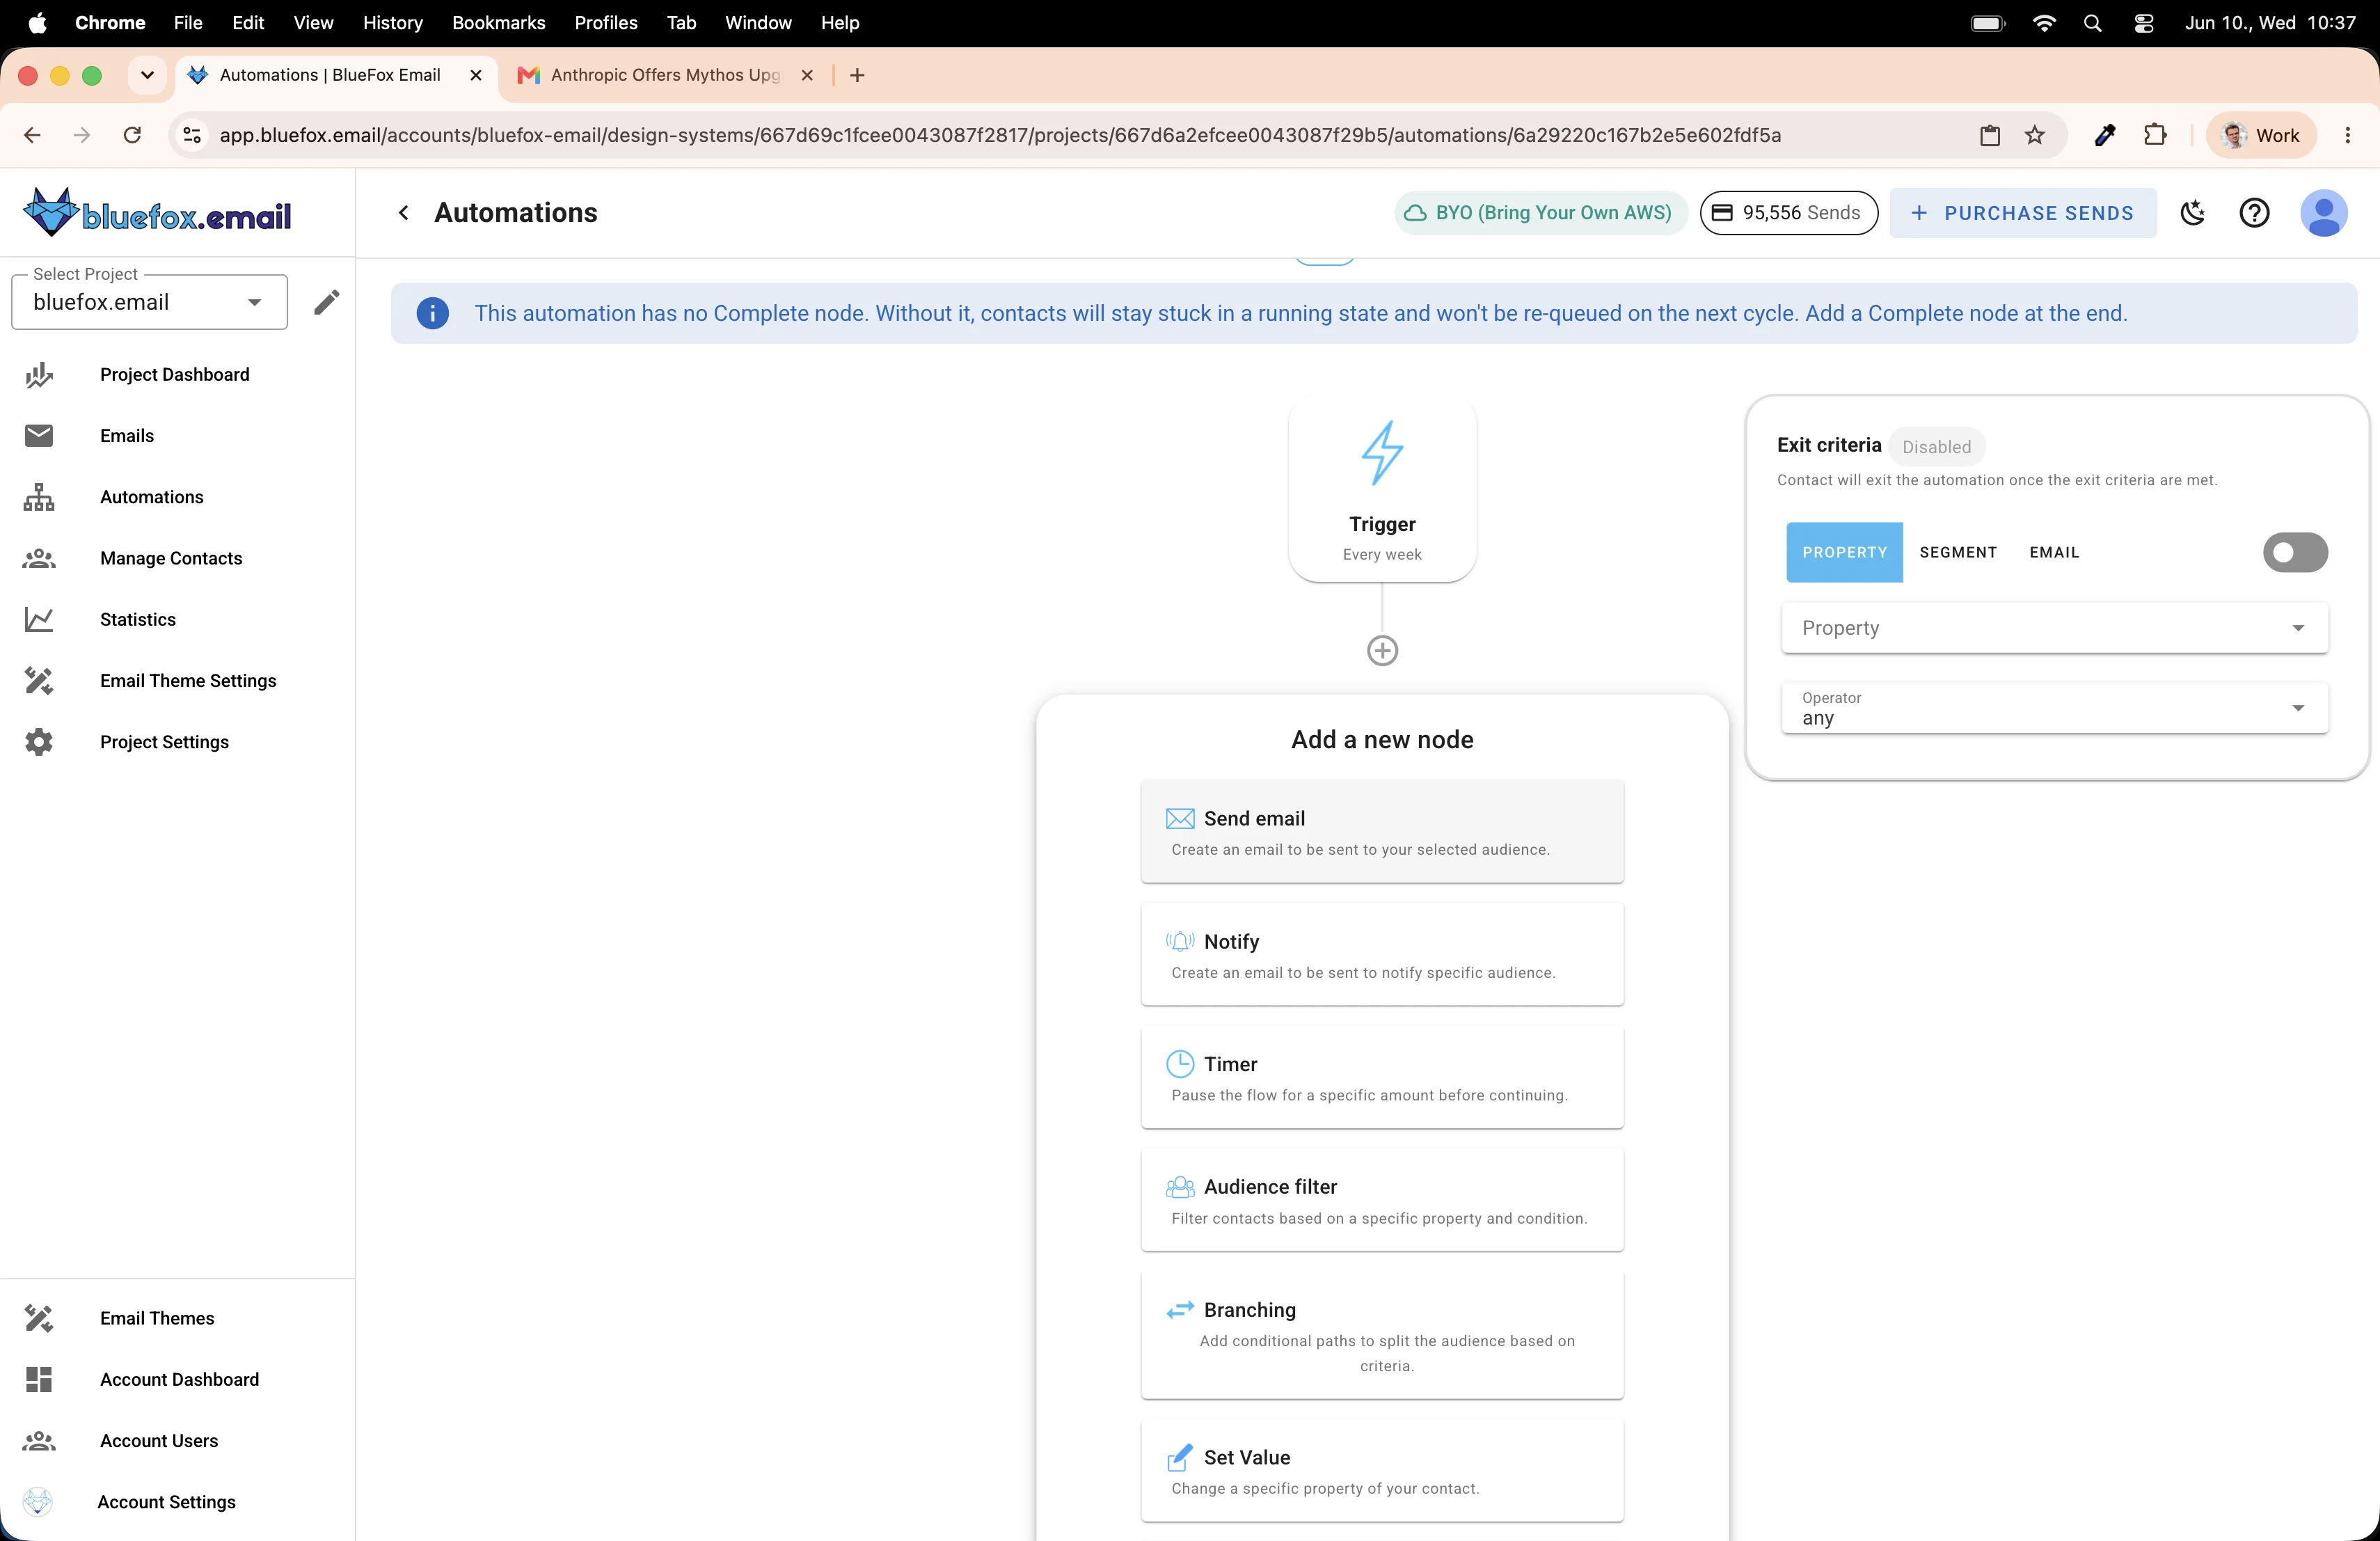
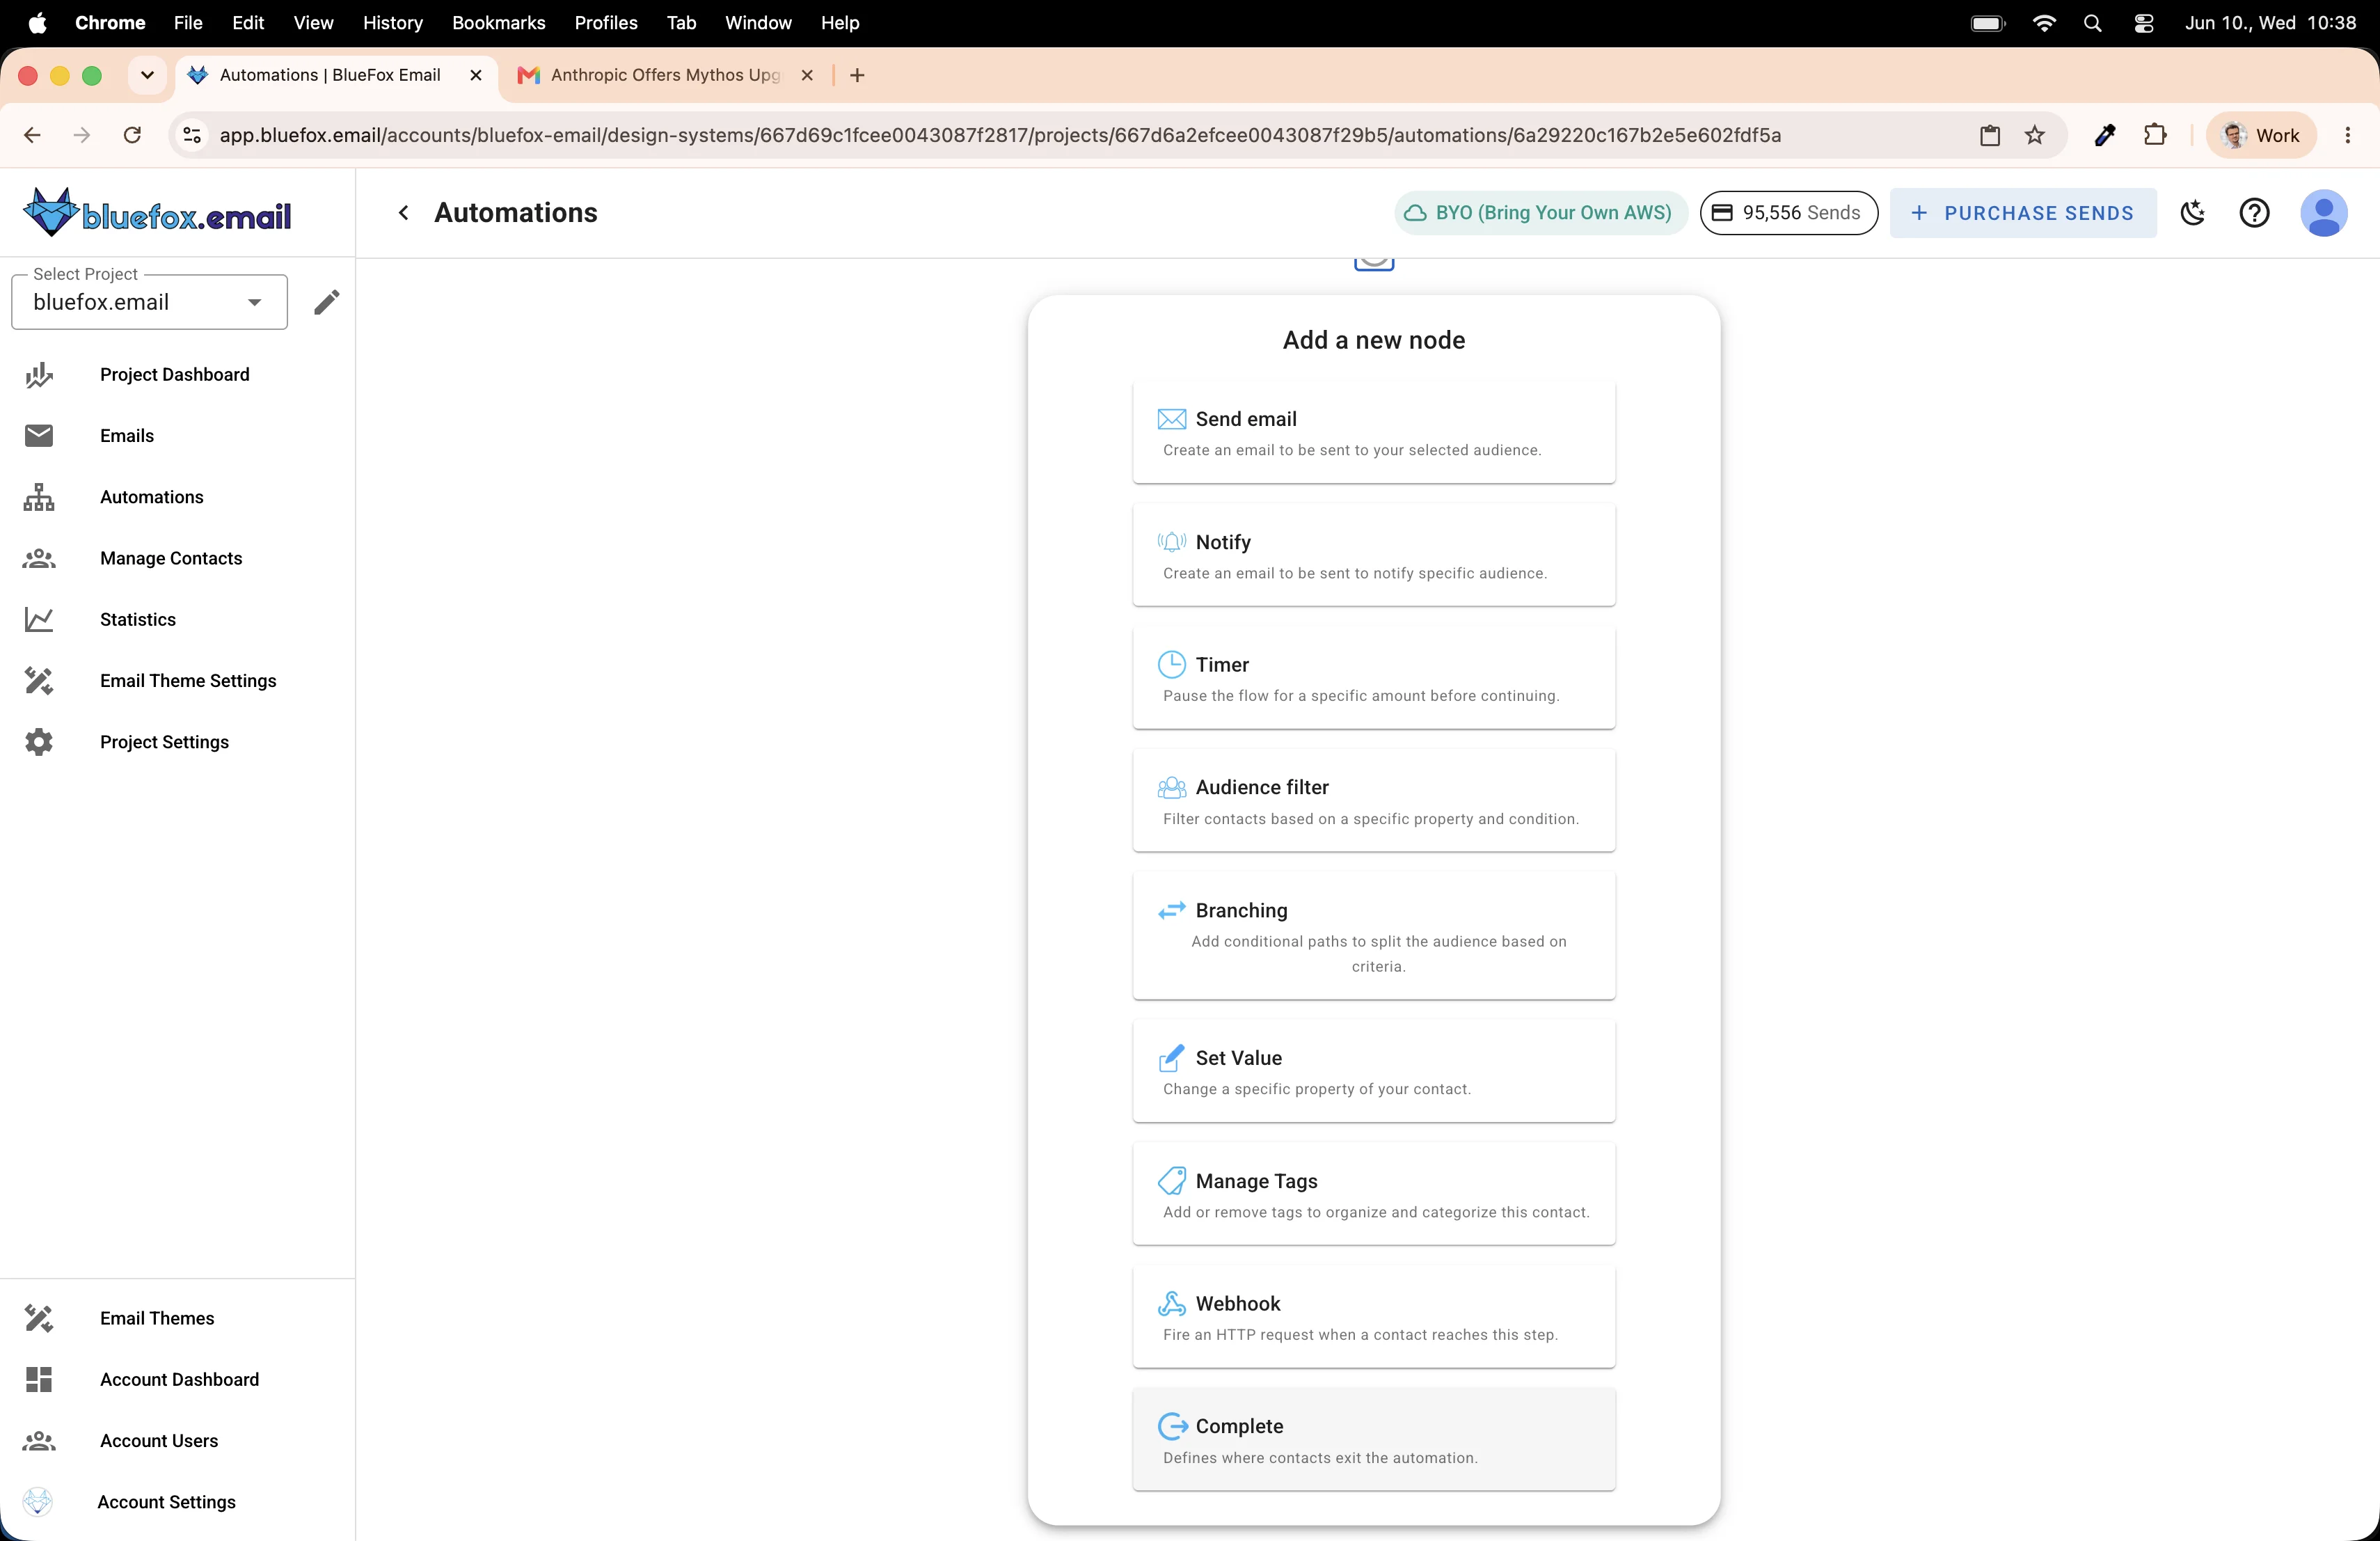
Click the + button below the trigger node to add the next step.
Select Send Email.
Click on the Send Email node to expand it.

Click Create Email.

Choose Copy and Paste. This is where we paste the campaign we copied earlier.
The email is created. Click Open Editor to confirm everything looks right.
The template is there exactly as we built it. Save and close.
The feed was copied over as well! The automation already knows which RSS feed to use when it runs.
Finishing the automation
Click + one more time to add the final node.
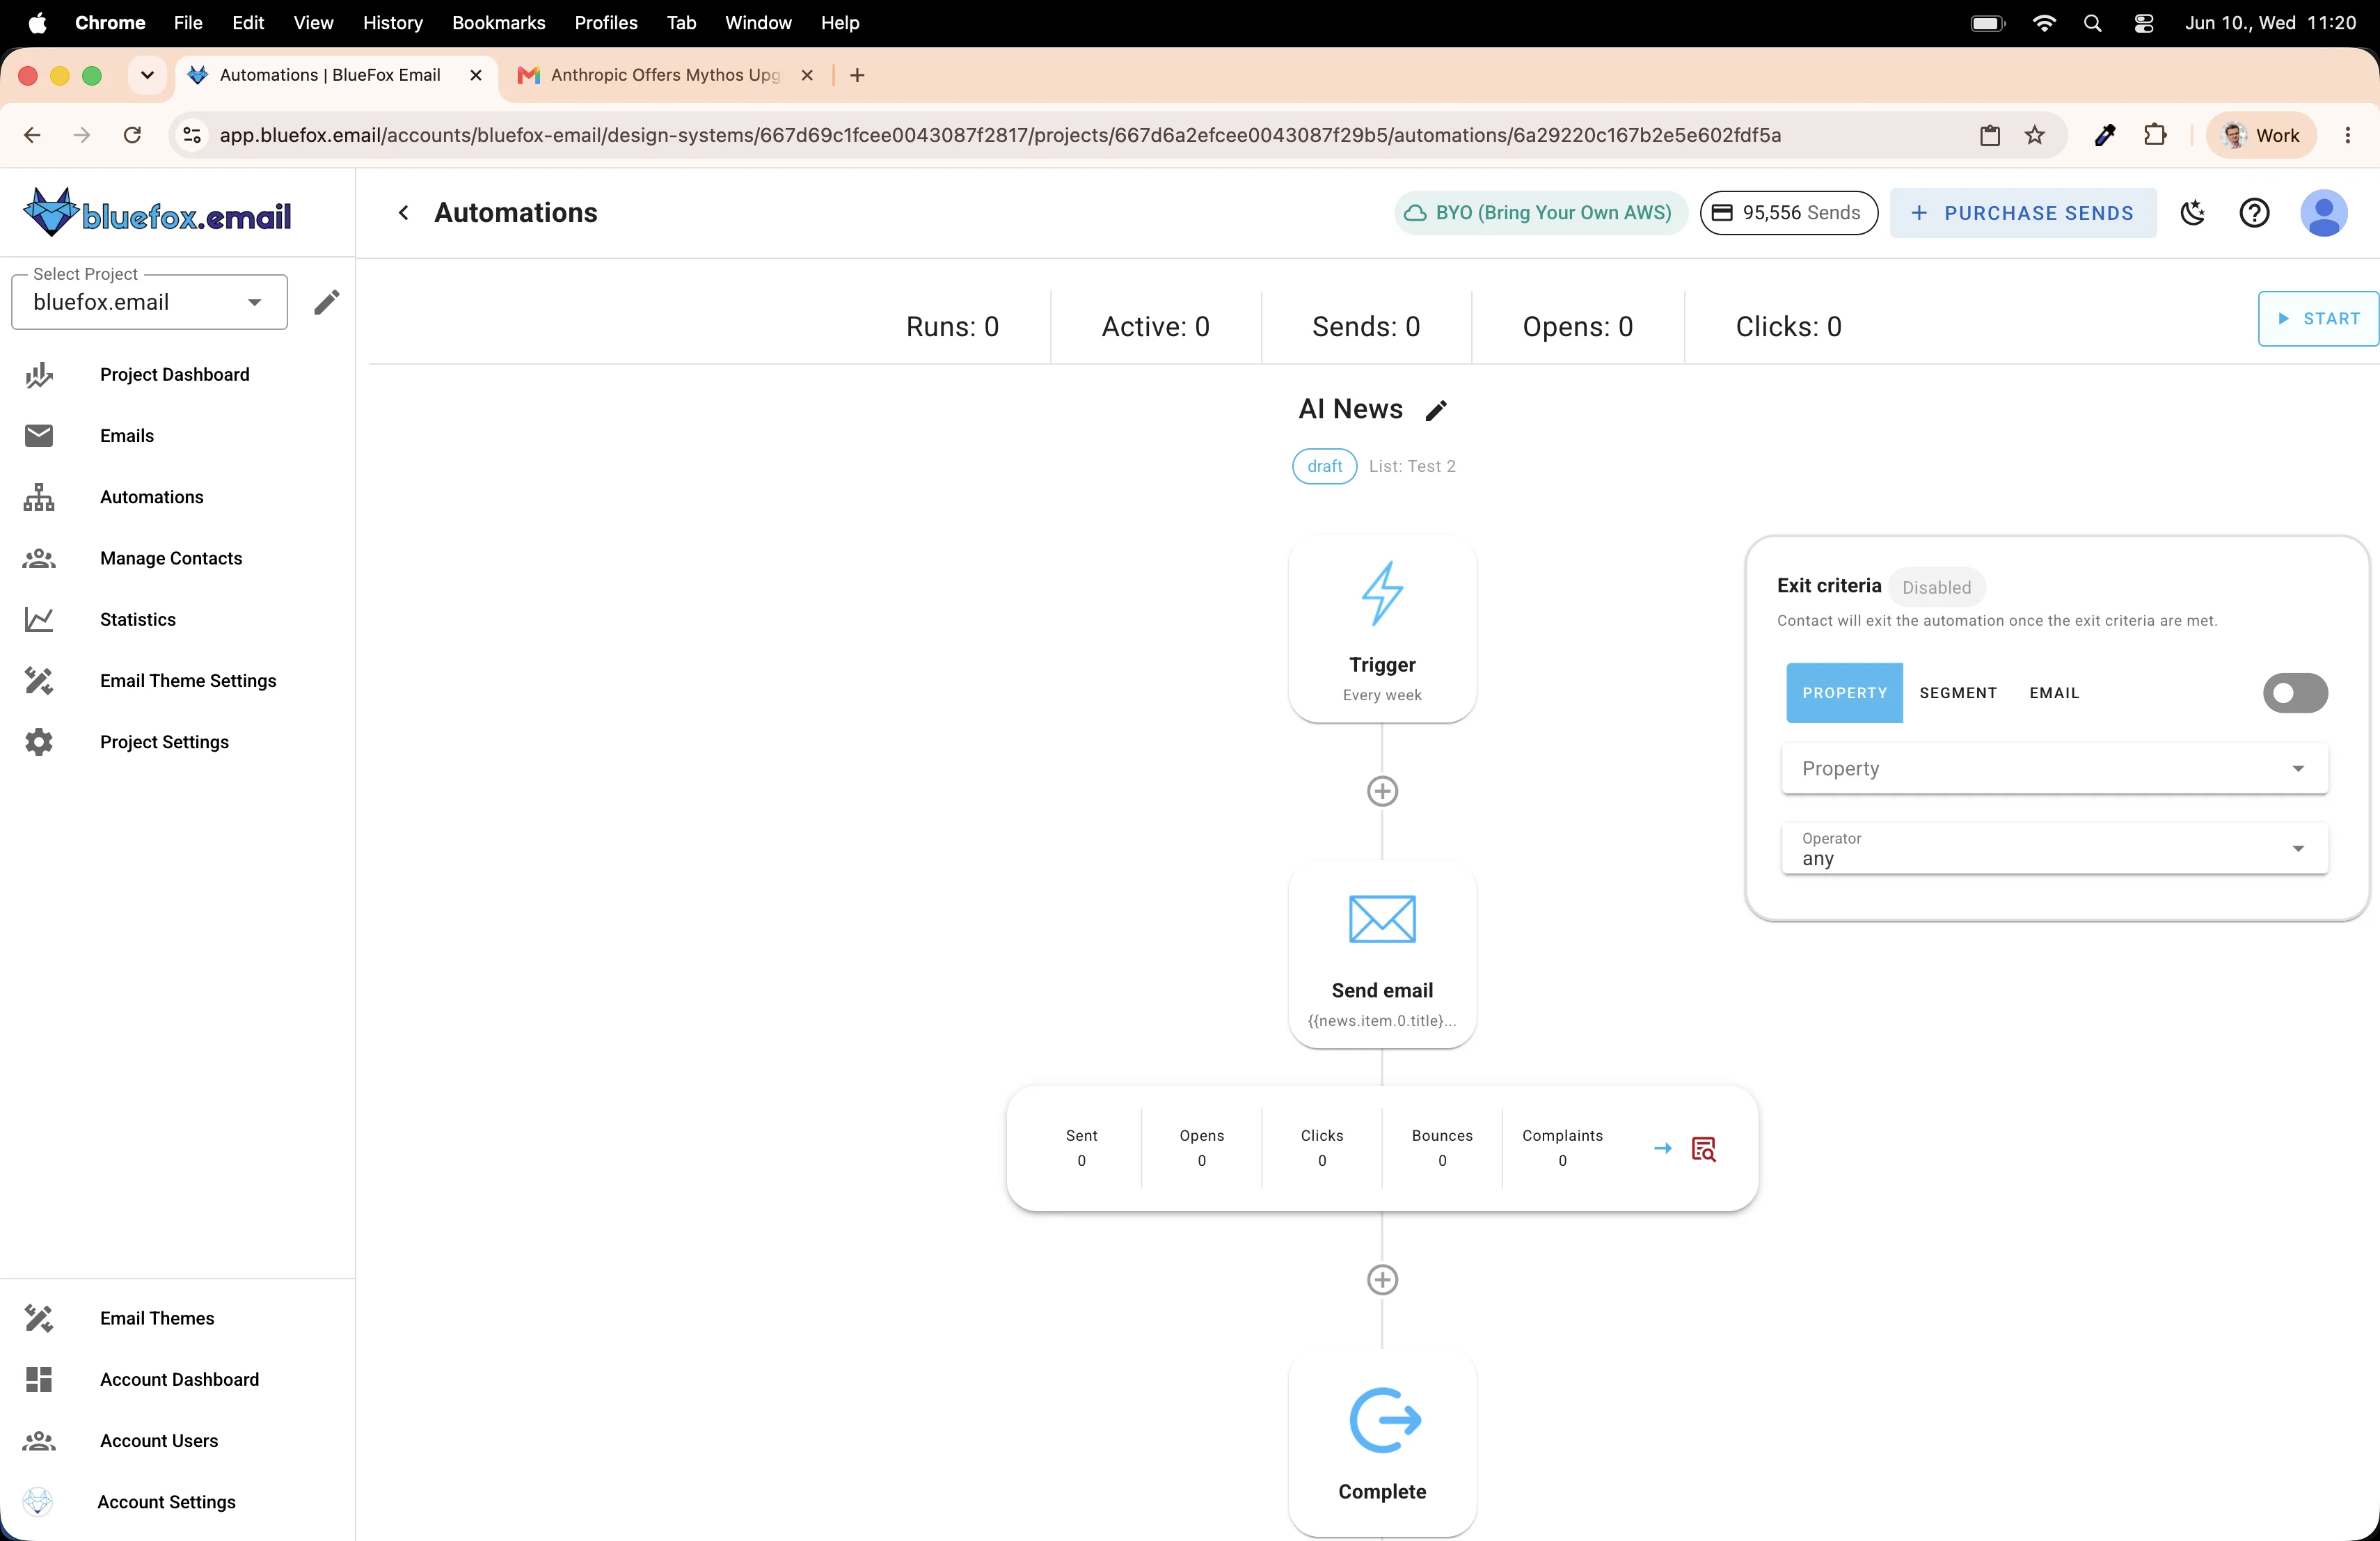
Select Complete. This marks the end of the automation flow. Without it, contacts would queue up at the last node and never exit.
The automation is ready to go.

Hit Start. Every Monday at 9am, BlueFox Email will fetch the latest articles from the Wired AI RSS feed, render them into your template, and send the newsletter to your subscriber list automatically.
No manual work. No forgetting. Just a fresh newsletter in your subscribers' inboxes every week.
Frequently asked questions
What is an RSS newsletter?
An RSS newsletter is an email that's automatically populated with content from an RSS feed. Instead of writing each edition by hand, you build the template once and the tool pulls in the latest articles each time it sends. The result lands in subscribers' inboxes just like a regular newsletter, but you didn't have to lift a finger after the initial setup.
Can I use any RSS feed, or does it have to be my own blog?
Any publicly accessible RSS or Atom feed works. You can use your own blog feed, a third-party publication's feed, a podcast feed, or even aggregate several feeds into one newsletter. As long as the URL returns valid XML, BlueFox Email can connect to it.
How often can I schedule the newsletter?
BlueFox Email's time-based automations support daily, weekly, and monthly schedules. You pick the day and time, and the automation fires on that cadence automatically.
What happens if the RSS feed has no new items since the last send?
The newsletter still sends. It will show whatever items are currently at the top of the feed, even if they appeared in a previous edition. If you want to avoid repeats, limit the feed to the most recent item and check your feed's update frequency before choosing a send schedule.
Do I need to know how to code to set this up?
No. The entire workflow covered here, connecting the feed, building the loop template, and scheduling the automation, is done through BlueFox Email's visual interface. No HTML, no code, no configuration files.