Appearance
Project Settings
To enable all the functionality provided by BlueFox Email, you need to fill in all the project settings. If you want to use different domains or sending emails for different delivery modes (e.g., staging or production), create separate projects for each environment.
To access the project settings, click on the Settings tab. Here, you can use the sub-menu to navigate to different sections of the project settings.
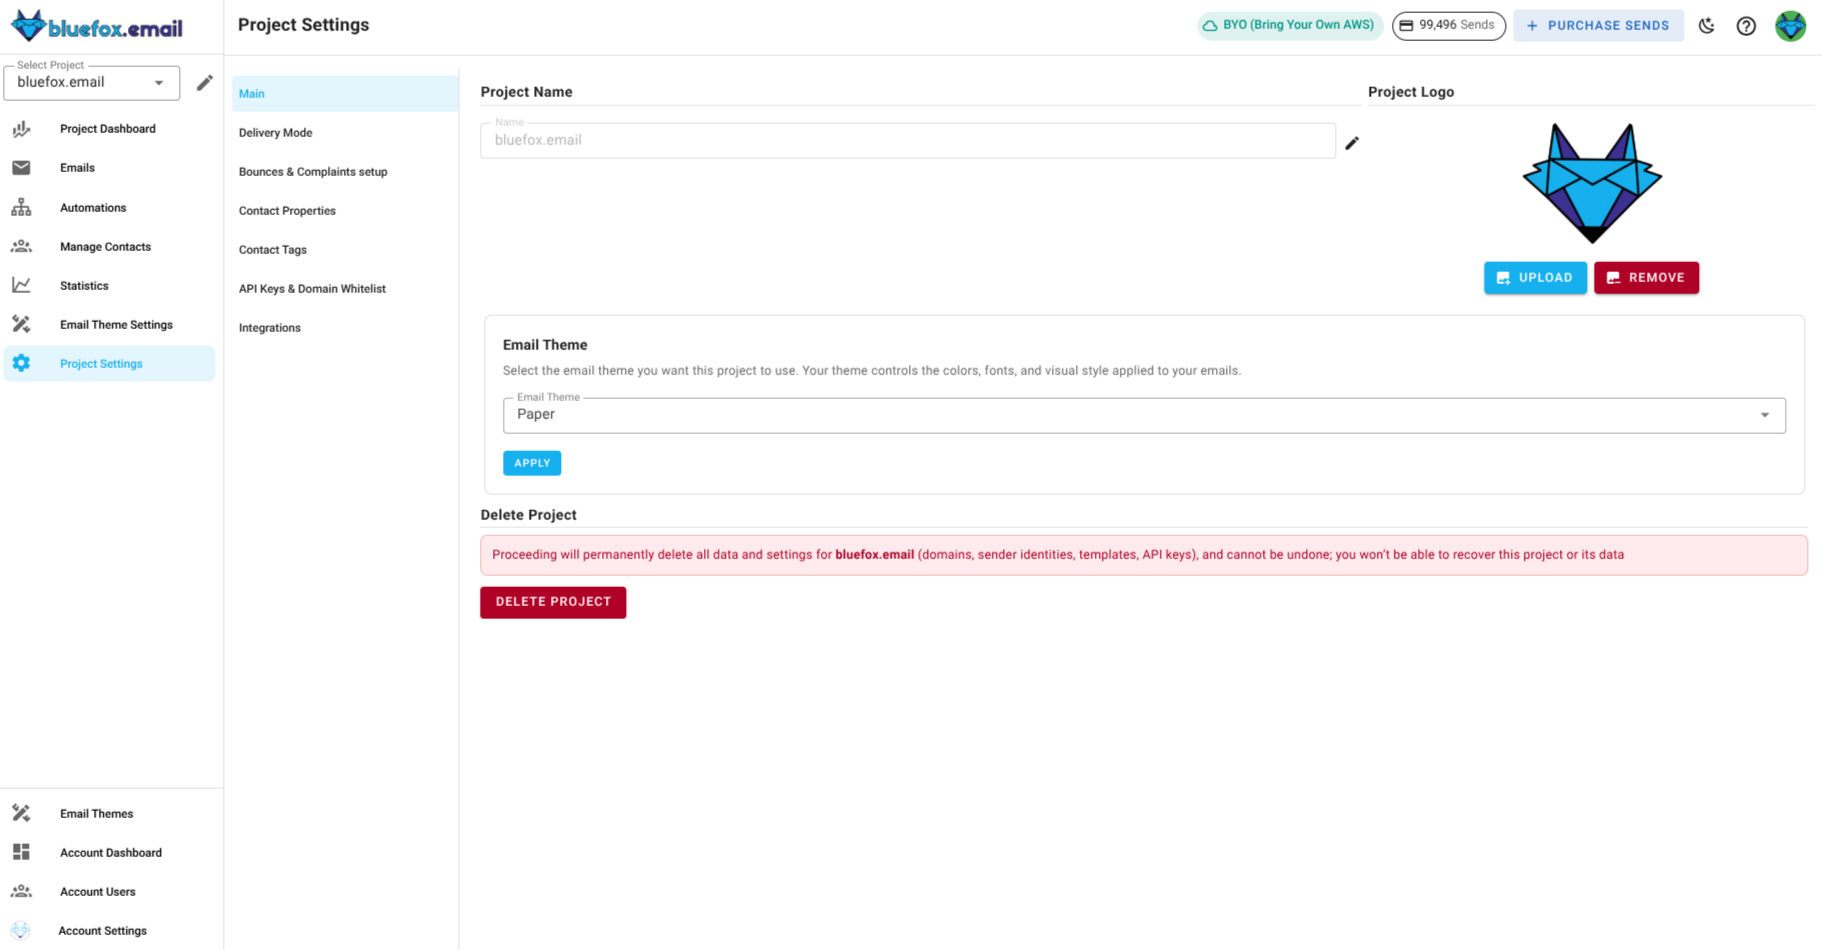
Main Settings
Users can add, update, or remove a custom logo for their project. This logo will be displayed on the subscription preferences page and double opt-in confirmation page success message to provide branding consistency.
To manage the project logo:
Add or update: Click upload, select an image, and save.
Remove: Click remove logo and confirm.
![]()
You can also change your email theme of the project in this section. Changing the email theme will update the design of all your emails. Your saved templates and blocks are tied to their original theme, they won't be accessible while on a different theme, but if you switch back, they will be available again. However, any overridden theme variables (such as colors or images) will be permanently lost, even if you switch back, those overriding values will not be restored.

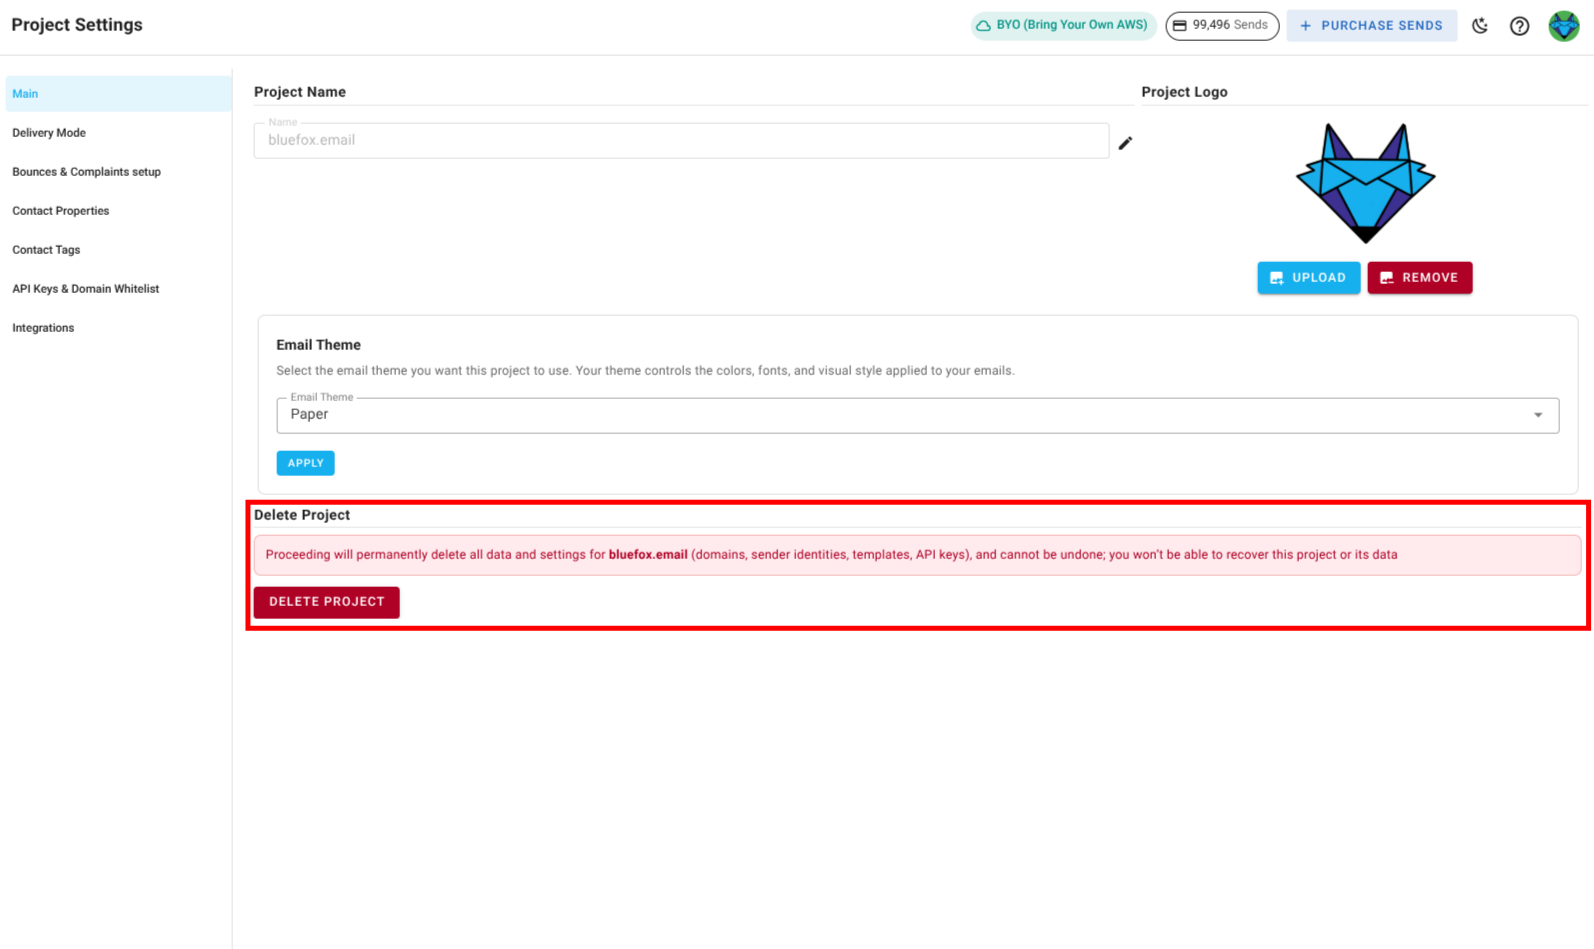
Users can also manage the project name in this section or delete the project entirely by clicking the Delete project button.
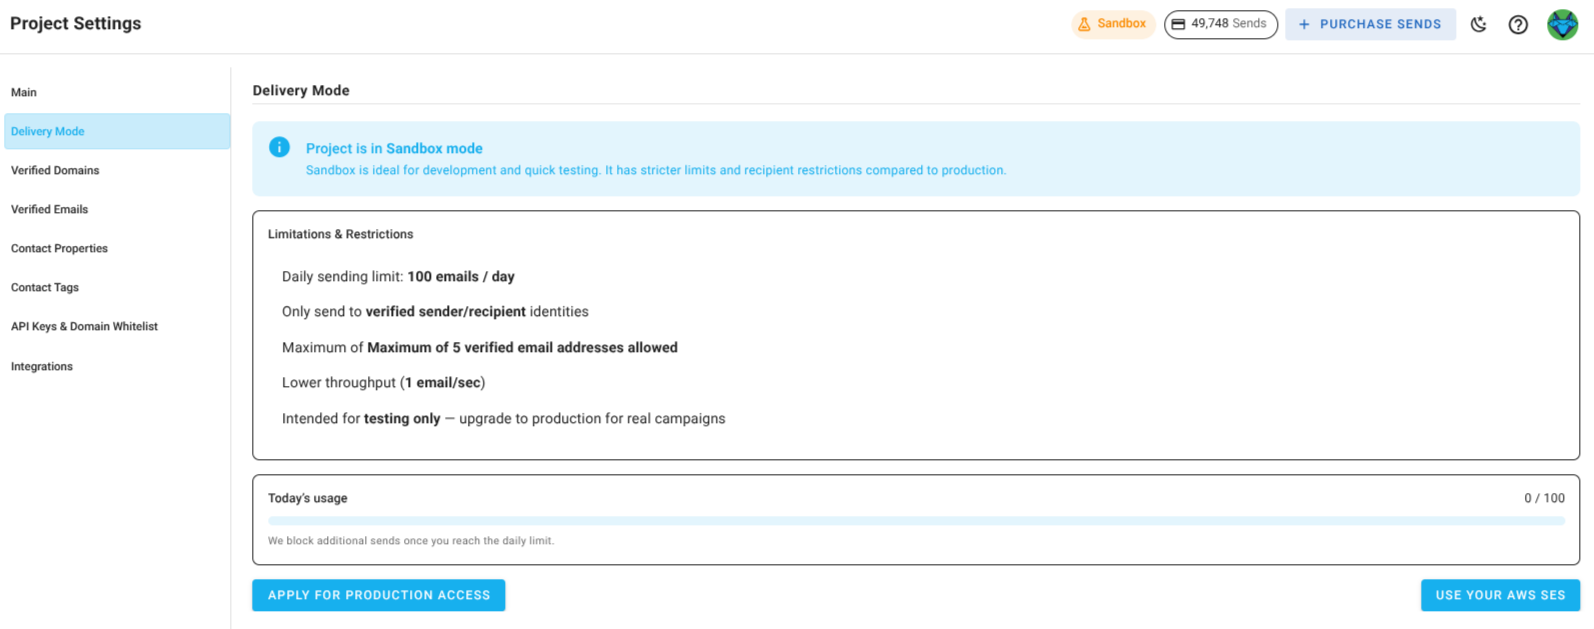
Delivery Modes
Delivery modes determine how emails are sent from your project. So the default for every new project is sandbox mode. In this mode, you can start sending emails immediately but with some limitations. When you're ready for unrestricted sending, you can request to move your project to production mode. If you prefer to bring your own AWS SES account, you can do that too.
For more details, see our Delivery Modes documentation.
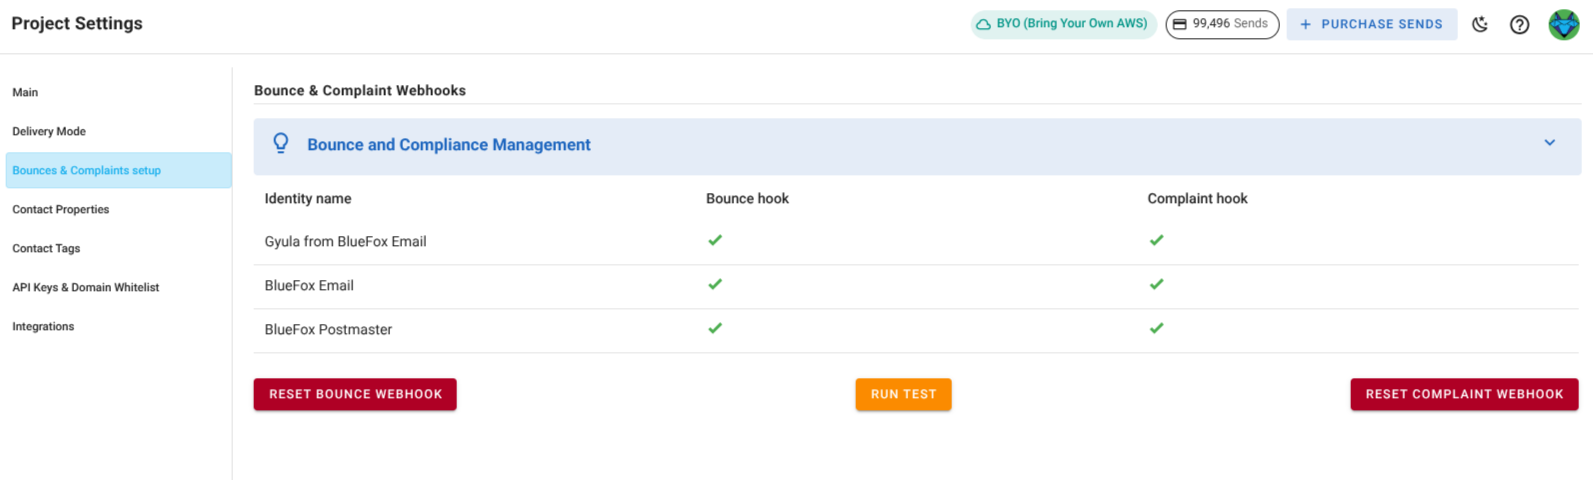
Bounces and Complaints Webhooks
This feature is only available for projects using Bring Your Own (BYO) AWS SES. For other project types, BlueFox Email automatically handles bounces and complaints.
To effectively manage email bounces and complaints, BlueFox Email provides webhook integration. This allows you to receive real-time notifications about these events, enabling you to take appropriate actions such as updating contact statuses or triggering follow-up processes.
Contact Properties
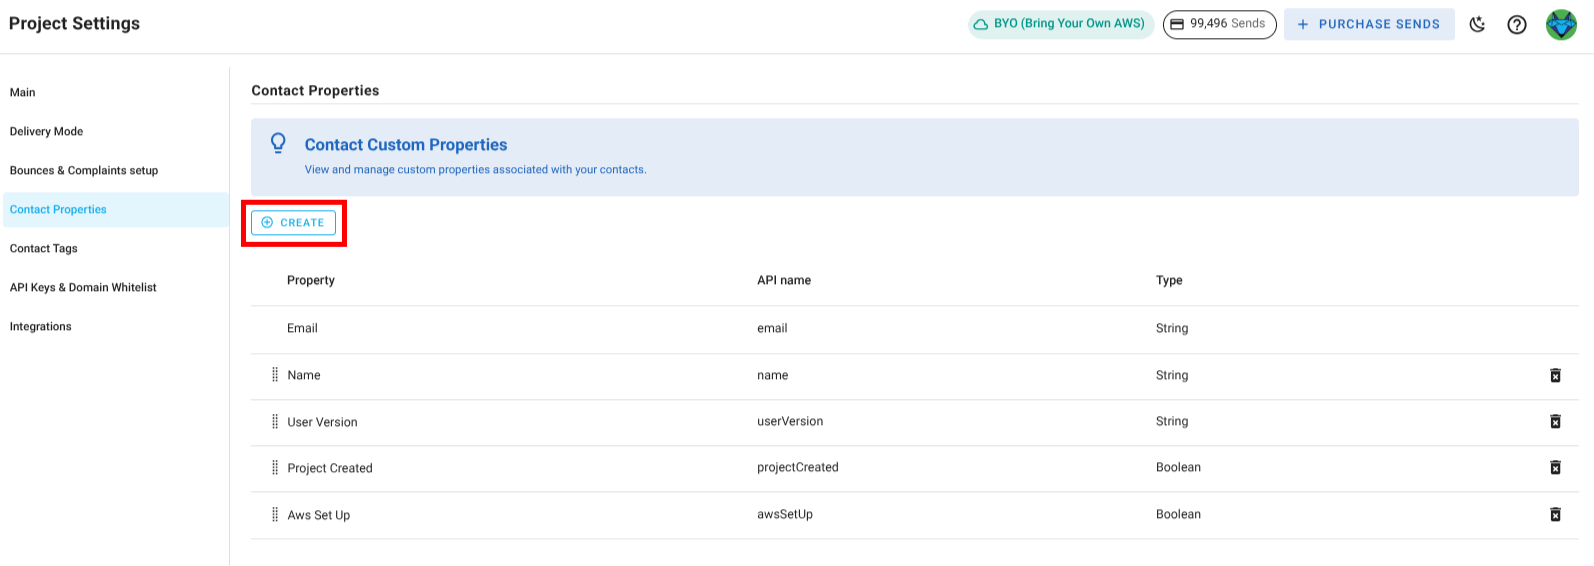
Contact properties allow users to define custom attributes for contacts at the project level. These properties appear in the contacts table and can be filled when adding or editing a contact.
Add new Property
To add a new property, navigate to project settings → contact properties, click create, enter the property name and type, then save. The property will be available in the contact management interface.
Each contact property includes:
Property Name: The user-defined name.
API Name: The system-generated name used when sending or retrieving data via API.
Type: The data type of the property, which can be string, boolean, date, or number.
CSV Upload Note
When uploading contacts via CSV, you must use the API Name as the column header.
Reserved Properties
Some properties are reserved and cannot be created. These include status, pausedUntil, email, accountId, projectId, customFields, contactId, subscriberListId, unsubscribeLink, pauseSubscriptionLink.
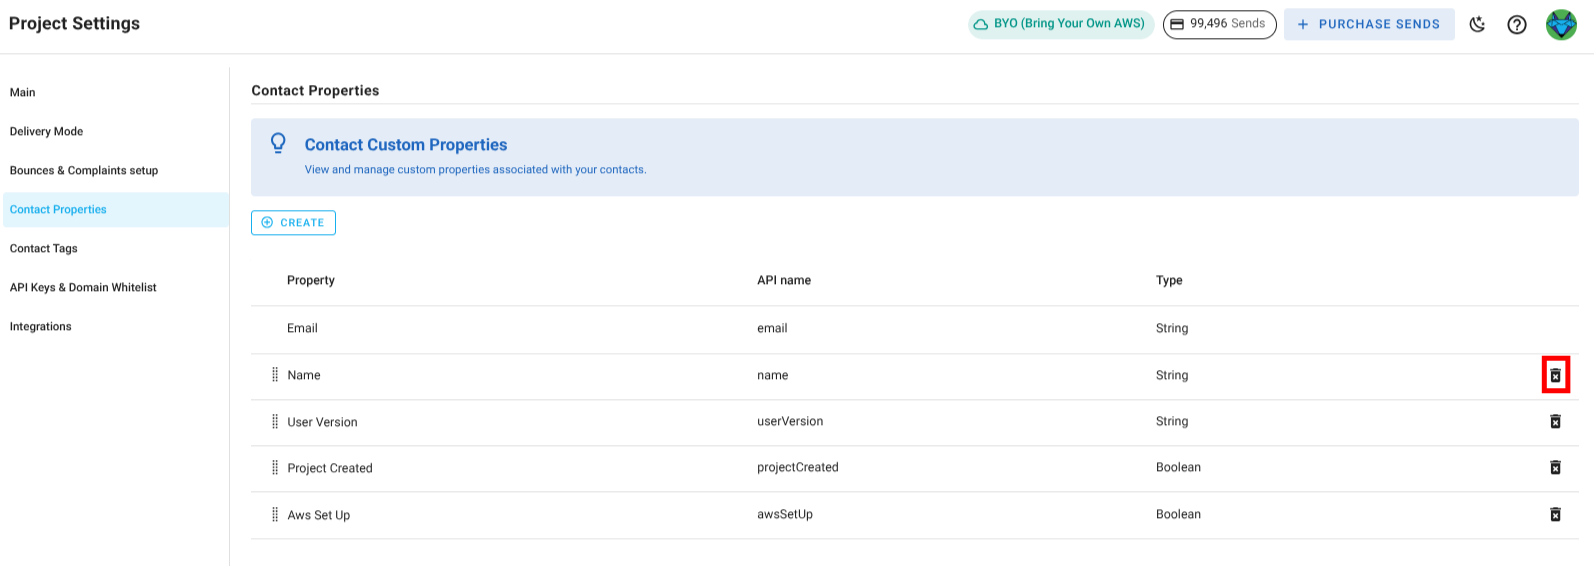
Delete Property
To delete a property, go to project settings → contact properties, locate the property in the table, and click the delete icon. Confirm the deletion, and the property will be removed from both the contacts table and the contact creation/editing interface.
Contact Tags
Contact tags are labels that you can assign to contacts to help organize them based on specific criteria or characteristics. Tags can be used for various purposes, such as categorizing contacts by interests, behaviors, or demographics, which can then be leveraged for targeted email campaigns and personalized communication.
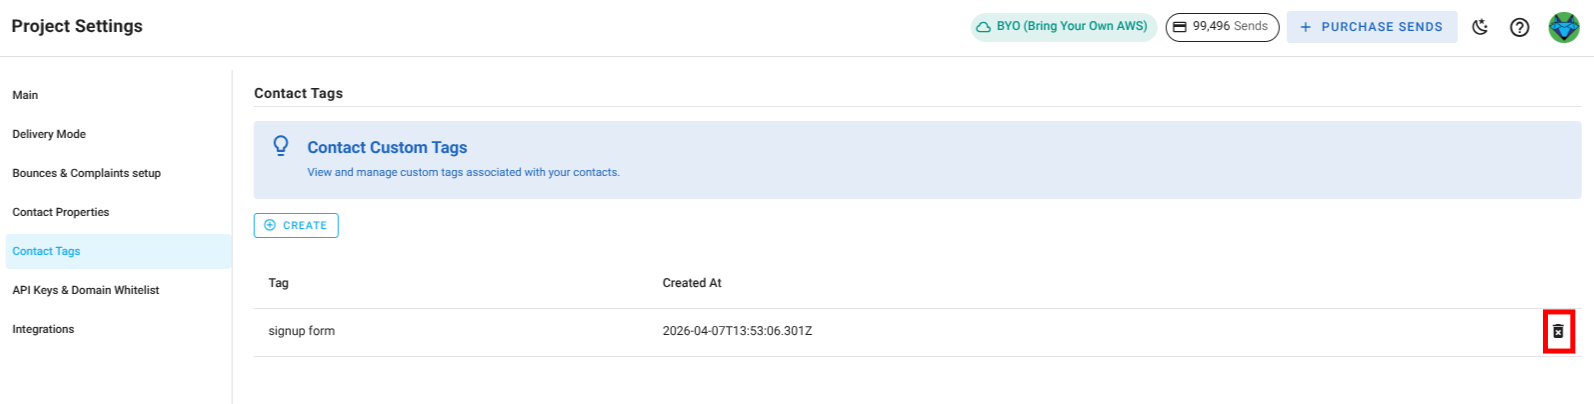
To manage contact tags, navigate to project settings → contact tags. Here you can see a list of all existing tags in the project and you can create new tags or delete existing ones.
To create a new tag, click the Create button : 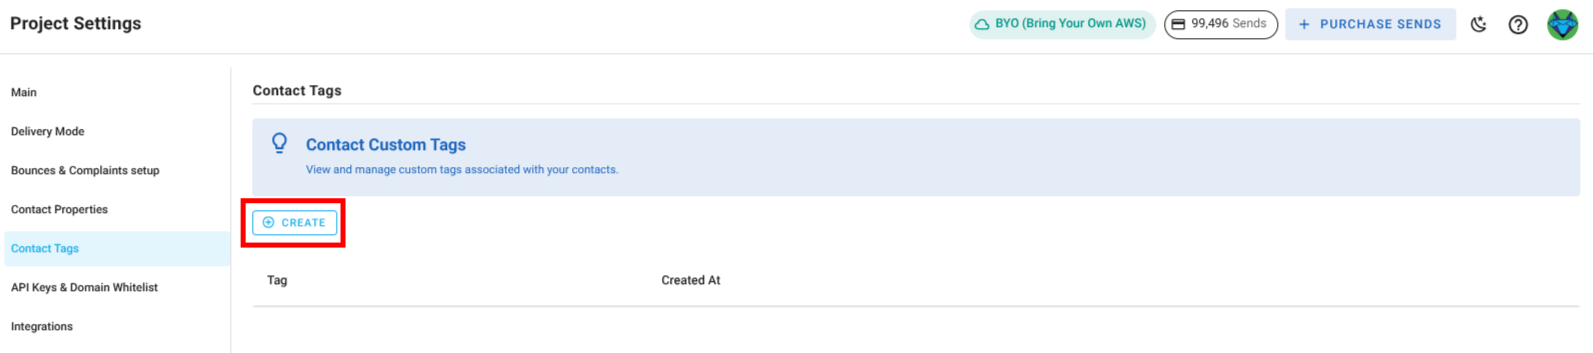
Enter the name of the tag and save it. The new tag will be available for assignment to contacts. 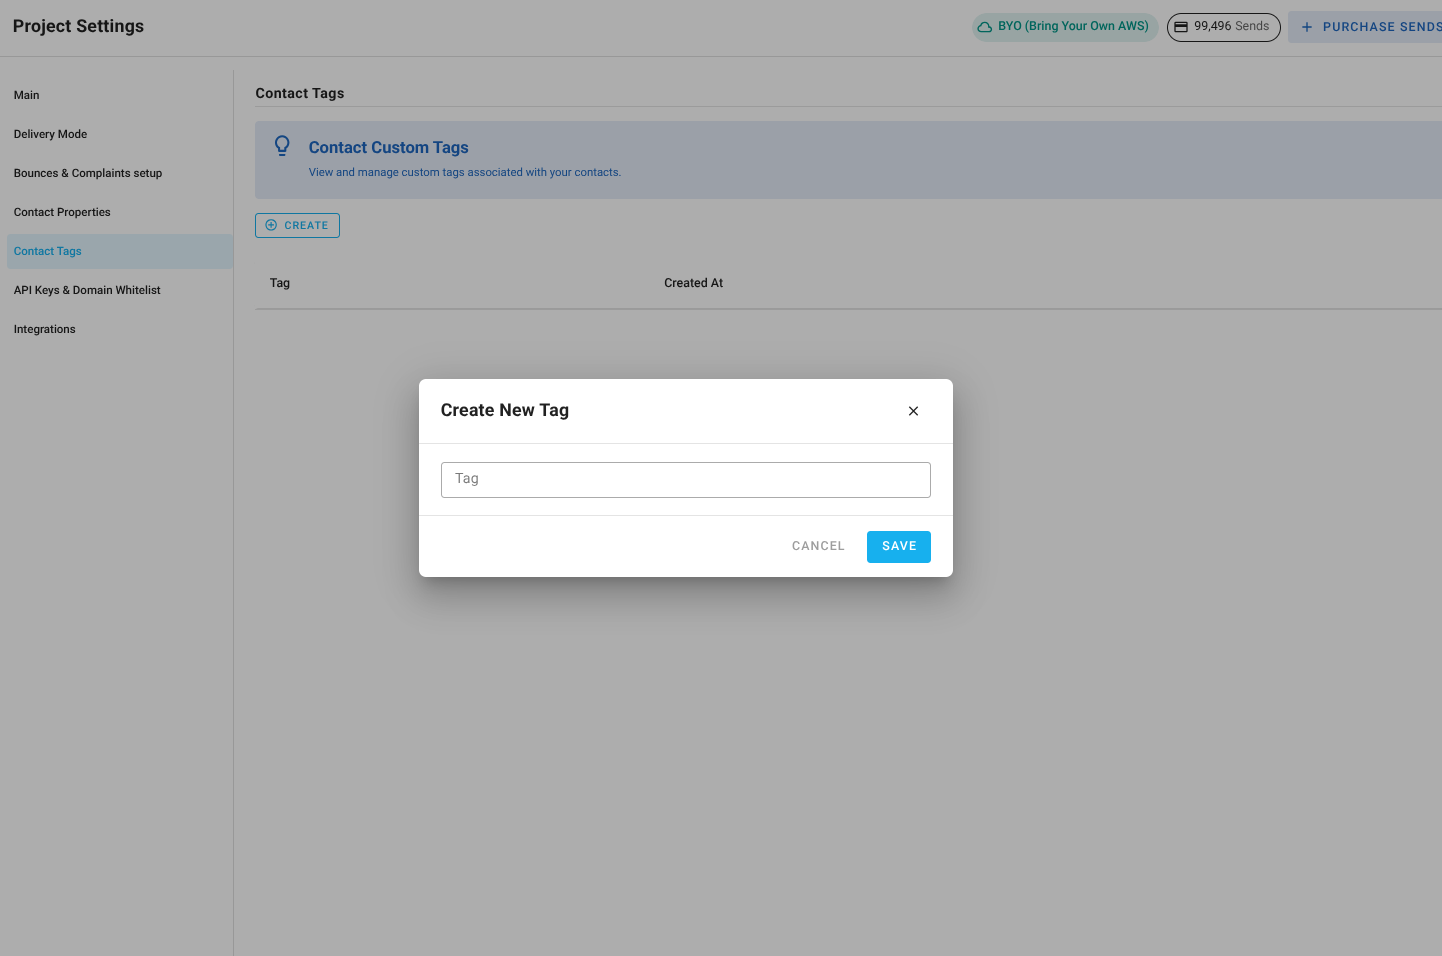
If you want to delete a tag, find it in the list of tags, click the delete icon, and confirm the deletion. The tag will be removed from the project and unassigned from any contacts that had it.
API Keys and Domain Whitelist
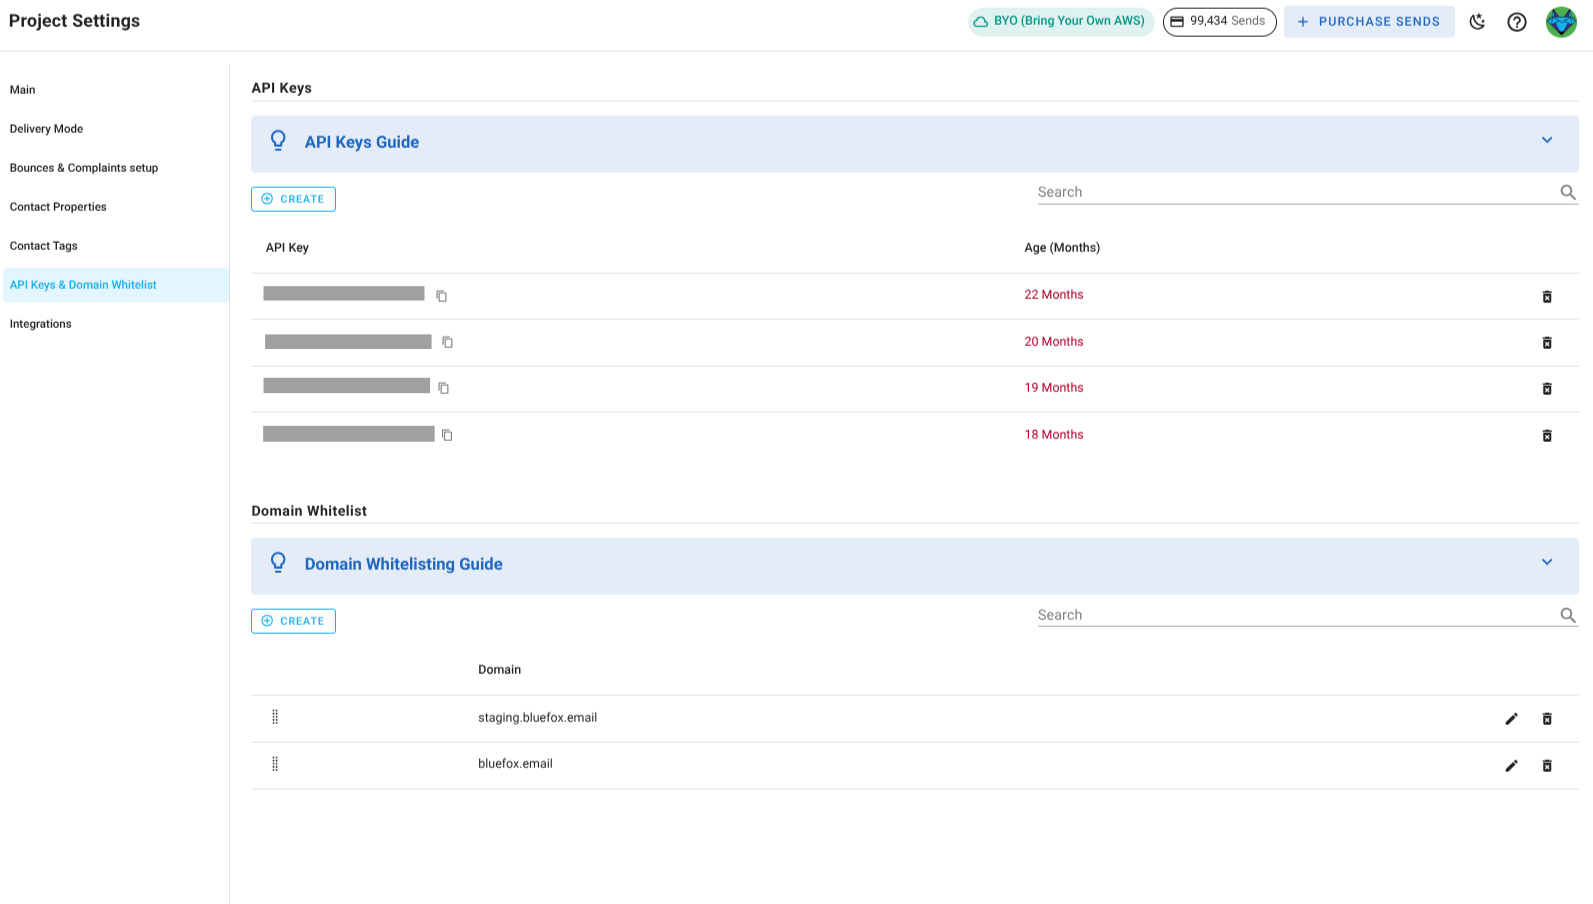
To work with our API from the server side, create at least one API key.
Include our API keys in the Authorization header of your HTTP requests as a bearer token.
Authorization: Bearer <API_KEY>For bounces and complaints, it is added as a query string.
Periodically rotate sensitive info like API keys for security reasons. We use different colors to indicate the age of the API key as a reminder:
- Green: less than a month old
- Yellow: 1-6 months old
- Red: more than 6 months old
Security Warning
Since an API key is very sensitive information, never use it in your frontend code. Always use it from your backend.
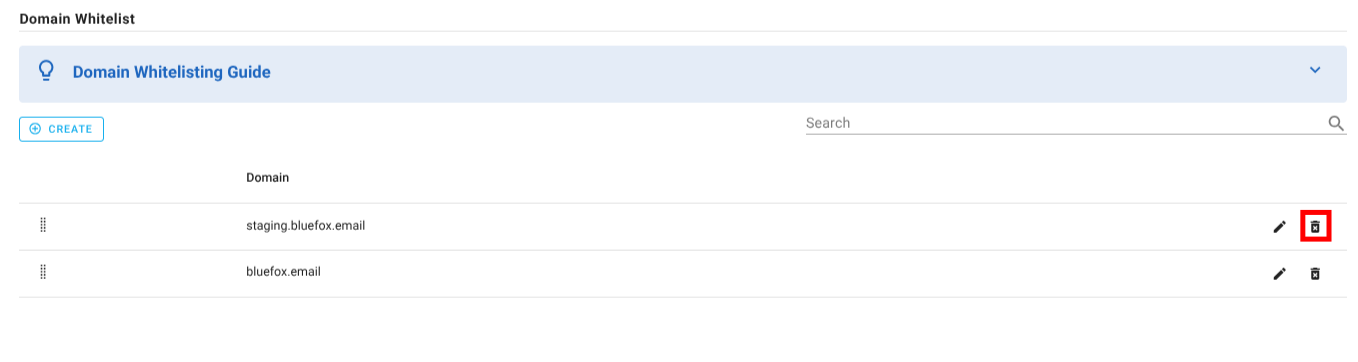
Domain Whitelist
The domain whitelist ensures that sign-up requests are only processed from authorized domains, enhancing security during the sign-up process. If your frontend is making requests, you must add its domain to the whitelist to authorize them.
Security Note
The domain whitelist applies only to frontend requests. If your requests are coming from a backend server, you should use API keys instead, as backend requests do not require domain whitelisting.
To add a domain: Navigate to project settings → domain whitelist, click create, enter the
domain, and save. This ensures that requests from the frontend are recognized and approved.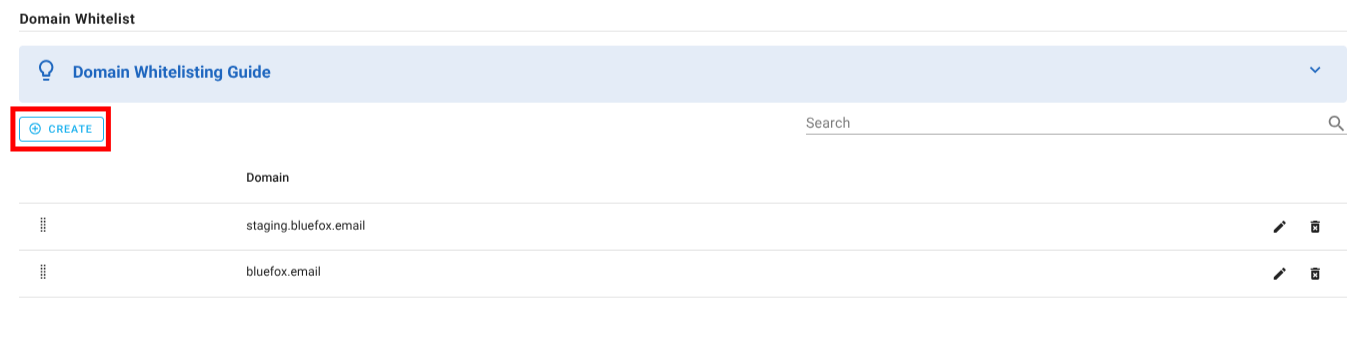
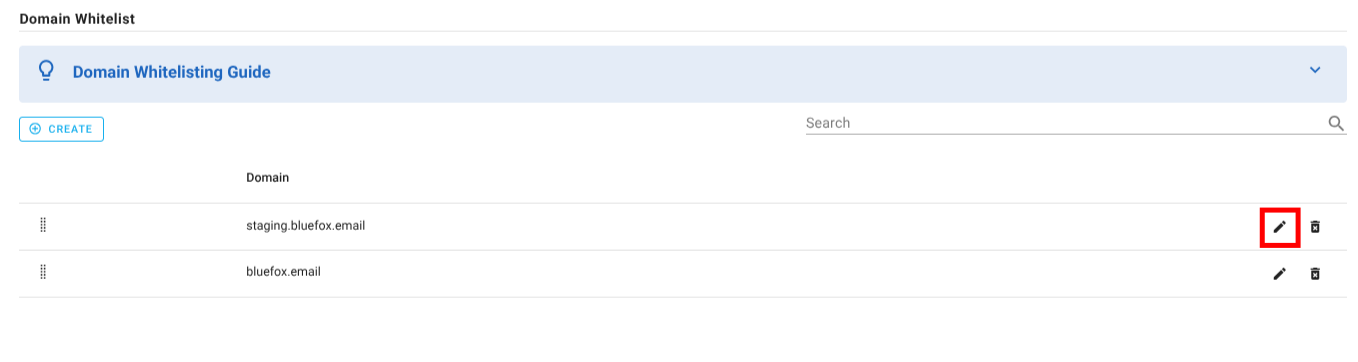
To edit an existing domain: Navigate to project settings → domain whitelist, locate the domain, and click on the edit icon. Make the necessary changes and save them.
To delete a domain: Navigate to project settings → domain whitelist, find it in the domain whitelist, click the delete icon, and confirm the deletion. Once removed, any sign-up requests from that domain will no longer be authorized.
Integrations
Here you can manage third-party integrations that enhance your project's capabilities. Right now we support the following integrations:
- Zapier: Connect your BlueFox Email project with thousands of apps to automate workflows without coding. Set up triggers and actions to streamline your email marketing processes.
- Webhooks: Configure webhooks to receive real-time notifications about specific events in your project, such as email deliveries, bounces, or complaints. This allows you to integrate BlueFox Email with your existing systems and automate responses to these events.
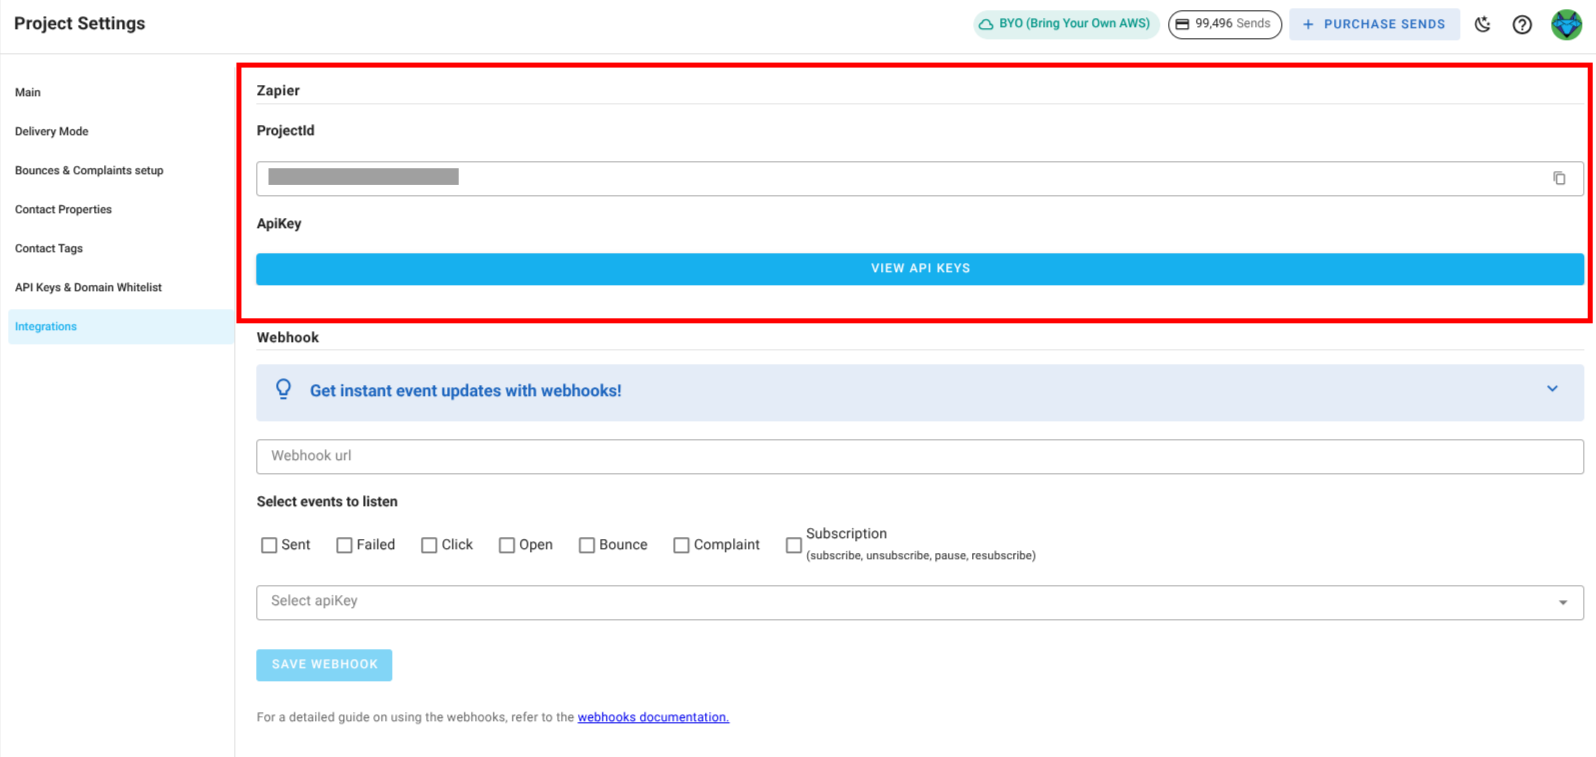
Zapier Integration
You can see your projectID and API key needed for Zapier integration here. Click the copy icon by the projectID to copy the value to your clipboard. For API key, click View API Key to redirect to the API keys section where you can view, copy or create a new API key.
Webhooks Integration
Webhooks keep you informed in real-time about email events like opens, clicks, bounces, complaints, subscriptions, and more. Easily integrate notifications into your app to monitor email performance and user actions.
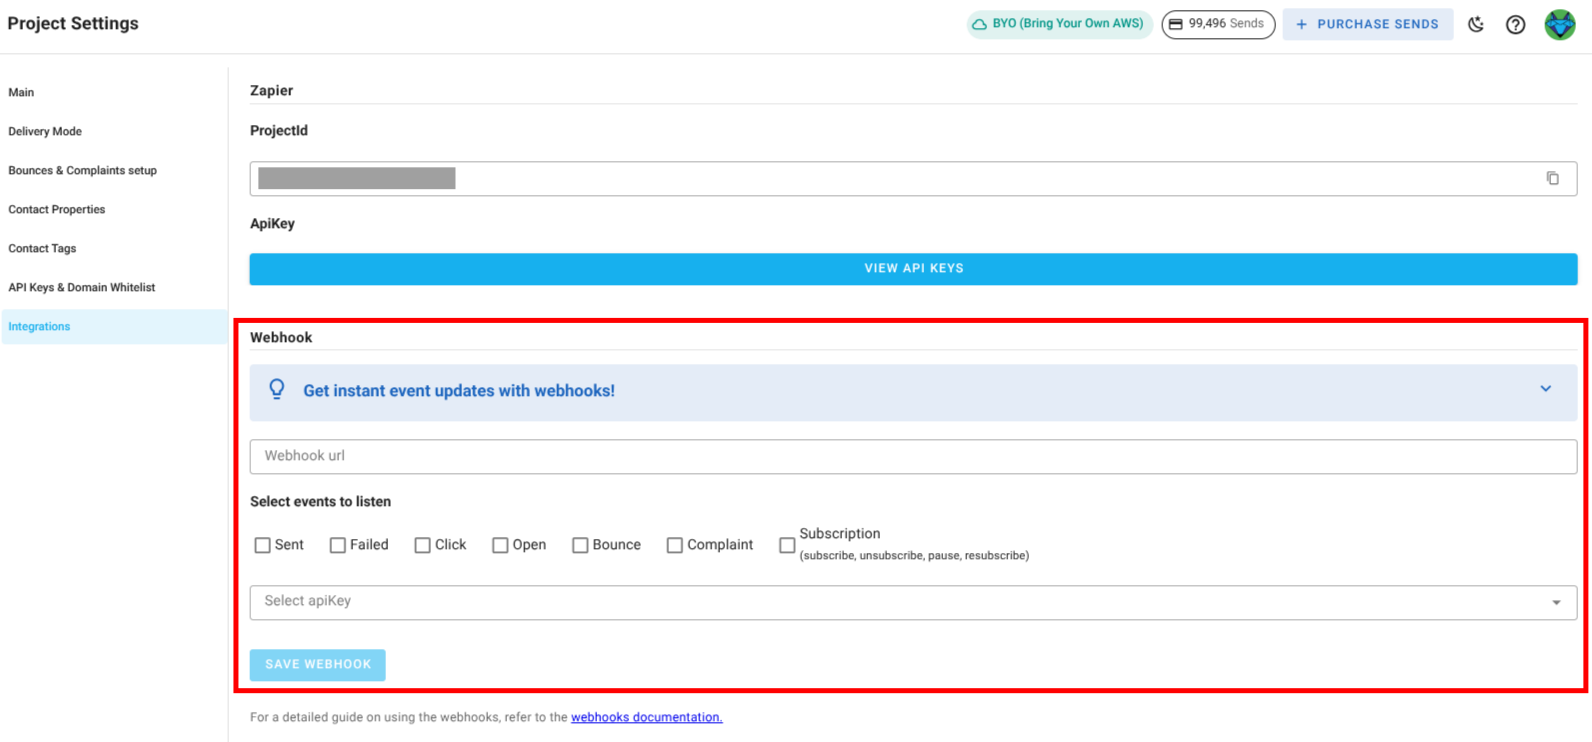
Steps to set up webhooks:
- Add Webhook URL: Enter the URL where you want to receive notifications. Ensure your endpoint is secure and ready to handle incoming requests.
- Select Events: Choose the events you want to be notified about (e.g., open, click, bounce, complaint).
- Save and Test: Save your settings and use the 'Test Webhook' feature to ensure your integration is working correctly.
- Start Receiving Notifications: Once set up, you'll begin receiving real-time updates for the selected events.