Appearance
Triggered Emails
A triggered email is a single message your backend or a cron job asks BlueFox Email to send, addressed through a subscriber list rather than to a raw address. That routing is the whole difference from a transactional email: membership and subscription status decide who actually receives it. This page covers creating one, calling it from your application, personalizing it, pulling in live content with data feeds, and the statistics it reports.
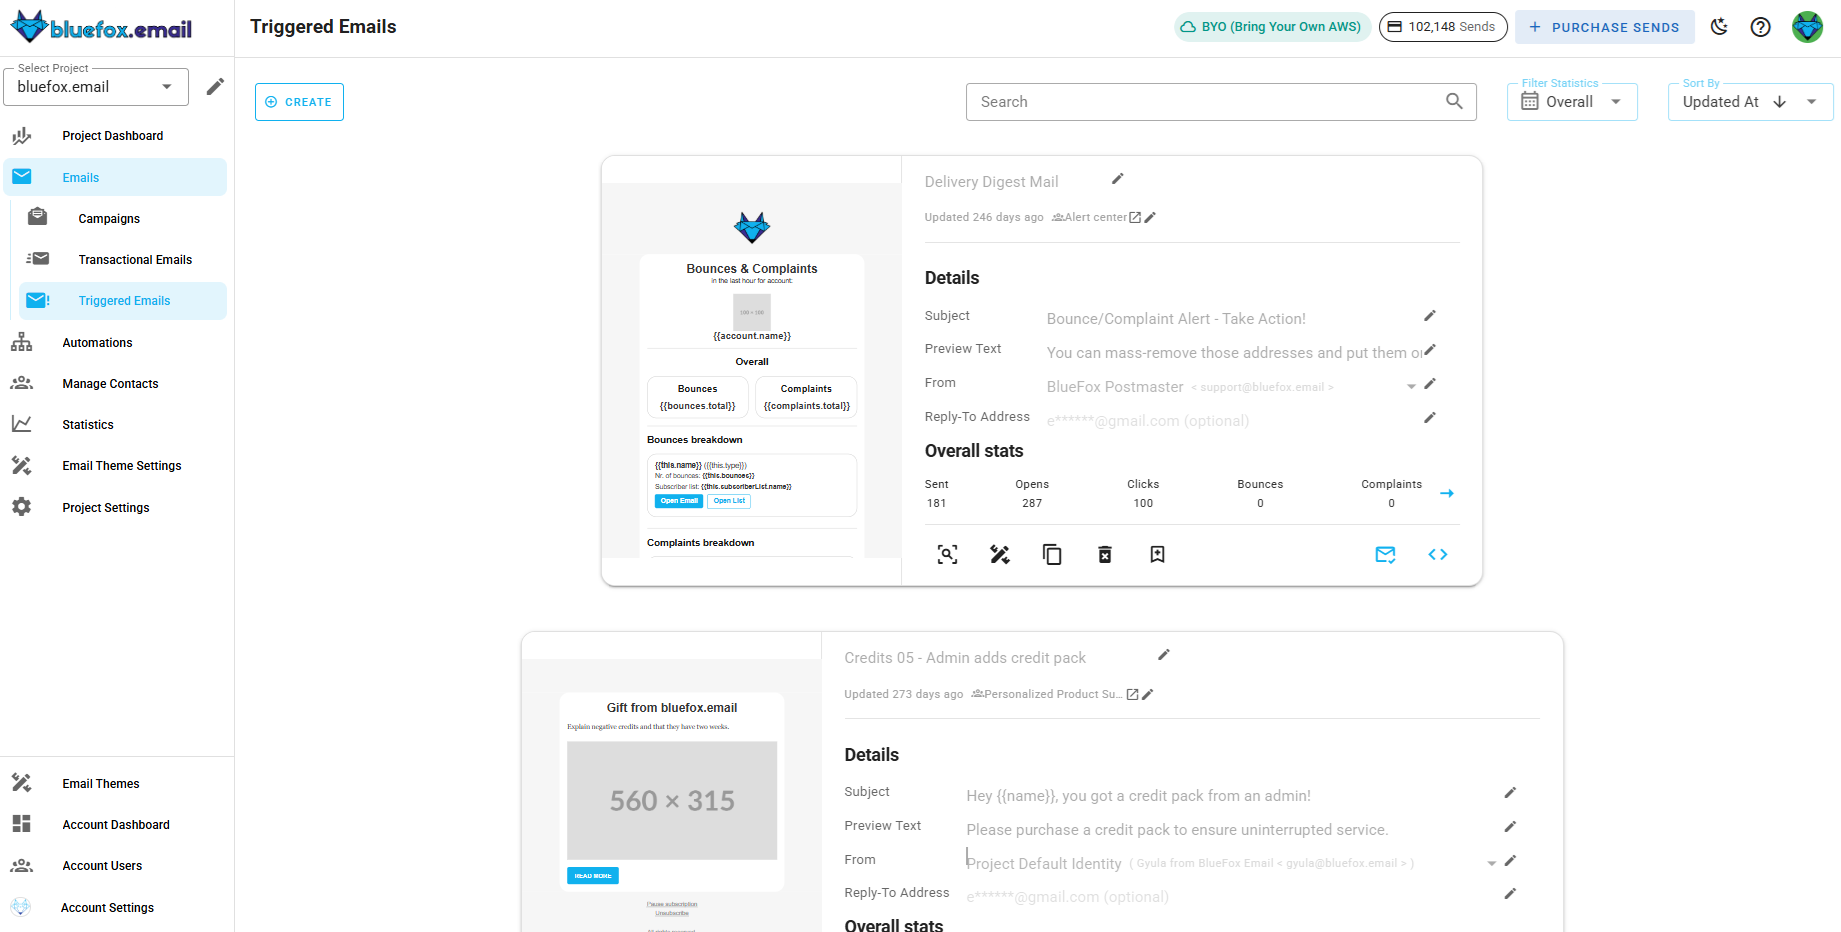
You can find the triggered emails of a project by clicking on Triggered Emails tab in side-bar menu.
Creating a Triggered Email
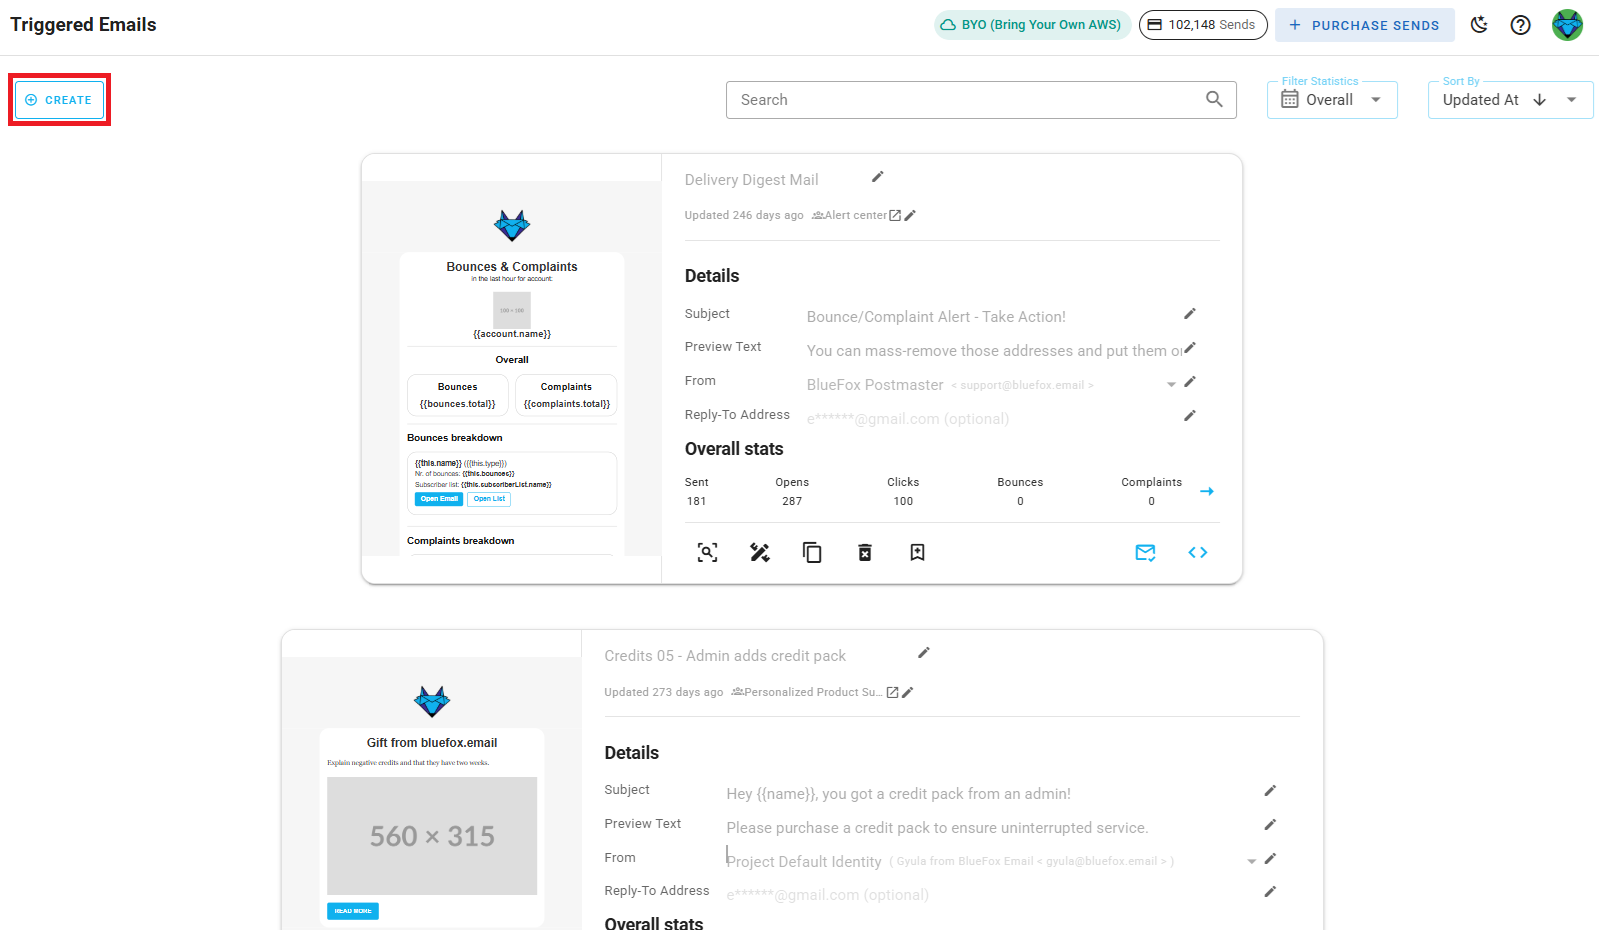
To create a new triggered email, press the Create button.
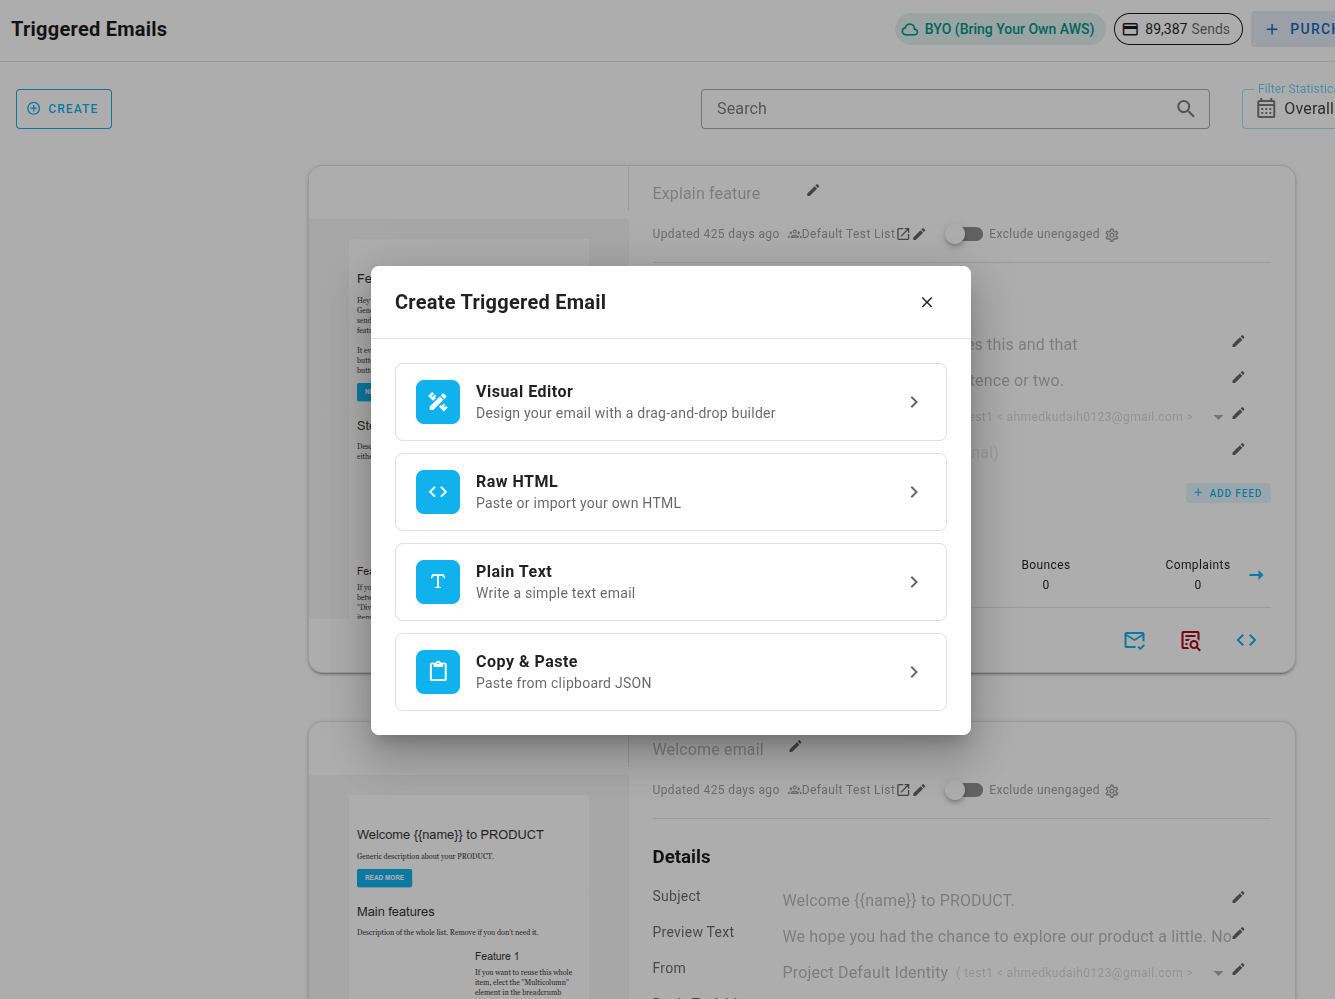
You'll be asked to choose one of four options:
- Visual Editor: the drag-and-drop Chamaileon editor, with full access to your design system's blocks, components, and templates.
- Raw HTML: write your own HTML directly.
- Plain Text: a plain-text-only email, no HTML.
- Copy & Paste: paste in a previously copied email design. This works no matter which editor the original email was built with.
INFO
Design system templates and pre-designed templates are only available when starting with the Visual Editor. Emails built with Raw HTML or Plain Text also can't be saved back as a reusable design system template. Everything else, personalization, feeds, sending, and analytics, works the same regardless of which editor you pick.
TIP
If you use Copy & Paste to reuse content from a Chamaileon-built (Visual Editor) email inside a Raw HTML or Plain Text email, strip out any Chamaileon-specific merge tag or component markup first, it won't resolve there. Everything else should carry over as-is.
Visual Editor
If you didn't start from a copied design, select a template category defined in your project's design system:
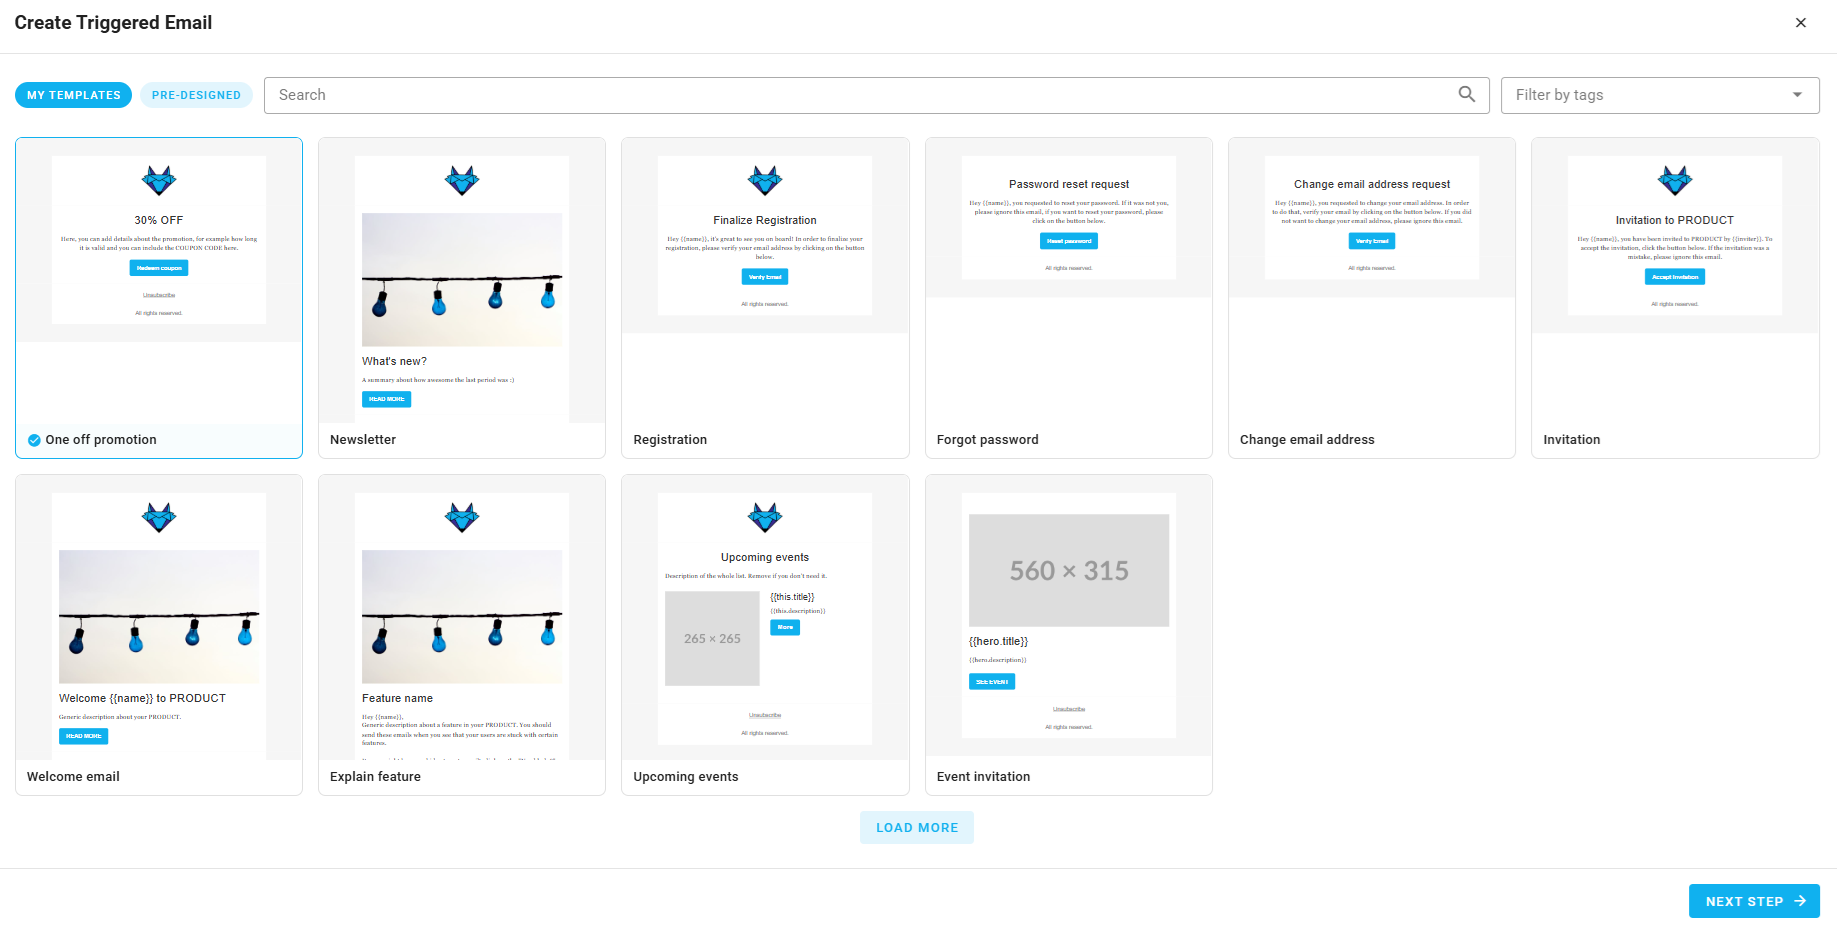
You can also choose a pre-designed template: 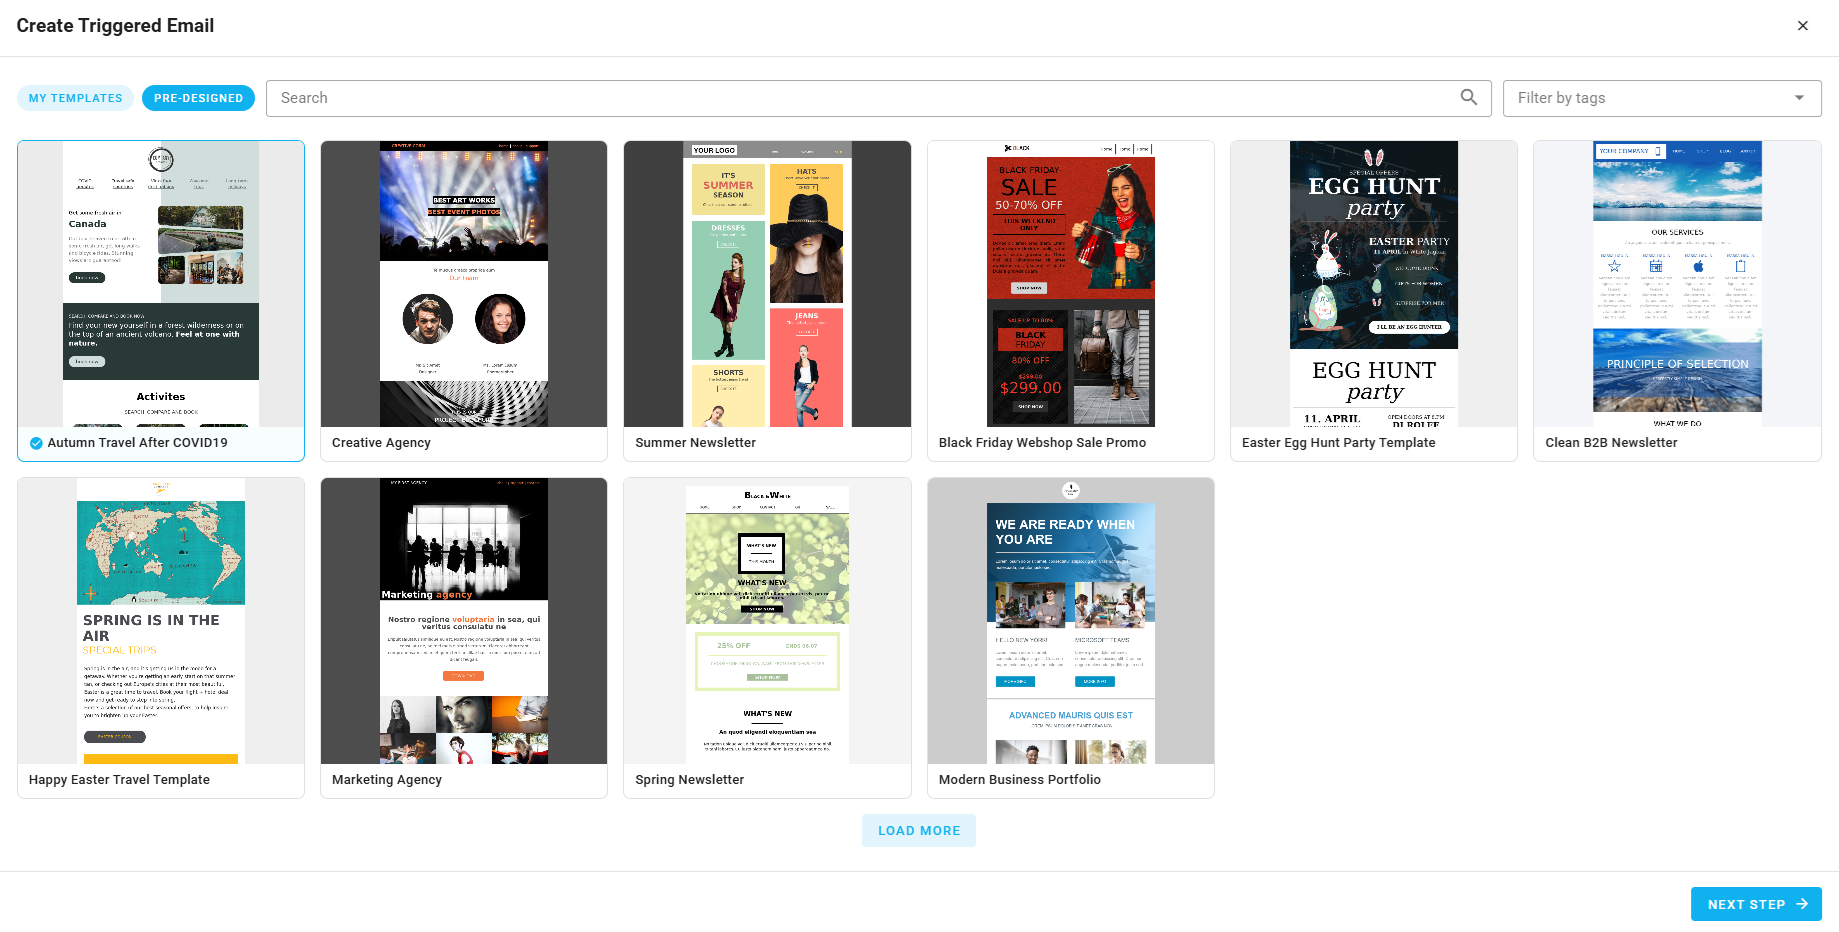
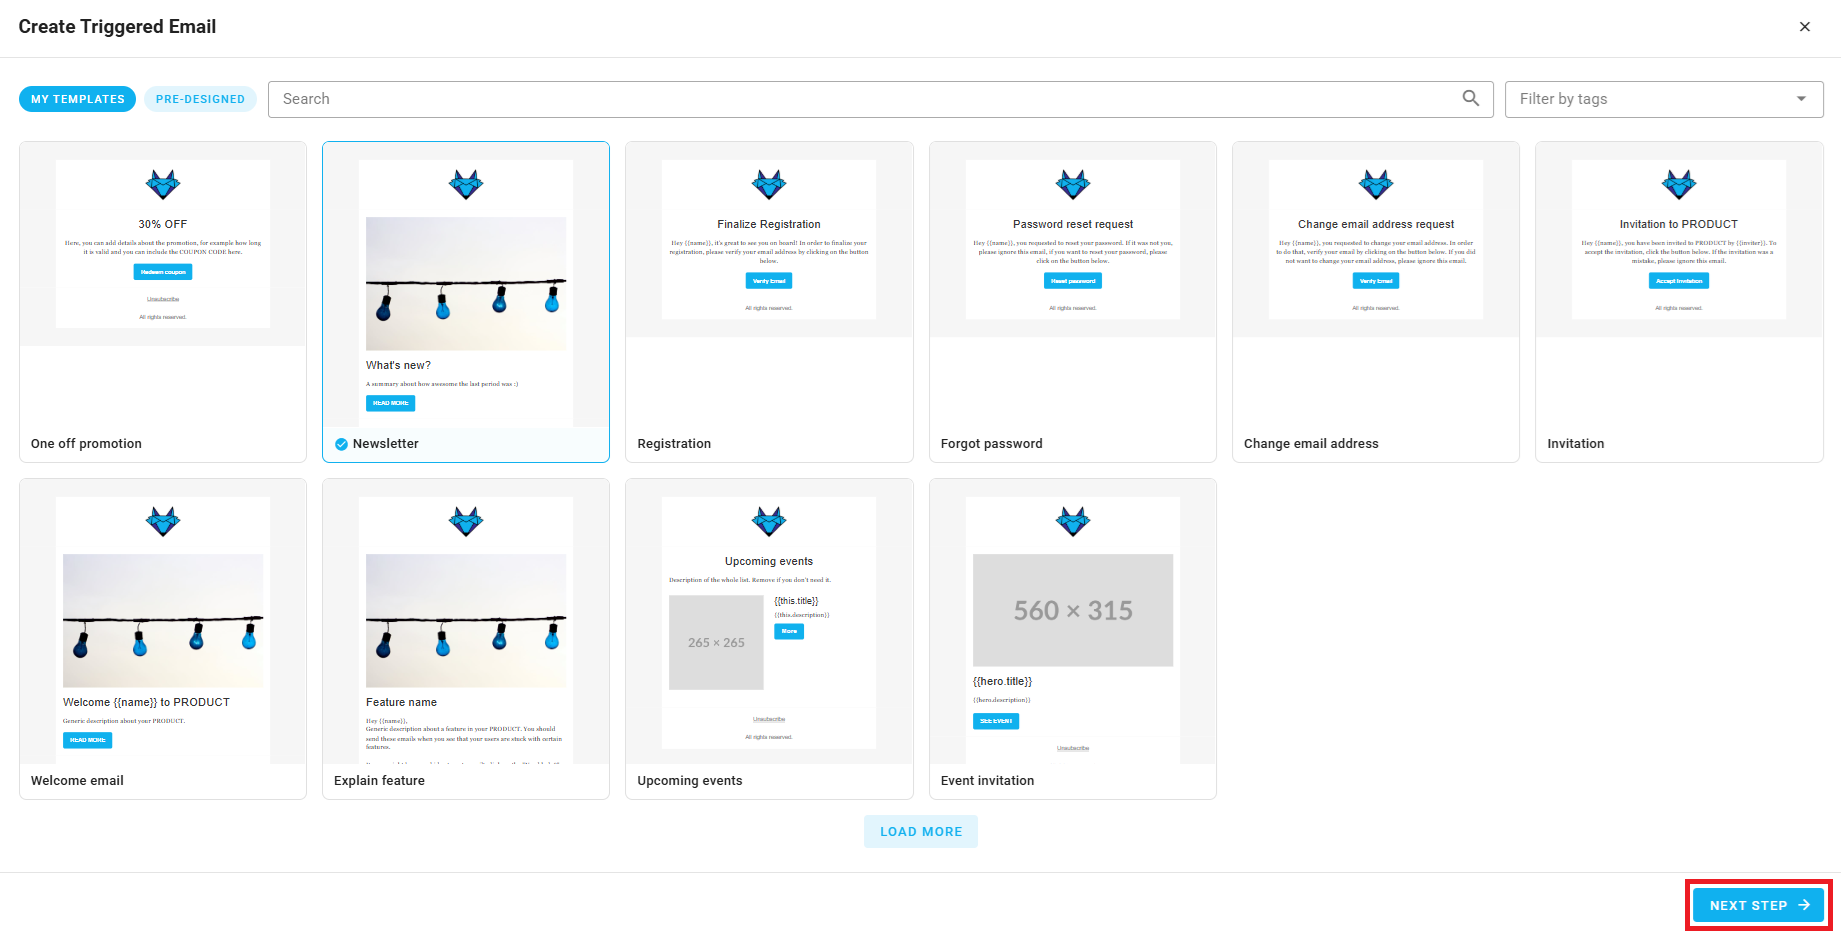
Then, choose a template to start with (also defined in your project's design system) and click Next:
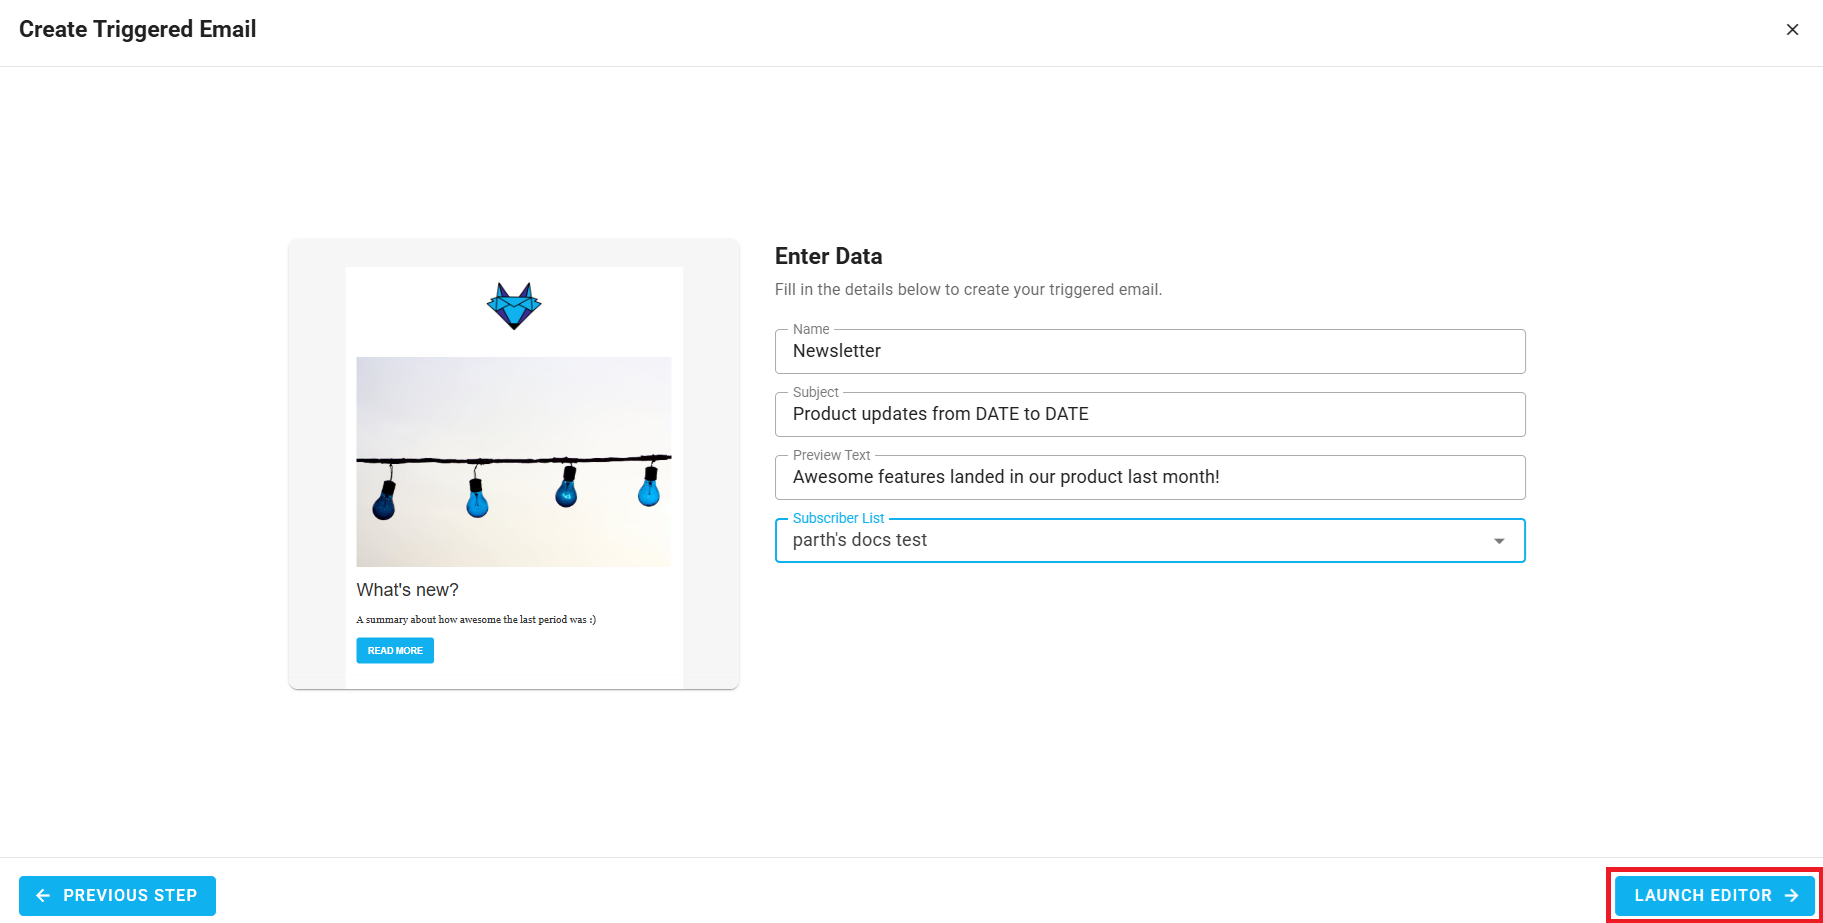
Enter its name, subject line, preview text, and select a subscriber list. You can also check Exclude unengaged contacts to skip contacts that match the unengaged segment defined in your project settings:
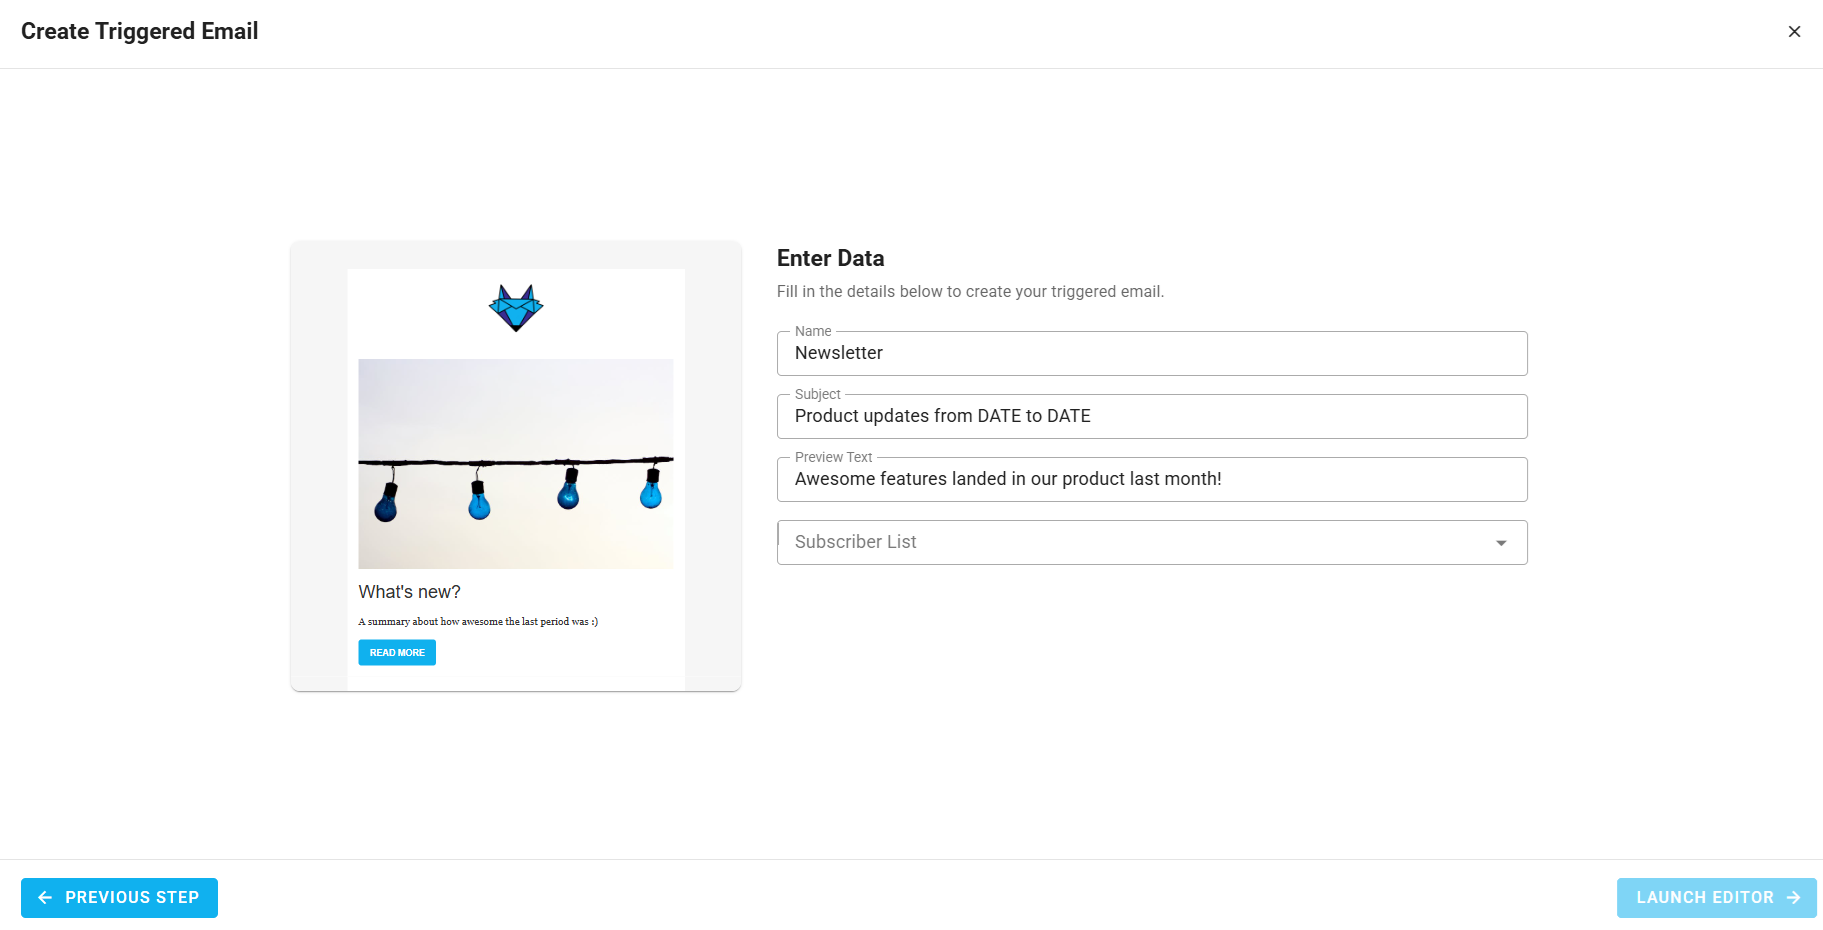
This form will appear as first step if you choose to start from scratch.
INFO
Triggered emails are only sent to active subscribers in the selected list. If you provide an array of emails when sending the triggered email, only those emails that are in the list (and active) will receive the email.
After that, you will see a summary page. Click "Launch Editor".
Finally, make changes in the drag-and-drop email editor:
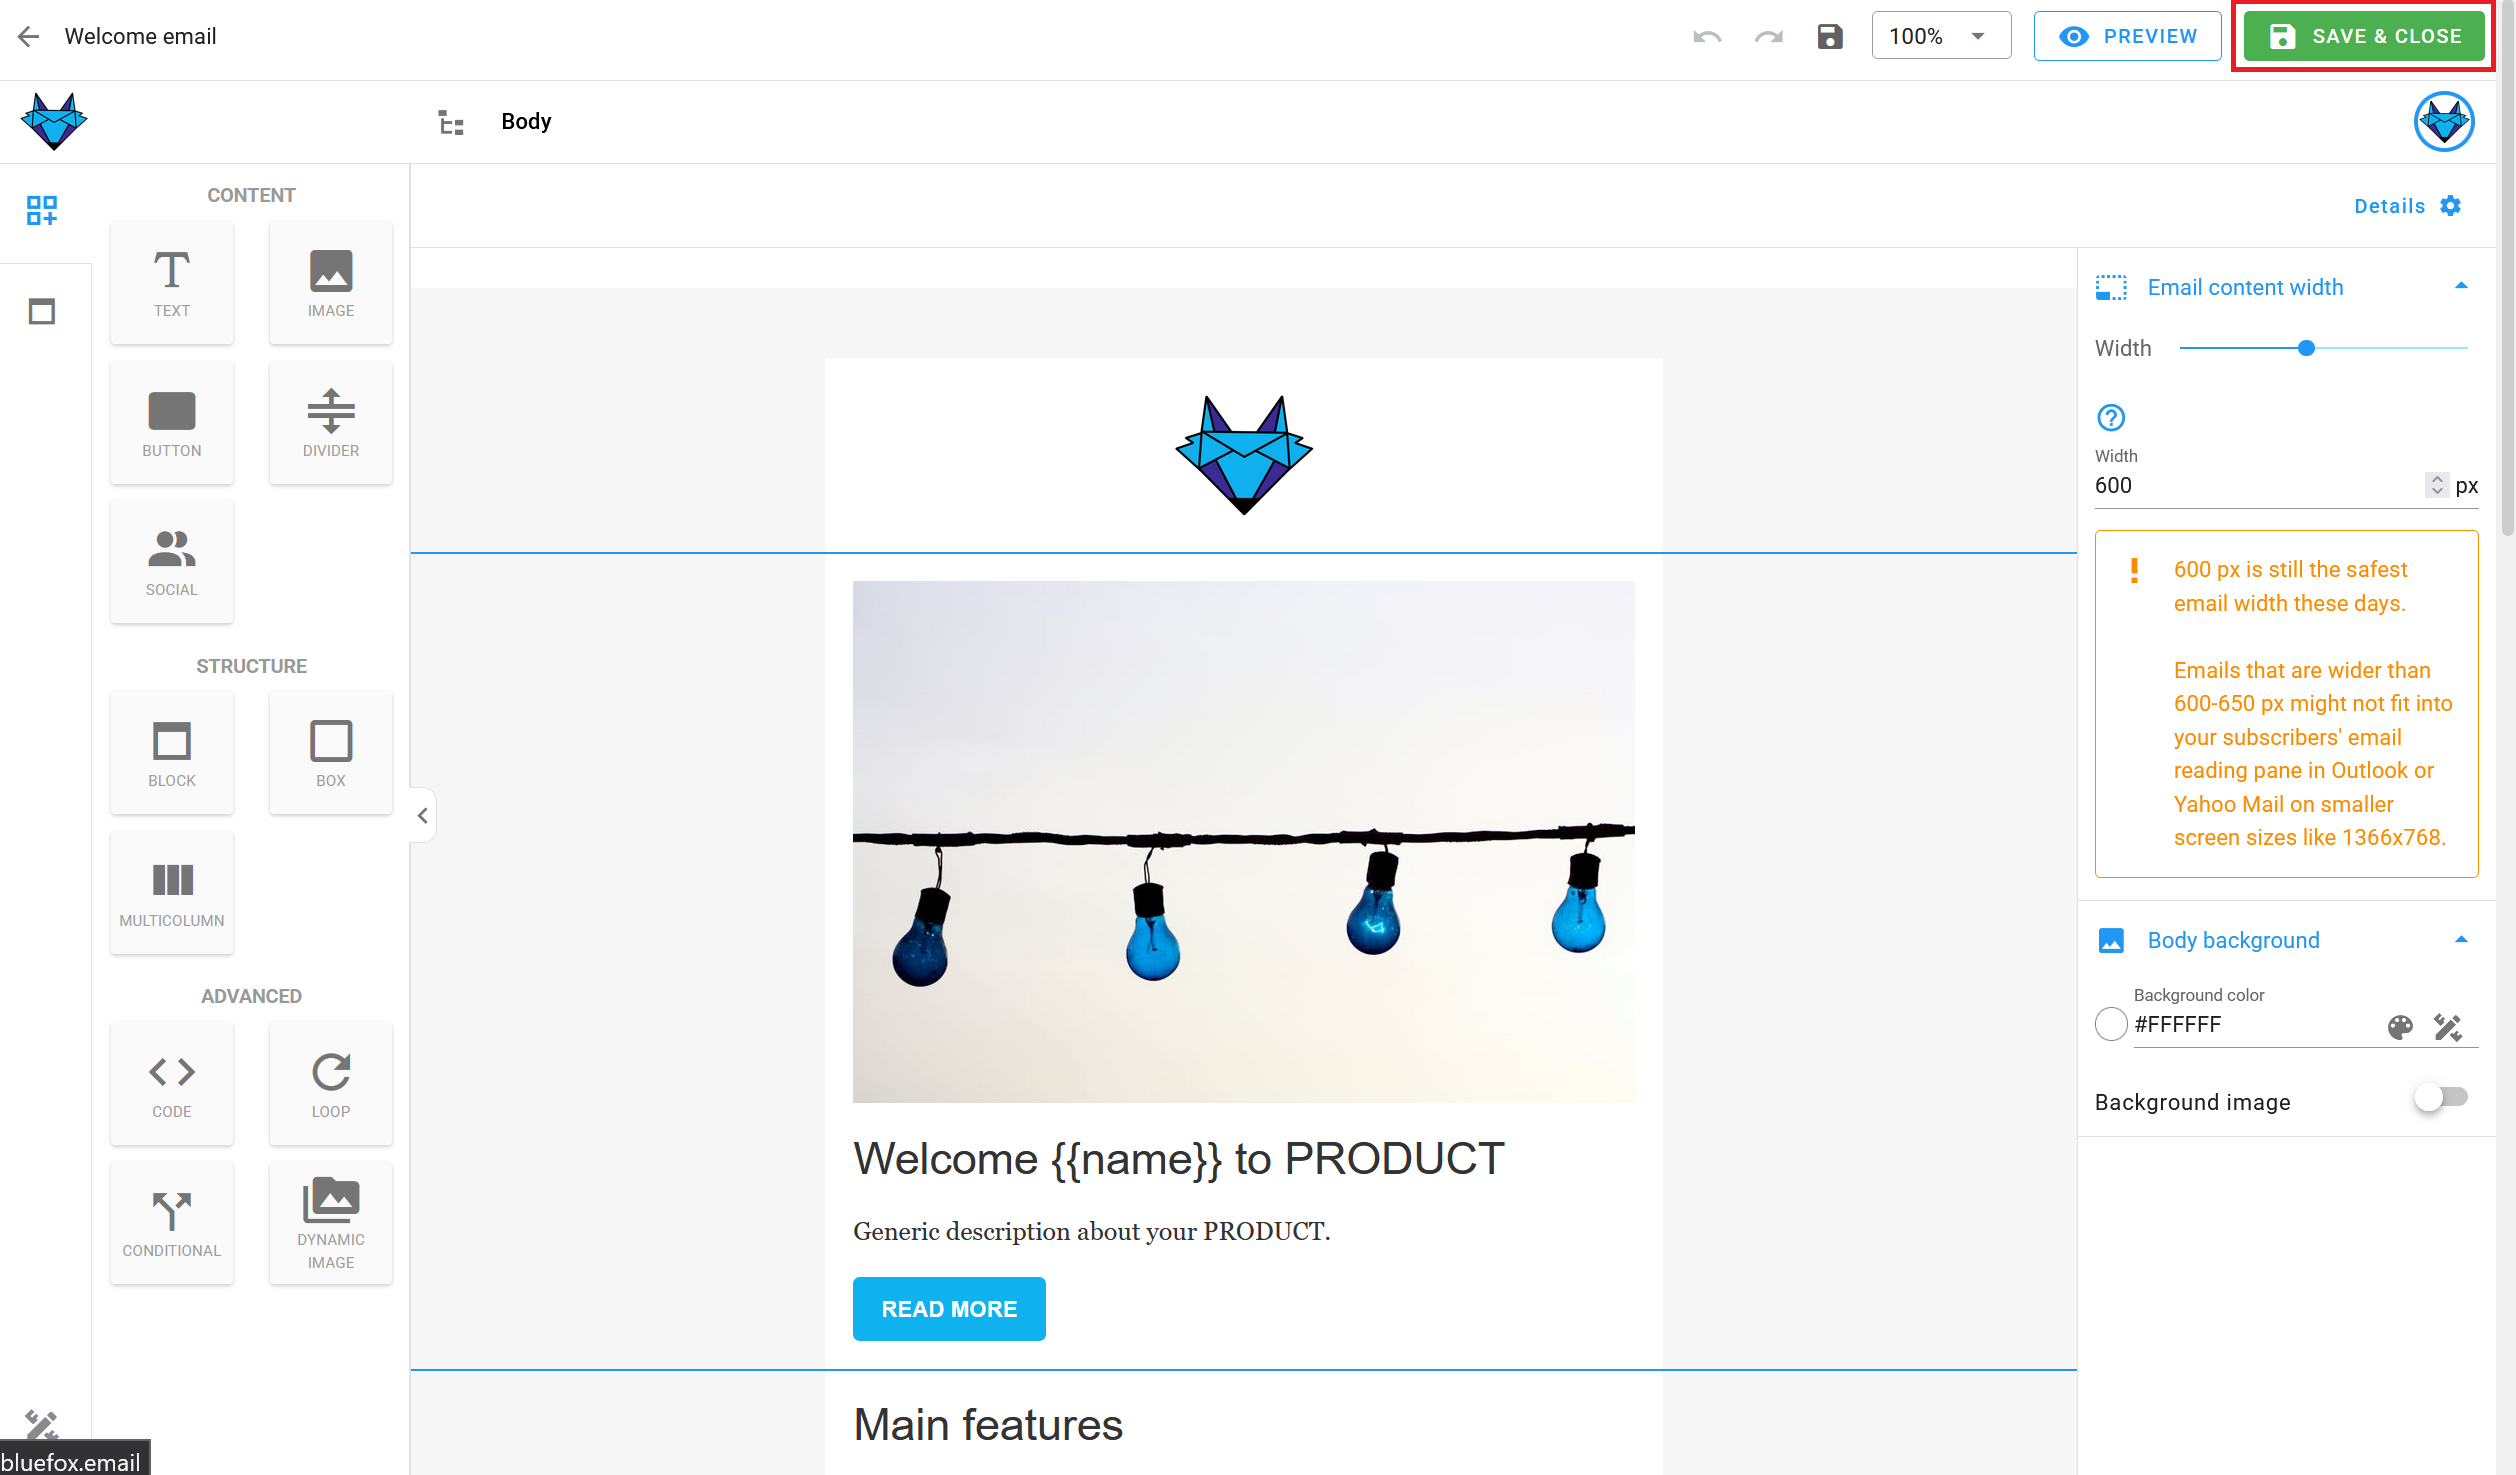
When you're done, click "Save & Close". You can make changes later as well.
Raw HTML / Plain Text
These two editors always start from scratch, there's no template selection step.
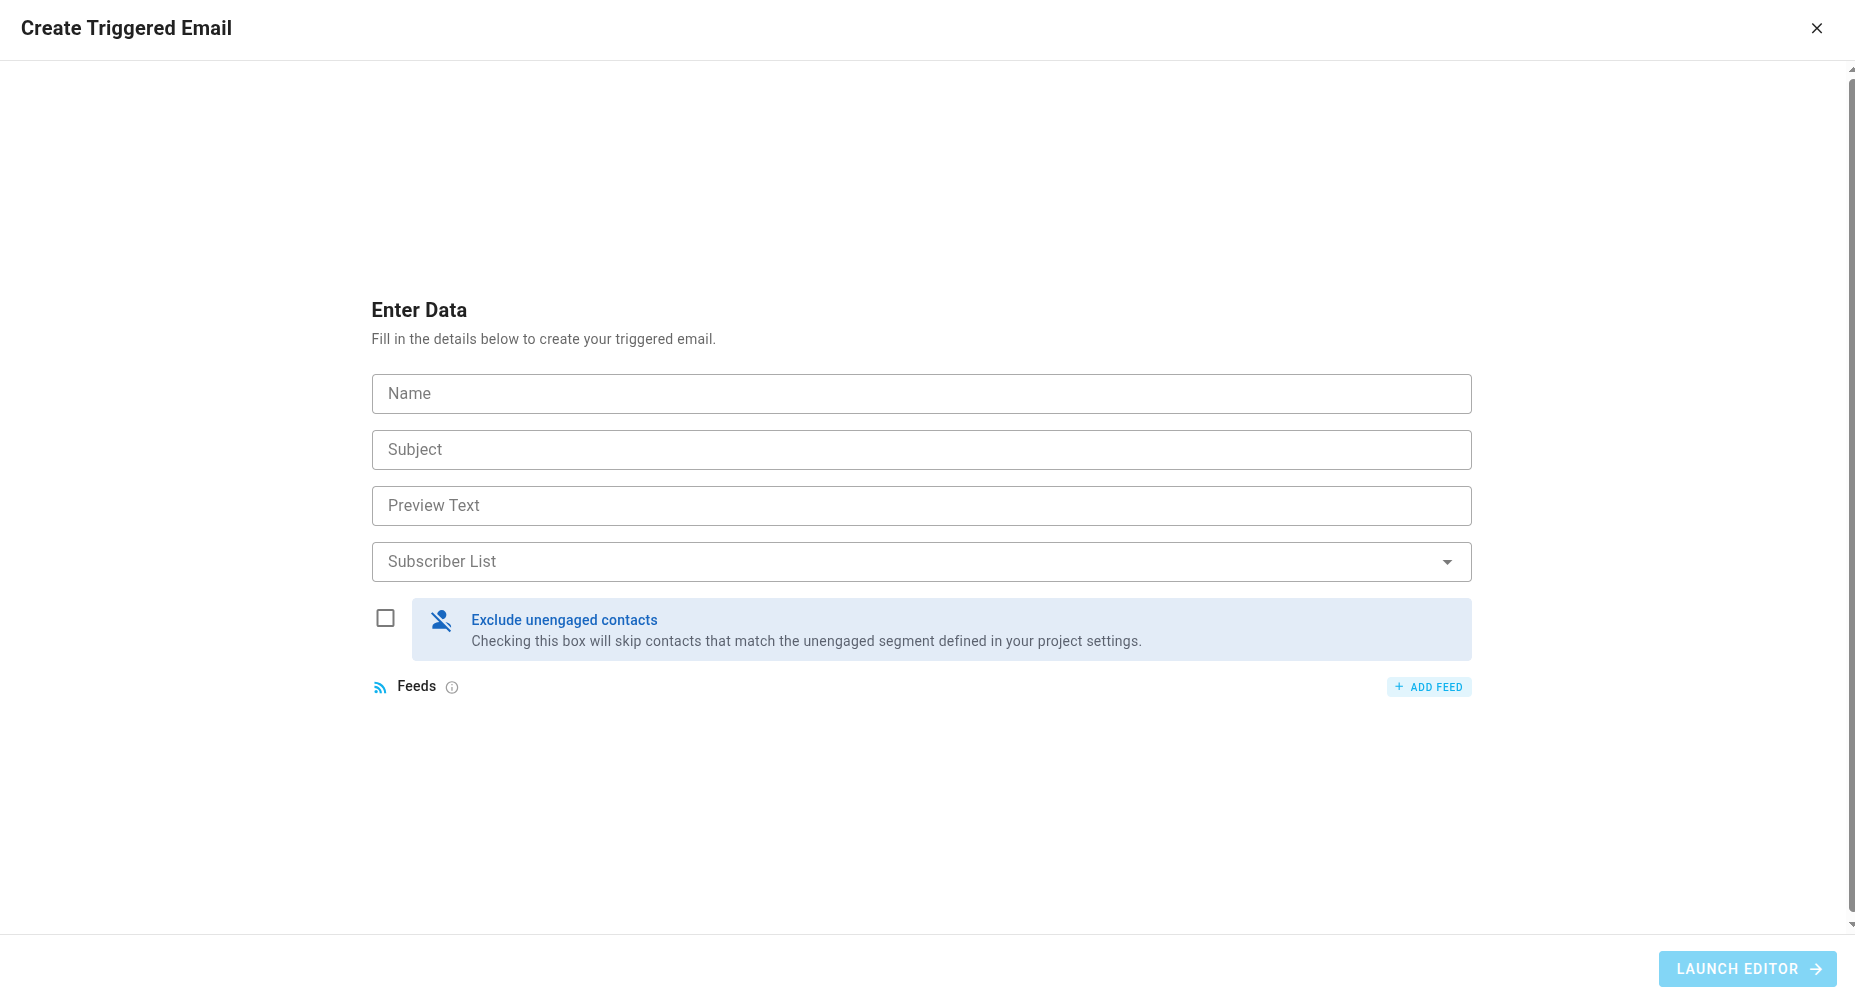
Enter its name, subject line, preview text, and select a subscriber list. You can also check Exclude unengaged contacts to skip contacts that match the unengaged segment defined in your project settings:
INFO
Triggered emails are only sent to active subscribers in the selected list. If you provide an array of emails when sending the triggered email, only those emails that are in the list (and active) will receive the email.
After that, click "Launch Editor".
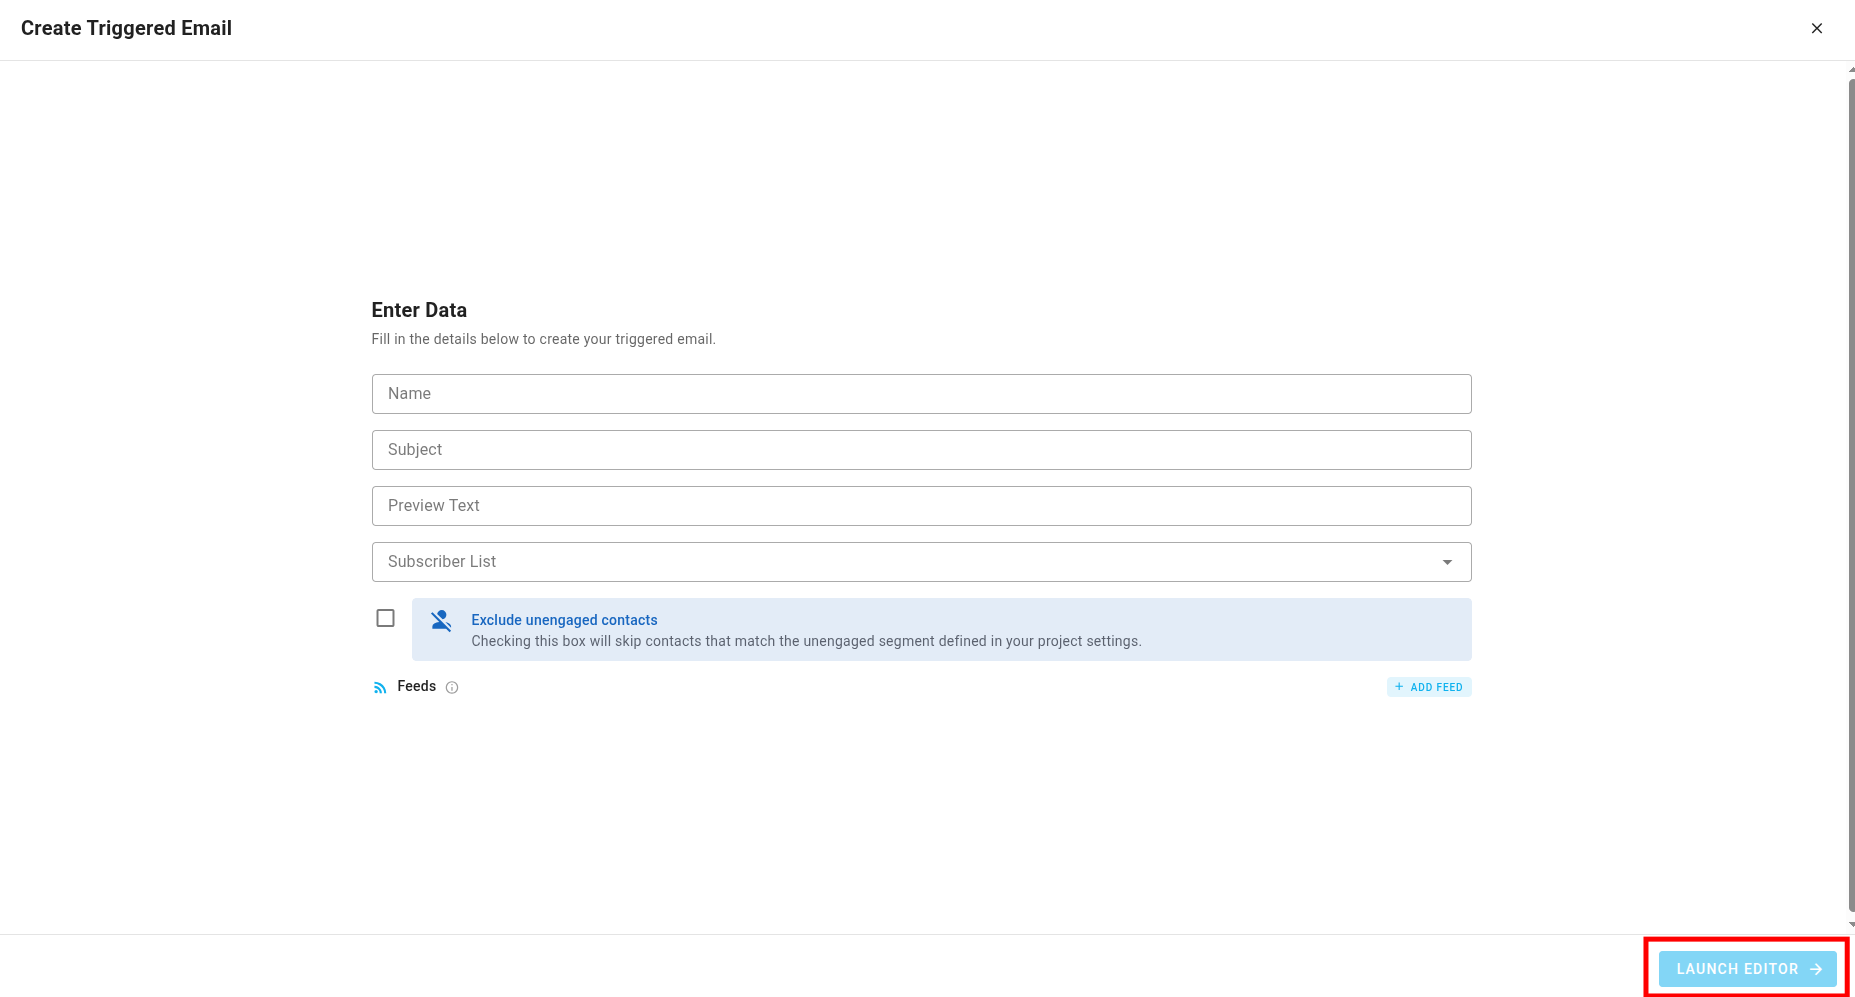
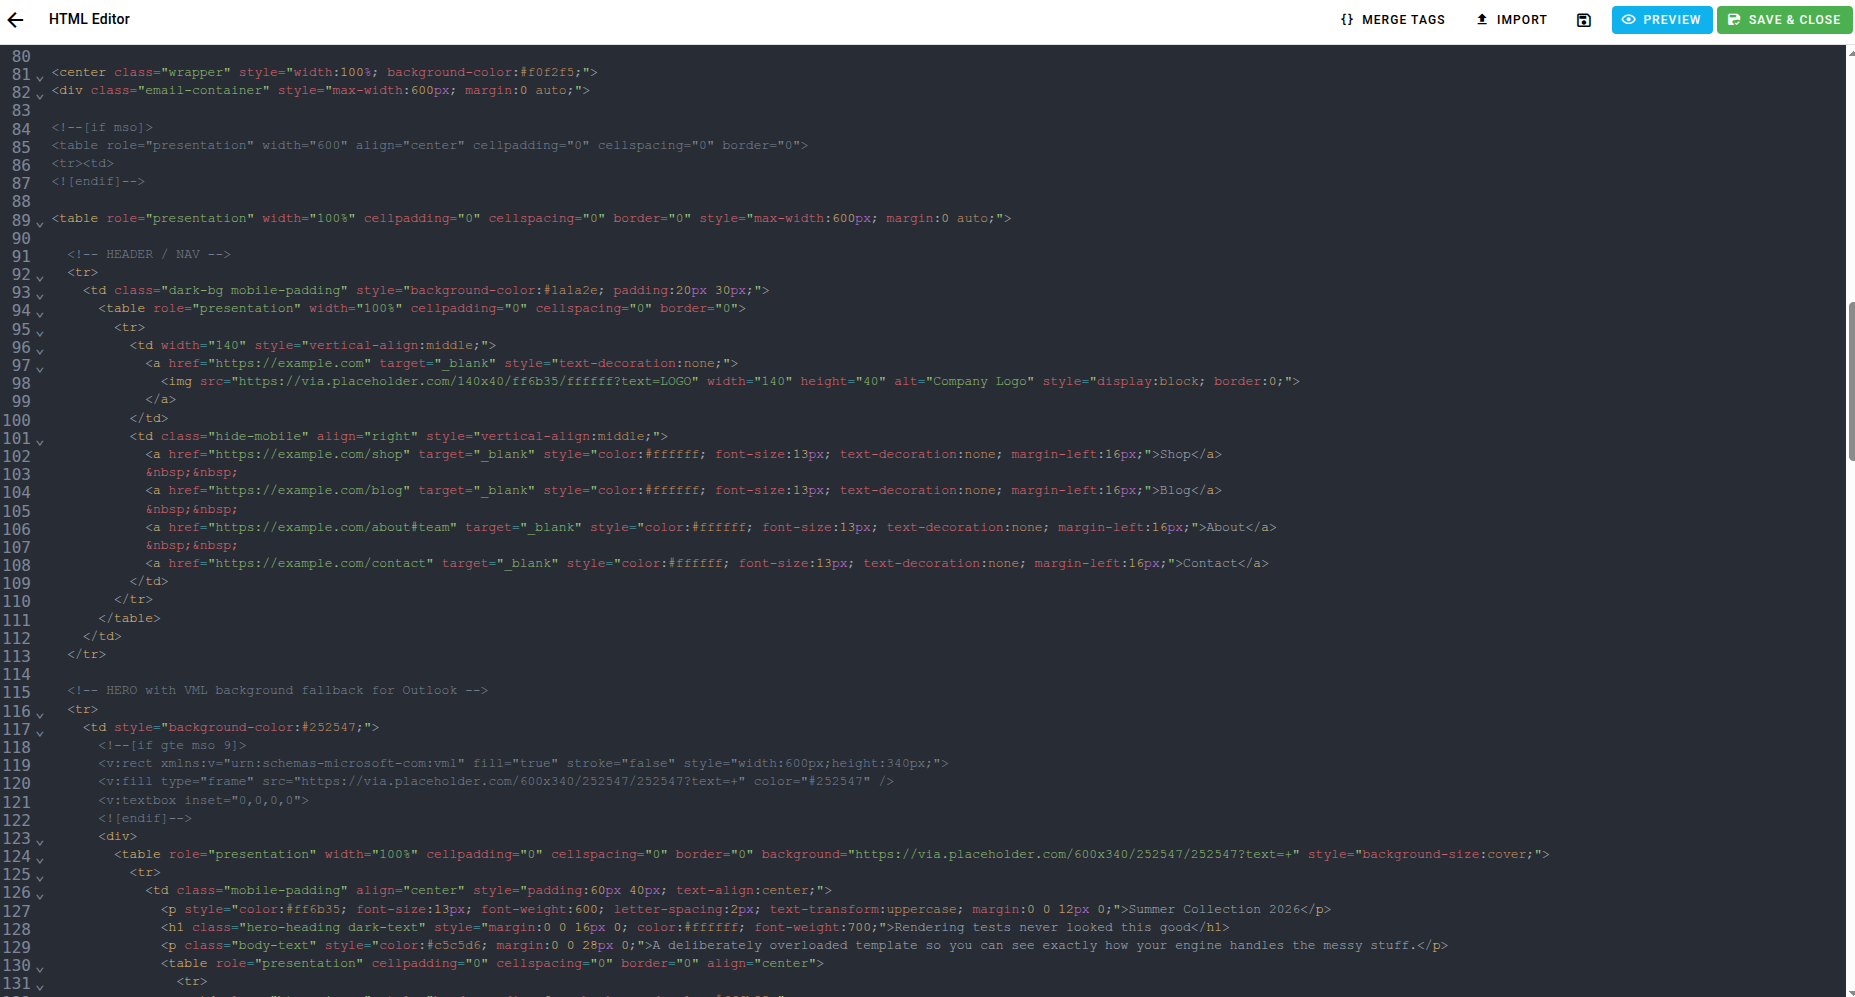
Finally, make changes in the editor:
Raw HTML:
Plain Text:
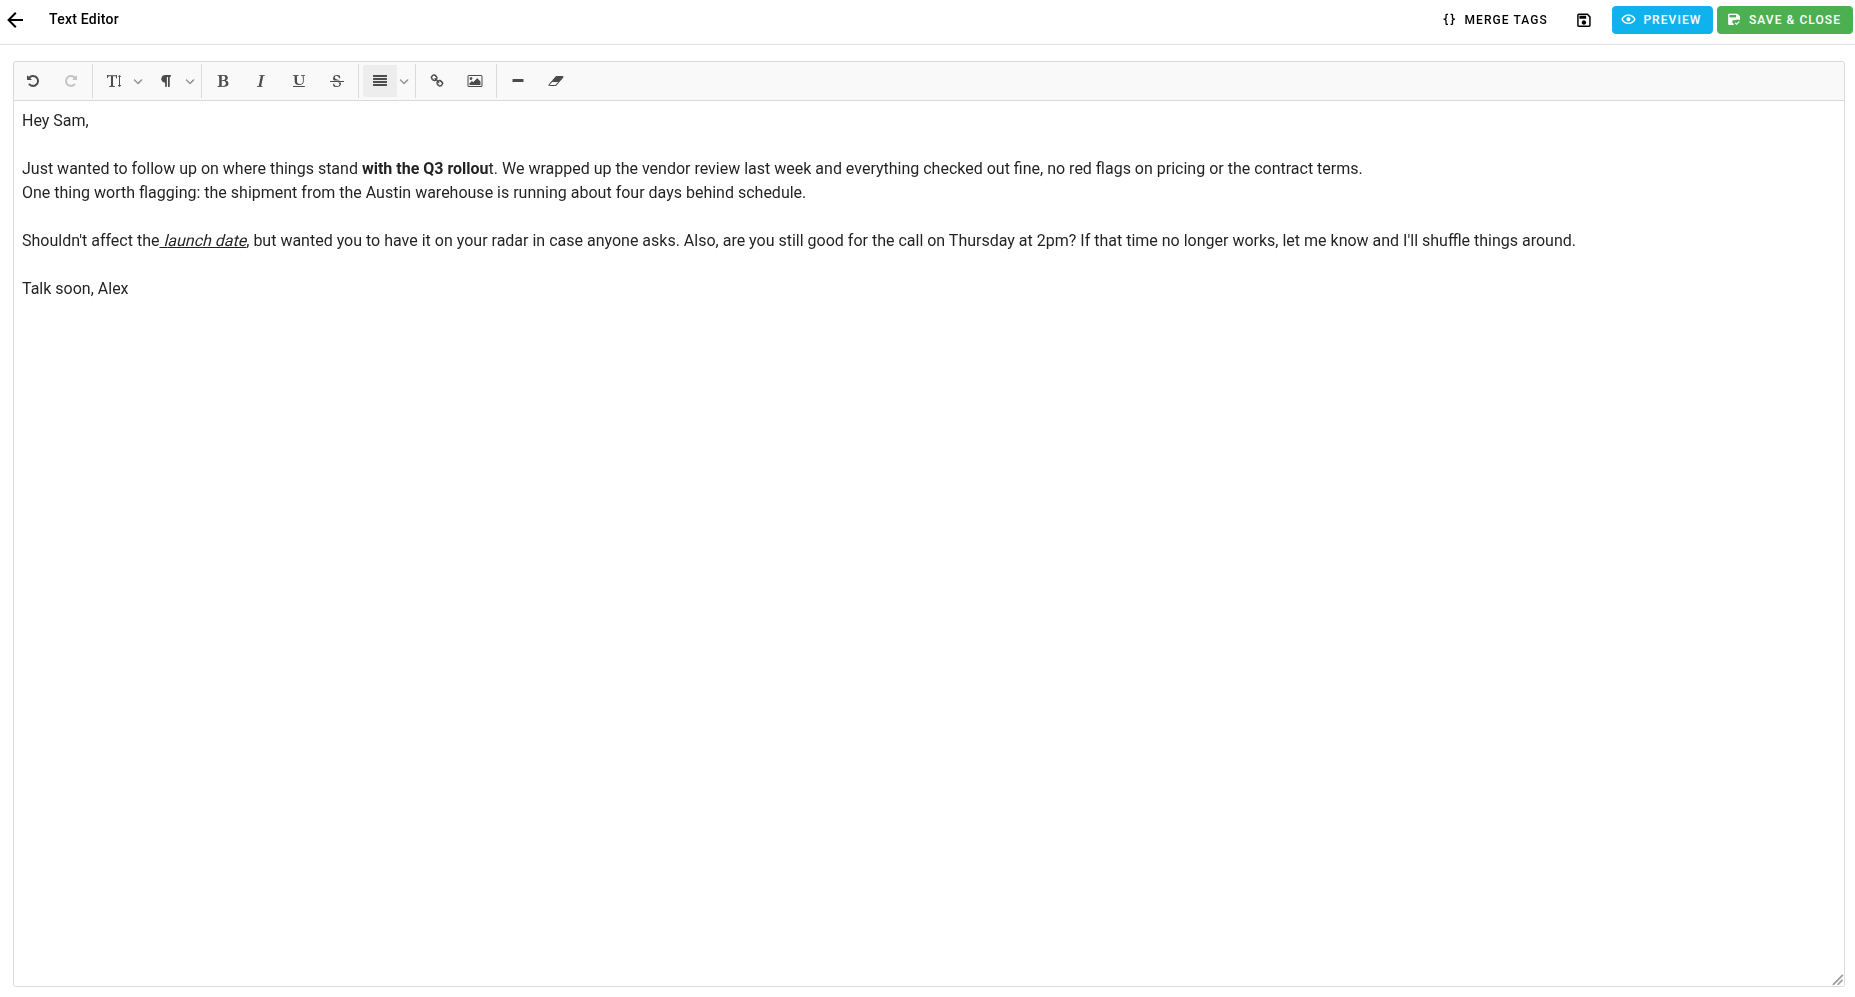
The Raw HTML editor also has an Import button. Both editors give you Merge Tags, Preview (including Preview with data), Save, and Save & Close controls. Merge tags and feed variables are inserted via a side panel at your cursor position, rather than bound to a selected element like in the Visual Editor.
You can also add data feeds to Raw HTML and Plain Text emails the same way as any other triggered email, from the Feeds section on the email card. The only difference is how you reference feed items inside the editor: through the merge tag side panel instead of a drag-and-drop Loop block.
When you're done, click "Save & Close". You can make changes later as well.
Triggered Email Integration
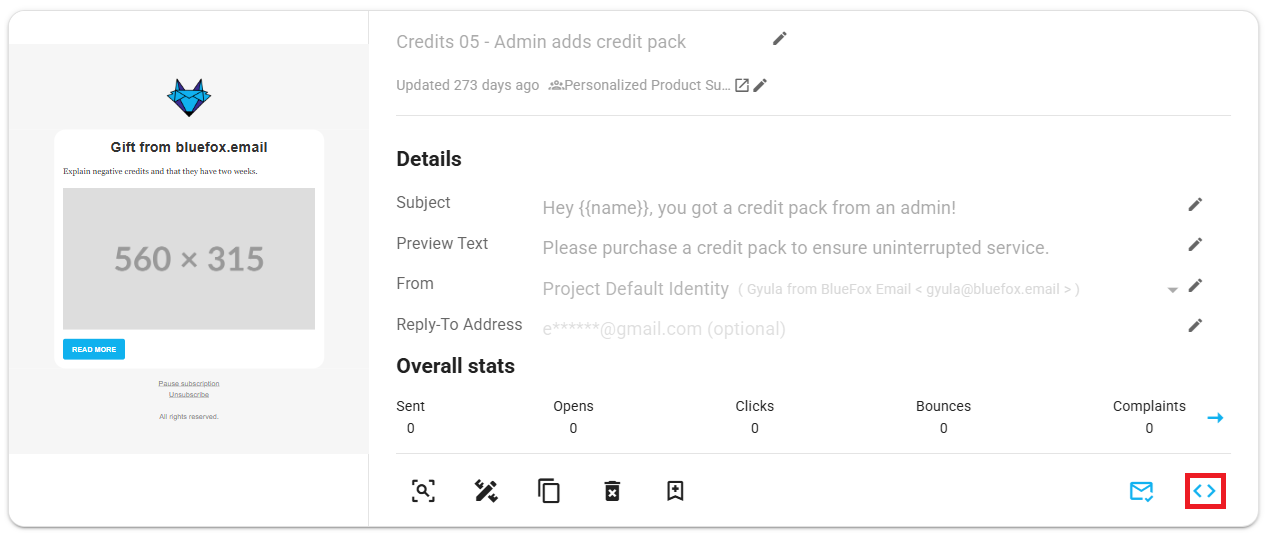
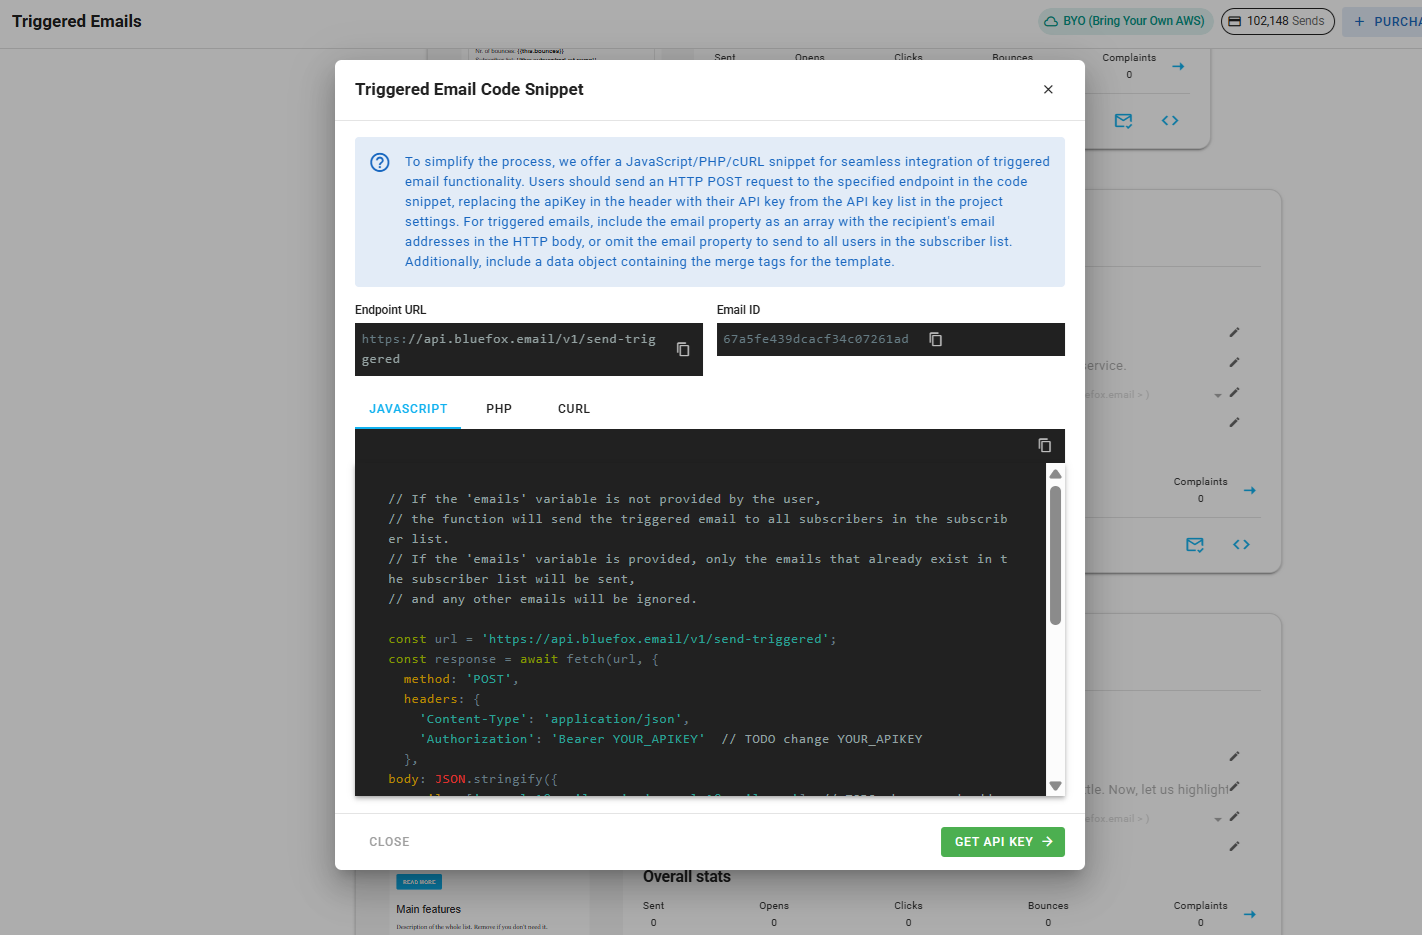
Every triggered email in bluefox.email has a unique URL for sending the email. Send an HTTP request to this endpoint. You can generate sample code in multiple programming languages by clicking this icon:
Copy the generated code to use it in your project:
Keep in Mind!
You can send a triggered email to multiple recipients by sending an array of email addresses in the
emailsfield of the data property in the request body. These emails must already be in the subscriber list. If an email is not in the list, the email will not be sent to that addressRecipients can unsubscribe from triggered emails or pause their subscriptions. Providing an unsubscribe link is mandatory, so ensure you include an
unsubscribeLinkin your email.
Security Warning
Your bluefox.email API key is included in the request Authorization header. Never send these requests from your frontend!
Please see our API docs for more details.
Triggered Email Personalization
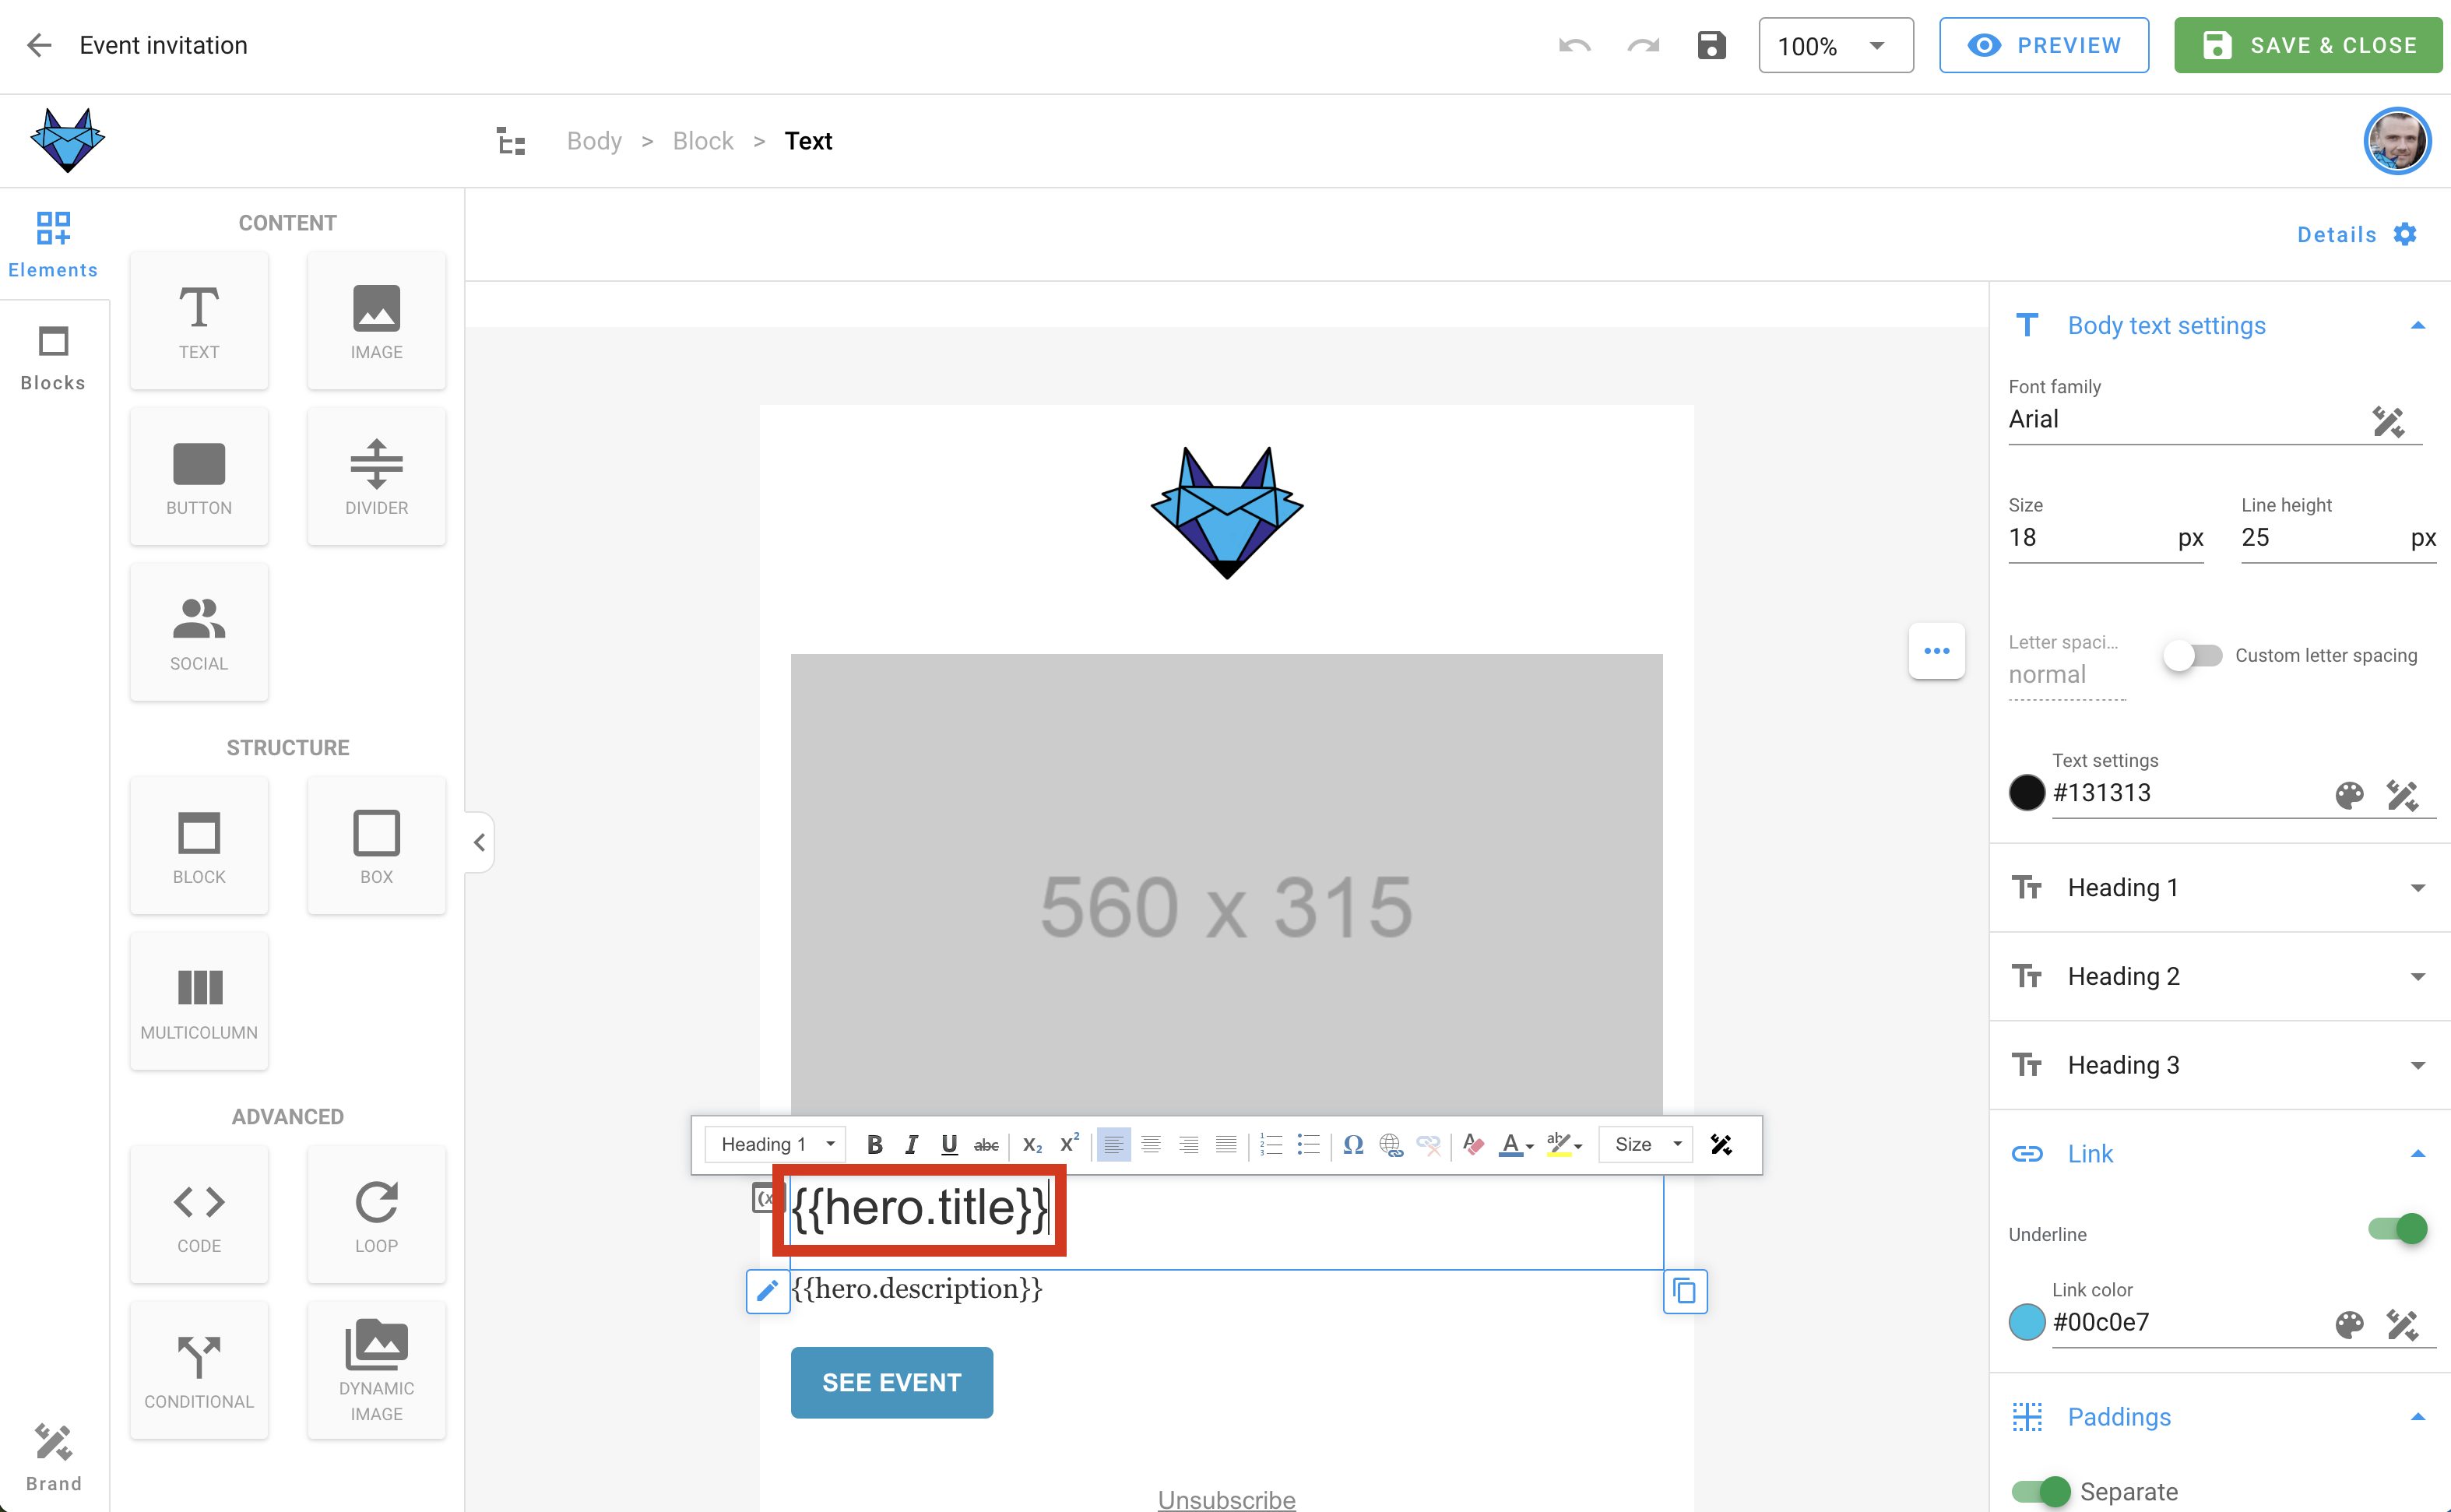
You can personalize triggered emails with handlebars. The data you send to the triggered email's endpoint determines the available variables. For example, you can send the hero unit's title and description:
javascript
await fetch(yourEndpoint, {
    method: 'POST',
    headers: {
        'Content-Type': 'application/json',
        'Authorization': 'Bearer YOUR_API_KEY'
    },
    body: JSON.stringify({
        emails: ['joe@doe.com', 'jane@doe.com'],
        triggeredId: 'EMAIL_ID',
        data: {
            hero: {
              title: "Bluefox is GREAT",
              description: "You can send transactional emails, triggered emails, newsletters and promotional emails with the same software!!!"
            }
        }
    })
})
INFO
The emails array should only include email addresses that are already in the selected subscriber list. Any addresses not in the list or marked as inactive (e.g., unsubscribed or paused) will be skipped.
Sending Custom Data
You can personalize triggered emails further by sending custom subscriber data along with your request. This allows you to override default values for specific recipients, ensuring that each subscriber receives tailored content.
When sending an email to multiple recipients, you can include shared data as well as subscriber-specific overrides. For example, if your request contains:
javascript
{
  "emails": ["joe@doe.com", "jane@doe.com"],
  "data": {
    "a": "yo",
    "jane@doe.com": {
      "a": "yoyo"
    }
  }
}
In this case, all recipients will receive "a": "yo" as the default value, but for jane@doe.com, the value of "a" will be overridden to "yoyo".
This approach ensures that each recipient gets personalized content while maintaining flexibility in defining default values.
Subscriber Data
Since triggered emails are sent to a subscriber list, subscriber data, an unsubscribe link, and a pause subscription link are also included. You can use the following merge tags:
{{subscriber.name}}
{{subscriber.email}}
{{unsubscribeLink}}
{{pauseSubscriptionLink}}
Visual Editor
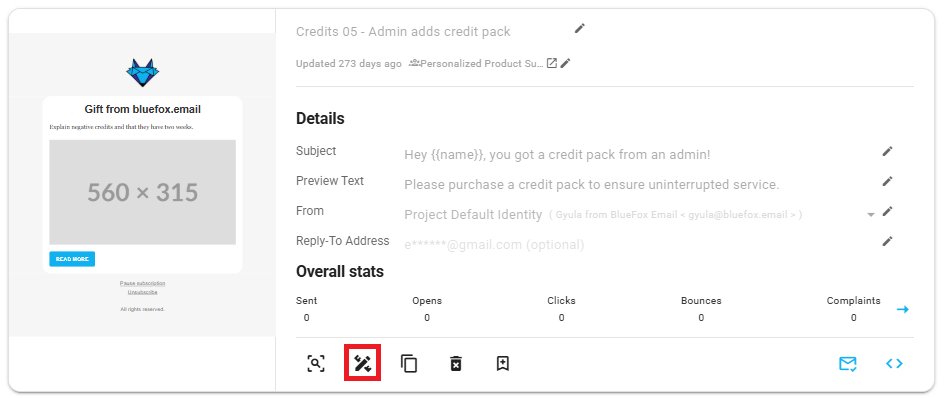
You can use any Handlebars variables in your email while editing. To do this, click on the edit icon on the card:
Enter your variables using Handlebars syntax:
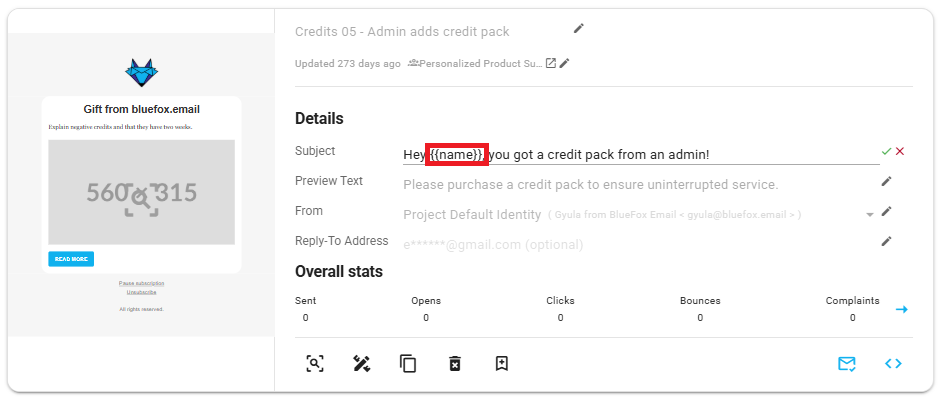
You can also use merge tags in the email's subject line and preview text!
Raw HTML / Plain Text
Merge tags work the same way, but since this isn't the Chamaileon editor, there's no click-to-bind-a-field flow. Instead, open the Merge Tags panel from the editor toolbar, place your cursor where you want the value to appear, and select the tag to insert it there. This works the same way in the subject line and preview text fields.
WARNING
If you're reusing content from a Chamaileon-built (Visual Editor) email inside a Raw HTML or Plain Text email, remove any Chamaileon-specific merge tag or component markup first, it won't resolve in the Raw HTML or Plain Text editor. Plain Handlebars merge tags (e.g. {{subscriber.name}}) carry over fine either way.
For more details on how to personalize your emails with merge tags and Handlebars, check out our personalization guide.
Triggered Email Statistics
Triggered emails are automated messages sent in response to specific user actions, such as abandoned cart reminders. Monitoring the performance of these emails is essential to ensure timely delivery, optimal engagement, and proper subscriber management.
Why Triggered Email Statistics Matter
Understanding how your triggered emails perform helps you:
- Ensure Timely Delivery: Track delivery rates to make sure the triggered emails are sent when needed.
- Improve User Engagement: Analyzing open rates and click-through rates lets you optimize email content and timing, ensuring recipients engage with your emails.
- Detect Issues: High bounce rates or low open rates can indicate problems with email deliverability or content, allowing you to fix issues early. Additionally, triggered emails can have actions like pausing or unsubscribing users, so it's important to monitor these metrics to understand why certain subscribers are no longer receiving emails.
- Manage Subscriber Behavior: Subscriber actions such as pausing, unsubscribing, resubscribing, or subscribing again to email lists need to be tracked to maintain clean and effective lists.
- Enhance Customer Experience: Effective triggered emails improve user satisfaction by delivering relevant and timely content that enhances the user experience.
What Triggered Email Statistics Include
The triggered email statistics section includes the following key metrics:
- Sent Emails: Total number of sent emails.
- Opens: Number of times email were opened by recipients.
- Unique Opens: Number of individual recipients who opened your emails (counts only one open per recipient).
- Clicks: Total number of clicks on links within the emails.
- Unique Clicks: Number of individual recipients who clicked on links within your emails (counts only one click per recipient).
- Bounces: Number of emails that failed to be delivered.
- Complaints: Number of complaints (e.g., marked as spam).
- Unsubscribes: Number of recipients who unsubscribed from receiving further emails.
- Paused Subscriptions: Number of recipients who paused their subscription.
- Resubscribes: Number of recipients who resubscribed to receive emails after previously unsubscribing.
- Subscribed: Number of recipients who subscribed to receive emails.
By analyzing these metrics, you can ensure that your triggered emails are performing effectively, reaching the right audience, and making adjustments to your email strategy when necessary.
How to Access Triggered Email Stats
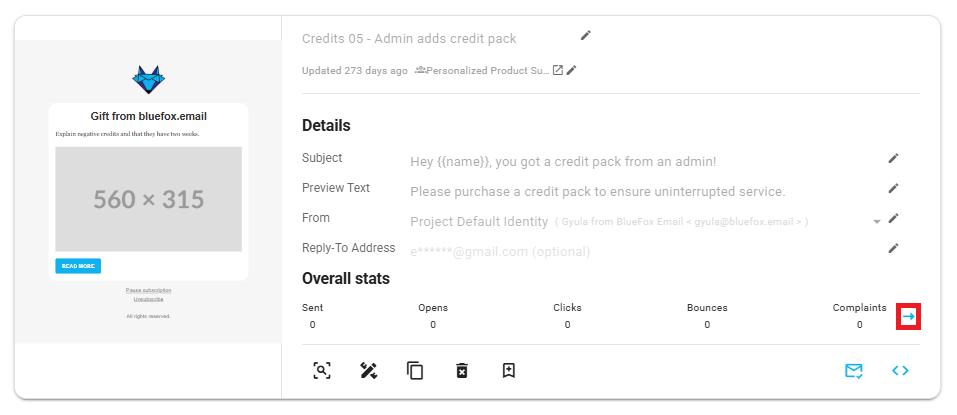
You can access the Triggered Email Statistics by clicking the arrow icon:
For more information on using the Triggered Email Statistics, refer to the Analytics Documentation.
Data Feeds
Data feeds allow you to automatically pull in live content from external sources directly into your triggered email. This is useful for digests, weekly summaries, or any email where the content should reflect the latest data at send time without manual updates.
Feeds work the same way regardless of which editor you built the email with, Visual Editor, Raw HTML, or Plain Text.
TIP
For a full guide on using feeds inside the template (loops, merge tags, dynamic images, required behavior), see the Data Feeds documentation.
Supported feed types:
- RSS / Atom XML
- JSON
Adding a Feed
To add a feed, locate the Feeds section on your email card, just below the Details section. Click the + Add Feed button.
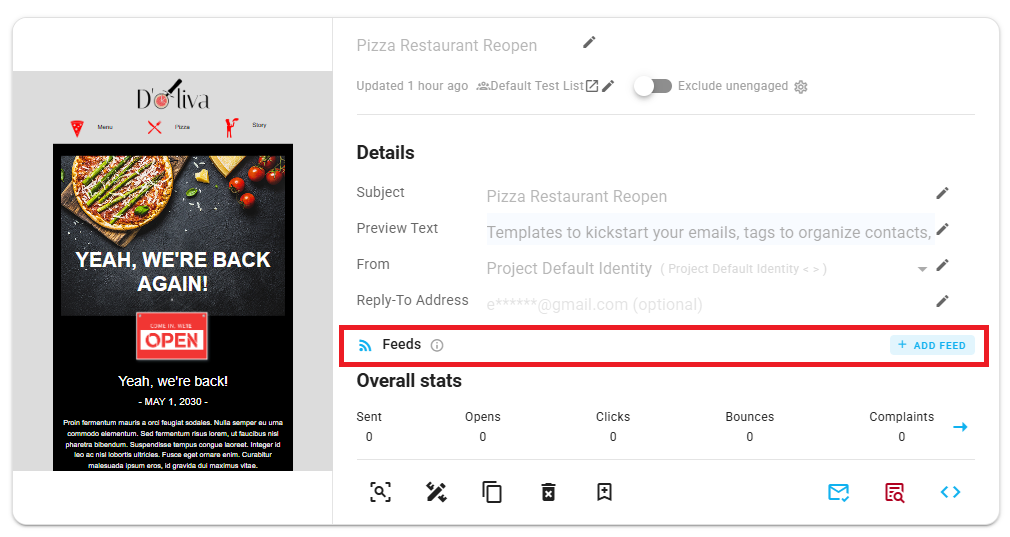
This will expand a form where you can configure your feed:
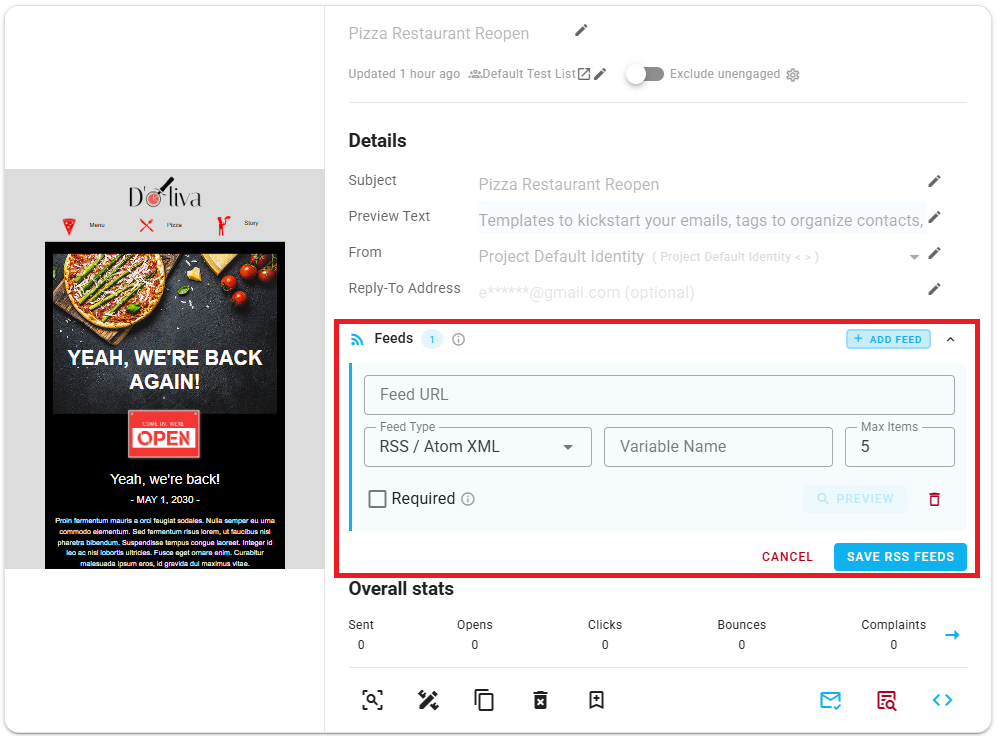
Fill in the following fields:
- Feed URL: The URL of the feed you want to pull content from.
- Feed Type: Select the type of feed — RSS / Atom XML or JSON.
- Variable Name: The name you'll use to reference this feed's data inside your email template using Handlebars syntax.
- Max Items: The maximum number of items to pull in from the feed (defaults to 5).
You can also check the Required checkbox if the feed must be available for the email to send.
Once you've filled in the details, click Preview to verify the feed is working correctly, then click Save to store your configuration.
TIP
You can add multiple feeds to a single triggered email by clicking + Add Feed again after saving the first one.
Editing Details of a Triggered Email
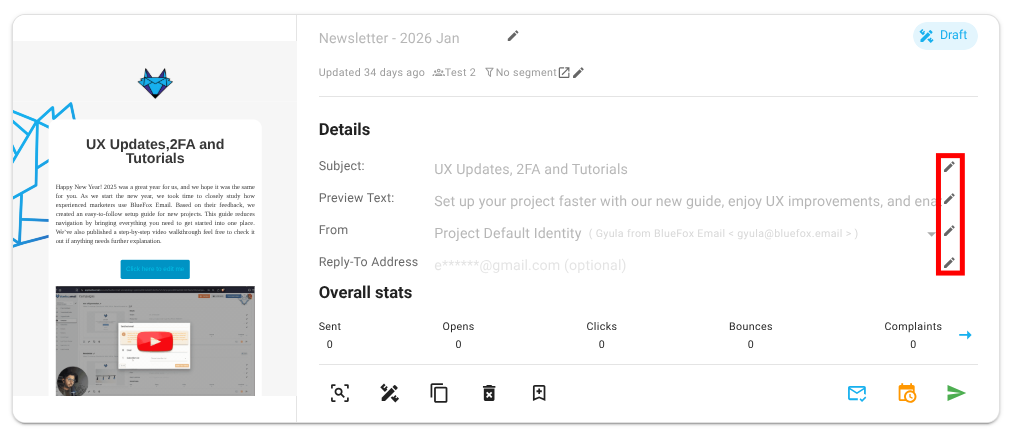
You can edit every key detail of the triggered email like subject, preview text, from identity, etc. by clicking the edit icon on the email card:
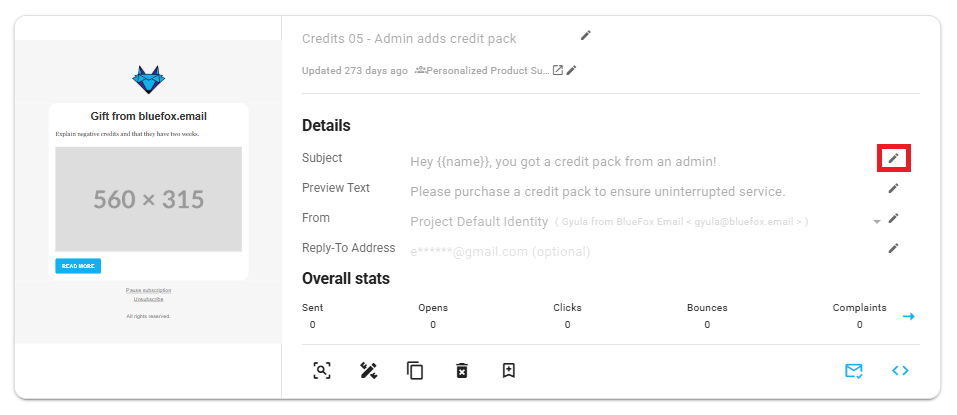
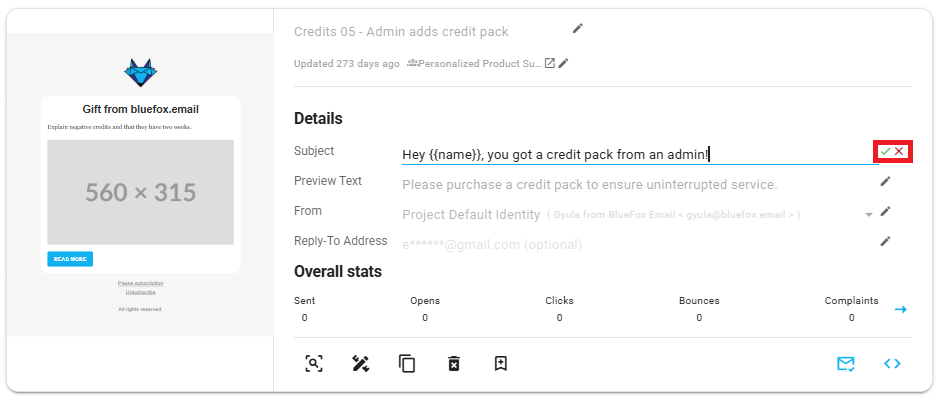
After you finish editing just click the save icon and your changes will be saved or if you want to discard them just click the close icon respectively.
Advanced Settings
The Advanced Settings in triggered email cards allows you to customize key email-sending options, providing flexibility in managing sender identities and reply-to addresses.
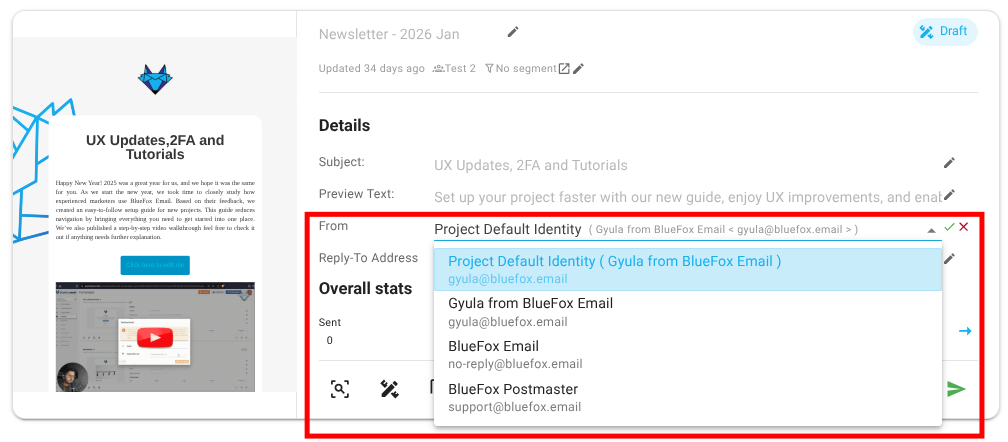
Sender Identity Selection
The sender identity field lets you choose the identity used to send the email. By default, the system automatically selects the default identity, but you can select another identity from the list of available options.
Reply-To Email Address
The reply-to email address field allows you to specify where replies to your email should be sent.