Appearance
Campaigns
Unlike transactional and triggered emails, campaigns are not sent by your backend. Campaigns can be scheduled to a specific time or you can send it immediately. All the content is edited within bluefox email. Typical examples are newsletters, promotional emails, or occasional announcements.
Campaigns are sent to the active subscribers on a list. Since campaigns are tied to a subscriber list, they must contain an unsubscribe link and optionally a pause subscription link.
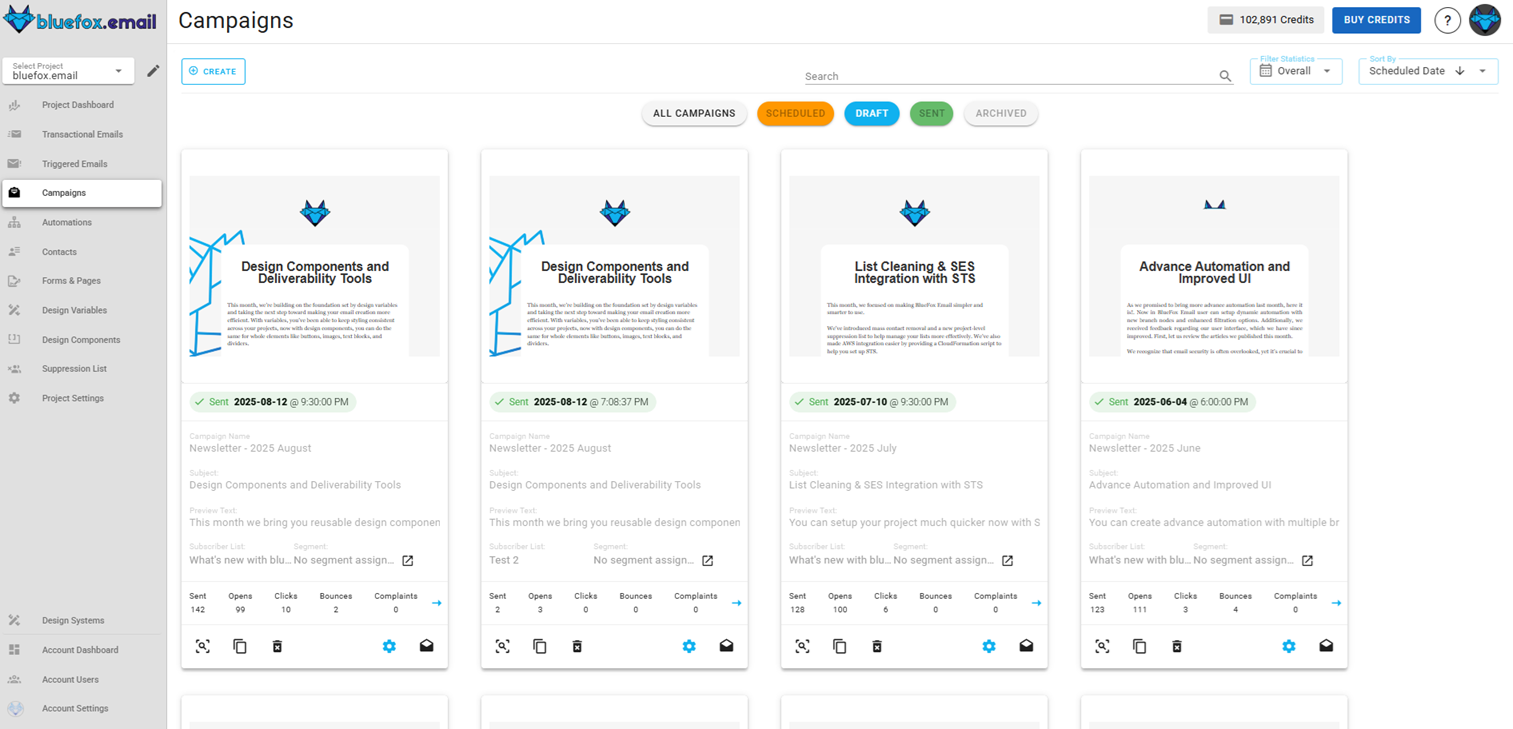
You can find the campaigns of a project under the Campaigns tab.
Creating a Campaign
In order to create a new campaign, press the Create button. 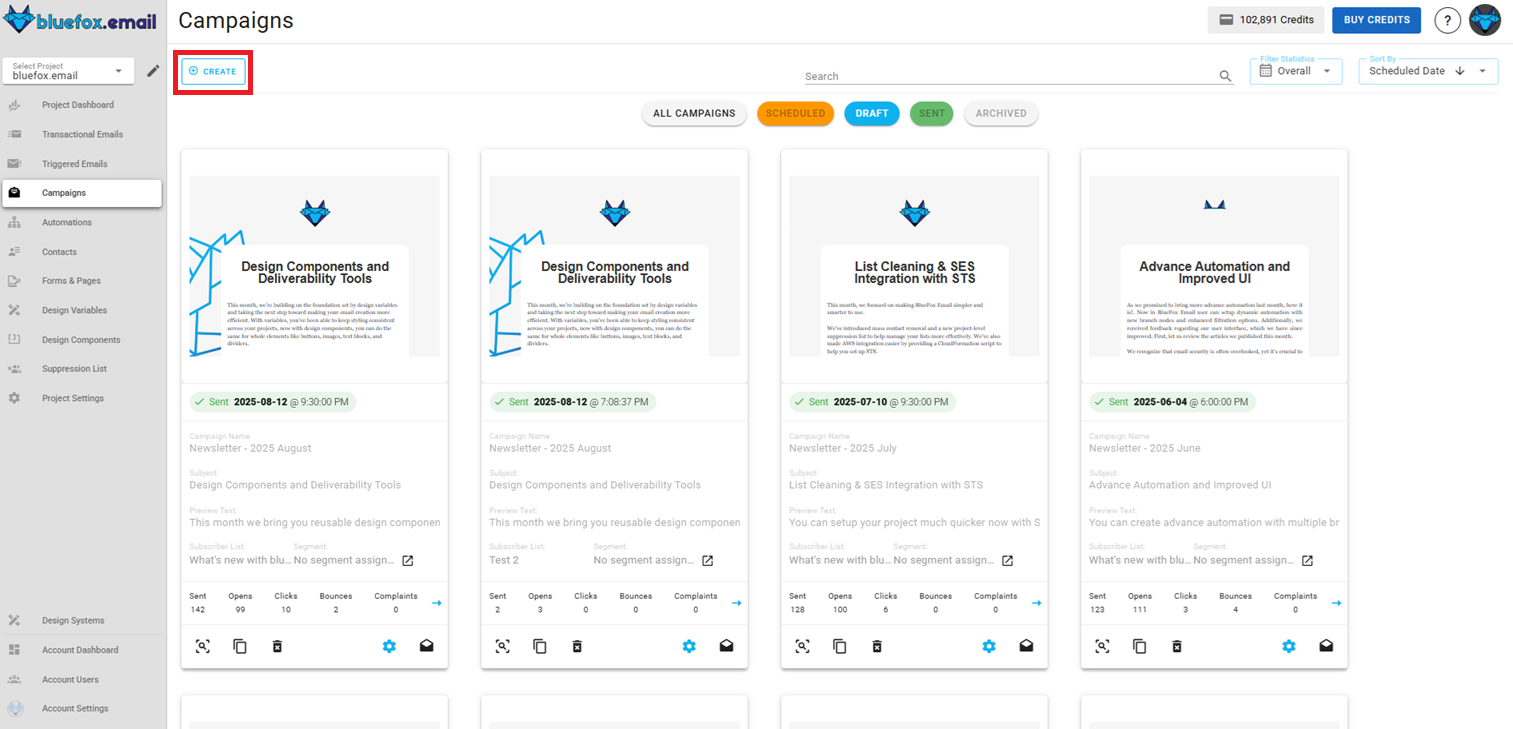
You can either paste a copied campaign or start from scratch. You can also choose a template to start from. 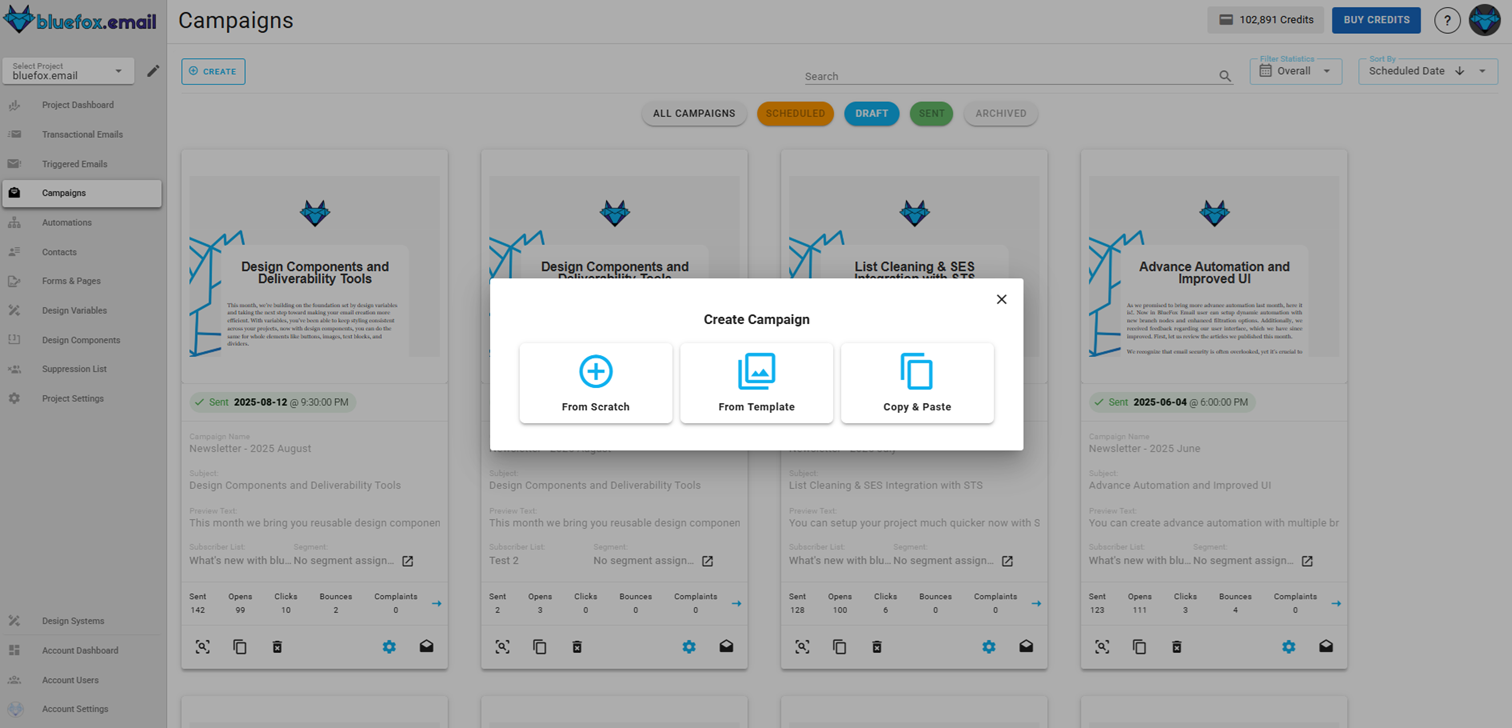
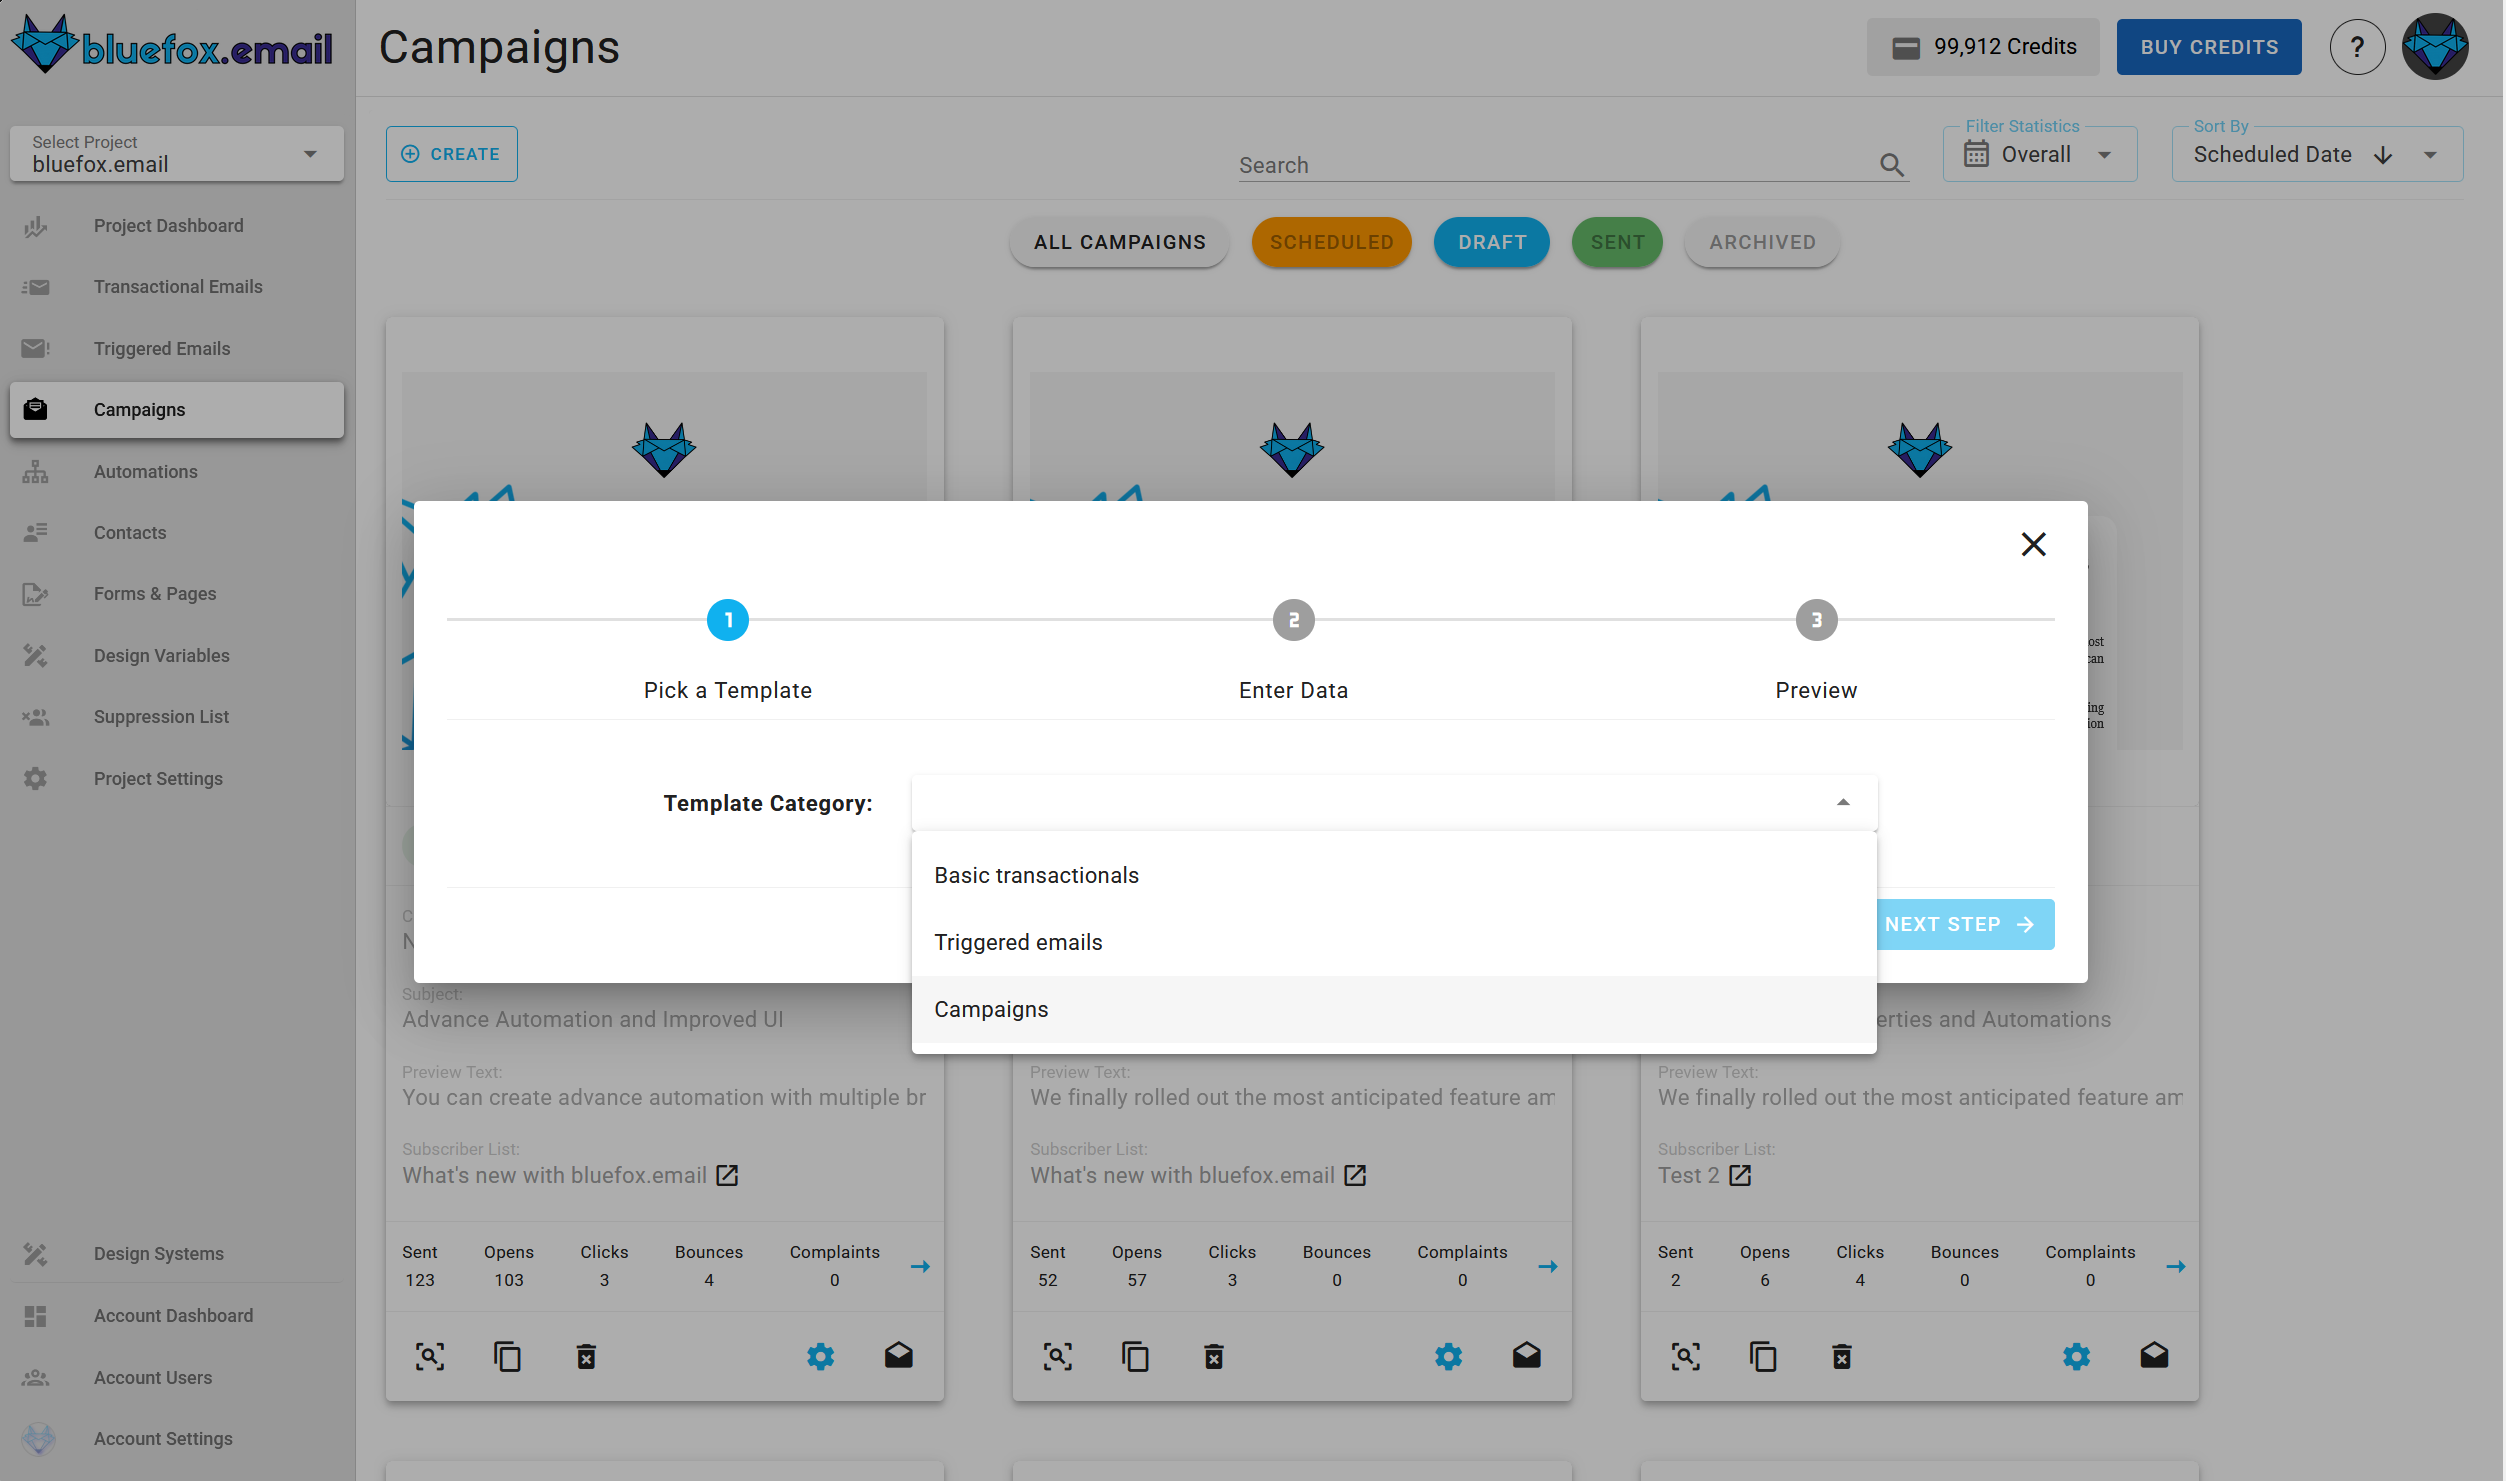
After that (if starting from a template), you will have to select a template to start from:
Enter its name, subject line, and preview text: 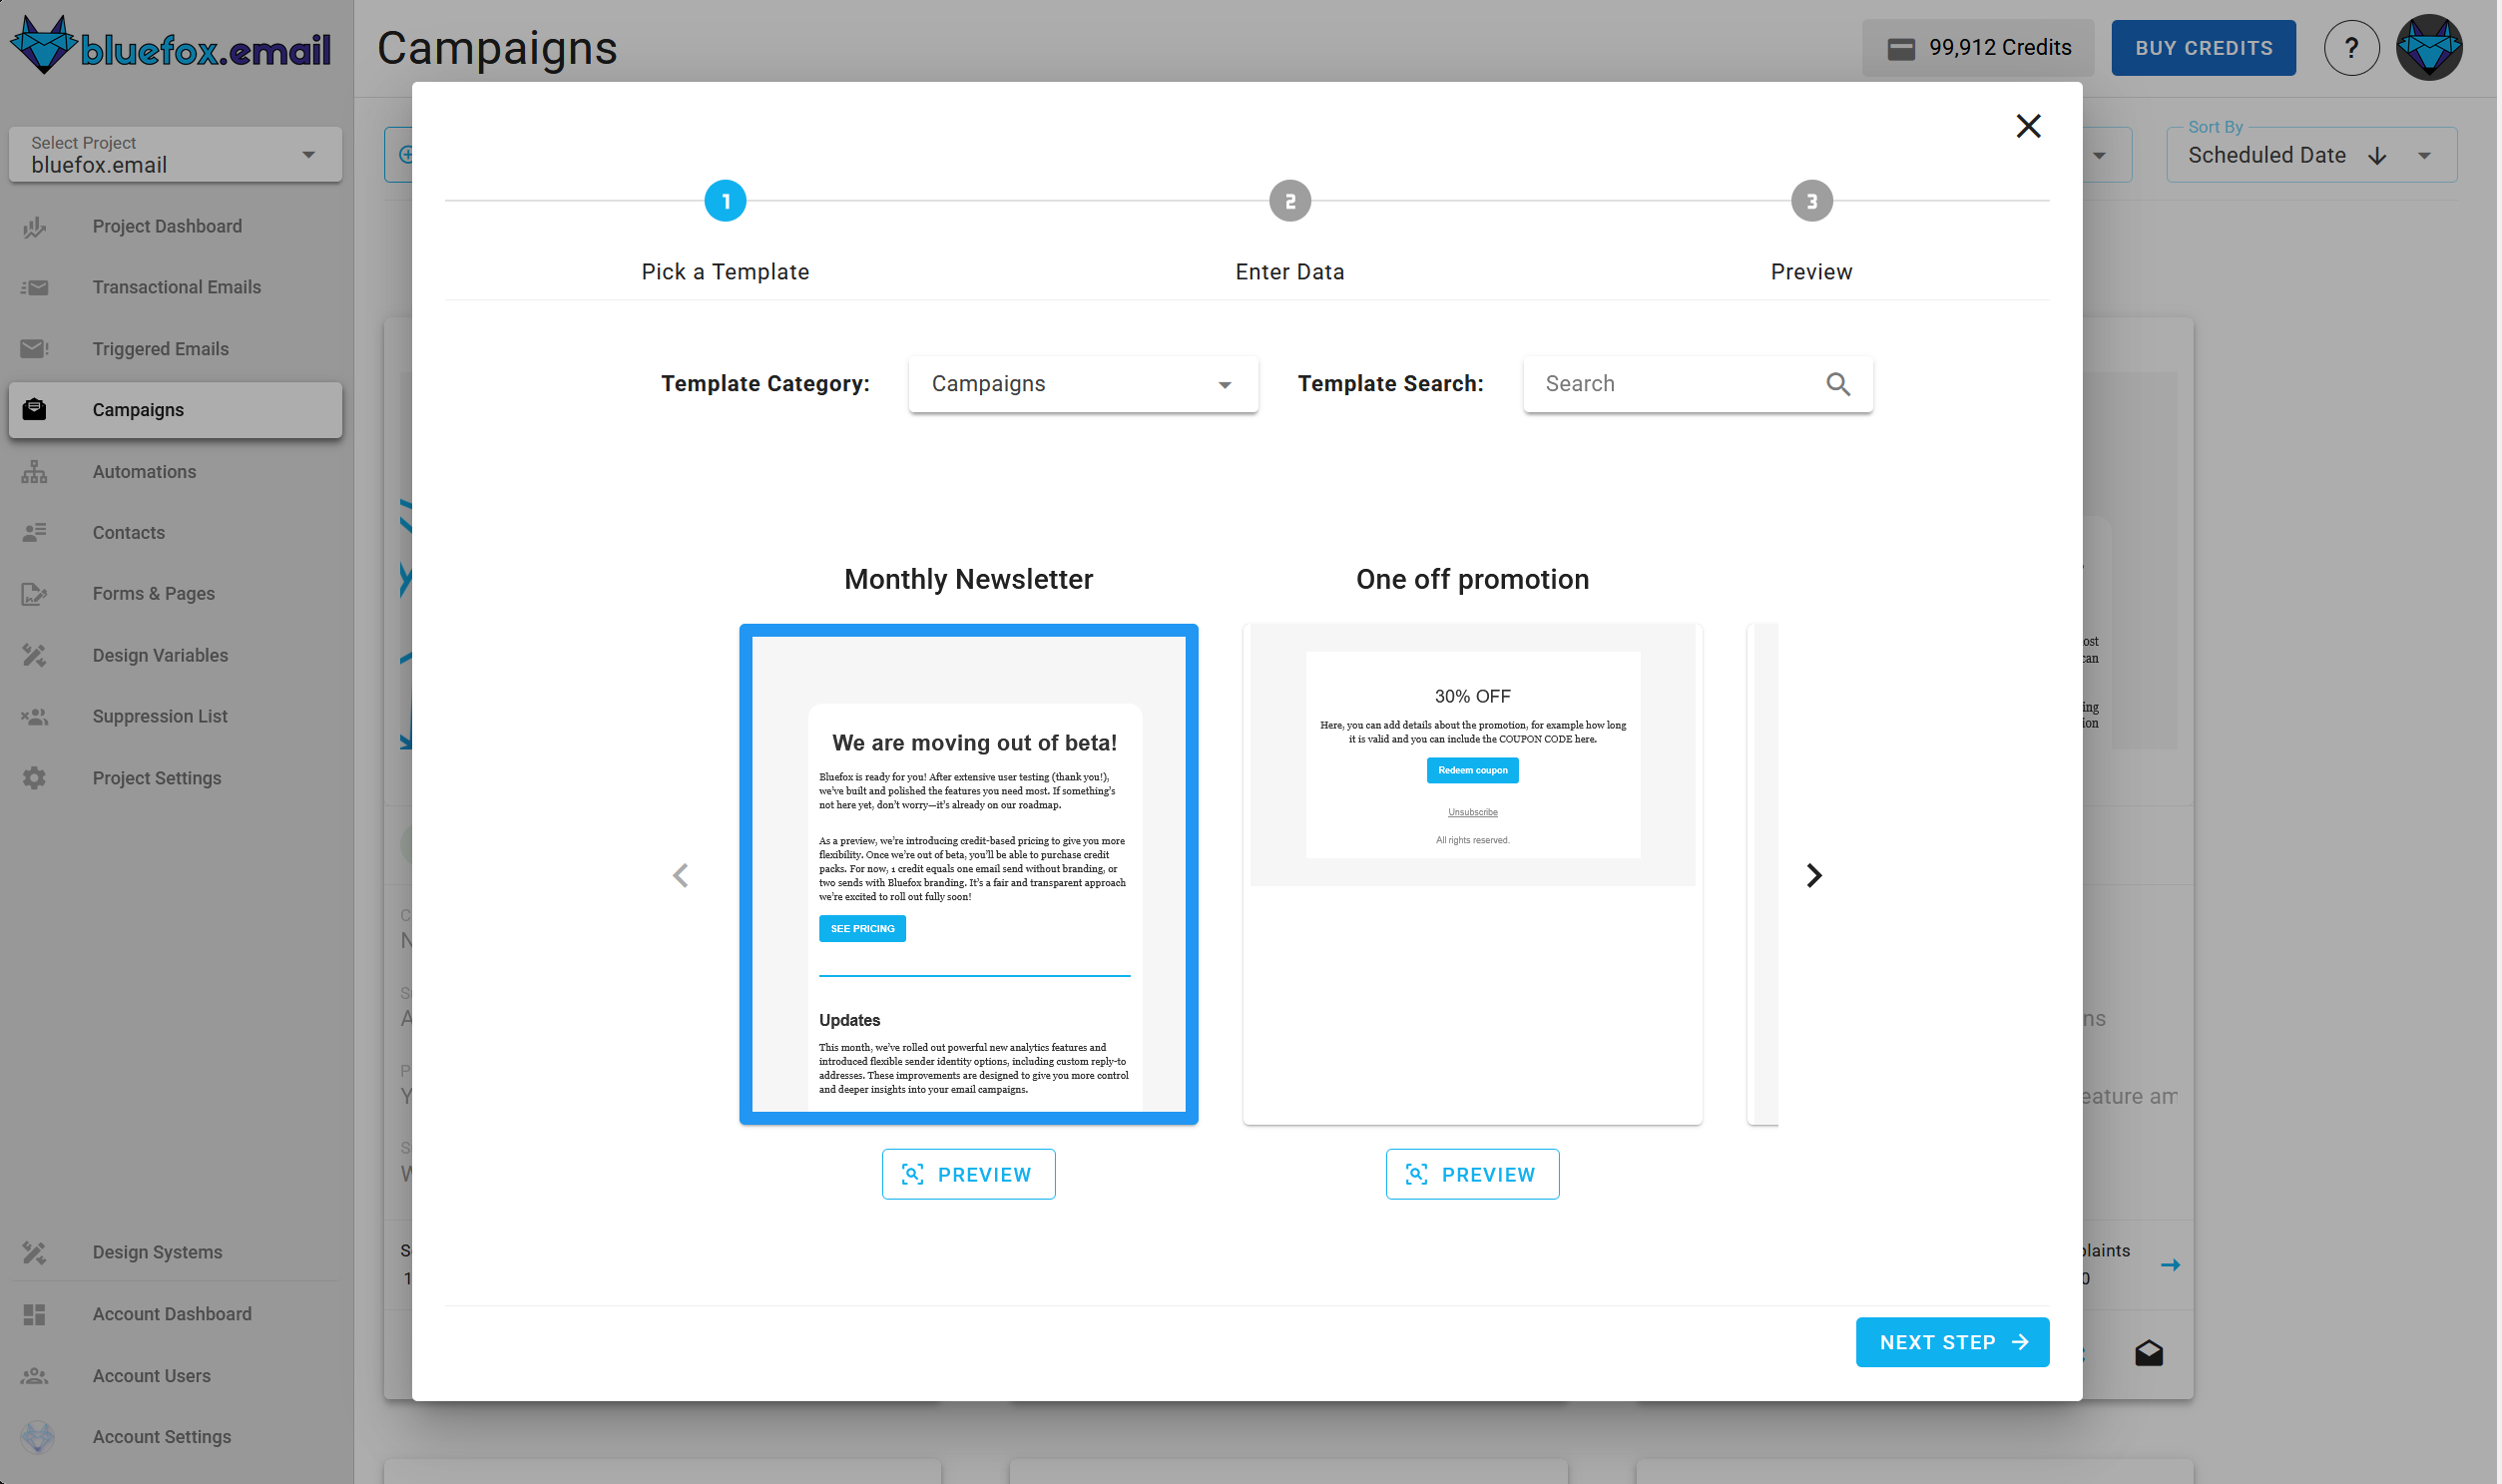
Enter its name, subject line, preview text, select a subscriber list, and select a segment: 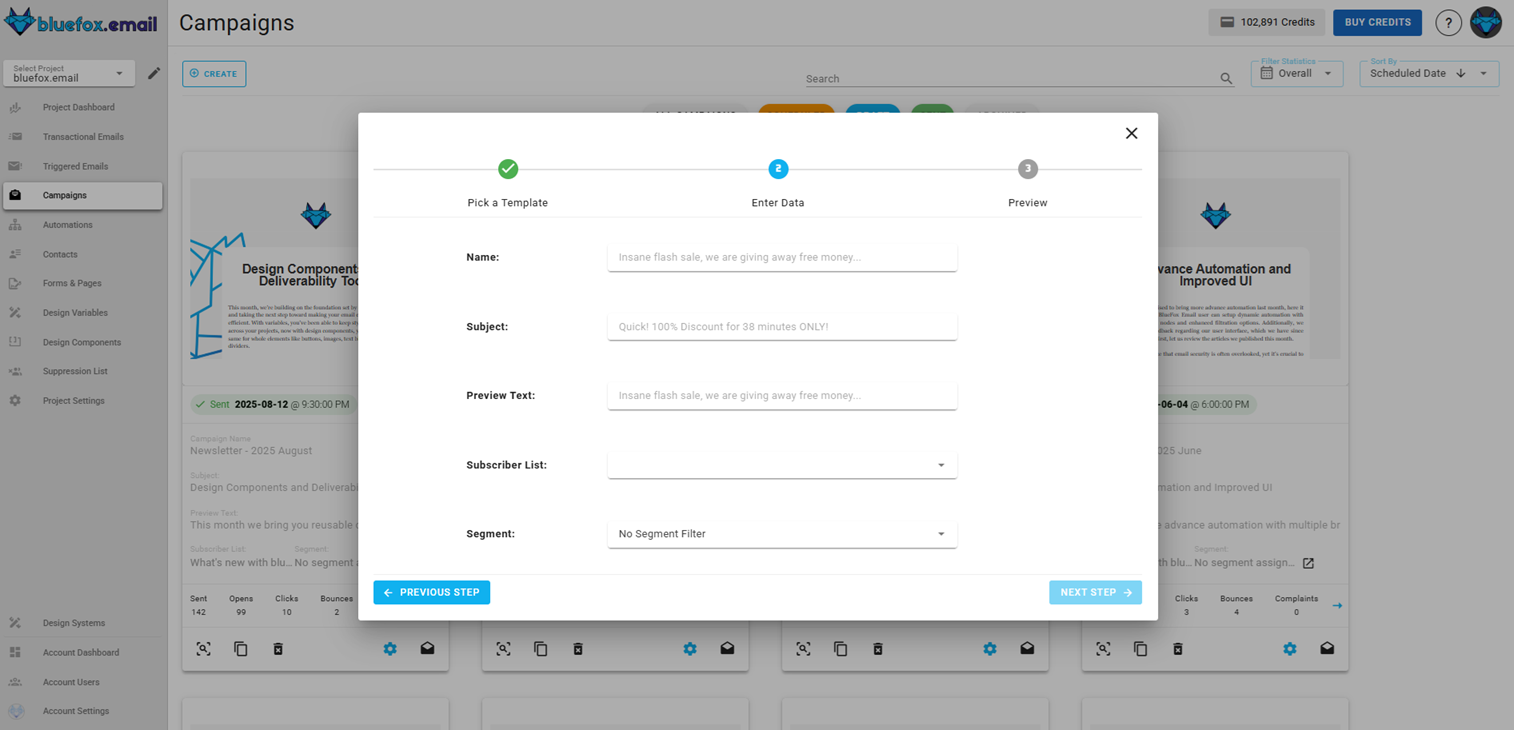
This form will appear as first step if you choose to start from scratch.
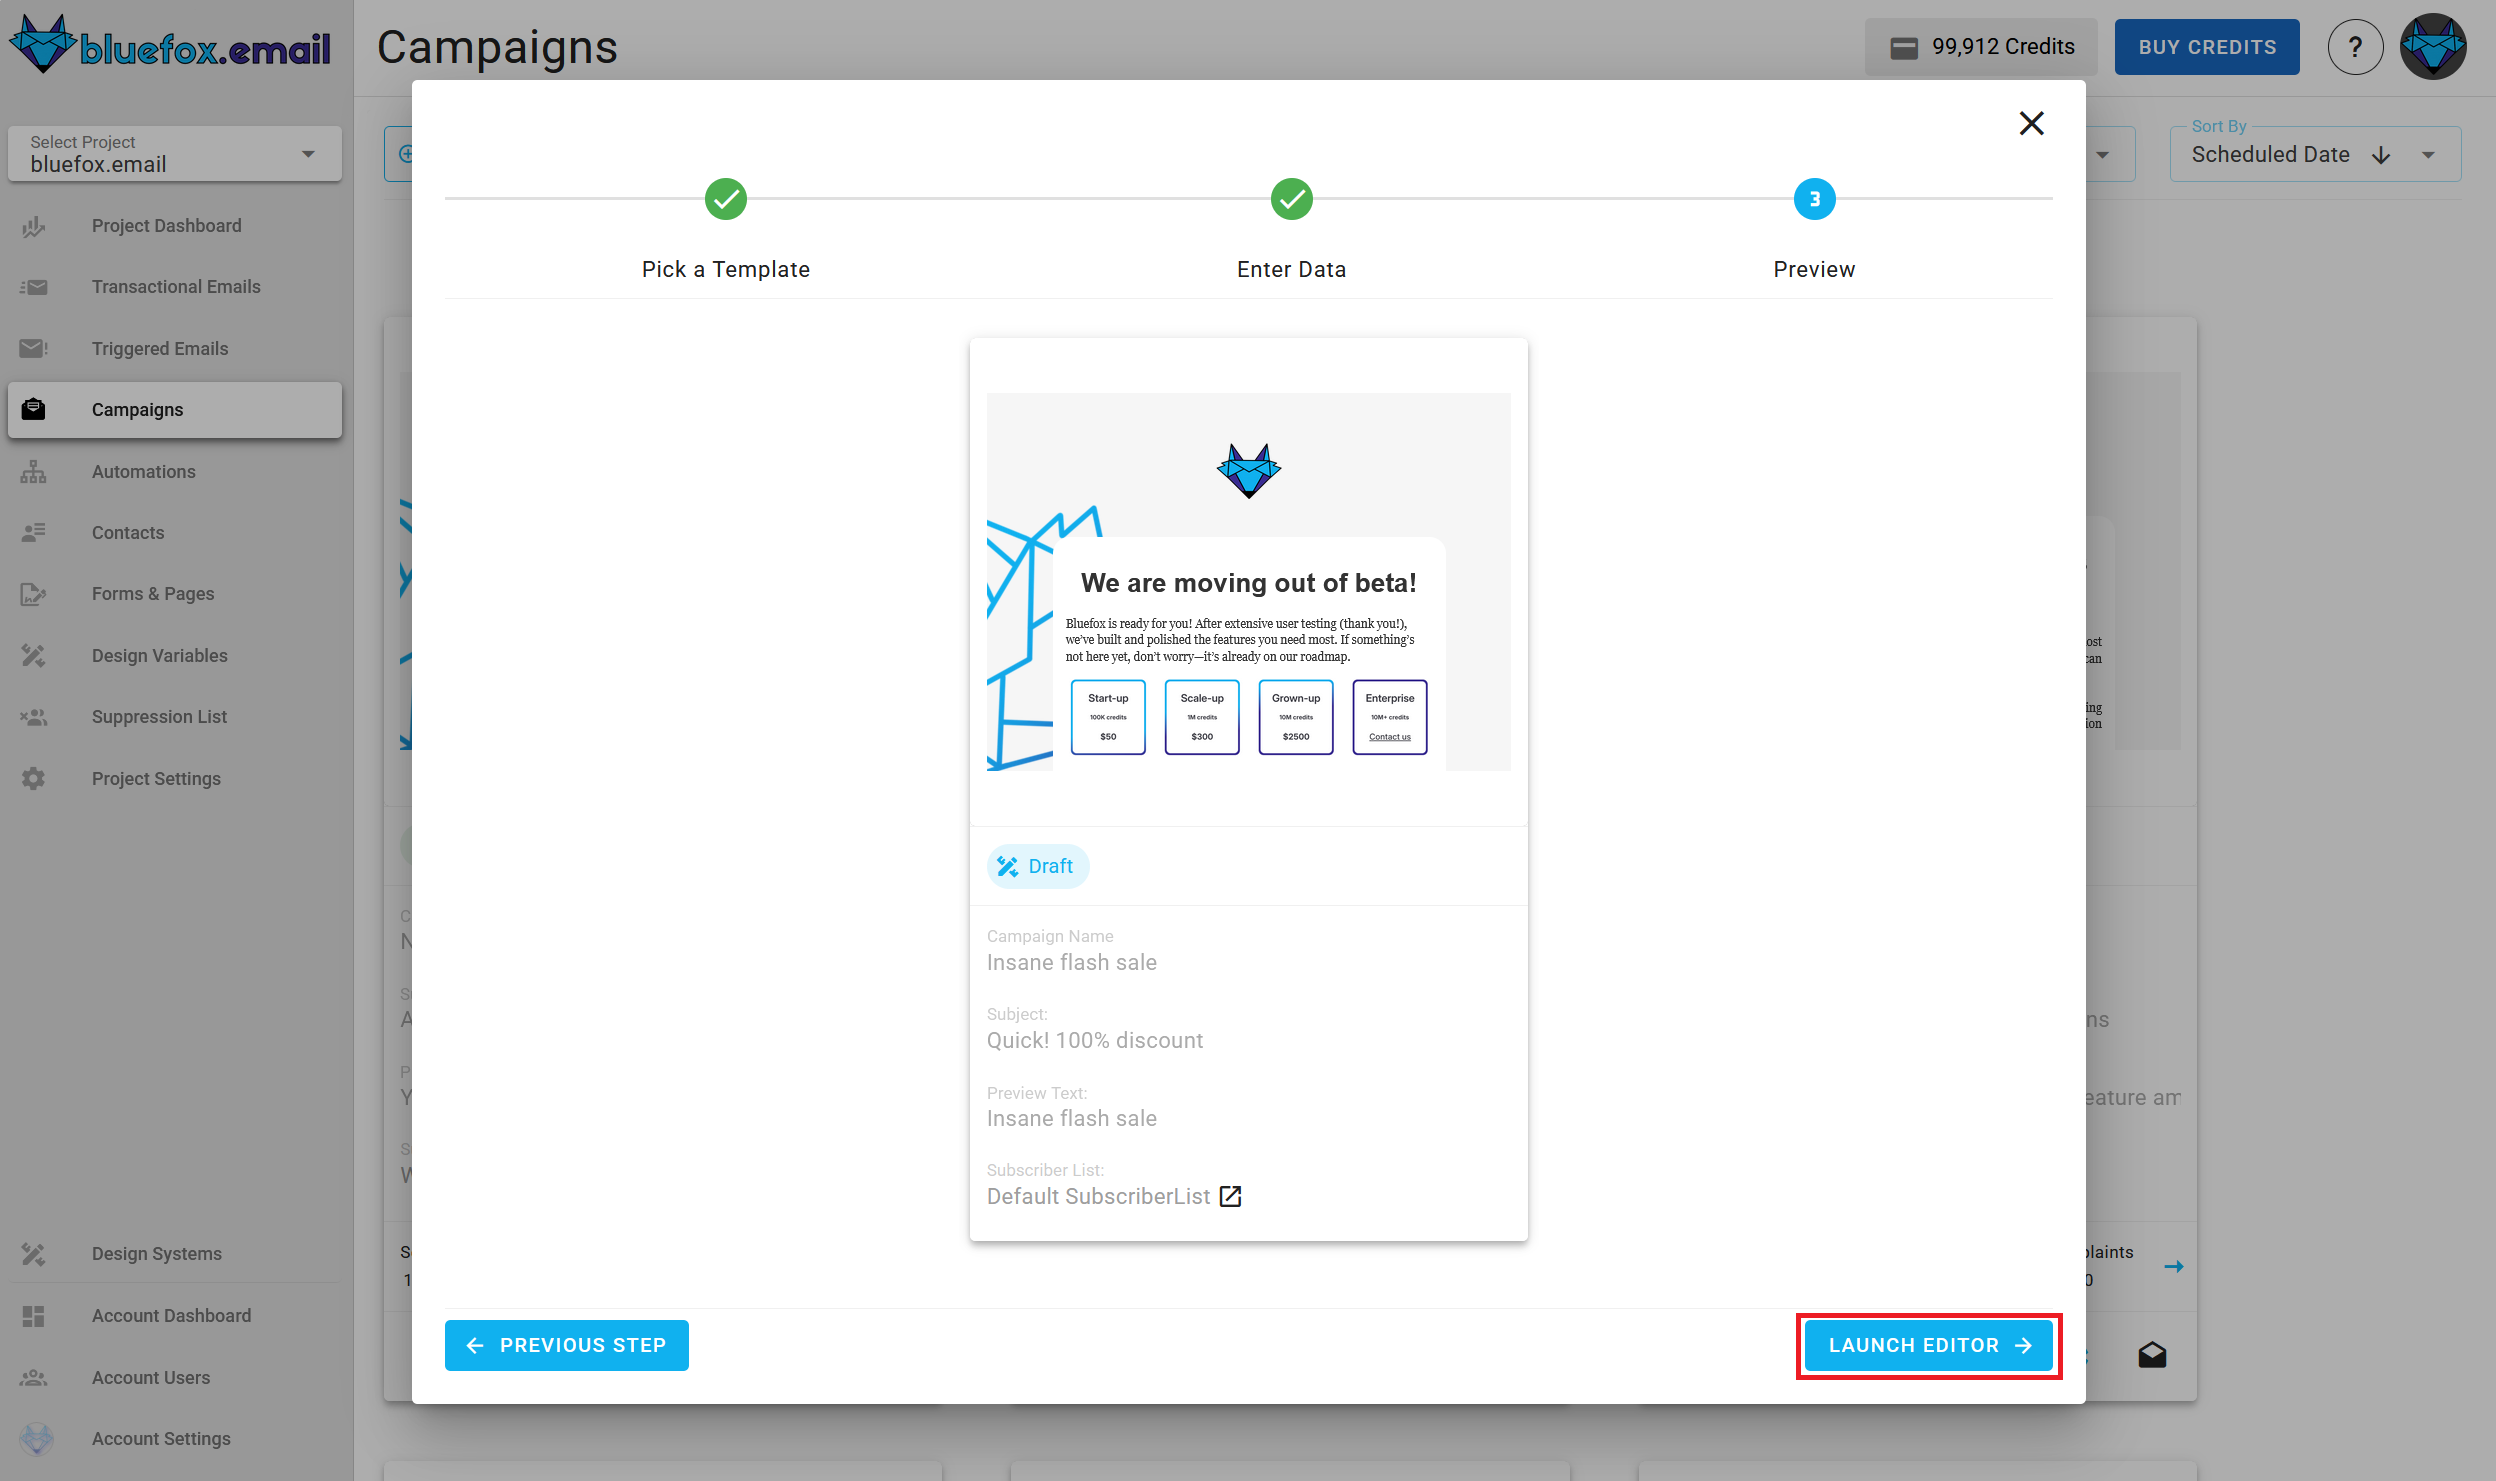
After that, you will see a summary page. Click "Launch Editor".
Finally, make changes in the drag 'n' drop email editor: 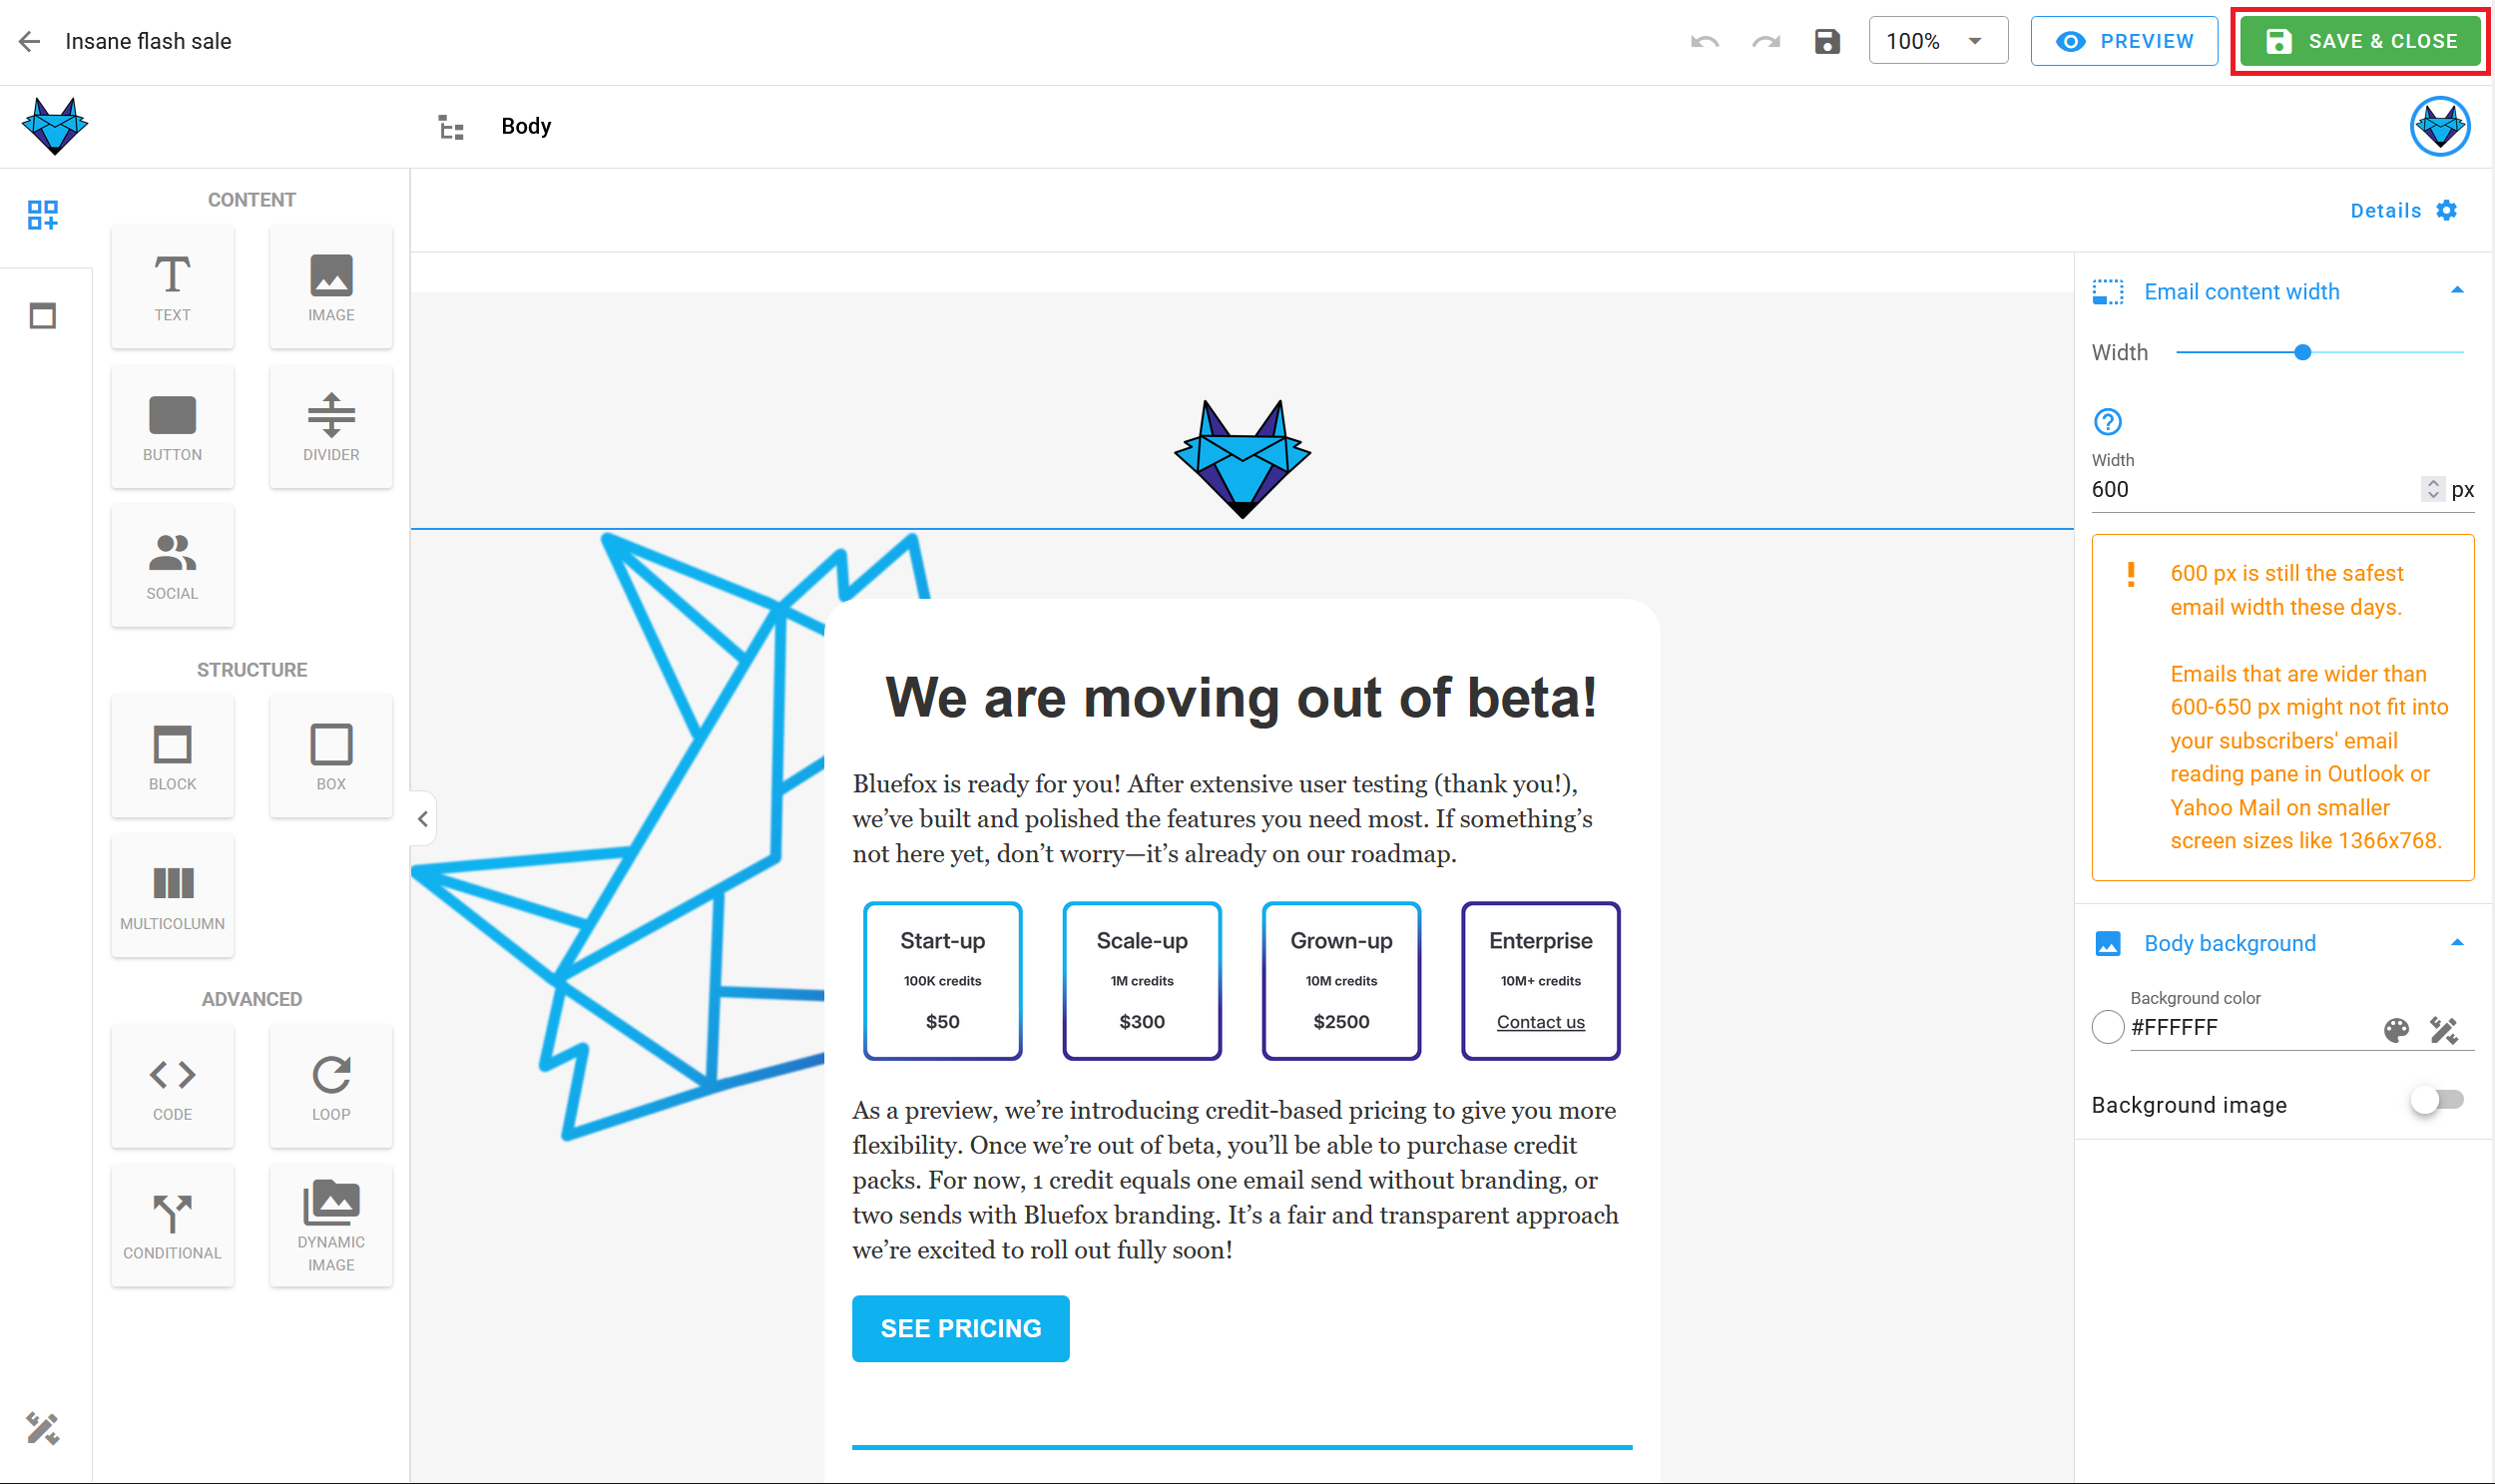
When you are done, you can schedule your campaign, or you can send it immediately: 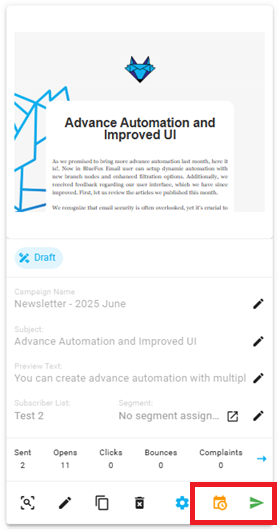
You can also check the subscriber list and segment by clicking on this link, it will redirect you to the subscriber list: 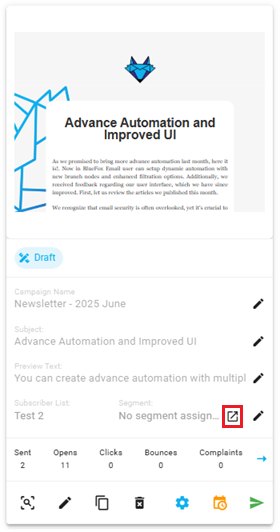
Personalization
Since a campaigns is sent to a subscriber list, subscriber data, unsubscribe link, and pause subscription link are also included. You can use the following merge tags:
{{subscriber.name}}
{{subscriber.email}}
{{unsubscribeLink}}
{{pauseSubscriptionLink}}
You can use any handlebars variables in your email while editing. Click on the edit icon on the card: 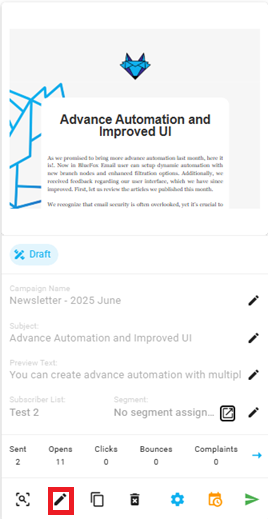
You can use these handlebars variables in your email, while editing: 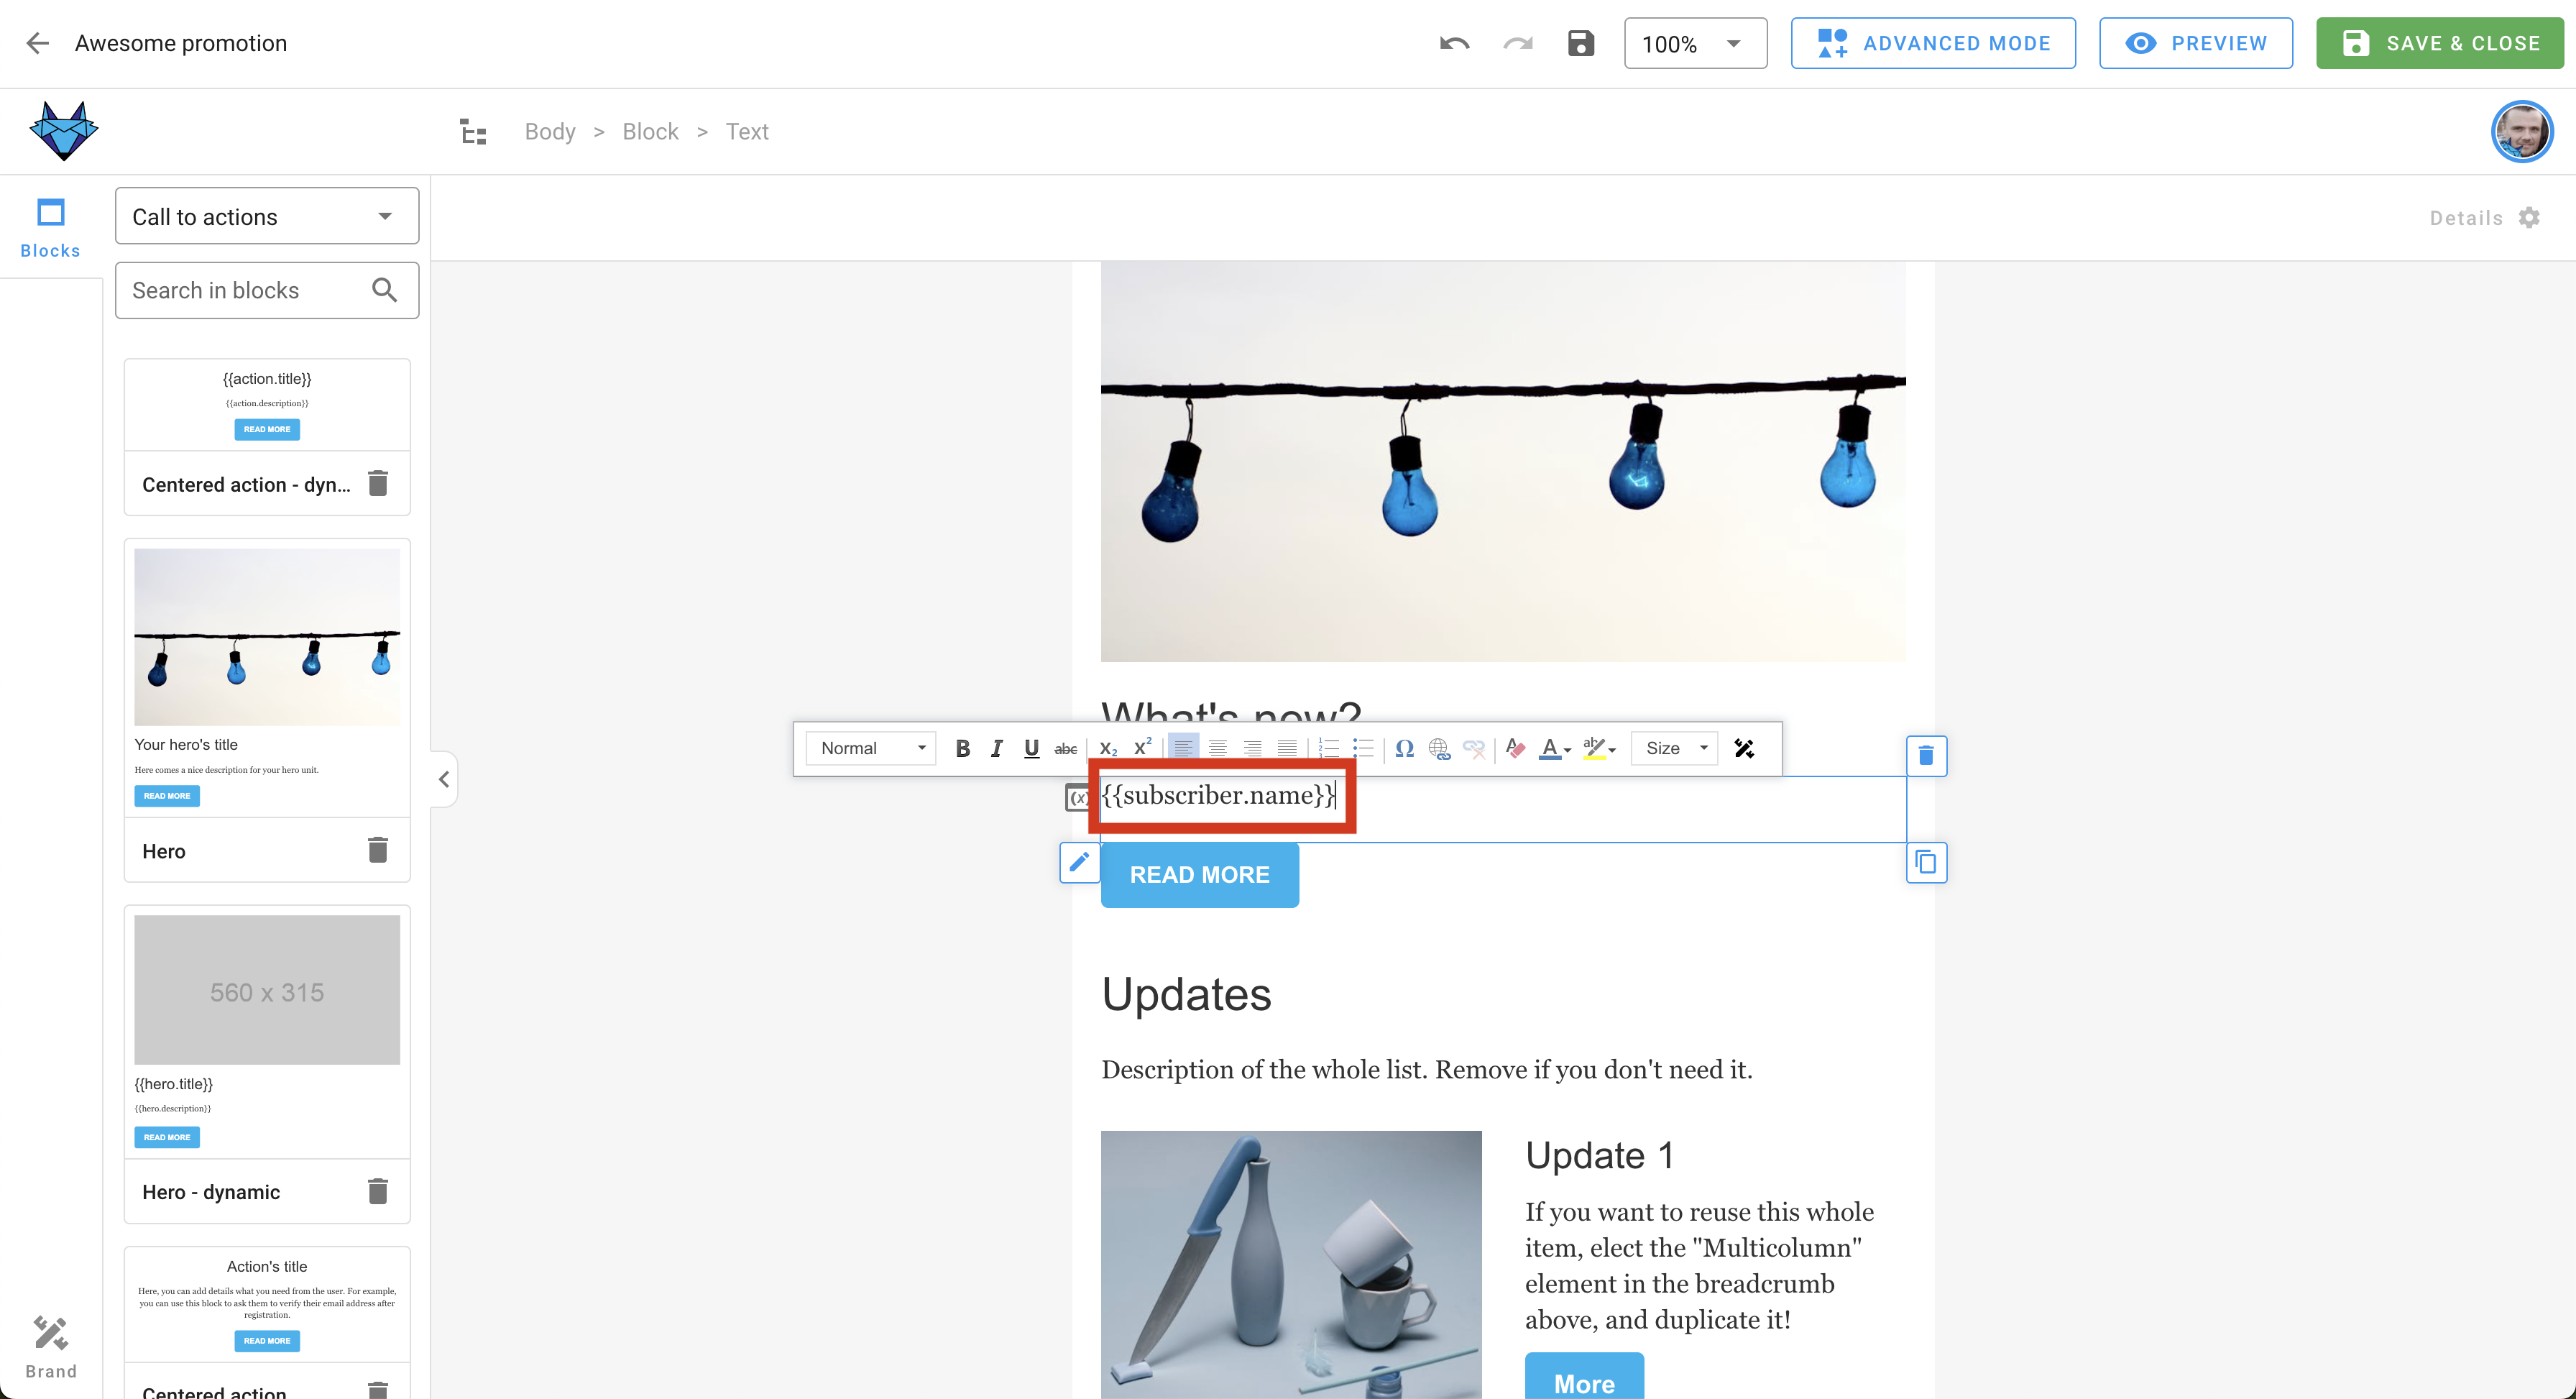
And you can use merge tags in the email's subject line and preview text as well!
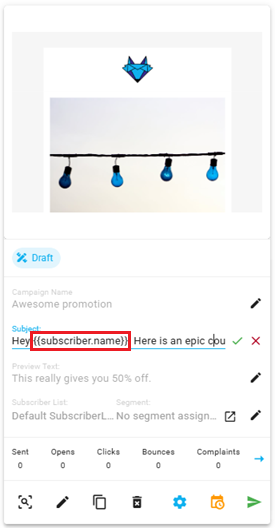
For more details, read our guide on personalization with merge tags and Handlebars.
Campaign States
There are five states of a campaign: draft, scheduled, being sent (or the scheduled time is only a few minutes away), sent, and archived.
In each state, different actions are available, and some of them are disabled.
Draft campaigns can be edited, scheduled, and sent: 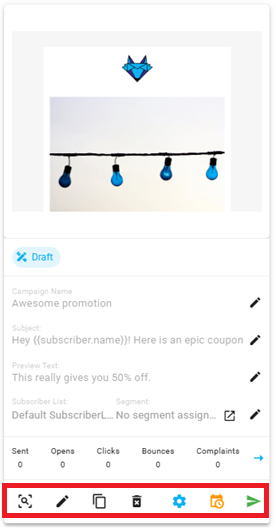
Scheduled campaigns have the following actions: re-schedule, cancel send, send now. Scheduled campaigns cannot be edited nor deleted! 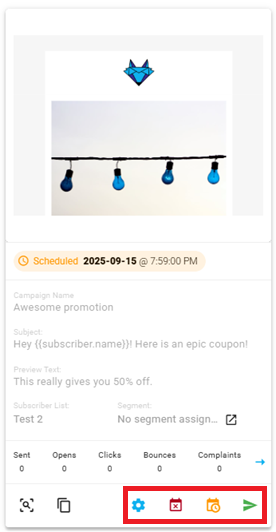
Campaigns that are being sent currently (or the send time is a few minutes away) should not be modified, so all of their actions are disabled. 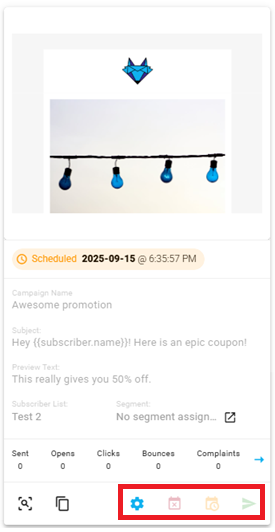
Sent campaigns can be archived, and stats should show up: 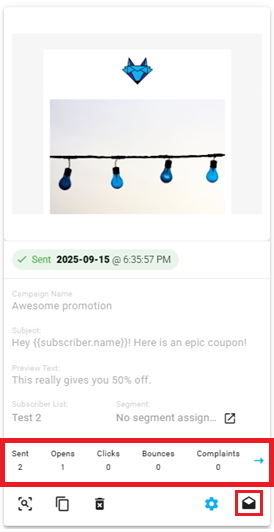
Archived campaigns can be restored. It means that they become draft again.s 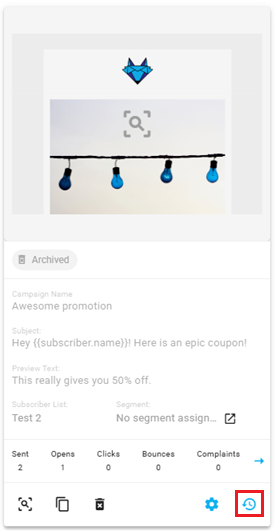
Campaign Email Statistics
Campaign emails are designed to reach a targeted group of recipients, often based on specific user segments or marketing campaigns. These emails are sent to the subscribers on a list, and unlike triggered emails, they are typically part of larger, planned marketing efforts rather than automated, one-to-one communications.
Why Campaign Email Statistics Matter
Understanding how your campaign emails perform is essential for refining your marketing strategies and improving your engagement with subscribers. Tracking performance helps you:
- Monitor Campaign Effectiveness: Measure the success of your campaign emails by tracking key metrics such as open rates, click-through rates, and bounce rates.
- Optimize Engagement: Analyze the success of your subject lines, content, and timing to improve how subscribers interact with your emails.
- Refine Segmentation: Use insights into open rates, clicks, and other actions to adjust your subscriber segments for more targeted future campaigns.
- Detect Issues: High bounce rates, low open rates, or high unsubscribe rates can indicate potential issues, allowing you to fix problems early.
- Enhance Subscriber Retention: Track metrics like unsubscribes, resubscriptions, and paused subscriptions to better manage your subscriber base and improve long-term engagement.
What Campaign Email Statistics Include
The campaign email statistics section includes the following key metrics:
- Sent Emails: Total number of campaign emails sent to recipients.
- Opens: Number of times recipients opened your campaign emails.
- Unique Opens: Number of individual recipients who opened your campaign emails (counts only one open per recipient).
- Clicks: Total number of clicks on links within your campaign emails.
- Unique Clicks: Number of individual recipients who clicked on links within your campaign emails (counts only one click per recipient).
- Bounces: Number of campaign emails that failed to be delivered.
- Complaints: Number of complaints (e.g., emails marked as spam).
- Unsubscribes: Number of recipients who unsubscribed after receiving the campaign email.
- Resubscriptions: Number of recipients who resubscribed after previously unsubscribing.
- Paused Subscriptions: Number of recipients who have paused their subscriptions to your campaign emails.
These metrics provide a comprehensive view of your campaign's performance and help identify areas for optimization, allowing you to adjust strategies and improve future campaigns.
How to Access Campaign Email Stats
You can access the Campaign Email Statistics by clicking the arrow icon:
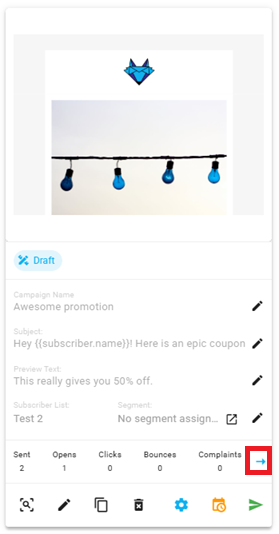
For more information on how to use the Campaign Email Statistics, refer to the Analytics Documentation.
Advanced Settings
The Advanced Settings feature allows you to customize key email-sending options, such as configuring sender identities and reply-to addresses.
You can access the Advanced Settings by clicking the gear icon:
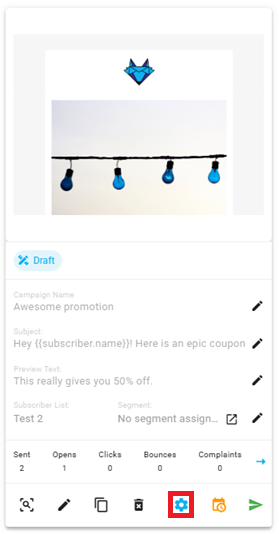
For a detailed guide on using the Advanced Settings, refer to the Advanced Settings Documentation.