Appearance
Zapier Integration with BlueFox Email
The Zapier integration allows you to automate your email workflows by connecting BlueFox Email with thousands of apps available on the Zapier platform. This integration enables you to streamline processes such as managing contacts, sending emails, and handling subscriptions without any coding knowledge just create your Zapier accounts and start automating.
Quick Note
For Zapier related documents and support, please refer to the official Zapier documentation and support channels. This document focuses on the integration aspects specific to BlueFox Email.
Authentication
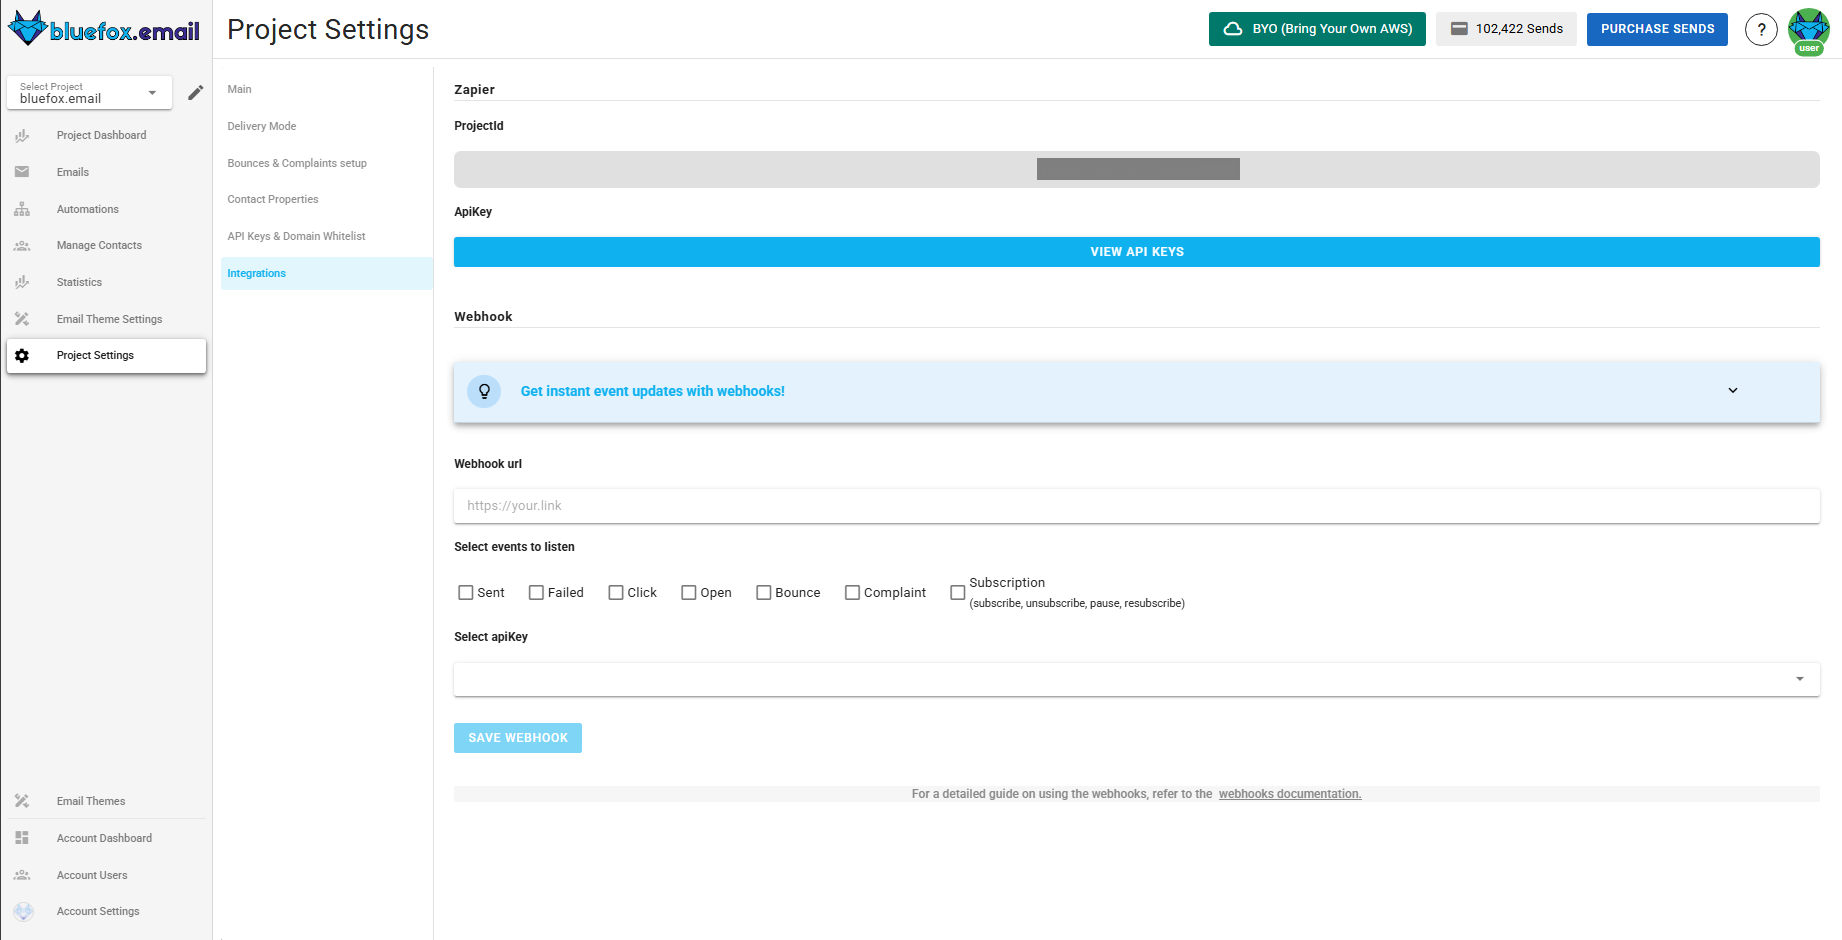
To authenticate your BlueFox Email account in Zapier, you will need your BlueFox Email project API key and project ID. Follow these steps:
- In the Zaps setup, when prompted for account connection either for triggers or actions, click on "Accounts".

Here select connect a new account.
A pop-up window will appear asking for your BlueFox Email project API key and project ID.

- In your BlueFox Email Project Settings, navigate to the bottom of the page to find Zapier Integration section where you can copy your project API key and project ID.
- Enter the project API key and project ID in that Zapier pop-up window from earlier, then click "Yes, Continue to BlueFox Email" to authorize Zapier to access your BlueFox Email project.
And thats it! Your BlueFox Email account is now connected to Zapier, and you can start creating Zaps using BlueFox Email triggers and actions. Lets explore the available triggers and actions.
Available Triggers and Actions
Triggers
Click on triggers to see the available options. 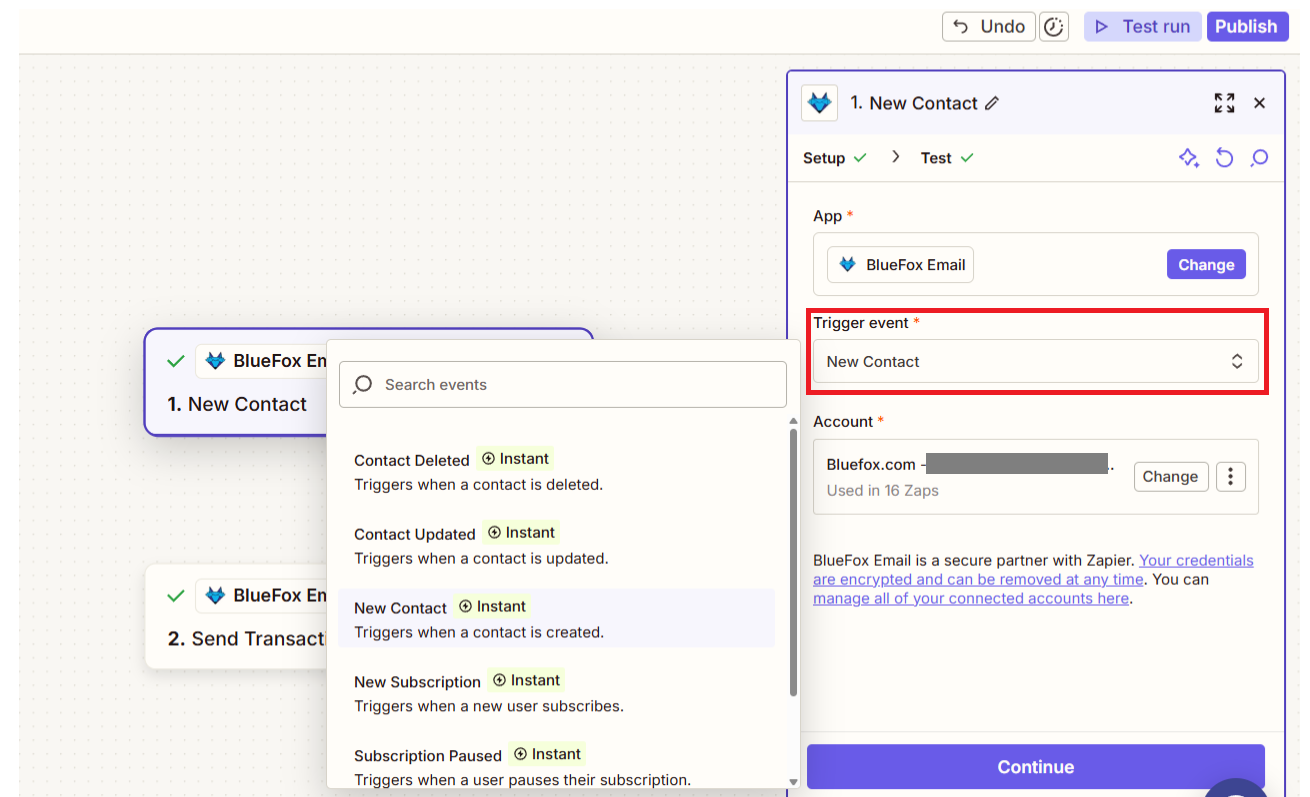
- New Contact: Triggered when a new contact is added to your project.
- Contact Updated: Triggered when an existing contact is updated in your project.
- Contact Deleted: Triggered when a contact is removed from your project.
- New Subscription: Triggered when a new user subscribes to a subscription list.
- Unsubscribed: Triggered when a contact unsubscribes from a subscription list.
- Subscription Paused: Triggered when a contact's subscription is paused.
Once you select a trigger, click "Continue" to set up and test the trigger.
Here once you select subscription based trigger (eg,"New Subscription", "Unsubscribed", "Subscription Paused") and click continue you will be asked to select the subscription list for which you want to set up the trigger.
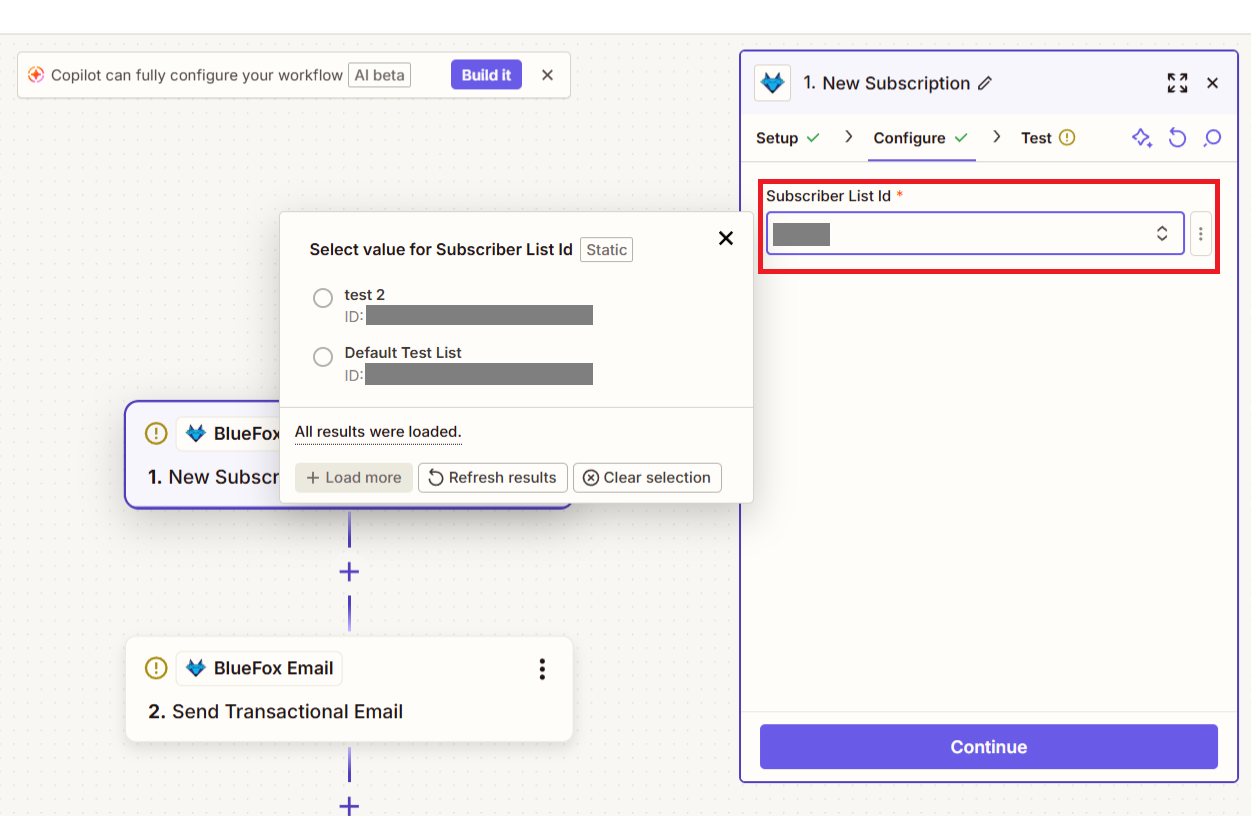
Hit continue and test the trigger.
Actions
Click on actions to see the available options. 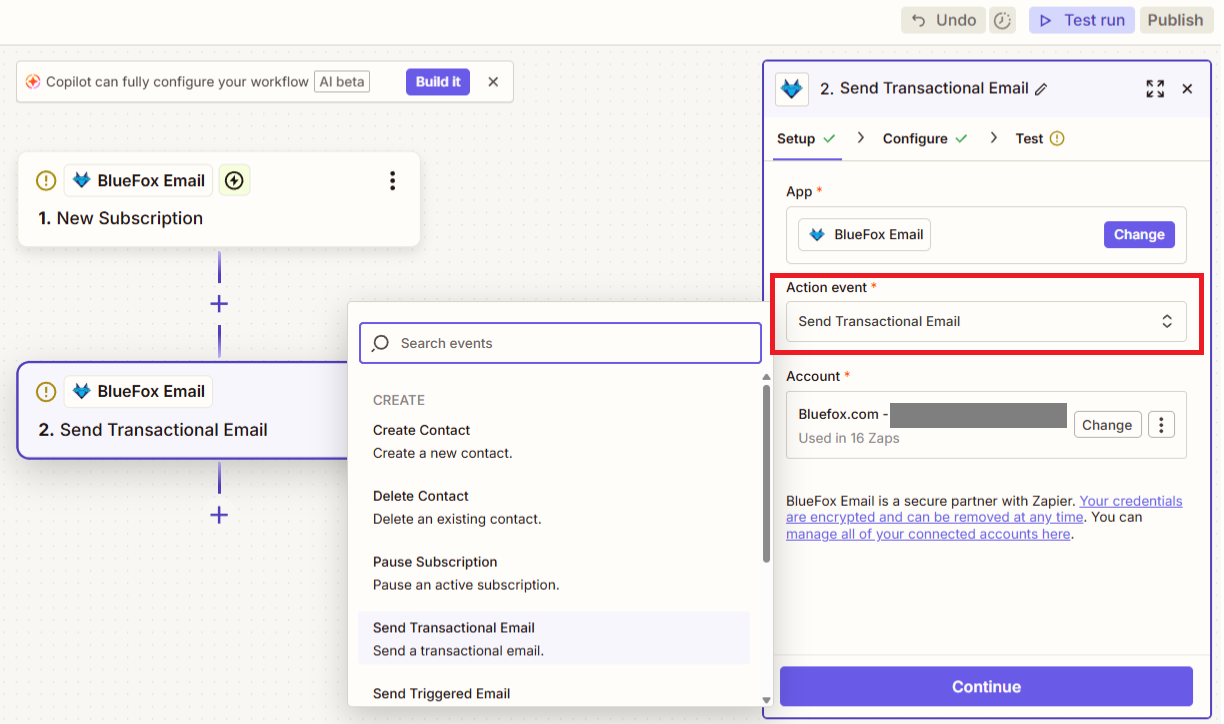
- Send Transactional Email: Send a transactional email to a specified email.
- Send Triggered Email: Send a triggered email based on specific events.
- Create Contact: Add a new contact in your project.
- Update Contact: Update an existing contact's details in your project.
- Delete Contact: Remove a contact from your project.
- Subscribe Email: Subscribe a user to a specific subscription list.
- Unsubscribe Contact: Unsubscribe a contact from a specific subscription list.
- Pause Subscription: Pause a contact's subscription to a subscription list.
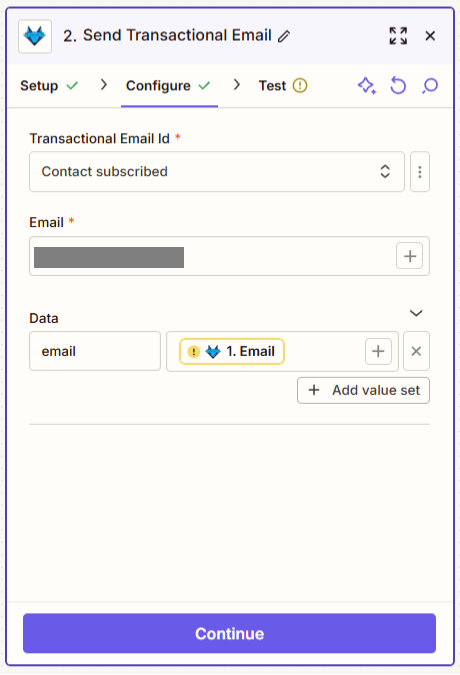
Send Transactional Email
Click on "Send Transactional Email" action to set it up. Here you can send a transactional email to a specified email. You will need to provide email as mandatory and custom properties in data field that you have in your project these are optional though.
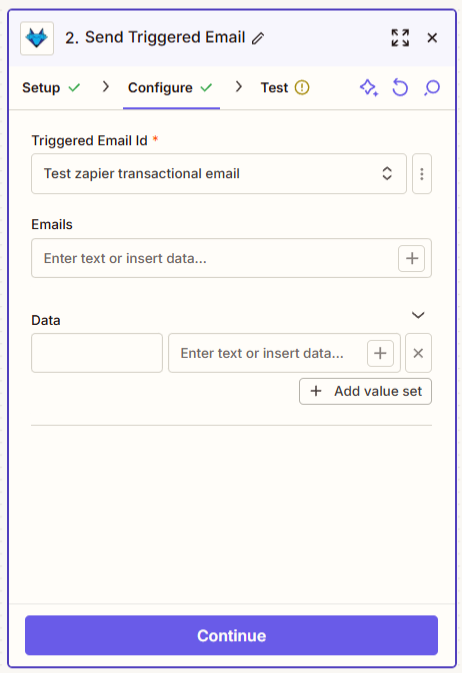
Send Triggered Email
Click on "Send Triggered Email" action to set it up. Here you can send a triggered email based on specific events.
Create Contact and Update Contact
In these actions, you will be asked to provide contact details email being mandatory and other custom properties that you have in your project. 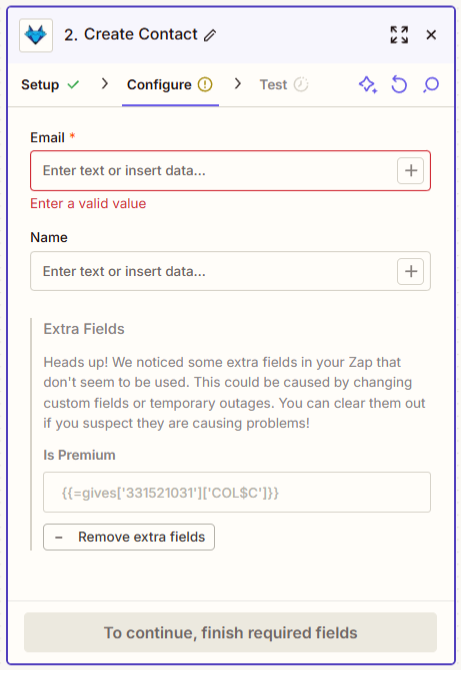
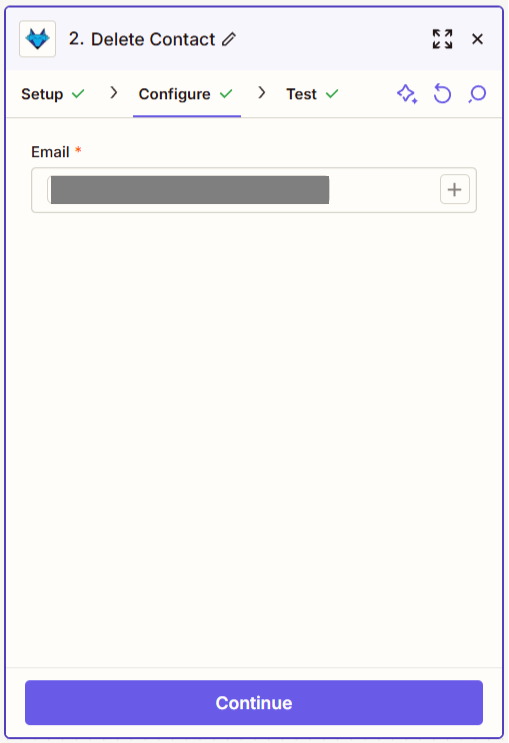
Delete Contact
In this action, you will be asked to provide the contact email to delete the contact from your project.
Subscribe Contact to List and Unsubscribe Contact from List
In these actions, you will be asked to provide the contact email and select the subscription list. In case of subscription, you can also pass your contact properties here. 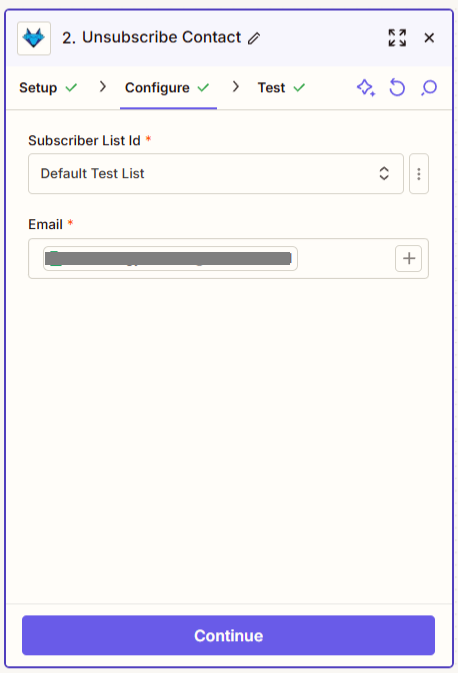
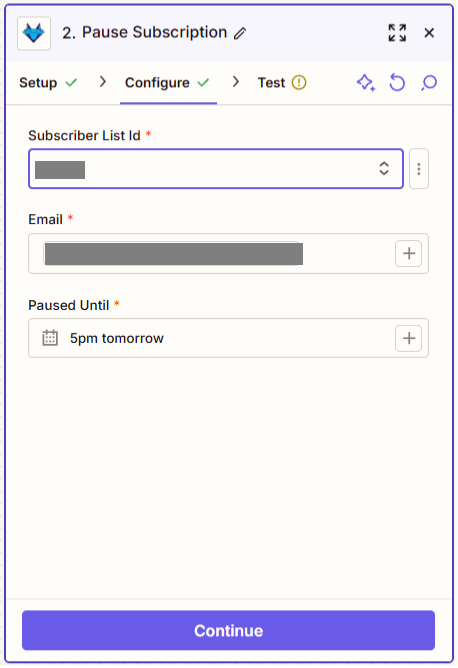
Pause Subscription
In this action, you will be asked to provide the contact email and select the subscription list to pause the subscription and also date until when to pause the subscription.
After setting up the action, click "Continue" to test it. If the test is successful, you can turn on your Zap to start automating your workflows.